Golden Halo Earrings with Swarovski® Crystals
Make this Golden Halo Earrings, tiered with TierraCast® components, acetate and Swarovski® crystals.
What you’ll need for these pair of earrings:
- Acetate Half Circle (earrings use Z012461)
- 8mm Gold Jump Ring (earrings use A011523)
- (2) TierraCast® 19mm Gold Hammertone Ring (earrings use TC00611)
- Earwire Findings (earrings use TC02298)
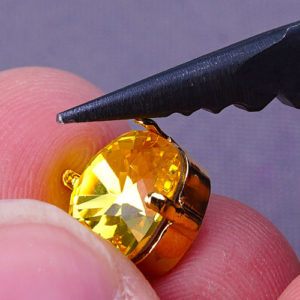
- (2) Swarovski® 16mm Princess Cut Crystal Pendant (earrings use SW02167)
OR - Buy All Products with BAP0005
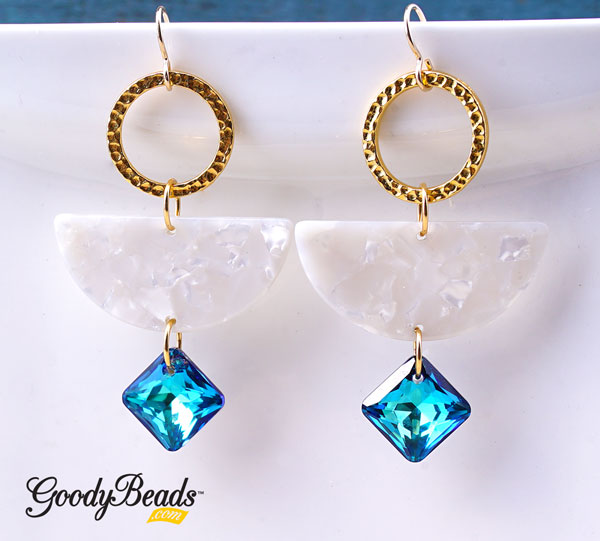
Directions:
- Open jump ring, slide on crystal pendant and bottom hole of acetate. Close jump ring.
- Open another jump ring, slide on top hole of acetate and hammertone ring. Close jump ring.
- Open earwire loop and slide on hammertone ring. Close loop.
- Repeat all steps for other earring.