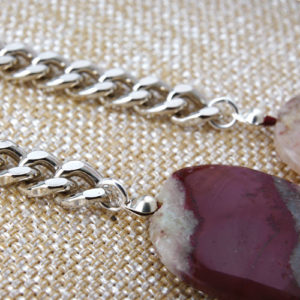
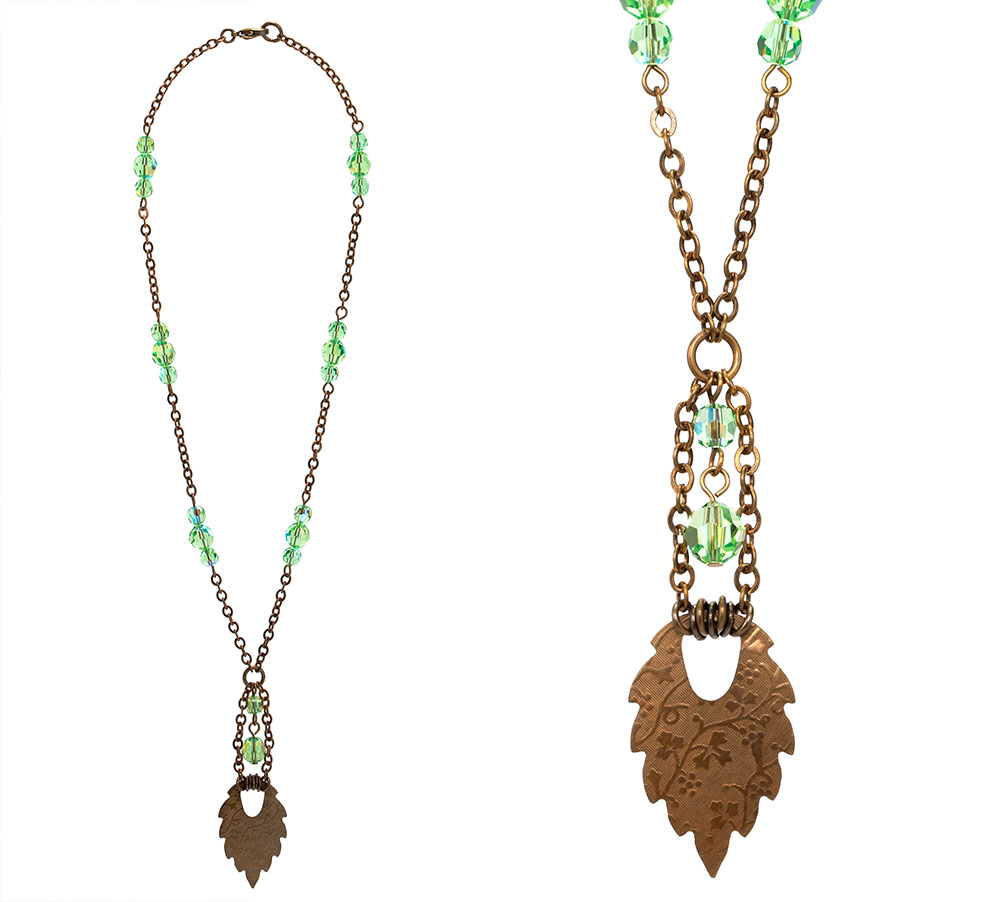
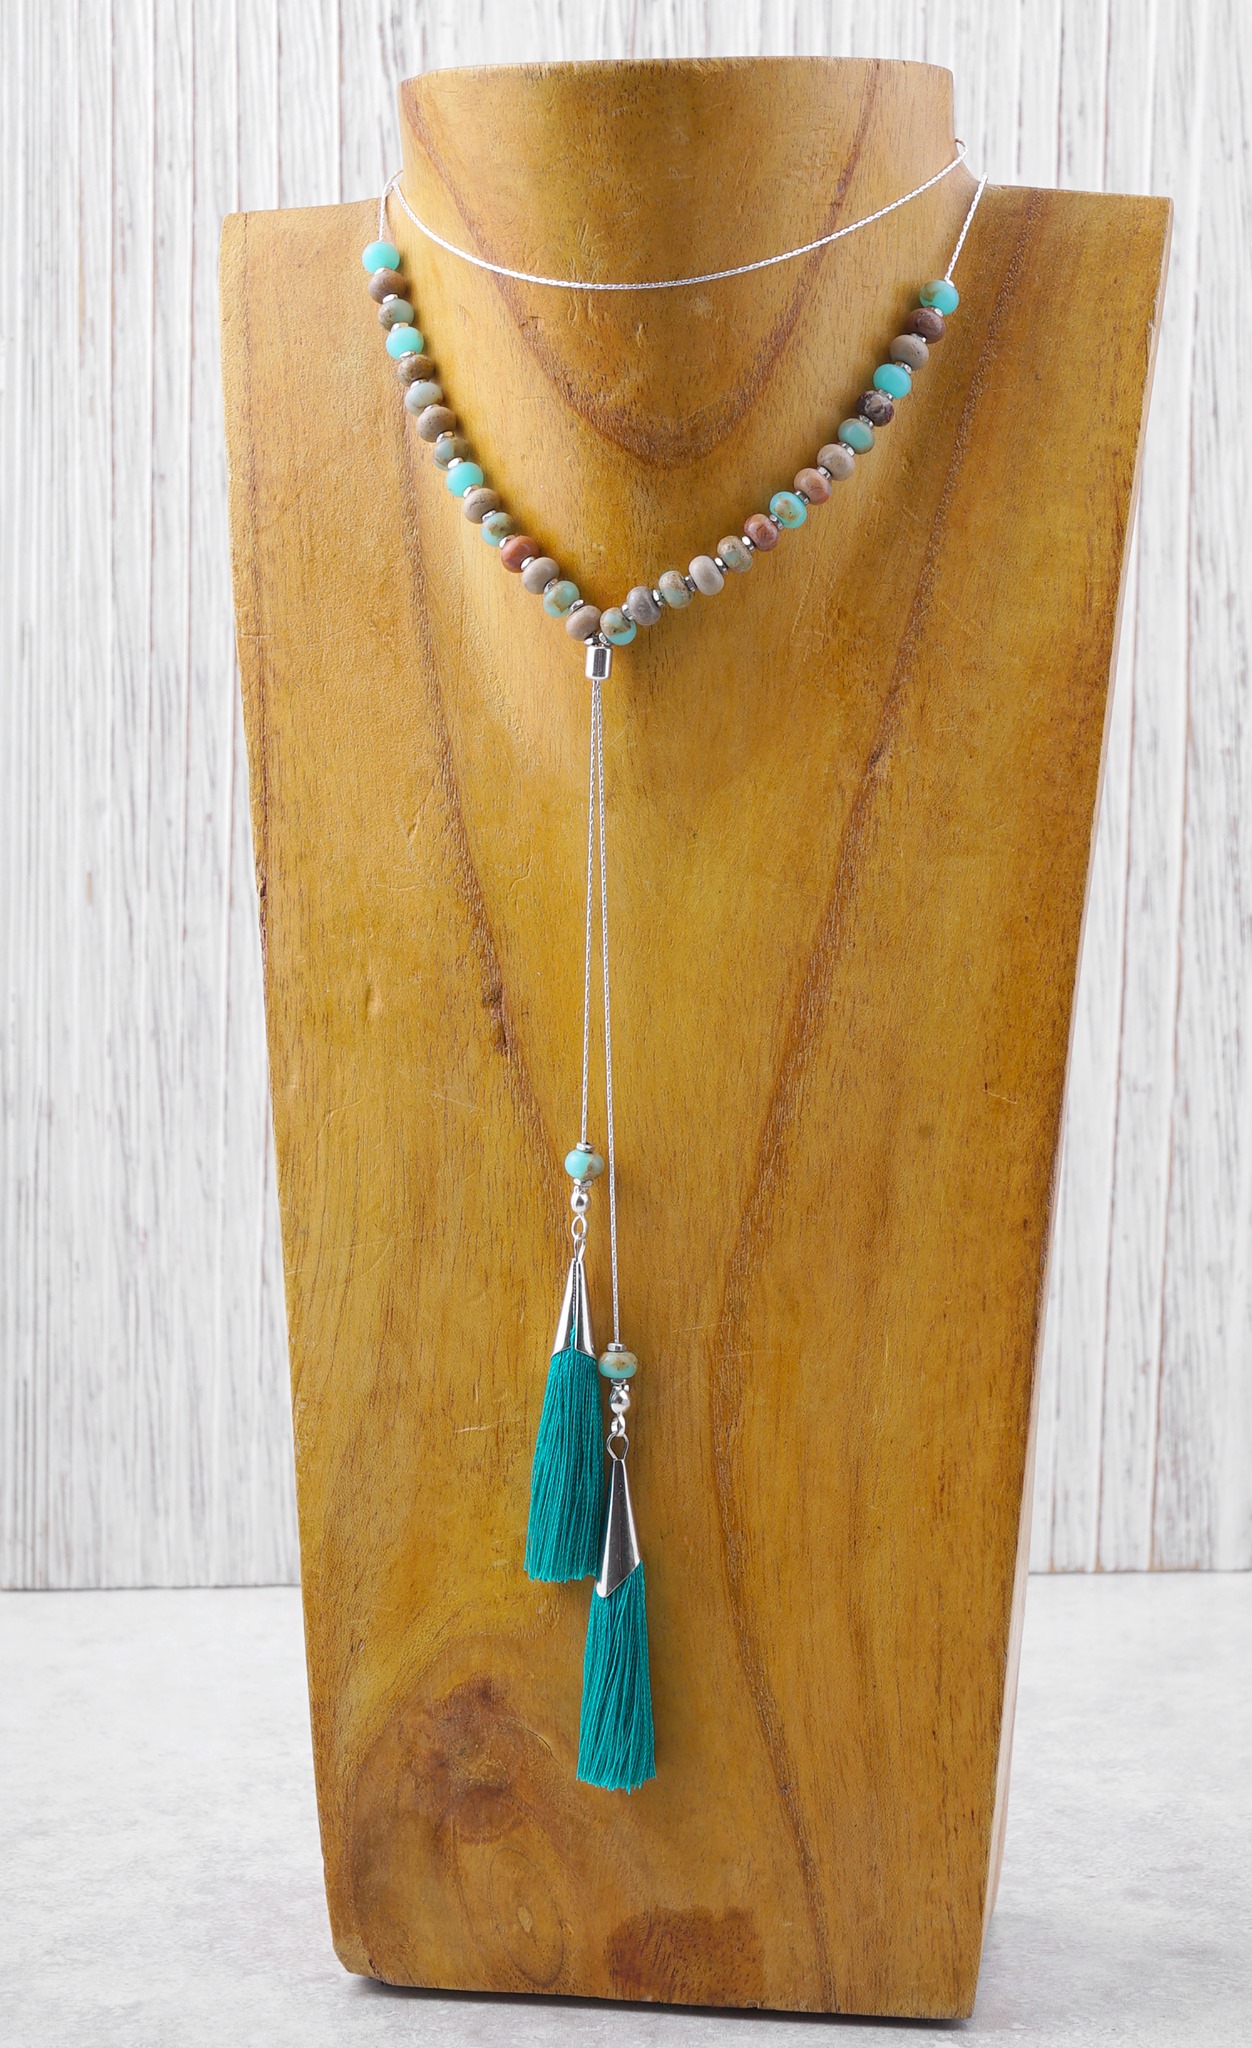
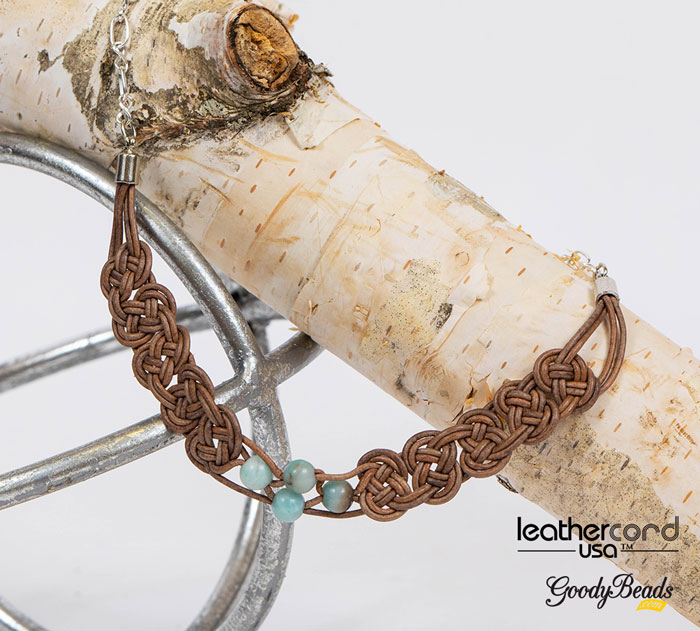
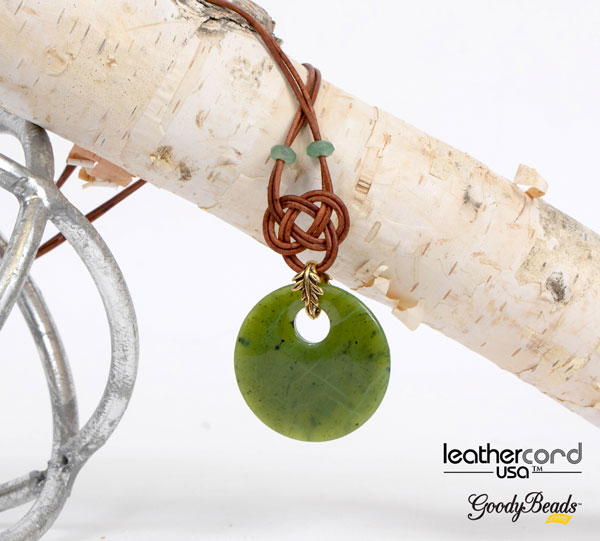
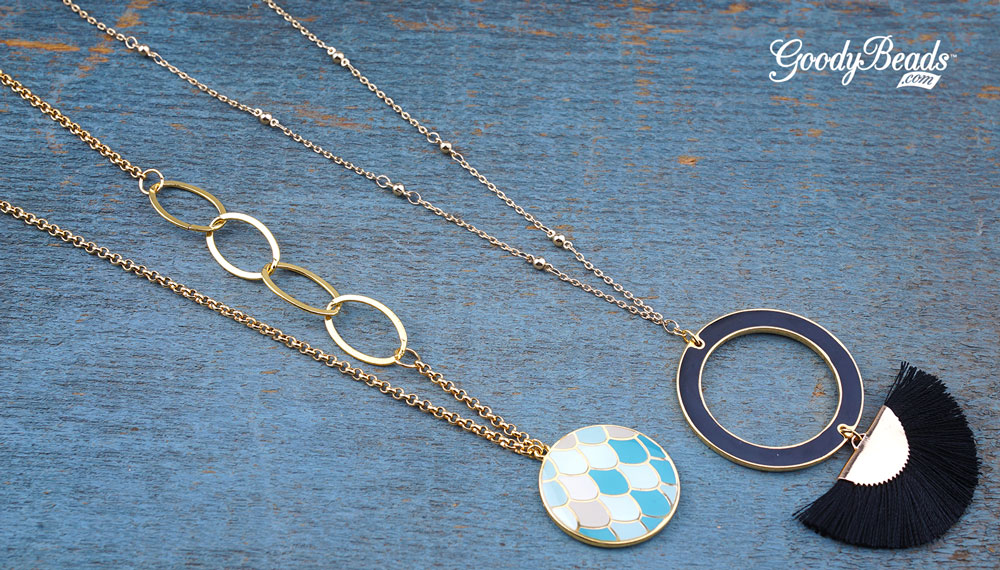
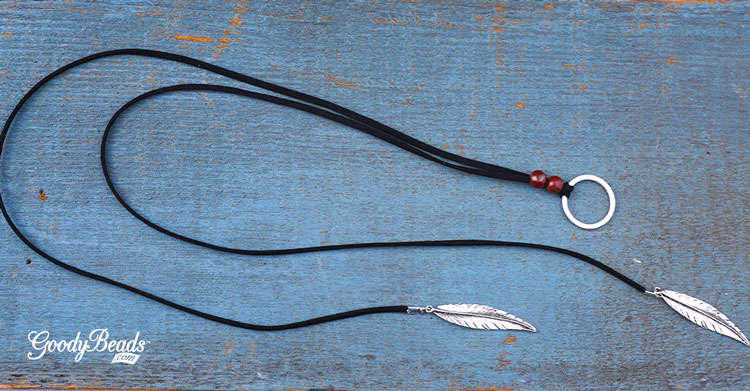
3 Ways to Wear DIY Suede and Gemstone Lariat Necklace
Today’s tutorial features the DIY Suede and Gemstone Necklace. This necklace is easy to make and can be worn three different ways. First, let’s get to designing this necklace!
What you’ll need:
- 3mm Micro-Fiber Ultra Suede Cord (Item used in example Z007132)
- 2 – Feather Charm (Z015963)
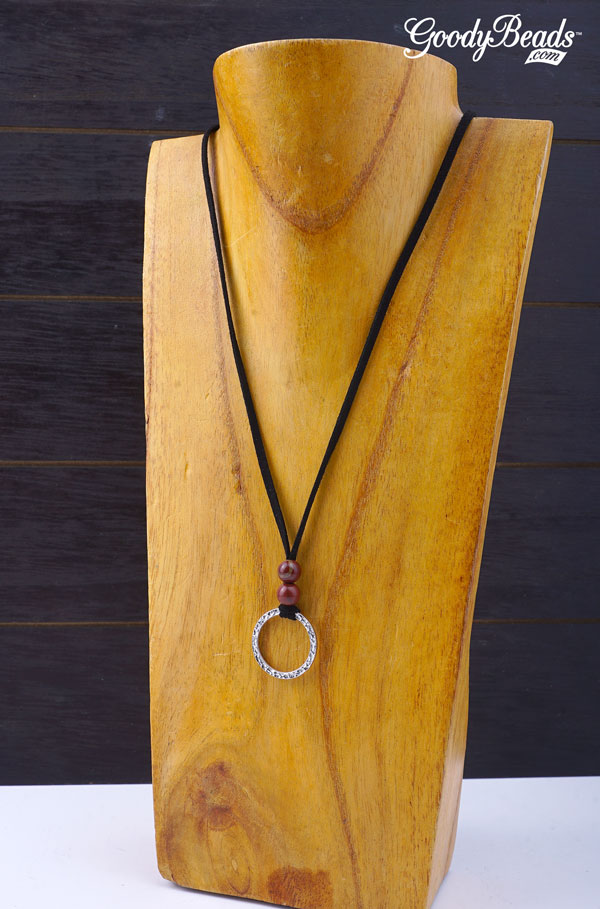
- 25mm TierraCast Hammertone Ring (TC00886)
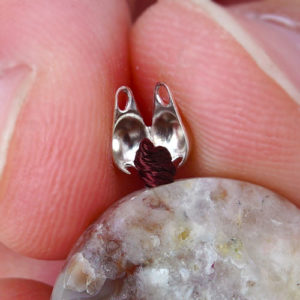
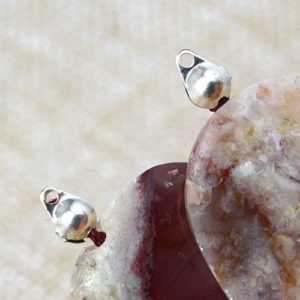
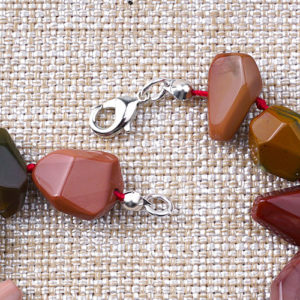
- Crimp Cover End (Z009926)
- 4mm Jump Rings (A002413)
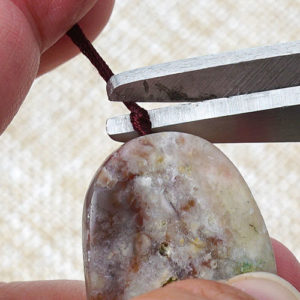
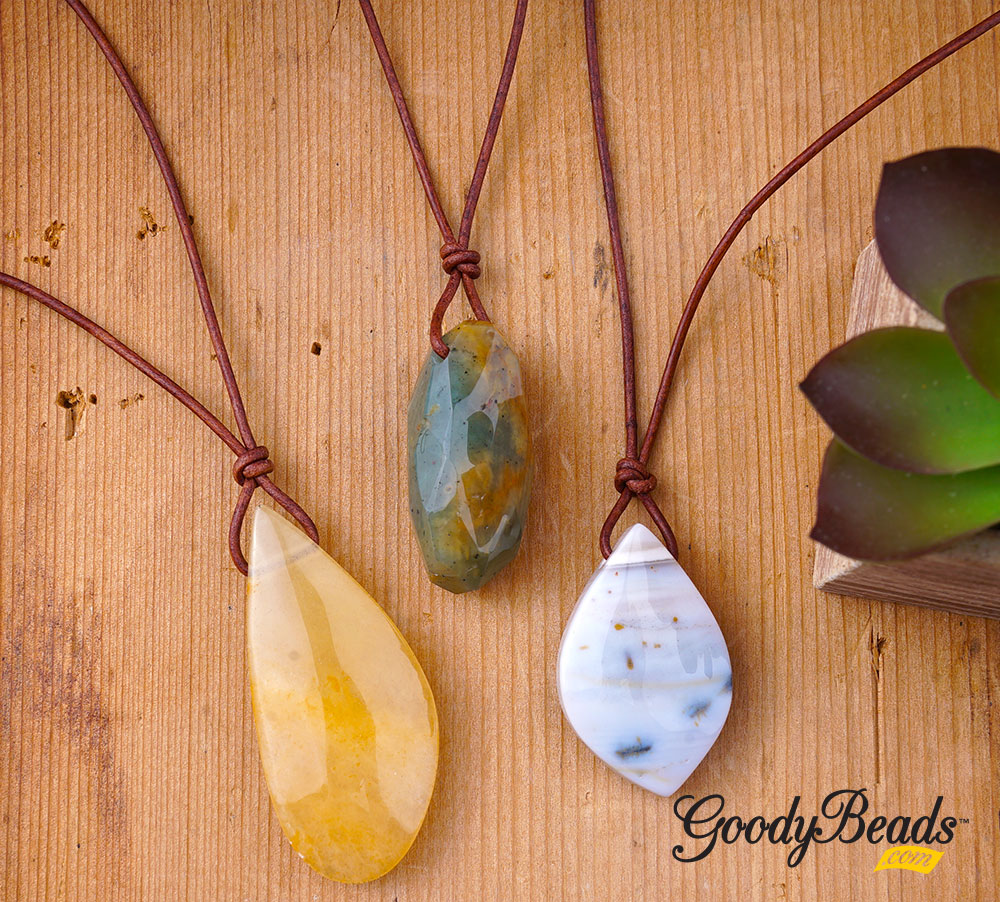
- Large-hole Gemstones (Item used in example APL8RDLH-8)
Directions:
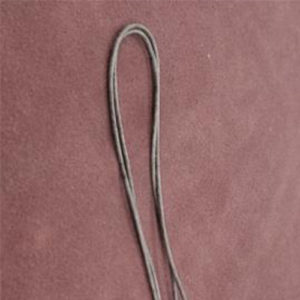
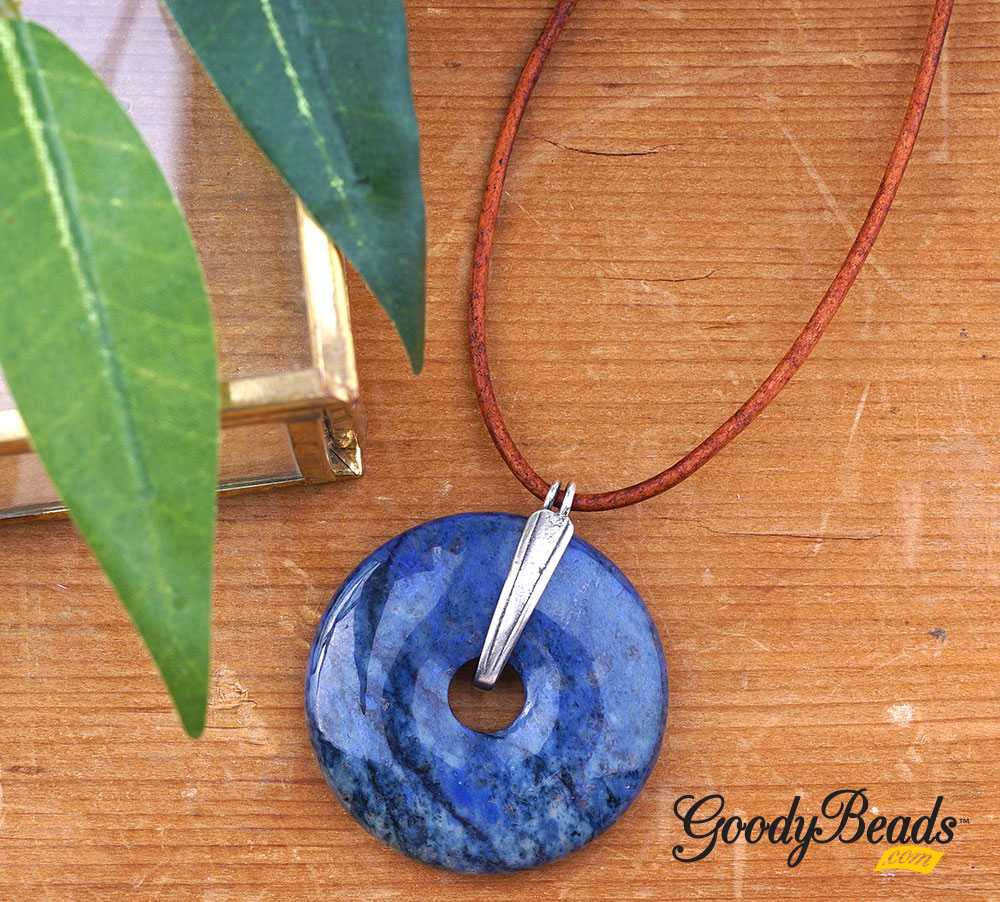
- Cut 50-60″ of suede.
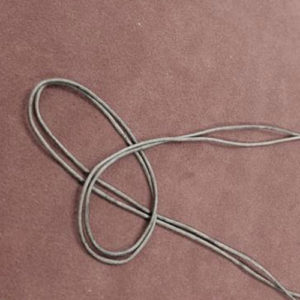
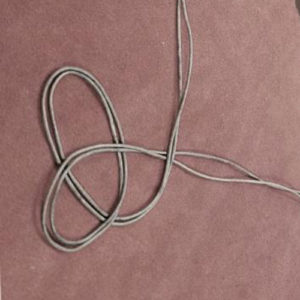
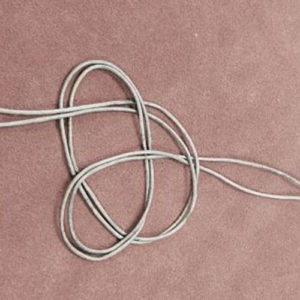
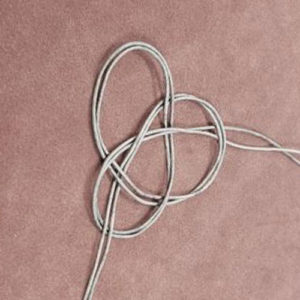
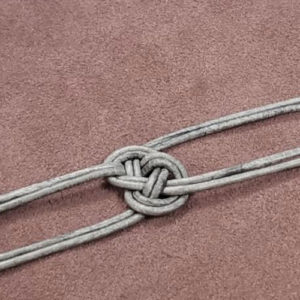
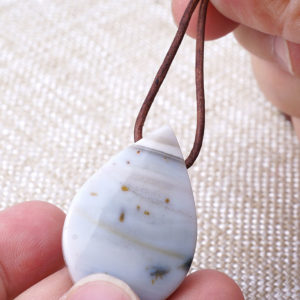
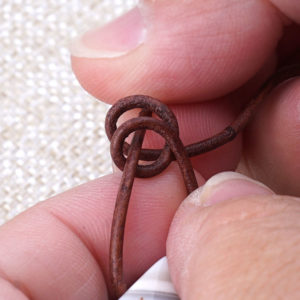
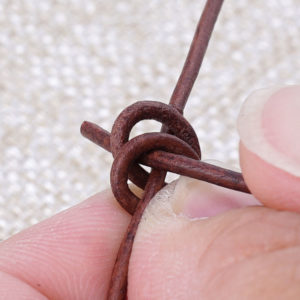
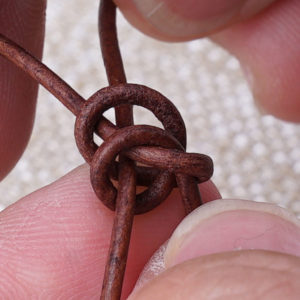
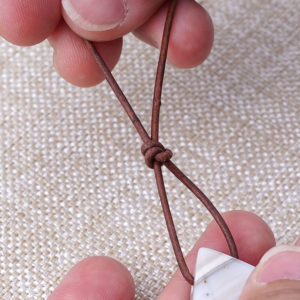
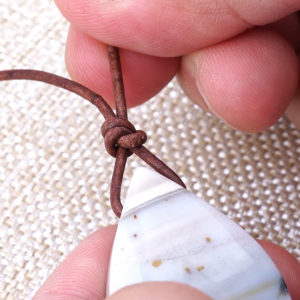
- Fold suede in half and make a lark’s head knot with the suede on the Hammertone ring.
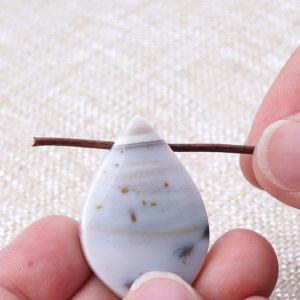
- Slide two large-hole beads on to both suede cords. (Cut ends at and angle to help get both ends through large-hole bead.)
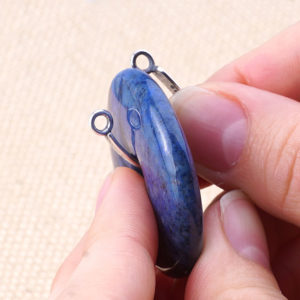
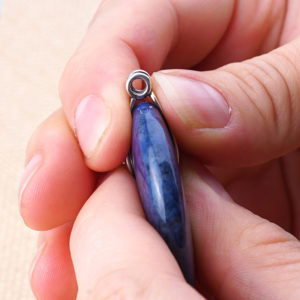
- At each suede end, fold over the Crimp Cover Ends.
- Open a jump ring, slide on feather charm and loop end of Crimp Cover Ends. Repeat to other end.
3 Ways to Wear the Necklace
Here are three ways that you can chnage up your suede and gemstone necklace.
 1. With the Hammertone ring at the front of your necklace, wrap the suede around your neck and slide both ends through the ring. This creates an illusion of two necklaces!

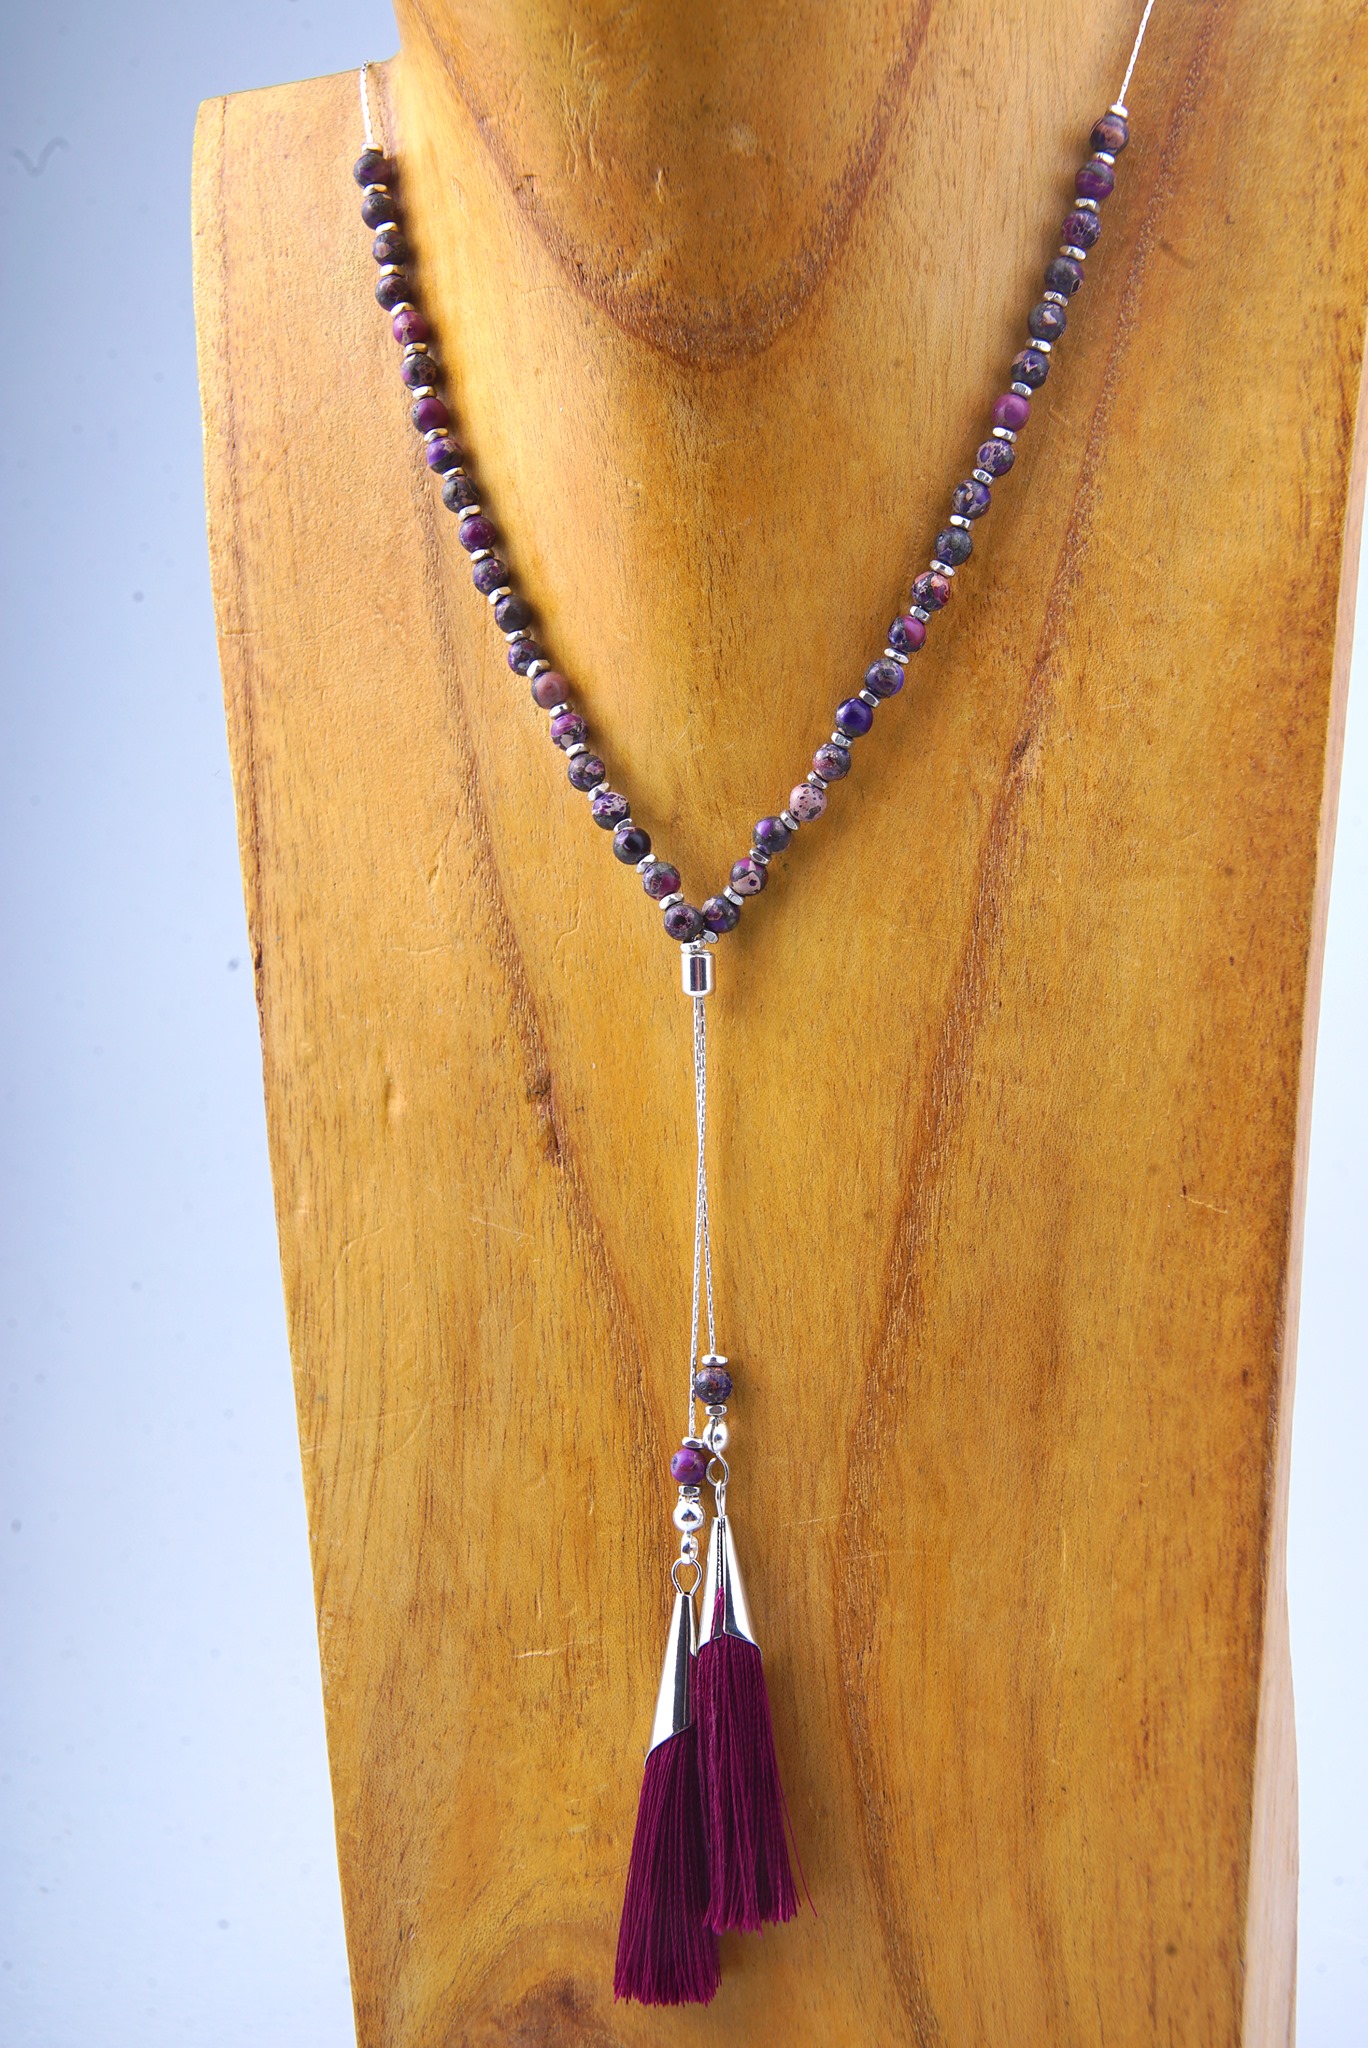
2. Wrap both suede ends around your neck in the same direction and loop both ends into the Hammertone ring!
With the Hammertone ring at the front, tie your suede ends at the back of your neck. Adjust length as needed.