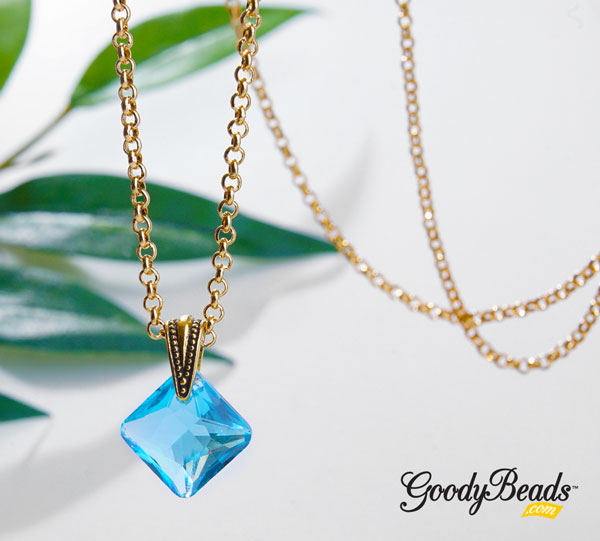
Swarovski® Rose Water Opal Jewelry Tutorials
We have three lovely projects using August’s Swarovski Psychology of Color: Rose Water Opal.
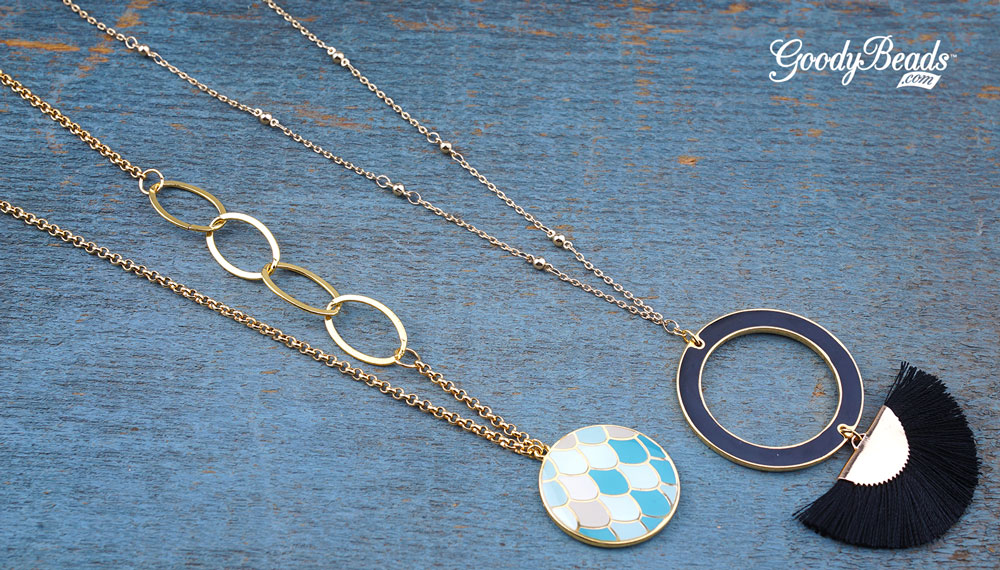
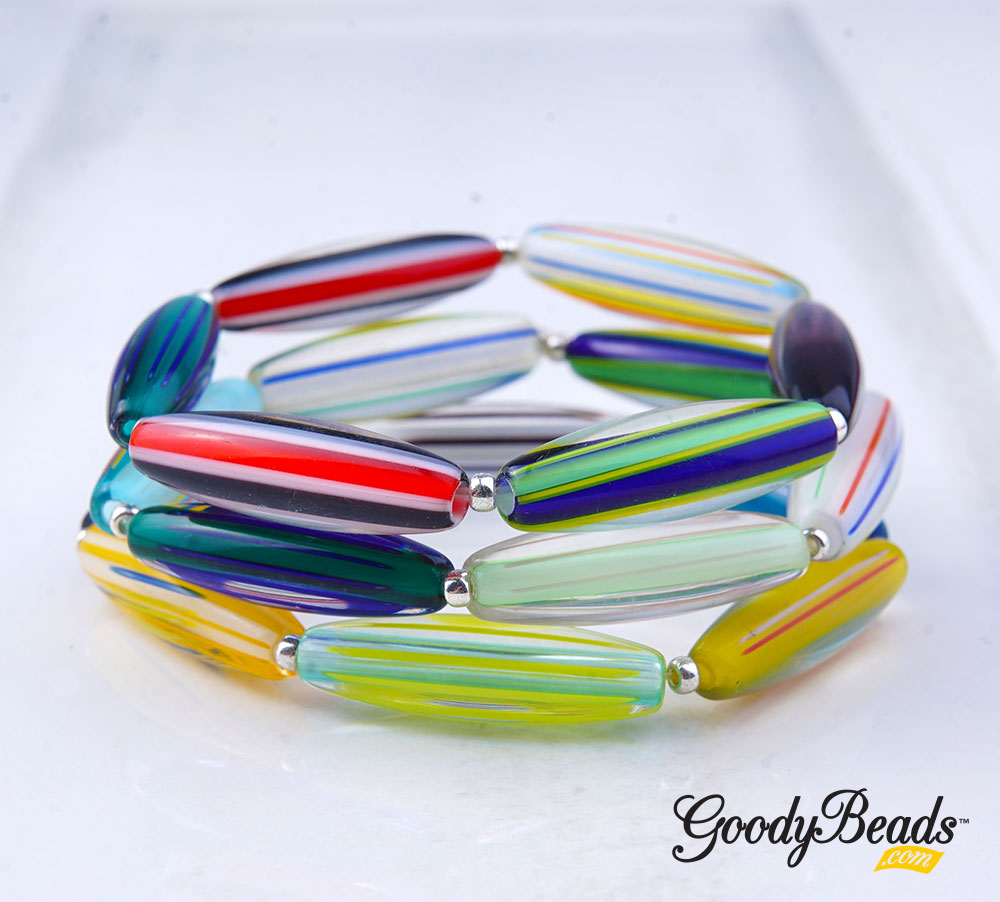
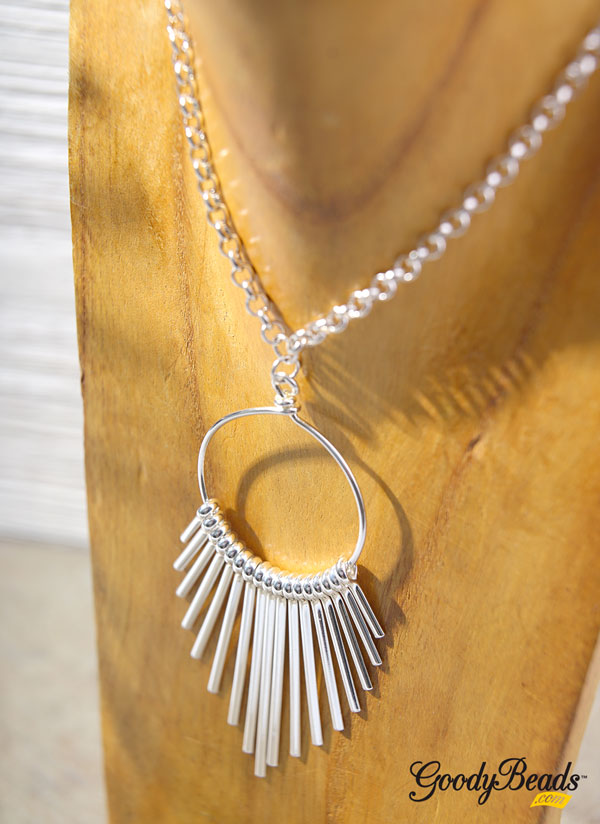
Beaded Fan Necklace with Swarovski Crystals

Items used in necklace: (12) SWZ0469, SB00107, SB00423, A021148, A006585, A015211, A011519, (2) CH01096
Get FREE Downloadable PDF Pattern Tutorial Here!
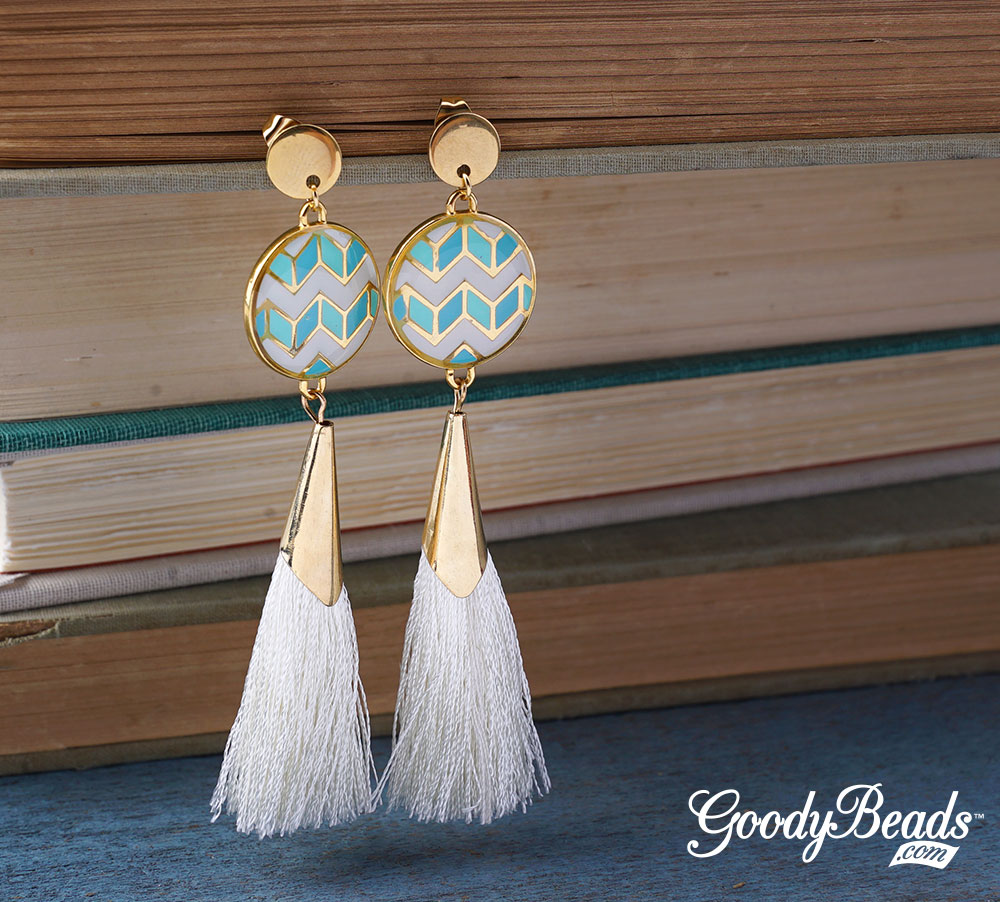
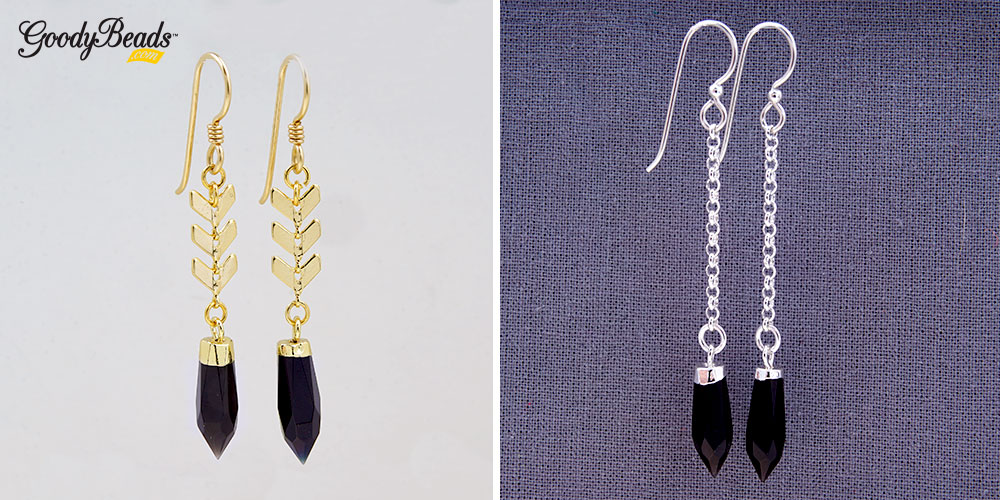
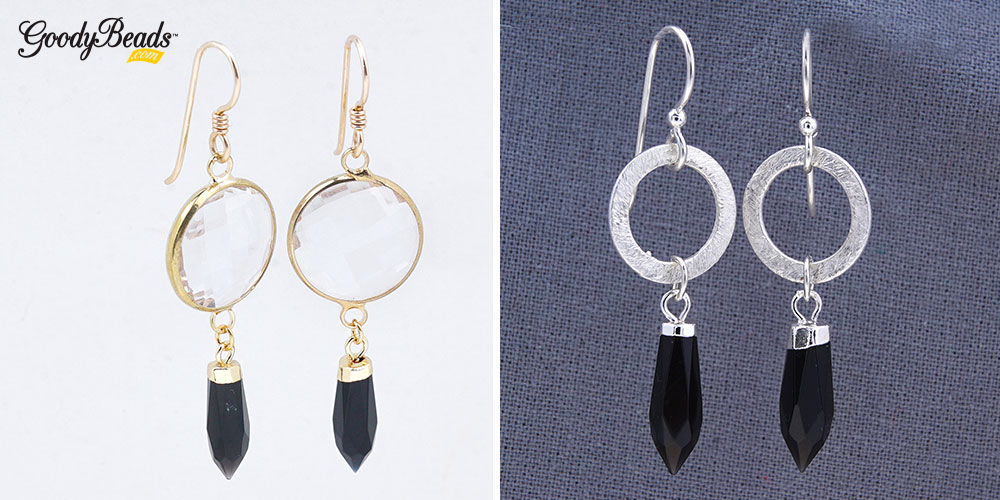
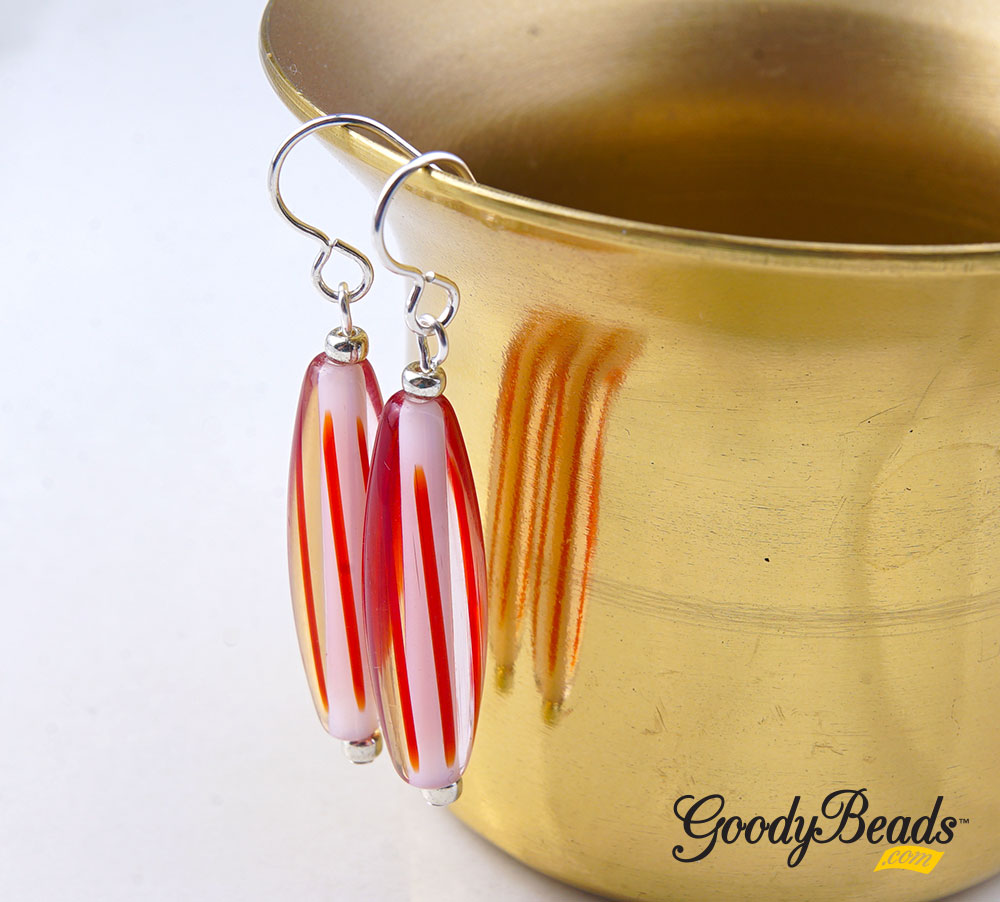
Gold & Silver Rose Opal Earrings

Items used in earrings: (4) SWZ0469, SB00423, A011519, Y018889, Z010751, A007659, A011528, Z012031
We mixed up the fun in this pair of earrings with gold and silver findings. It adds stunning layers and surely makes the crystals stand out!
Directions:
- On a headpin, slide on a gold seed bead, bicone and another seed bead.
- On an eyepin, slide on a gold seed bead, bicone and another seed bead.
- Open loop from Step One and slide on brushed ring link. Close loop.
- Open gold jump ring, slide on brushed ring link and one hole of gold brushed disc. Close jump ring.
- Open a loop of link from Step Two, slide on other hole of gold brushed disc and close loop.
- Open earwire loop and slide on other end of crystal link and close earwire loop.
- Repeat all steps for other earring.
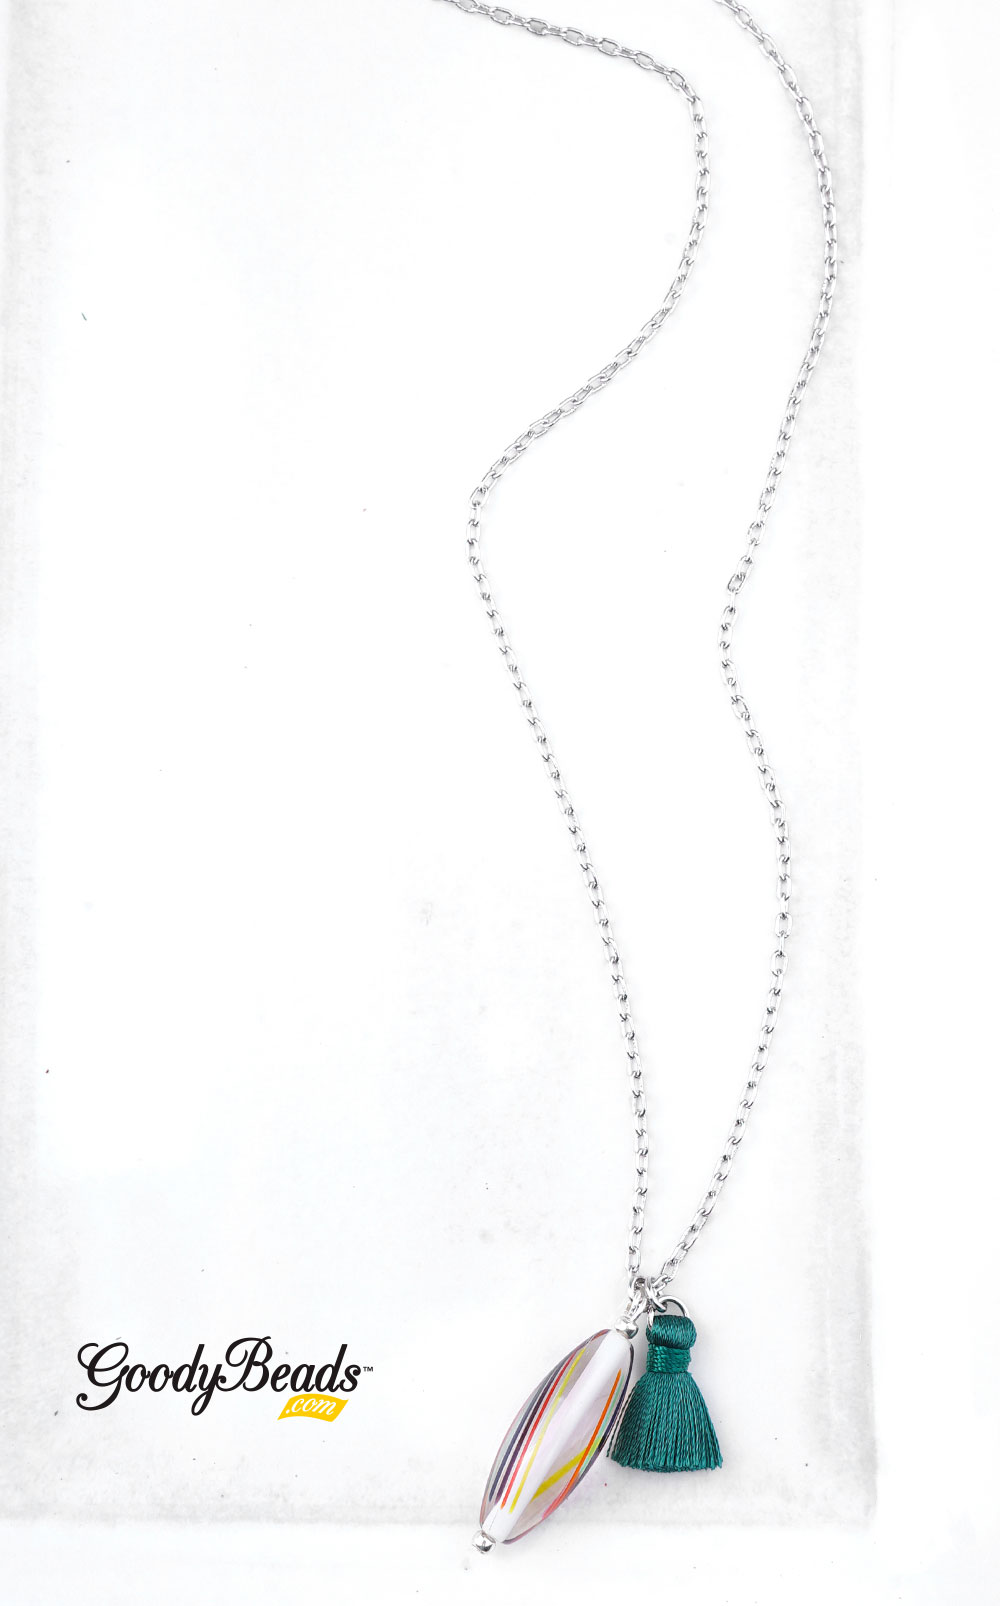
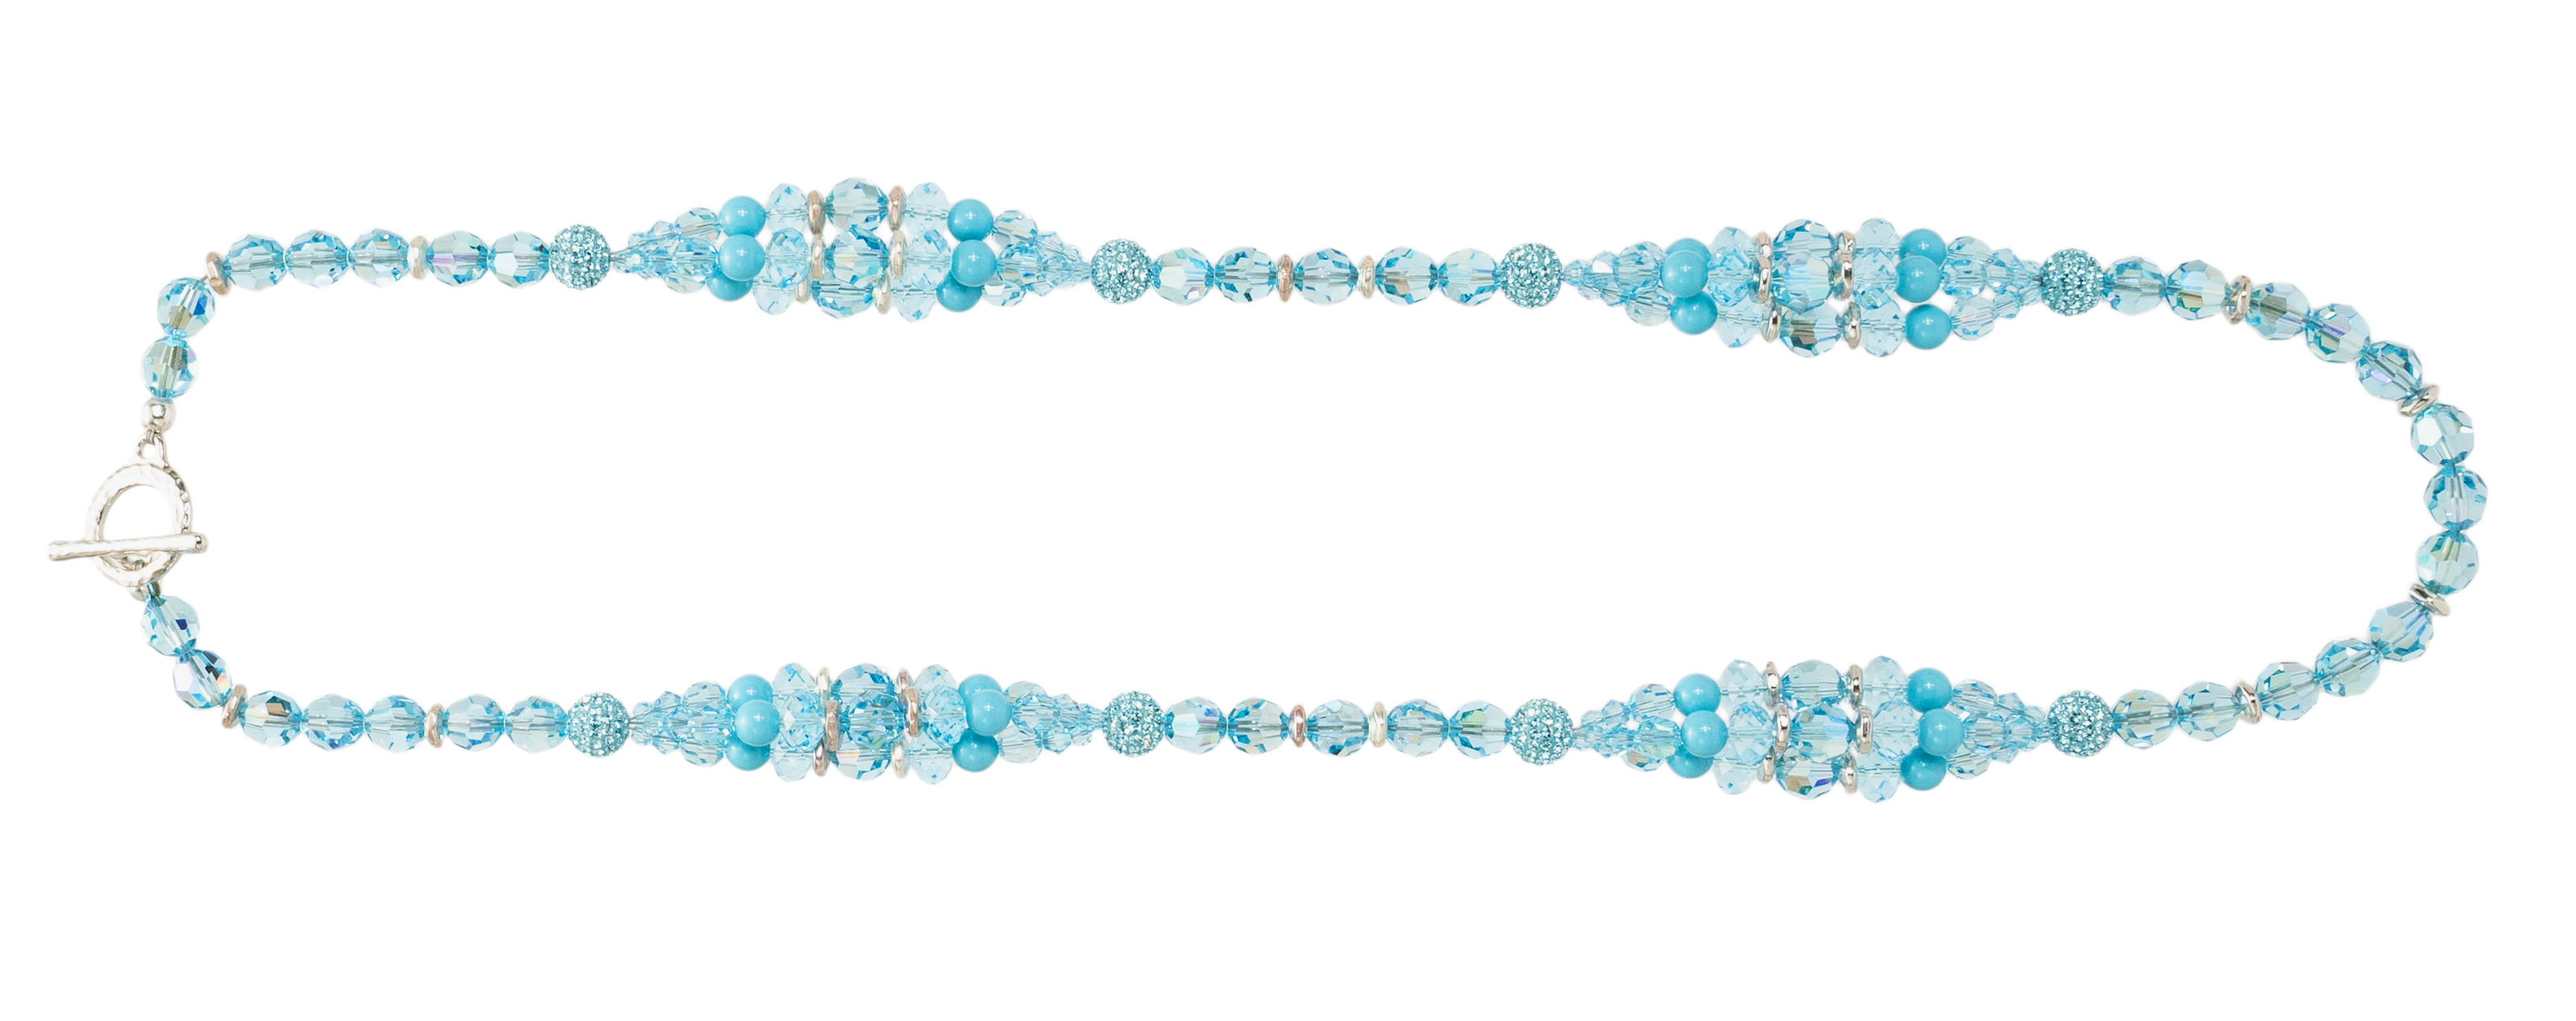
Rose Water Rhapsody
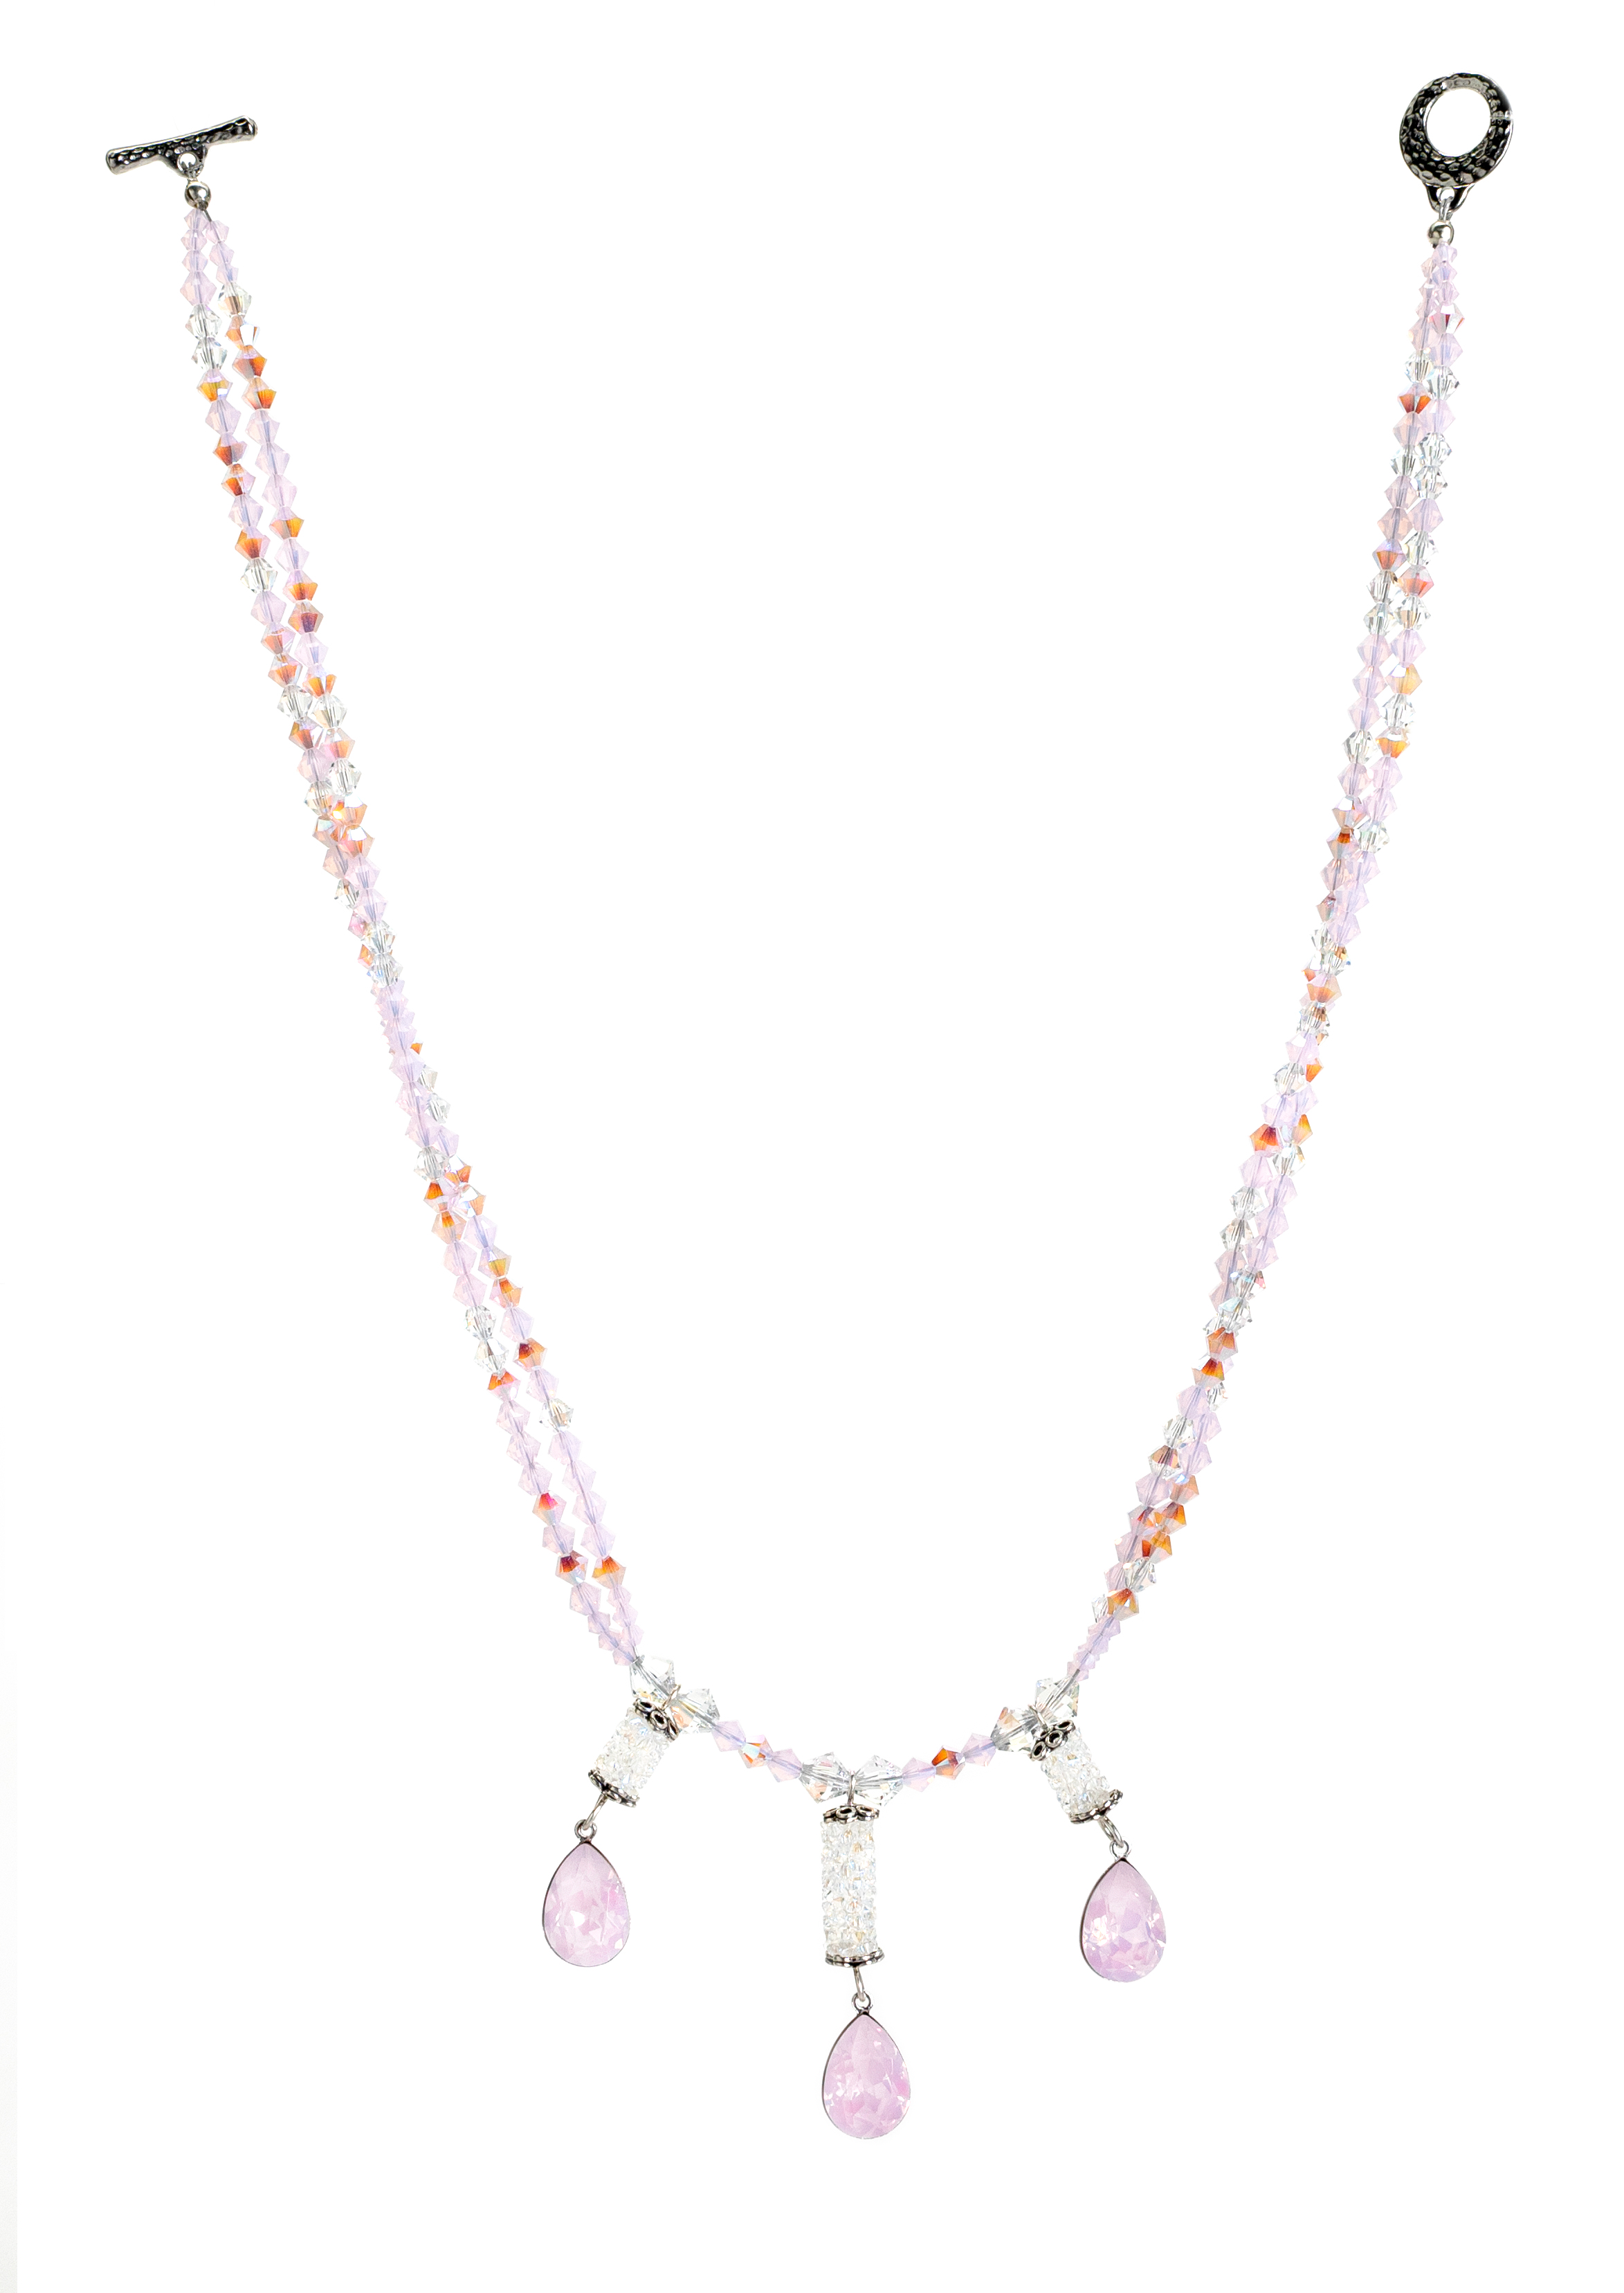
Our friends at Swarovski Create your Style, designed this stunning necklace with Rose Water Opal crystals and Fine Rocks Tube beads.
What you’ll need:
- (24) 3mm Rose Water Opal Bacon Crystal
- (88) SWZ0469
- (44) SWZ0470
- (42) SW01900
- (6) SW01902
- (2) SW02020
- (1) SW01733
- (3) 14x10mm Rose Water Opal Fancy Stone
- (3) 14x10mm Rhodium Plated Fancy Stone Setting
- (1) TC01871
- (6) TC00278
- (3) TC01253
- (2) TC00853
- (2) TC01899
- (1) FTBW0001
- SW01830
- Alcohol Wipes
Directions:
- Using alcohol to wipe clean all the findings and set to dry.
- Using one fancy stone, blue in matching setting and set aside for 24 hours to dry. Repeat two times and set aside.
- Using one eyepin, attach one pendant made in Step 2, then slide on a bead cap, on SW02020 and another bead cap. Make a simple loop. Repeat one more time and set aside. Repeat one more time and set aside.
- Using another eypin, attach one pendant made in Step 2, then slide on a bead cap, on SW01733 and another bead cap. Make a simple loop.
- Cut beading wire into two 20″ pieces.
- Using both wires together, slide on a SW01902, component made in Step 3, SW01902, SWZ0469, SWZ0470, SWZ0469, SW01902, one component made in Step 4, SW01902, SWZ0469, SWZ0470, SWZ0469, SW01902, component made in Step 3, and SW01902. Position all these in the center of the two strands of wire.
- Take all remaining 4mm bicone beads and pour them onto your bead mat. Mix them all together.
- Starting with the right side of the necklace and only using one of the two wires coming out of the 6mm bicone bead, string on three 3mm bicone beads. Now using your bead mix you created in Step 7 randomly string on 42 4mm bicone beads. String on three 3mm bicone beads. Repeat for this step for the second empty wire.
- Using both wires, slide on one crimp bead and one end of the toggle. Crimp to close and add crimp cover.
- Repeat Steps 8-9 to make left side of the necklace.