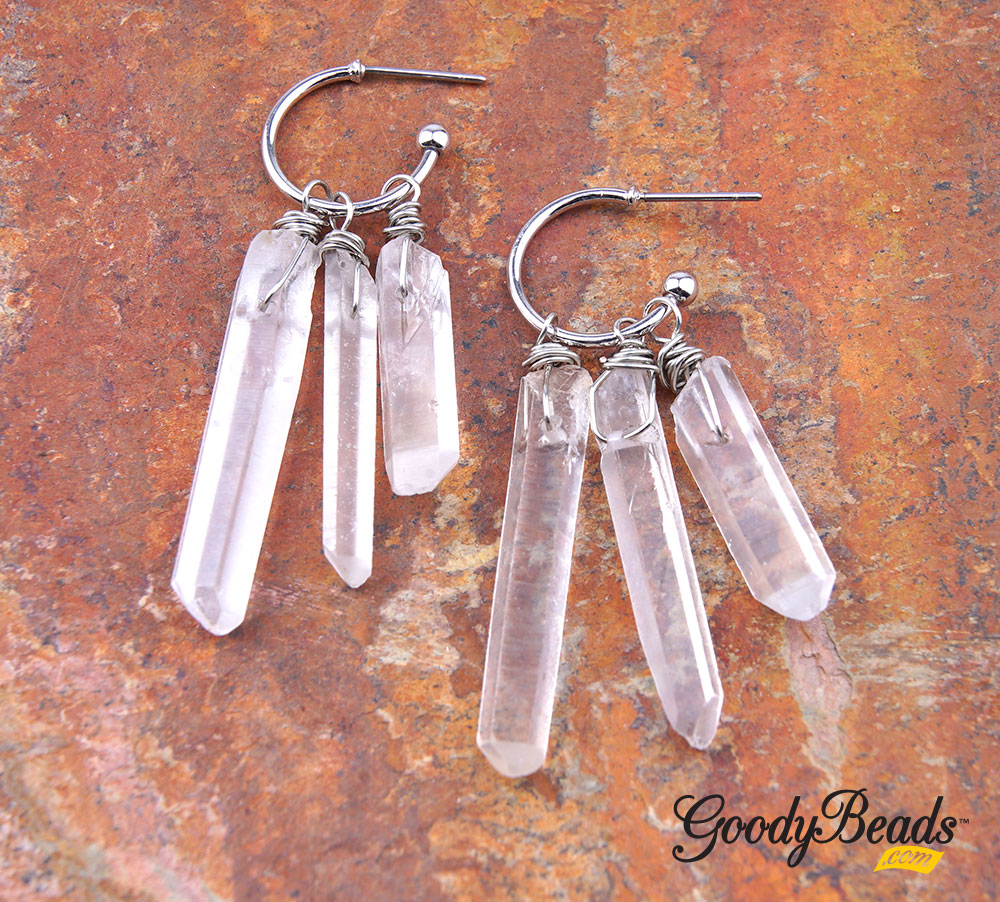
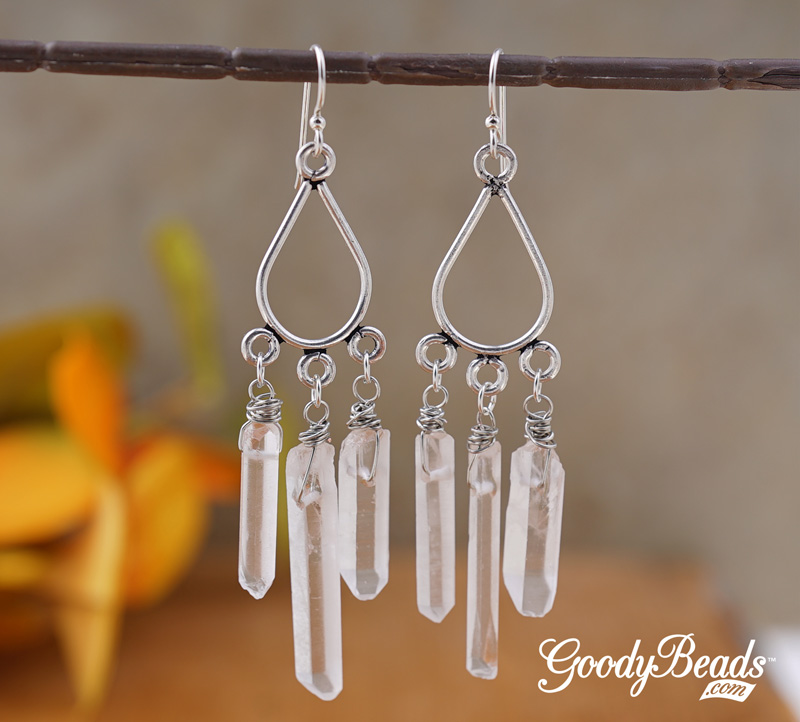
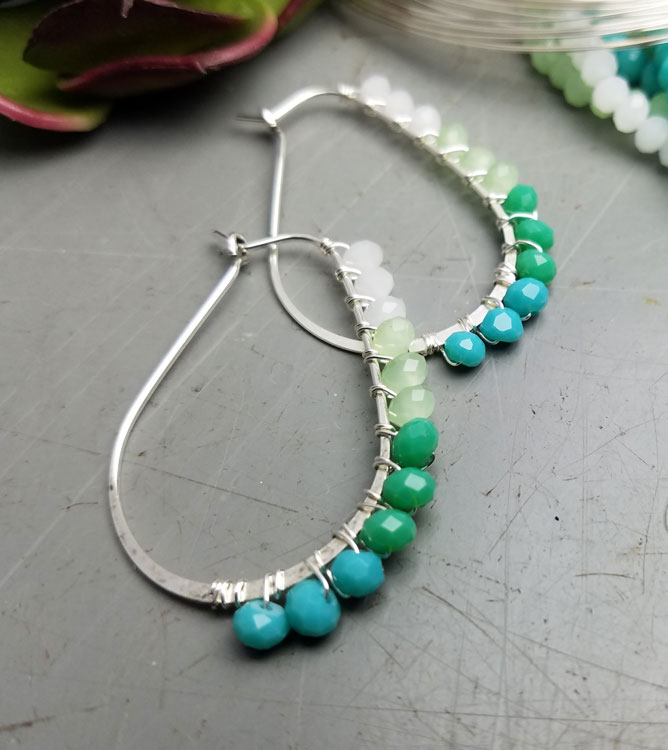
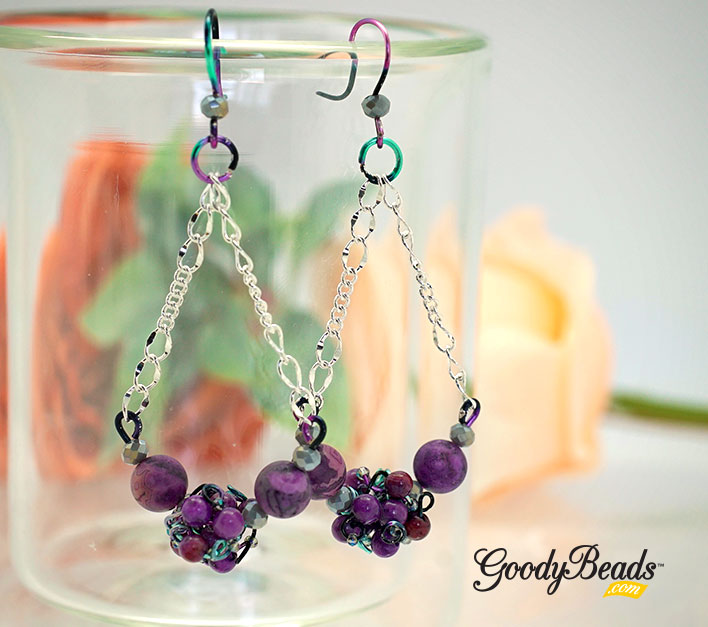
DIY Hanging Earrings with Purple Lace Agate Gemstones
This pair of earring is very unique because all the findings are handmade using multi-color Artistic Wire. Add the fine beauty of Purple Lace Agate to match the wires for a bold pop of color!
Items used in earrings:
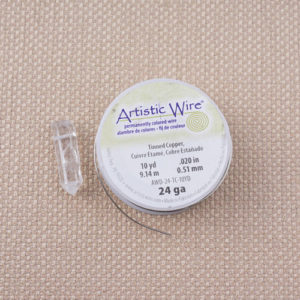
- AW00230 – 20 gauge multi colored artistic wire
- AW00224 – 18 gauge multi colored artistic wire
- AW00236 – 22 gauge multi colored artistic wir
- PCA4RD-8 – 4mm purple crazy lace agate
- PCA8RD-8 – 8mm purple crazy lace agate
- Z014352 – 1.5-2.0 mm green Chinese glass
- Z013504 – 3.0 mm grey Chinese glass
- CH00718 – Chain
Tools:
- Flat nose pliers
- Round nose pliers
- Flush cutter
- Pen or small dowel
Directions:
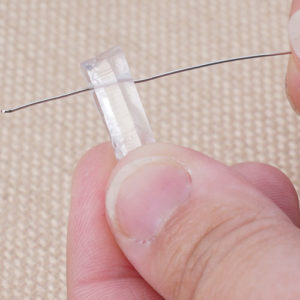
- String TEN 4mm gemstone and TEN Chinese glass alternating them on the 22-gauge wire. (Do not cut wire off of spool.)
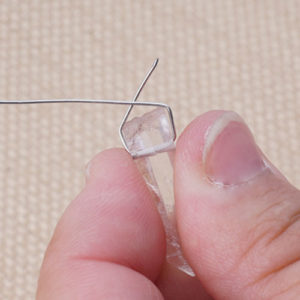
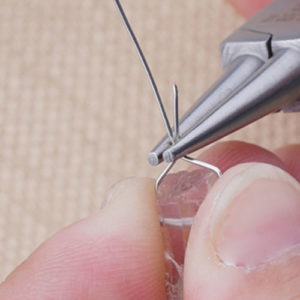
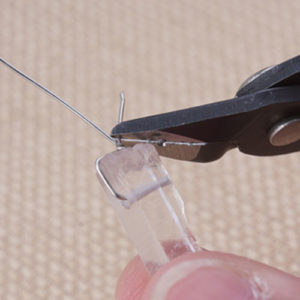
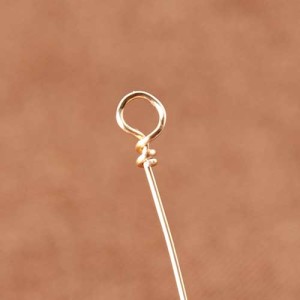
- Make a loop an inch from the end then pull one of each bead next to the loop you’ve made and then make a loop on the other side, without cutting wire. Continue making loops, alternating in different directions, while pulling beads up until you have loops after all of the beads.
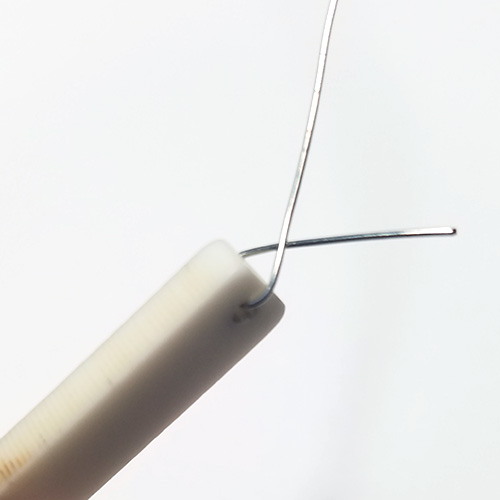
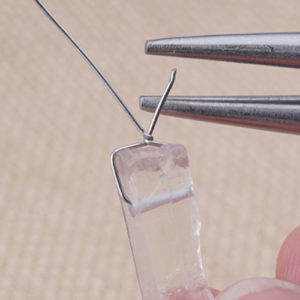
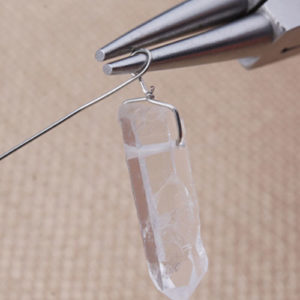
- Cut loop of beads from the spool, leaving an inch of wire on either side. Gently wrap it around the pen/dowl working it to form a bead.
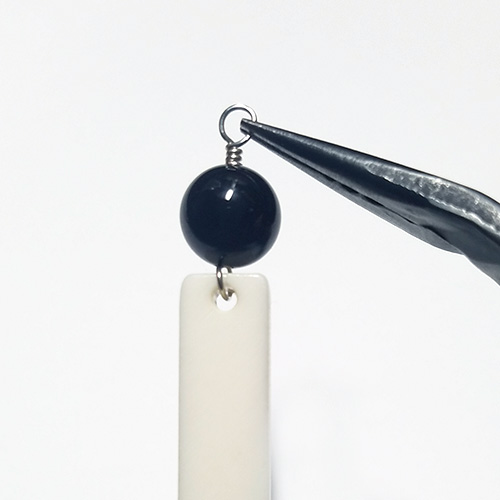
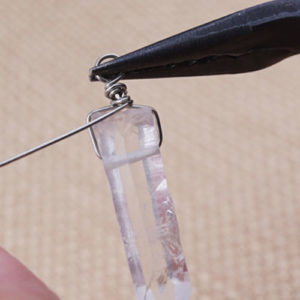
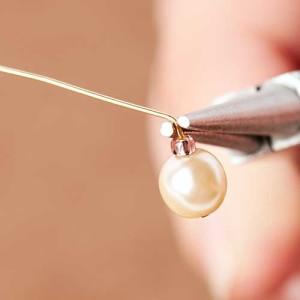
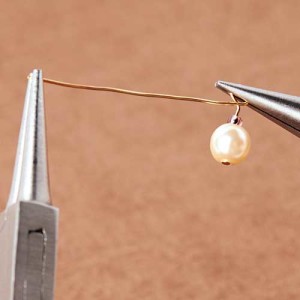
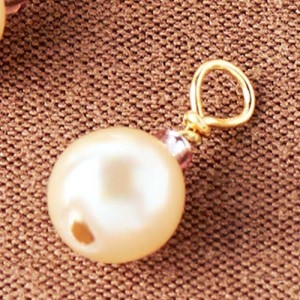
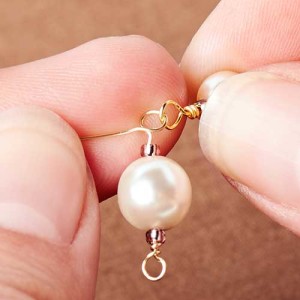
- Slide bead off the pen and onto a 3.25 inch piece of 18-gauge wire. Slide on a 3mm Chinese glass next to the wire bead followed by an 8mm gemstone and another 3mm Chinese glass and make a simple loop. Repeat on the other side and curve thee wire slightly.
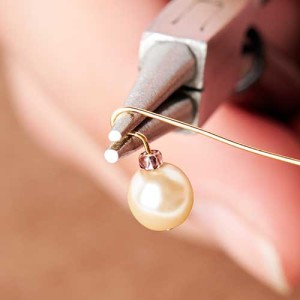
- To make ear wires, cut two 3-inch pieces of 20-gauge wire. Make a loop to one end of both of the wires. Add a 3mm Chinese glass bead to each wire, then bend wires at a 45 degree angle on top of the bead. (Try to bend and make the ear wires both at the same time for consistency.) Wrap wire around pen to create an ear wire shape. Cut off excess wire if needed. Use a soft grit file to smooth out the ends or a Bur Cup tool.
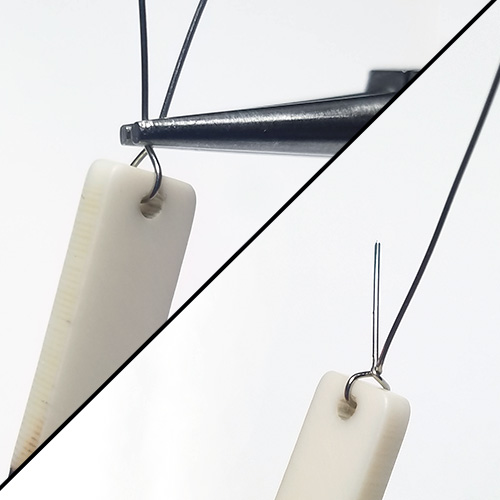
- Loop and coil 20-gauge wire with round nose pliers, making a 5-6mm loop. Cut loops to make 2 jump rings.
- Trim chain link to have large loops on top and bottom. Cut 2 pieces.
- Open one loop of your curved gemstone link, slide on a chain link end and close. Repeat to other end of link and chain.
- Open jump rings you made, slide on both of your other chain ends and through loop of ear wires you made. Close jump rings.
- Repeat all steps for other earring.
Earring Designed by Tia.