GoodyBeads Challenge: Drop Chandelier Earrings

Our GoodyBeads Designers came together to challenge their skills in designing with one product. Today’s product is the Long Drop Chandelier Earrings/Pendants (Z013693). Check out our three different pairs of earrings our designers came up with.

Y013693

Get this featured component today and have fun creating!

Heidi Tassel Chandelier Earrings

Heidi’s design is true to her love of tassels and TierraCast components. Her gorgeous design turned out very “HEIDI” like!

GoodyBeads | Blog - Heidi Tassel Earrings

Items used in earrings: Z013693, Z014010, TC00201 (6),  TCZ0077, TC01259 (12)

Tory Acetate Post Earrings

Tory created some Statement Earrings with a beautiful acetate component and Swarovski® round crystals. Plus, playing off on a popular jewelry trend, she finished off her design with Post Earrings.

GoodyBeads | Blog - Tory's Acetate Statement Earrings

Items used in earrings: Z012450Z013693, A008182, Z011550, A001529, Z007586 Z008989, Z019697, SW00100 (2)

So Moon & Star Earrings

So went rogue and designed a cute pair of earrings with a celestial theme. She created a staggering effect and added a charm to each loop on the chandelier component.

GoodyBeads | Blog - So Vang's Celestial Moon and Star Earrings

Items used in earrings: Z013693, CH01194A002413, TC02297, Z020488 (2), TC00055 (2), Z011883 (2)


DIY Jewelry using Enamel Components

We have some NEW exclusive enamel components that we could not help but make some gorgeous DIY jewelry with! Here are 5 different DIY jewelry to inspire you!


Enamel Earrings

GoodyBeads | Blog - DIY jewelry using Enamel Components FREE tutorial


Items used in earrings: Z001831, (2) Z016108, Z004939, A011517

Directions:

  1. Open loop of tassel, slide on a loop on enamel link and close loop.
  2. Open jump ring, slide on other loop on enamel link and through hole of post earrings. Close jump ring.
  3. Repeat all steps for other earring.


GoodyBeads | Blog - DIY jewelry using Enamel Components FREE tutorial

Items used in earrings: (2) Z015957, Z016027, A011517

Directions: Open small jump ring and slide on enamel dangle and loop of post earrings. Close jump ring and repeat.


Enamel Bracelet


GoodyBeads | Blog - DIY jewelry using Enamel Components FREE tutorial

Items used in bracelet: Z016188, Z012152

Directions: Open jump rings on adjustable bracelet, slide on a loop from enamel link. Close jump ring. Repeat for other link loop.


Enamel Necklace

Enamel_image05


Items used in Necklace #1: A002735, (2)A008135, Z016017, A011517, A008808

Directions: 

  1. Cut large Oval Chain with 4 Links.
  2. Cut 2 inches off of the 2 feet of A008135, rollo chain.
  3. Open large jump ring and attach oval chain to the 2″ rollo chain. Close jump ring.
  4. Open another large jump ring and attach other end of oval chain and the remainder of the rollo chain. Close jump ring.
  5. Open small jump ring, slide on one end of chained piece and through enamel pendant loop. Close jump ring.
  6. Repeat step 5 with another small jump ring and other chain end.


Items used in Necklace #2: Z016327, Z007681, (2) CH00976, Z011514Z011397

Directions:

  1. Open large jump ring and slide through one hole of connector pendant and tassel loop. Close jump ring.
  2. Open another large jump ring and slide through other hole of connector pendant. Close jump ring.
  3. Open oval jump ring and slide on one end of your chain and through jump ring from Step 2. Close jump ring.
  4. Repeat Step 3 to other chain end another another oval jump ring.


Cymbal Remata Beaded Earrings – Pattern Tutorial

We have a very simple pattern for you today using the Cymbal Remata Bead Ending and 8/0 seed beads. Check out this free pattern today, designed by So Vang.


What you’ll need:


Geometric Drop Earrings with Cymbal Remata

GoodyBeads | Blog - Geometric Drop Earrings with Cymbal Remata and Size 8 Miyuki Seed Beads - FREE Pattern Tutorial

Items used in Earrings: Z004568, SB00076, SB00107, TCZ0139, A006585, A015211


GoodyBeads | Blog - Geometric Drop Earrings with Cymbal Remata and Size 8 Miyuki Seed Beads - FREE Pattern Tutorial

Because we love tassels, throw a tassel on it!

Items used in Earrings: Z004564, SB00114, SB00106, TCZ0077, A006585, A015211, A002413, Z013685


New Fan Tassel Earrings

Our new stock of Fan Tassels are the perfect component to spice up your summer jewelry. Make these easy DIY earrings today!


What you’ll need for earrings:


Directions

  1. Open jump ring and slide through loop of fan tassel and acetate hole on the flat edge side. Close jump ring.
  2. Open earwire loop and slide through other hole of acetate. Close loop.
  3. Repeat for other earring.


Golden Tortoise Tassel Earrings

GoodyBeads Blog | Free Tutorial with Acetate components and Fan Tassels.

Items used in earrings: Z012459, Z007706, A008801, A014108


Posh Pink Tassel Earrings

GoodyBeads Blog | Free Tutorial with Acetate components and Fan Tassels.

Items used in earrings: Z012457, Z007738, A008799, A008998


Straw & Tassel Earrings

Liven up your summer with these DIY earrings with Straw and Tassels!


Summer jewelry should be fun, colorful and fashionable, just like our Straw & Tassel Earrings. Designed with our NEW straw shapes and tassels, these pair of earrings should be a part of your memorable summer!


What you’ll need for earrings:


Beachside Coral Earrings


Goodybeads Blog| FREE Tutorial Straw and Fan Tassel Earrings; Seaside Coral Earrings

Directions

  1. Using an awl, bead reamer or a solid point like your round nose, poke a hole in between the outer two rings of your straw. This will be where you will add your jump ring.
  2. Poke another hole in the opposite end of the hole you made in Step 1.
  3. Open jump ring and slide through hole you made in Step 1 or 2 and through the loop of the fan tassel. Close jump ring.
  4. Open another jump ring and slide through the other other hole in the straw. Close jump ring.
  5. Open small 3mm jump ring and slide through jump ring from Step 4 and loop of ear wire. Close jump ring.
  6. Repeat all steps for other earrings.

Specific items used in earrings: A011525, Z007702, Z007861, TCZ0139


Summer Sky Earrings

Goodybeads Blog| FREE Tutorial Straw and Fan Tassel Earrings; Summer Sky Earrings

Directions

  1. Using an awl, bead reamer or a solid point like your round nose, poke a hole in between the outer two rings of your straw, at one corner. This will be where you will add your jump ring.
  2. Poke another hole in the opposite corner of the hole you made in Step 1.
  3. Open large jump ring and slide through hole you made in Step 1 or 2 and through the loop of ear wire. Close jump ring.
  4. Open another large jump ring and slide through other hole on straw component. Close jump ring.
  5. Open small jump ring, slide through large jump ring from Step 4 and through loop of cone tassel. Close jump ring.
  6. Repeat all steps for other earring.


Check out our Facebook LIVE Videos on Tory doing a quick demonstration using these components! Tutorial starts at 9 Minute mark!


Acetate & Tassel Post Earrings

We have your summer project with trendy post earrings, designed with acetate and fan tassels! The summertime combo to DIY jewelry.


What you’ll need:


GoodyBead Blog | FREE Tutorial with DIY Post Earrings, Acetate Charms and Fan Tassels.

Post earrings are everywhere! So what better way to testing out DIY jewelry making than by making post earrings with an acetate focal.

Directions:

  1. Right across from hole of your acetate coin, add a small dot of Super New Glue.
  2. Place your post earrings over that dot, making sure the post is lined up with the hole of your acetate coin.
  3. Repeat Steps 1-2 with other acetate coin. Let dry for an hour.
  4. Open jump ring and slide through the hole of the acetate coin and fan tassel. Close jump ring.
  5. Repeat to other acetate coin.


Items used in earrings: Z007238, A002413, A014131, Z019335, A015821


Pearly Gold Necklace with Swarovski® Pearl

Any outdoor music festivals for you this summer? Make sure to pack your flashy jewelry like this sassy gold necklace, made with Swarovski Pearl and chain tassel.


GoodyBeads Blog: Pearly Gold Necklace with Swarovski Pearl FREE DIY Tutorial

This cute necklace is a stunning piece for an outdoor music festival, summery date night or even a girl’s vacation getaway.

What you’ll need:


Directions

  1. Open eyepin loop and slide on chain tassel. Close loop.
  2. Slide a hematite bead, pearl and another hematite bead on the eyepin and make a simple loop.
  3. Open pearl dangle loop and slide through a hole on the Bubbles Connector. (See image for location)
  4. Open a jump ring and slide through one chain end and through a hole opposite from pearl dangle. Close jump ring. (See image for location).
  5. Open another jump ring and slide through other chain end and through a hole next to the one in Step 4. (See image for location).
  6. Optional: You can add a clasp to your necklace by cutting chain in half and adding your lobster or toggle clasp.


Using TierraCast Buttons in DIY Jewelry – Tutorial

Launch yourself into this cute trend of button DIY jewelry with TierraCast buttons. We have three projects using TierraCast buttons; two pair of earrings and a lariat necklace.

TierraCast has a large assortment of button components. Of course when it comes to button components, you easily gravitate your DIY mind to making bracelets. Which is the perfect use for them. But we’ve expand our thinking into using buttons as earrings and necklace components. Here are three examples using TierraCast buttons designed by Heidi!

Golden Rosette Button Earrings

GoodyBeads Blog: TierraCast Button Earrings FREE Tutorial

There is always room for a pair of tassel earrings in your jewelry stash. Why not make it shine like gold in this pair of Golden Rosette Button Earrings, using TierraCast’s Czech Rosette Button. The shank button makes it easy to hang your golden components. Unlike a typical button with two or four holes in the center, a shank has a protrusion in the back of the button with a hole so that when sewn on fabric, there is space allowed for the fabric to sit behind.

Directions:

  1. Open eyepin loop, slide on chain tassel and close loop.
  2. Slide on a TierraCast Pamada bead and make a simple loop.
  3. Open a jump ring, slide on loop from bead dangle from Step 2 and through shank hole of button. Close jump ring.
  4. Open another jump ring and slide through loop of ear wire and through shank hold of button. Close jump ring.
  5. Repeat all steps for other earring.

Items used in earrings: TCZ0139, Z011522, TC02267 (2), TC02679 (2), Z010982, A013211 (2)

Copper Cluster Button Earrings

GoodyBeads Blog: TierraCast Button Earrings FREE Tutorial

In this pair of earrings, the button acts as a focal link piece. It’s designed with fringe chain tassels with embellished ends.

Directions:

  1. Cut three rollo chain with 8 links, 13 links and 22 links.
  2. Open small jump ring, slide on leaf charm and the 22 link chain. Close jump ring. Open another small loop and attach to other end of chain.
  3. On a head pin slide on melon bead, cube bead and another melon bead. Make a simple loop. Make another for a total of two.
  4. Open loop of cube dangle from Step 3 and slide on an 8 link chain. Close loop. Open another small loop and attach to other end of chain.
  5. Open loop of cube dangle from Step 3 and slide on an 13 link chain. Close loop. Open another small loop and attach to other end of chain.
  6. Open large jump ring and slide through button. Also slide jump ring from Step 2, then Step 5 and then Step 4. Close jump ring.
  7. Open small jump ring, slide on large jump ring from Step 6 and through loop of ear wire. Close jump ring.
  8. Repeat all steps for other earring.

Items used in earrings: A009401, Z012870, A011518, CH00496 (1′), TC01191 (2), A021855, TC01114 (4), A019622, TC02278 (2)

Charming Lariat Button Necklace

GoodyBeads Blog: TierraCast Button Earrings FREE Tutorial

Design this lariat necklace with a button connecting your chain around. Dangle your ends with a sequence of TierraCast bead links and/or charm.

Directions:

  1. Open small jump ring and slide on charm and loop of eyepin. Close jump ring.
  2. On eyepin, slide on a silver bead and make a simple loop.
  3. Open loop made from step 2 and slide on an eyepin loop.
  4. On this eyepin, slide on another silver bead and make a simple loop.
  5. Open loop made from step 4 and slide on one end of your chain. Close loop.
  6. Feed chain through one hole of your TierraCast button.
  7. Open large jump ring, slide on other end of chain and through other hole of the TierraCast button. Close jump ring.

Items used in necklace: CH01095 (24″-36″), TC02279, A002814, TC00298 (2), Z004093, TC00454, A001495


Gemstone Tassel Earrings – Tutorial

We love a good tassel, and these leather tassels from LeatherCord USA are no exception! Here is a fun and easy DIY gemstone tassel earrings you can make in seconds!


GoodyBeads | Blog - Gemstone Tassel Earrings FREE tutorial

We adore these leather tassels from LeatherCord USA, because they have a long enough loop at the top, which will hold these large-hole gemstone bead from DakotaStones and then topped off with a TierraCast ear wire. With high-quality materials from well-known brands, you’re sure to make a fabulous pair of earrings!


What you’ll need for earrings:


Earring Tutorial


GoodyBeads EZ DIY Series: Green Gold Tassel Earrings

Enjoy another EZ DIY tutorial with these Green Gold Tassel Earrings with suede tassels and disc connectors.


We adore these suede tassels. We also love how versatile these tassels are. You can keep the long length and use them for a boho necklace pendant. Or cut the length for a short tassel easily used for a charming pair of earrings.


Tutorial

GoodyBeads Green Gold Tassel Earrings Tutorial with Suede Tassels

Items used in tutorial: Z010751, A019712 (2) , A014108, Z011522


GoodyBeads EZ DIY Series: Black Gold Boho Earrings

Here at GoodyBeads, we love a good TierraCast® finding and tassels. So combined these favorites to make a fun and flirty pair of boho earrings.


This tutorial is as easy as opening and closing a jump ring, which is all there is to making this easy pair of DIY earrings.


Items you will need for a boho tassel earring:

Gold version –


Silver version –

EZ DIY Tutorial

GoodyBeads Blog: Black Gold Boho Earrings TierraCast Findings and Tassels

Items used in tutorial: A011519, TCZ0140, Z013670, TC02461 (2)


Beading Chain and Slide on Clasps

Learn how easy it is to make an adjustable bracelet using Slide on Clasps with Beading Chain.

Adjustable bracelets can be a versatile piece of jewelry to fit any size wrist. From our Adjustable Beading Chain Jewelry trend, we used dainty 0.7mm or 1.25mm chains with beads, while adding a Slide on Clasp to create an adjustable bracelet.

What you will need:

SlideOnClasp_tutorial

When measuring the length of chain, measure your wrist length and add 2-2.5 inches. 

  1. Cut chain to your desired length. Slide one end through the Slide on Clasp.
  2. Lay the other end of the chain parallel to the first chain end.
  3. Grasping the two chains, push the Slide on Clasp over the other chain end.

Ways to cap your chain ends:

chain-ends_tutorial

  1. For the 1.25mm chain, use 2mm End Caps with a dab of Super New Glue to add the end cap. (Z008570/Z008574/Z008575)
  2. For the 0.7mm chain, crimp a Ring End Cap at the ends. (X001505)
  3. Another way to finish off the 0.7mm chain with crimping 2mm crimp tube with the Magical Crimping Tool.

Here’s different ways to design with beading chain with gemstones, beads, etc.

Howlite Silver Bracelet

Slideonclasp_image1

We used these lovely glossy Howlite gemstones with silver brass beads. However, what we love about this bracelet is pairing it with a Channel Bangle in the Suede Channel Bangle Bracelet. Two bracelets in one.

Items used in bracelet: WHT4RD-8, CH00724, X001505, Z008576, A019691, A022220

Bone & Brass Bracelet

Slideonclasp_image2

We continued our theme of using brass beads in this next bracelet. We also played with the neutral bone beads and the antique brass beading chain.

Items used in bracelet: CH01005, A002413, A022220, A022226, Z004893, Z008575 (2), Z013976, Z008581


Beadable Findings: Fancy Fanned Earrings

One of our popular project request is our beadable fan earrings with 11/0 Miyuki Delicas and long tassels. Check our video to see how easy they are made.


Components used:

  1. Beadable Fan: Z001471 (2)
  2. Delicas: SB03543, SB02334, SB00269
  3. Pearl: SW00736 (2)
  4. Tassel: Z013818
  5. Findings: A002413, TCZ0078
  6. Beading Tools: A006587, A015211


Tutorial:

  1. Starting with 2.5′ to 3′ of beading thread, attach a stopper bead leaving a 6″ tail end.
  2. Start from one end of the fan, come up through the bottom hole.
  3. Add your three delicas and go across the beadable opening and down the hole.
  4. Sew up the next hole, add your three delicas, go across the beadable opening and down the hole.
  5. Repeat this until you’ve gone across the beadable fan pendant.
  6. You will now add your pearl bead by sewing up the hole closest to the round opening, add your pearl bead and go across the circle opening and down the hole.
  7. Sew through the pearl bead again and up the hole, through the pearl again and down the hole.
  8. Tie off your ends and cut excess off.
  9. Open small jump ring and slide on tassel and through the middle hole of your fan pendant. Close jump ring.
  10. Open earwire loop and attached top fan pendant loop to earwire. Close loop.
  11. Repeat all steps for other earring.


5 Ways to Use Hand-Dyed Silk Ribbon

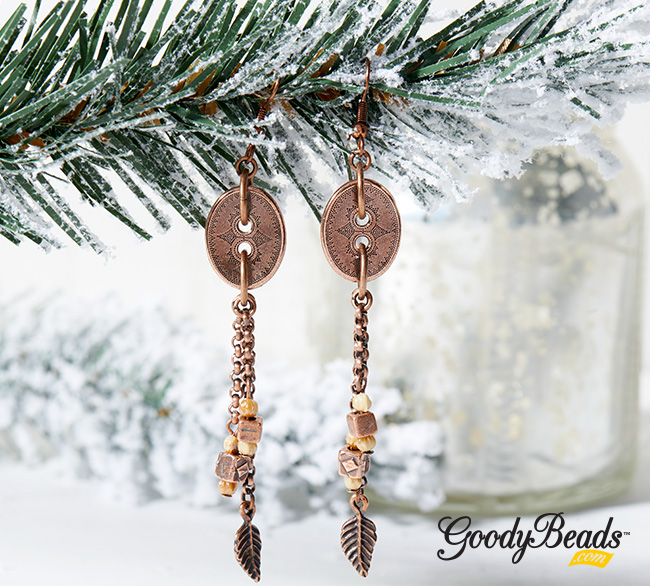
Check out these 5 ways to use hand-dyed silk ribbon. If you haven’t picked up on these Hand-Dyed Silk Ribbon, you’re missing out! Grab some today and make your favorites!


These quality hand-dyed silk ribbon are 34″ long and hemmed around the edges for a finished look without the fraying. They come in many different color combinations that gradients across the ribbon. No two will look the same because they are hand-dyed and handmade. Here are five ways to use hand-dyed silk ribbon in your jewelry-making or be inspired!

1 Braided Cuff

Ribbon01

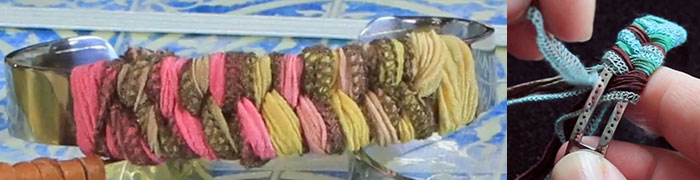
In our previous blog post, Fishtail Braided Cuff Video Tutorial with Candie Cooper, Tory and Candie demonstrate how easy it is to braid your very own cuff bracelet. Watch the video HERE and pick up some ribbon and cuffs today!


2 Charm Wrapped Bracelet

Ribbon02

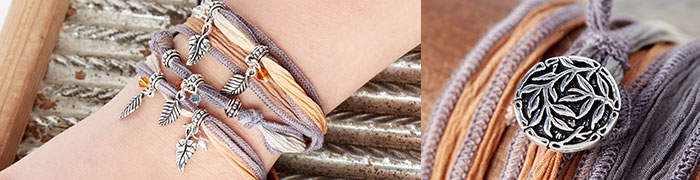
Another easy way to make a bracelet is by adding charms and dangles. Slide on metal charms and beads, staggering through the ribbon. At one end, make a double knot to secure a button. Wrap the bracelet around your wrist and loop the other ribbon end around the button. This will help determine where you will tie a loop to slide over the button.


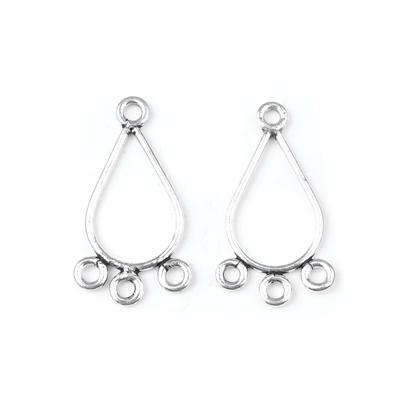
3 Links and Connectors with Ribbon

Ribbon03

Use TierraCast Links from our TieraCast Components Trend! Bend the link slightly with Nylon Jaw Bracelet Bending Pliers (Z005839). Feed one end of the silk ribbon down one hole of the link and up the other hole. After you center the link, wrap the ribbon around your wrist and tie the ends for a simple bracelet OR add a favorite clasp.

Ribbon08

You can use Druzy Connectors also for all you gemstone lovers, from our Glitzy Gemstone Trend.
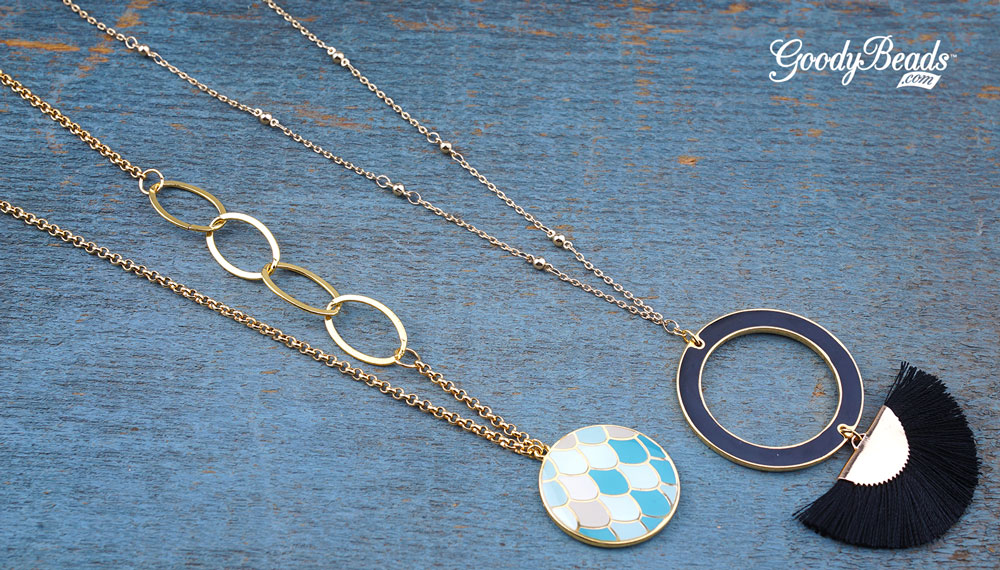
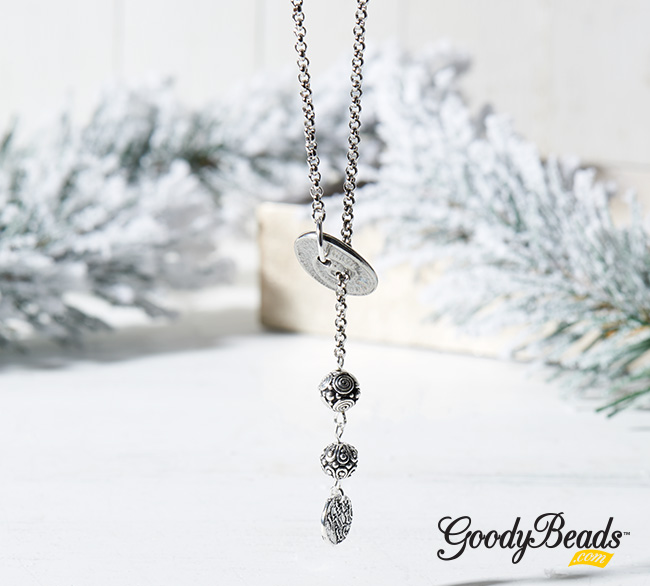
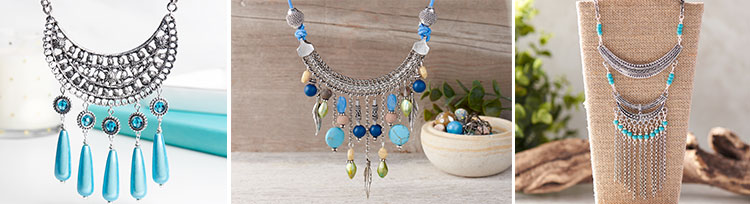
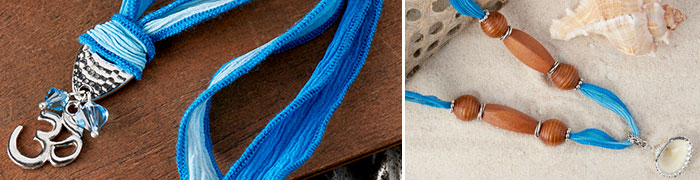
 

4 Ribbon Necklace

Ribbon04

One easy way to use hand-dyed ribbon is to add a pendant and make it a necklace. In this necklace, we made a pendant with Swarovski® crystals, a flowery lampwork bead and silver findings. We attached the dangle to a bail and fed the ribbon through the bail. Tie ends together to your preferred length.

Ribbon05

Here’s another way to make a necklace from our TieraCast Components Trend. We took the hammered toggle clasp and used the ring part of the toggle. You will take your ribbon and make a lark’s head knot by folding your ribbon in half, slide the folded end through the larger hold of the ring toggle about an inch or two, take the other ribbon ends and slip it through the loop of your ribbon fold. Pull your ribbon ends all the way to latch the ring toggle to the middle of your ribbon. Tie your ends together to a preferred length and then add dangles and charms to the small hole of your ring toggle.

The second image is also a ribbon necklace with wood beads and silver findings with a seashell pendant. Be inspired from our Coastal Charm Trend.
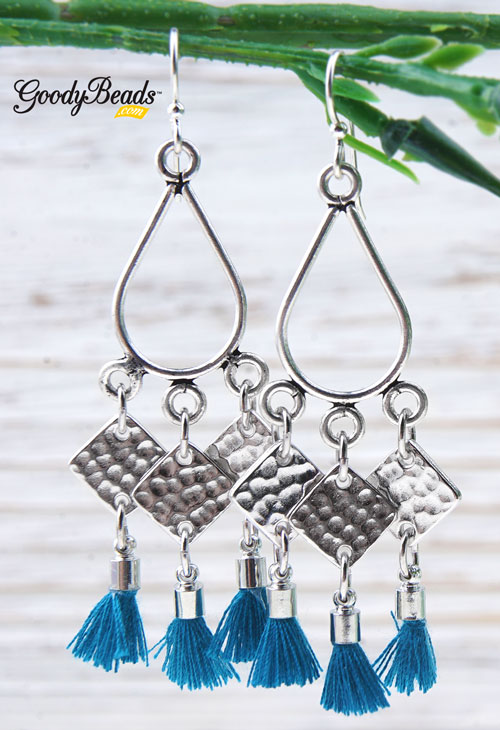
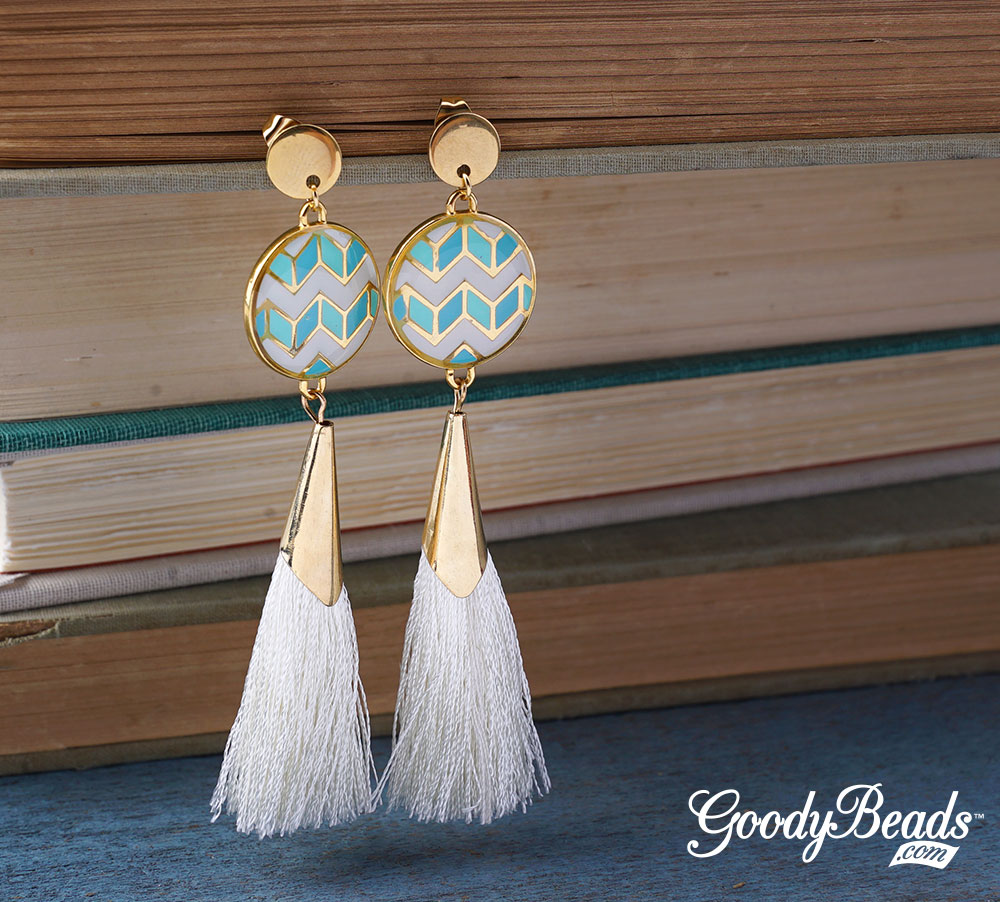
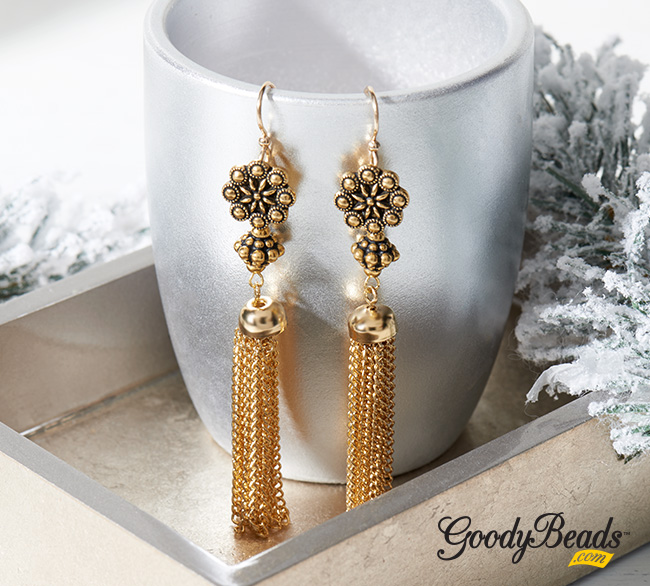
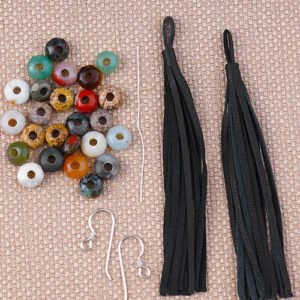
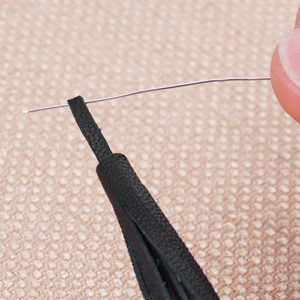
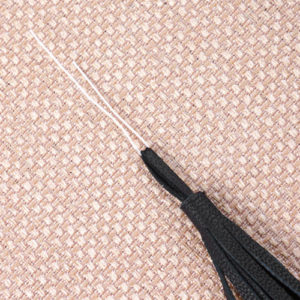
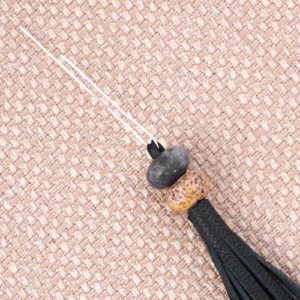
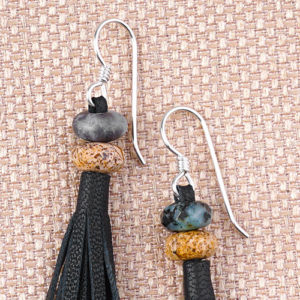
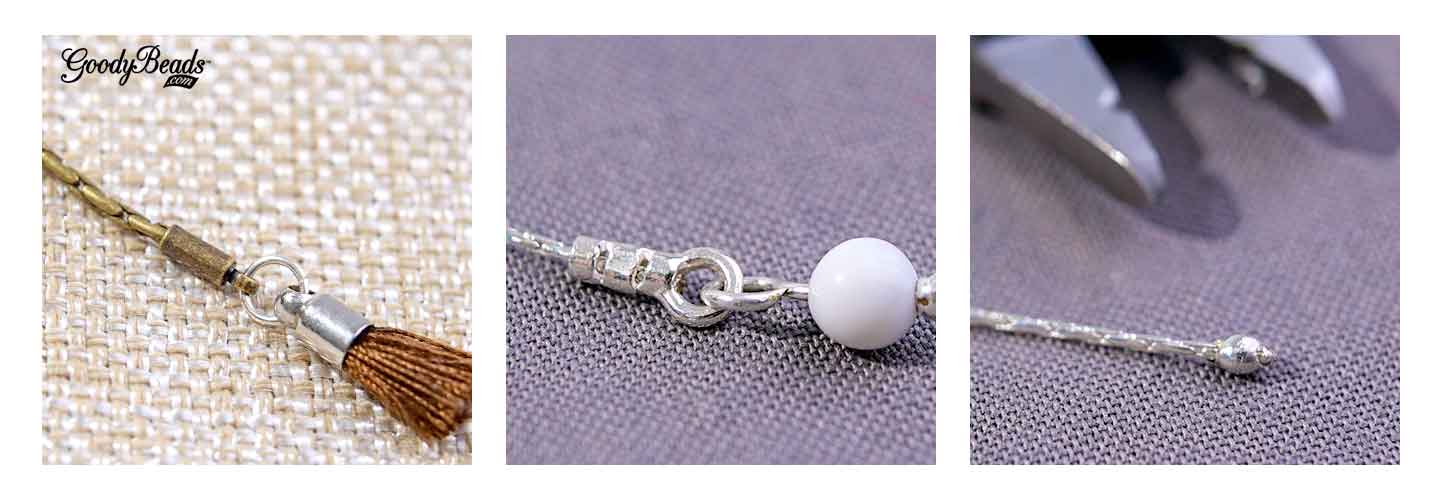
 

5 Ribbon Tassel

Ribbon07

Tassels are everywhere! What a neat way to create a tassel with ribbon! From our Silk Ribbon in Jewelry blog post, you will see an easy tutorial in creating these tassel earrings.

Ribbon06

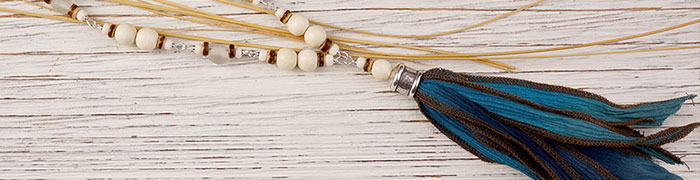
We used the same concept from above for this necklace from our Naturally Coastal Trend. Instead of a straight blunt cut at the end, we cut each section individually at a diagonal. This will help create a fun wispy tassel.


What is your favorite ways to use Hand-Dyed Ribbon? We would love know how you use ribbon in your jewelry making!


Bib Connectors with Candie Cooper

We’re in love with bib connectors at GoodyBeads. So is Candie Cooper! Watch our product video where Tory and Candie will show you bib connectors available at GoodyBeads and how easy it is to add beads, charms, tassels and more for a fun and easy necklace.


Our bib connectors are lightweight with detailed designs. They have holes to easily add charms or tassels to with a jump ring. Watch the video below where Candie and Tory will show you the many kinds of bib connectors you can find on GoodyBeads, sample necklaces using bib connectors and they demonstrate how easy it is to add embellishments to them.

bib_Connectors

Bib Connector Video


Other Examples

Here are other examples using bib connectors.

bib_samples02

(1. December Birthstone Trend 2. Jesse James Trend 3. Boho-Inspired Bib)

bib_samples01

(1. Tribal-Inspired Bib 2. Deerskin Leather Trend)