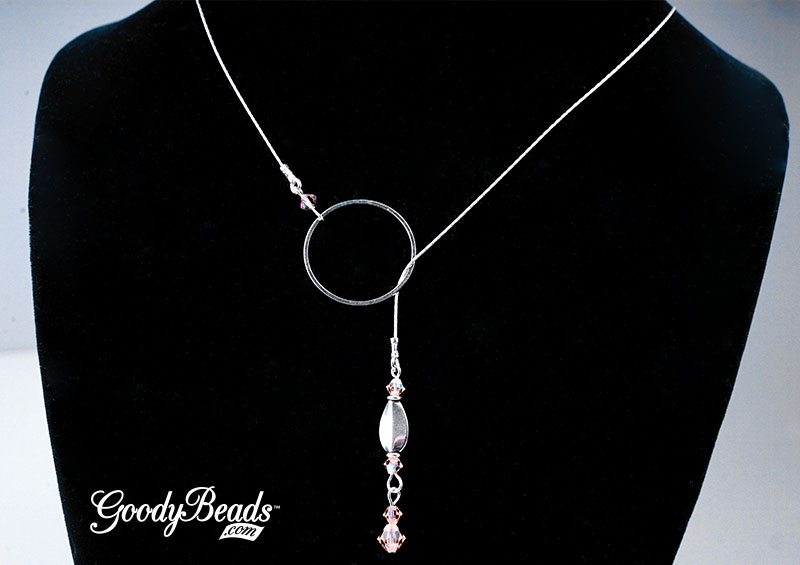
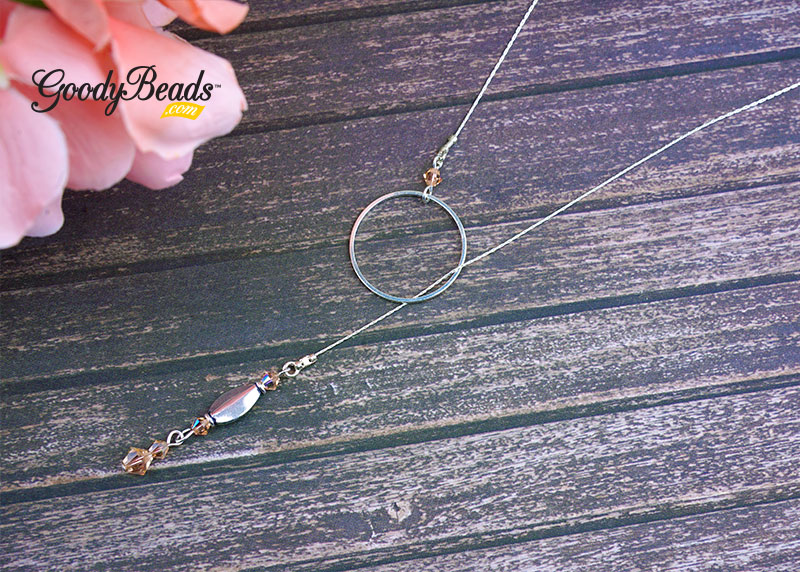
Cut a half coil of memory wire with memory wire cutters.
Wrap a loop or coil one end of the memory wire with memory wire finishing pliers. Slide on the memory wire: TWO 4mm crystal, 6mm crystal, 8mm crystal, 6mm crystal and TWO 4mm crystal. Cut memory wire end, leaving 3/4 inch end. Coil or make a simple loop to that end with memory wire finishing pliers. (NOTE: You can substitute 20-gauge gold-colored wire for the memory wire in Steps 1 and 2.)
Open a jump ring from adjustable bracelet and slide on one end of crystal link. Close jump ring.
Repeat to other end of link and adjustable bracelet.
We’re combining two of our favorites in today’s project: Swarovski crystals and beadable accessories. This punk-style jewelry will be your favorite for an edgy look!
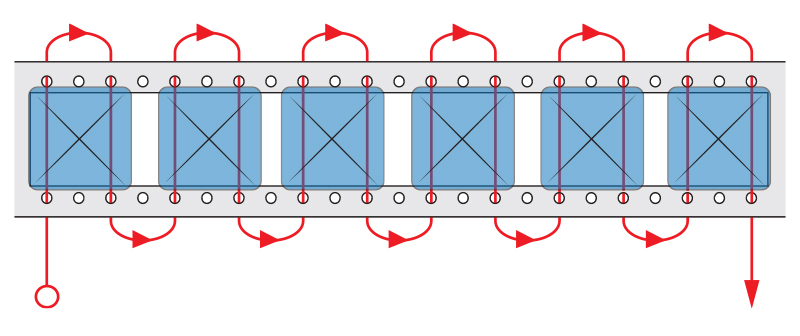
You will be sewing a ladder stitch to complete your cuff. Sew up through first hole on the bottom left. Pick up a spike bead and sew down the hole across the channel from the hole you first sewn up from.
Along the top, skip a hole and sew up through the next hole. Sew through the second hole of the spike bead and down the hole across the channel.
Skip a hole and sew up through the next one. Pick up a spike bead and sew down the hole across the channel from that hole you’ve sewn up from.
Skip a hole and sew up through the next one, sew through the second hole of the spike bead and down the hole, across the channel.
Repeat this sequence until you’ve added 6 beads.
Sew through the runs of beads again to secure the crystals in place.
DIY Swarovski Crystal Heart Bracelet
Our friends from Swarovski Create Your Style has this gorgeous Swarovski Crystal Heart Bracelet, in time for Valentine’s (or Galentine’s) Day!
Make a coiled loop at one end of the memory wire with Memory Wire Finishing Pliers.
Cut cork cord into 4 pieces, measured at about 4 inches.
Slide the following sections onto the memory wire: a. End cap, cork piece and end cap. b. Czech Bead, TWO 10mm wavy discs (one concave in and the other concave out). Repeat 5 more times (omitting the last 2 wavy discs). c. TWO 6mm wavy disc (one concave in and the other concave out), THREE crystals, TWO 6mm wavy disc, THREE crystals, TWO 6mm wavy disc. d. Repeat Step 3b. e. End cap, cork piece, end cap, curve tube with loop, end cap, cork piece and end cap. f. TWO 6mm wavy disc, THREE crystal beads and TWO 6mm wavy disc. g. Czech Bead, TWO 10mm wavy discs (one concave in and the other concave out). Repeat 11 more times (omitting the last 2 wavy discs). h. TWO 6mm wavy disc, THREE crystal beads and TWO 6mm wavy disc. i. Curve tube with loop, end cap, cork piece and end cap.
Cut memory with Memory Wire Cutters leaving half an inch end. Coil and make a simple loop.
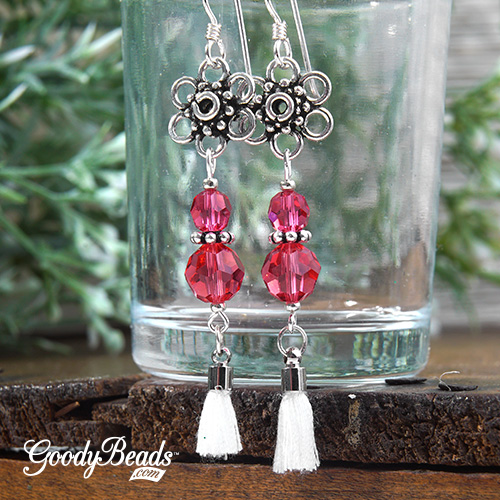
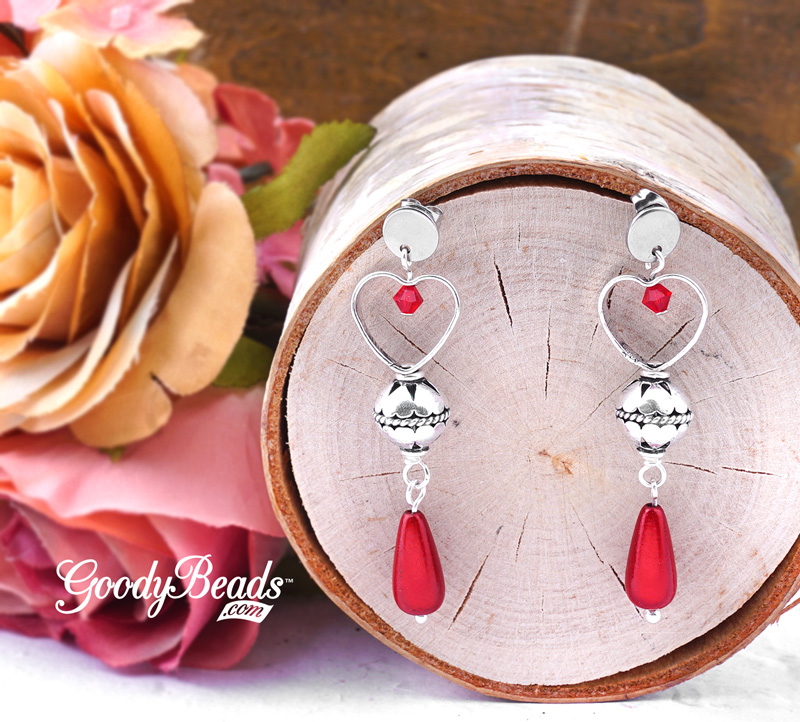
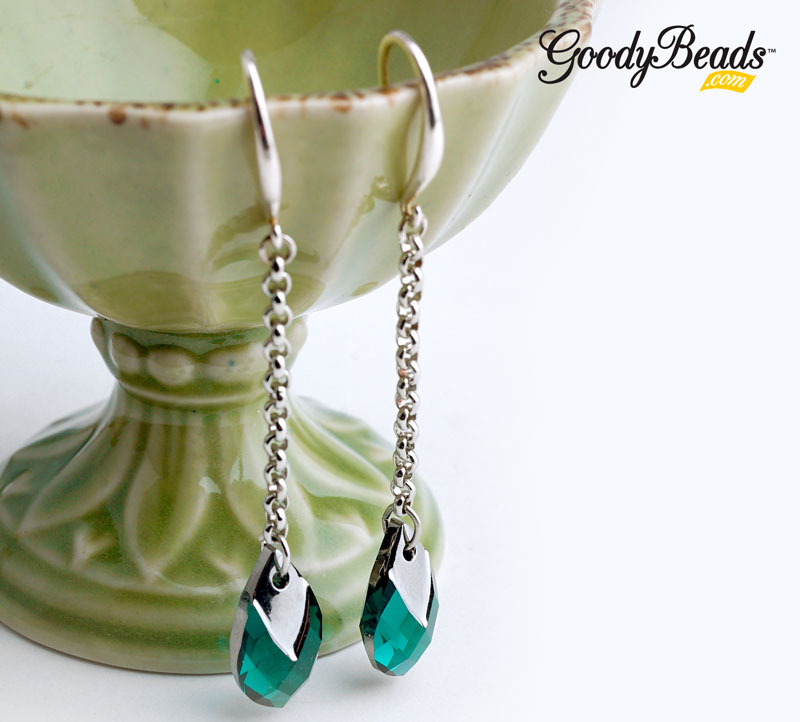
DIY Skipping Heartbeat Earrings
Today, we have this cute pair of DIY Skipping Heartbeat Earrings for Valentine’s Day. Get dolled up with this pair of heart stopping earrings!
Slide end cap to one end of the chain and crimp end cap. Repeat to other end of chain and end cap.
Open eyepin loop, slide on loop of one end cap and close loop. On eyepin, slide on a 4mm crystal and make a simple loop. Open loop and slide on quick link and close loop.
Open another eyepin loop and slide on other end cap and close loop. One eyepin, slide on 4mm crystal, metal bead and 4mm crystal. Make a simple loop.
On a headpin, slide on a 6mm crystal and 4mm crystal. Make a simple loop. Open loop and slide on loop you made in step 3. Close loop.
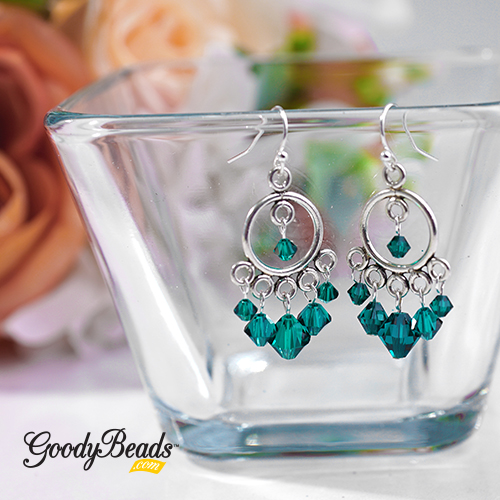
DIY Statement Earrings with Swarovski Scarlet Crystals
Design a pair of DIY Statement Earrings with one our newest color addition in our Swarovski crystals: Scarlet. Scarlet is a cross between a Siam and Ruby color. It has a hint of a deep purple and the vibrance of red. Pair the hue with gold findings for a rich pair of earrings!
On a headpin, slide on a 4mm crystal and make a simple loop. Open loop and slide on one hole of brush gold disc. Close loop.
Open an eyepin loop and other hole of brush gold disn. Close loop.
On the eyepin, slide on 6mm crystal and through teardrop hoop from the inside and up. Make a simple loop. Open loop and slide on hole of half circle connector (curved side). Close loop.
Open another eyepin loop and slide through other hole of half circle connector. Close loop.
On eyepin, slide on 8mm crystal and make a simple loop.
Open earwire loop, slide on loop you make in step 5 and close loop.
Repeat all steps for other earring.
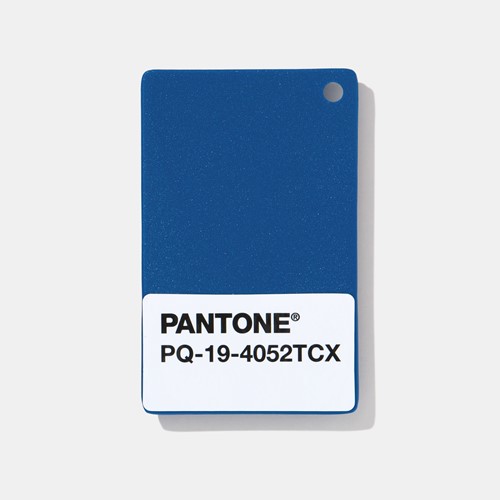
Pantone 2020 Color of the Year: Classic Blue
Pantone has chosen the spotlight color for 2020. Classic Blue. It is a ‘solid and dependable blue hue we can always rely on.’ Here is how Classic Blue is characterized:
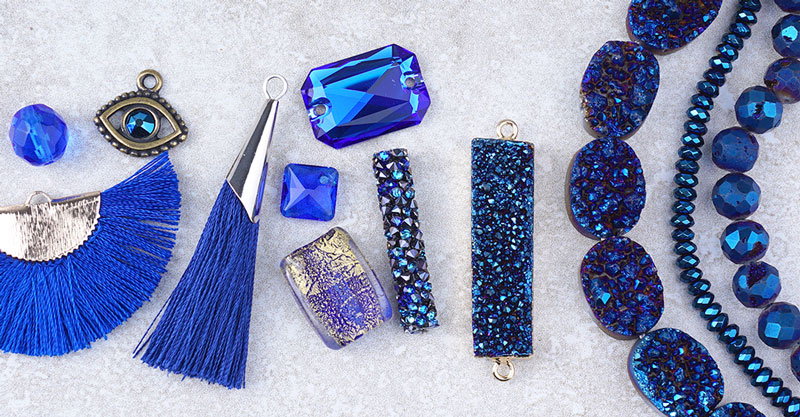
Because Pantone has continuously given us variations of blue hues in the past, it can be safe to say that blue is a reliable and dependable color that we all find ourselves designing with and wearing through the years. And it is definitely a bold color. Here are some items to get you inspired with the classic blue:
Here are some easy DIY earrings to get your 2020 started.
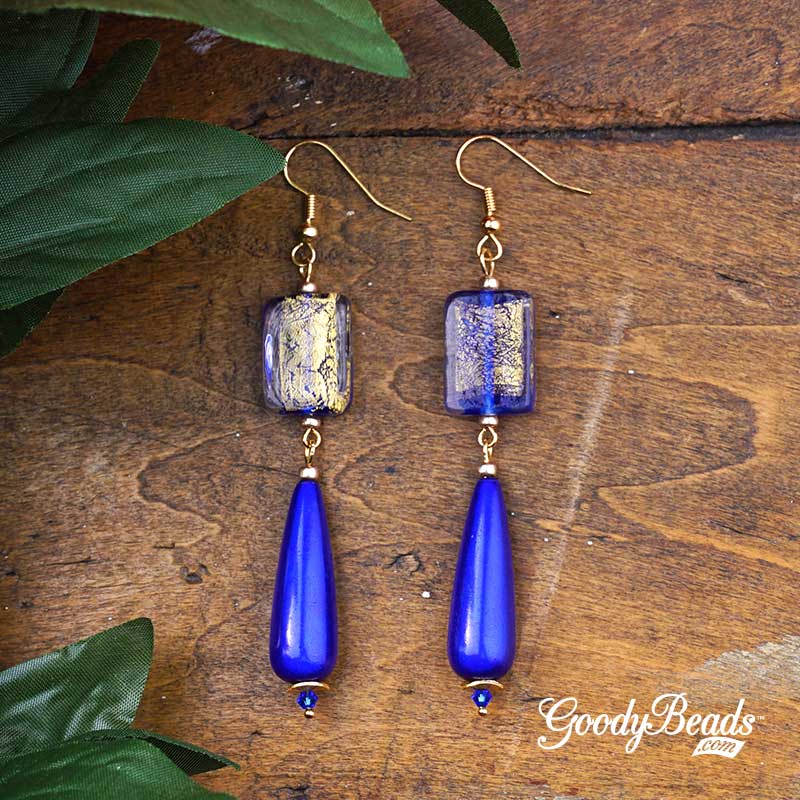
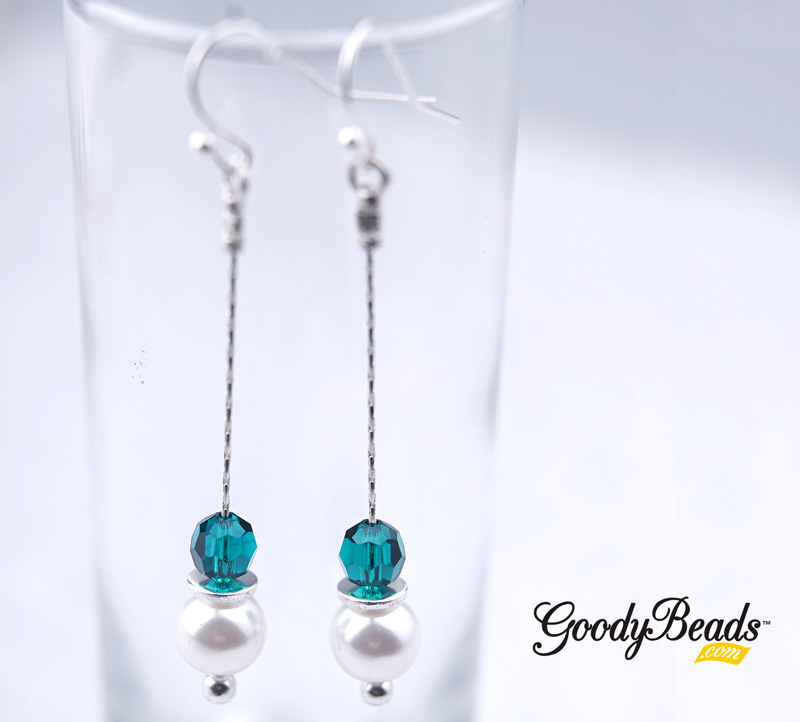
Blue Glass Glowing Earrings
We combined some of favorite beads like glass, miracle and Swarovski, tied together with some gold findings! Plus, we just love the gold flakes in the glass bead.
On a headpin, slide the following beads and make a simple loop: 3mm Swarovski bicone bead, wavy disc, miracle bead and seed bead.
Open eyepin loop and slide on bead dangle from step 1. Close loop.
On the eyepin slide on the following and make a simple loop: Seed bead, glass bead and seed bead.
Open earwire, and slide on your dangle and close loop.
Repeat all steps for other earring.
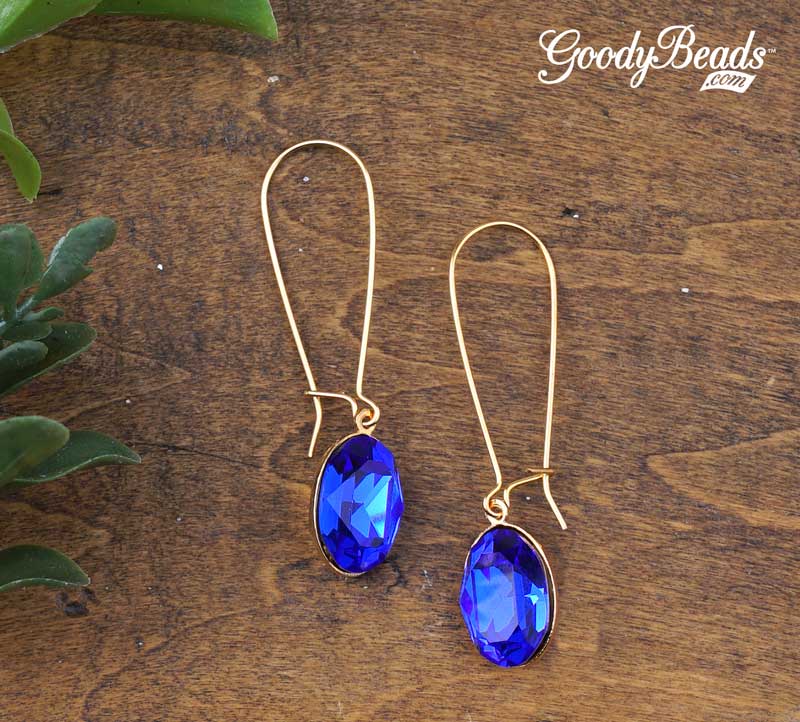
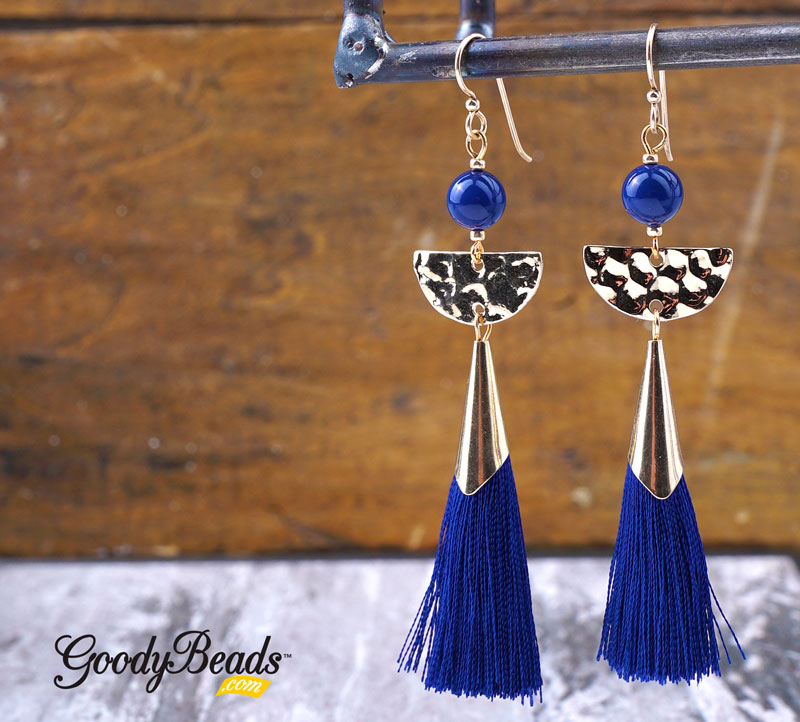
Majestic Blue Drop Earrings
We don’t use much of the kidney earrings, but love them all the same. They work great with a simple drop crystal or charm, as the kidney drapes and elongates the earring itself.
Twist the loop on the tassel 90 degrees so that loop run across the other way.
Open tassel loop, slide through hole of half circle connector (curved side). Close loop.
Open eyepin and slide through other hole of half circle connector. Close loop.
On the eyepin slide on a seed bead, pearl and see bead. Make a simple loop.
Open earwire loop and slide on your pearl/tassel dangle. Close loop.
Repeat all steps for other earring.
Holiday Gift Ideas to Sparkle, Glam and Bling
Know someone who needs a fun holiday gift that brings sparkle, glam and bling to their outfit? These gift ideas uses the sparkle of Swarovski® crystals and pearls. Gift some exciting DIY jewelry that’ll make her shine! Here are some ideas to get you started:
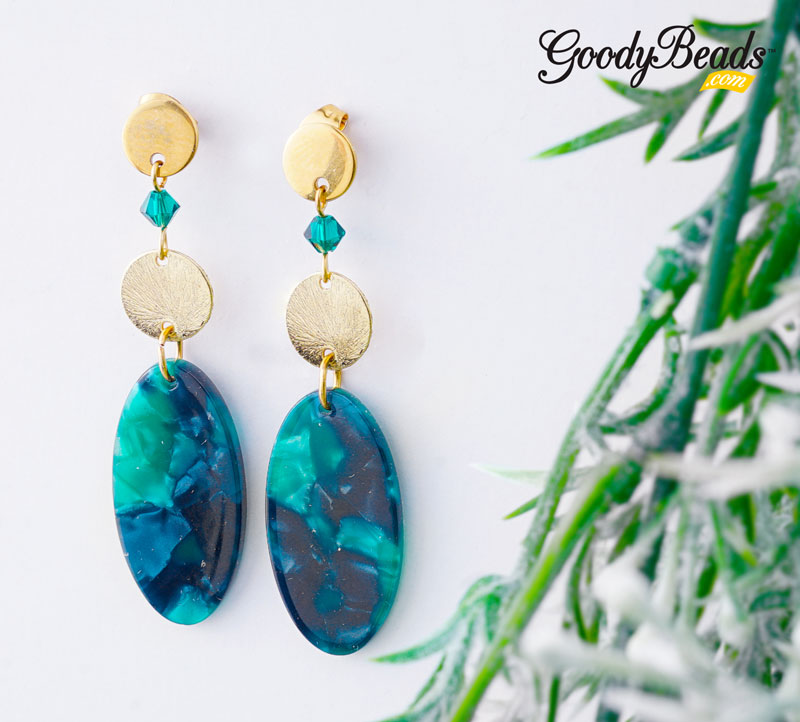
Embrace your own life balance with this month’s color, Emerald. When you design with Emerald, its elegant hue is refreshing. Emerald is a color loved by many through the ages. Here are some Swarovski colors to match this statement hue:
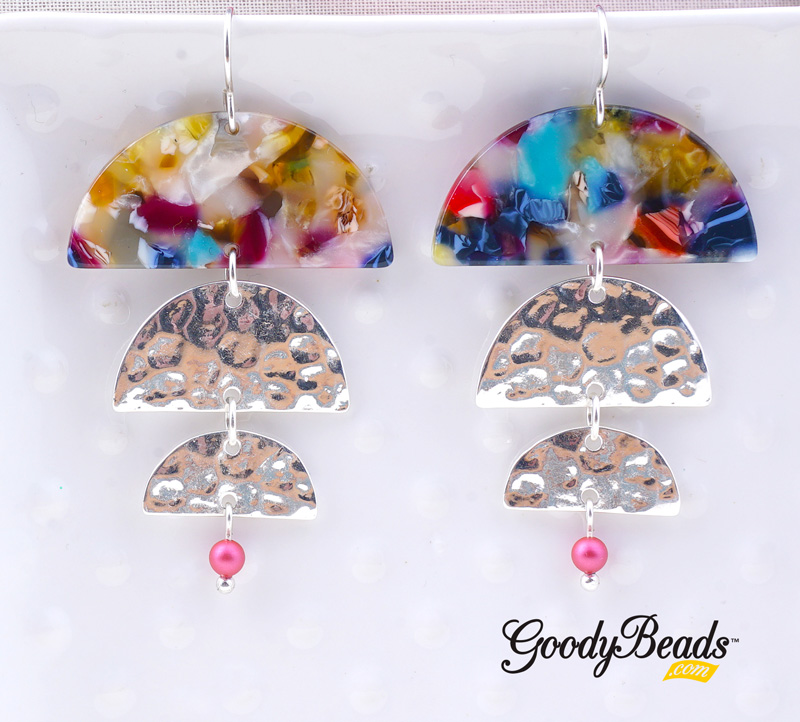
Tory’s pair of earrings are bold and bright. They feature some of our newest products like acetate components, Textured Half Circle Connectors and Swarovski® pearls in a Mulberry color. We just LOVE the tiered look in these earrings and the vibrant colors from the Mulberry complementing the acetate half circle.
What you’ll need for earrings:
37x18mm Multi with White Acetate Half Circle Pendant/Connector – Z012457
27x15mm Silver Plated Textured Half Circle – Z014989 (2)
20x10mm Silver Plated Textured Half Circle – Z016741 (2)
Sterling Silver Front Loop Earring Wire by Tierracast® – TC02297
1 Inch Silver Plated 21 Gauge Headpins with Ball Top – A019691