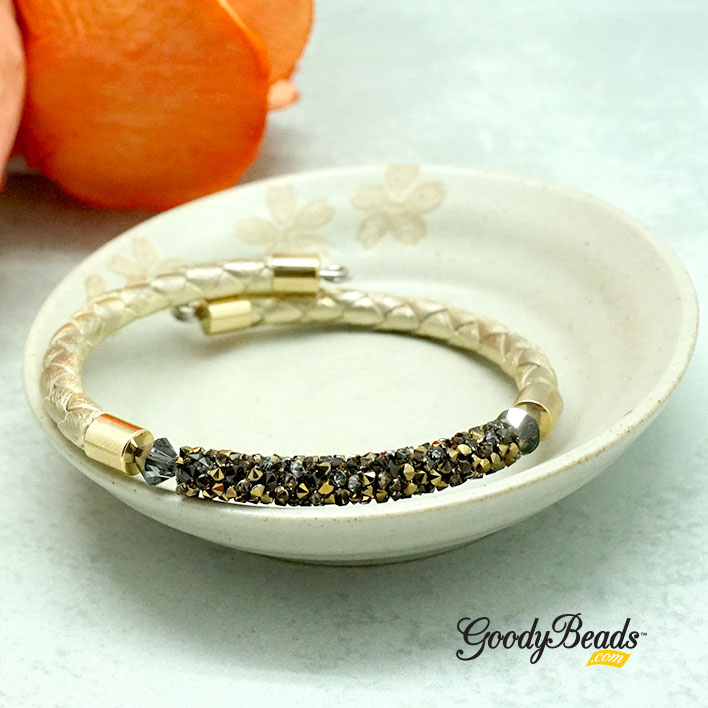
DIY Midnight Silver Memory Wire Bracelet with Swarovski Fine Rocks Tube
Feel glamorous in the DIY Midnight Silver Memory Wire Bracelet handmade and designed with Swarovski Fine Rocks Tube, Swarovski® crystals and metal beads on Memory Wire.
Items used in Bracelet:
- A022175 – 3mm Rounded Square Silver-Plated Brass Beads
- Z002570 – 6mm Silver Finished Steel Disc Beads
- A003364 – 6mm Jet Fire Polish
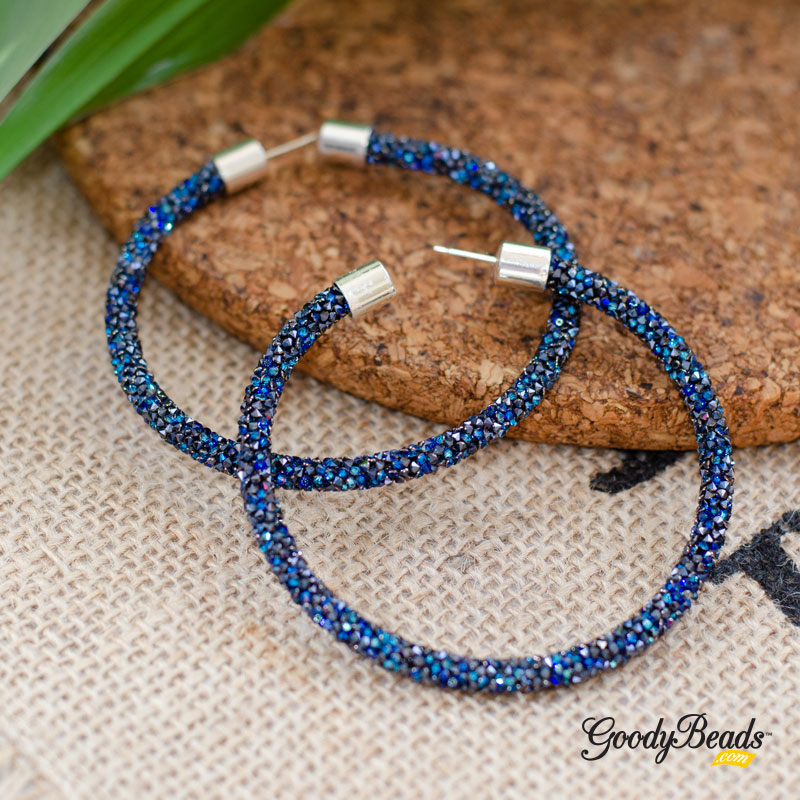
- SW02311 – 44mm Jet and Crystal Metallic Silver Fine Rocks Tube
- SW00112 or SW00398 (6) – 6mm Bicone Crystal
- SW01490 or SW01486 (2) – 6mm Briolette Crystal
- A014097 – 50mm Curved Tube Beads
- Z006368 (4) – End Cap
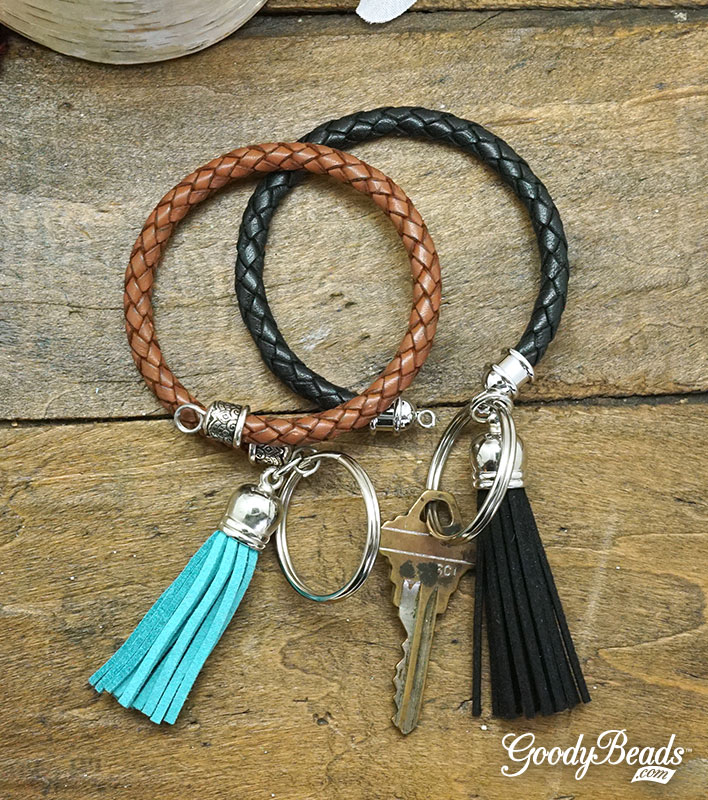
- CH00156 (8″) – 5mm Braided Black Leather
- WR00120 or WR00121 – Memory Wire

Directions:
- Cut 3 ½ rings of memory wire.
- Make a simple loop at one end using a memory wire finishing pliers and add the following bead sequence:
A. Square bead, fire polish, tube, fire polish, square beads, bicone, square bead, fire polish, tube, fire polish, square bead, end cap, 4 inches of leather, end cap, rondelle, disc, fine rocks, disc, rondelle, end cap, 4 inches of leather and end cap.
B. 3 fire polish, square bead, bicone and square bead. Repeat 4 times and finish with 3 more fire polish beads. - Trim excess memory wire with Memory Wire Cutters leaving about a half an inch and make a simple loop. Tighten each side till beads no longer have extra space to move.