The holidays are a fun time for decorating around the house. Why not make some snowflake ornaments using these snowflake forms and various beads you may have around the house. This project is also perfect for kids to design and adults finishing it off.
Wire Snowflake Ornament Forms
The Wire Snowflake forms comes in FOUR different sizes. Depending on the amount of beads you want on each peg will determine which ornament form to buy.
How will you dress your holiday table this year? Why not add some fun utensils like our selection of Beadable Gifts? Last year we visited a local lunch/catering business to show how to use these beadable gifts. We’re sad to say that the business is no longer there but we still dream about their delicious soups. Here are some ideas to reel in the festivities for the holidays.
Open jump ring, slide on tassel and eyepin loop. Close jump ring.
On eyepin, slide on pearl bead and make a simple loop.
Open another jump ring, slide on loop you made in step 2, and another loop of eyepin. Close jump ring.
On eyepin you added, slide on gold round bead, flower lampwork and another gold round bead. Make a simple loop.
Open loop you made in step 4 and slide on loop of bail. Close loop.
Unhook necklace clasp and slide necklace chain through bail.
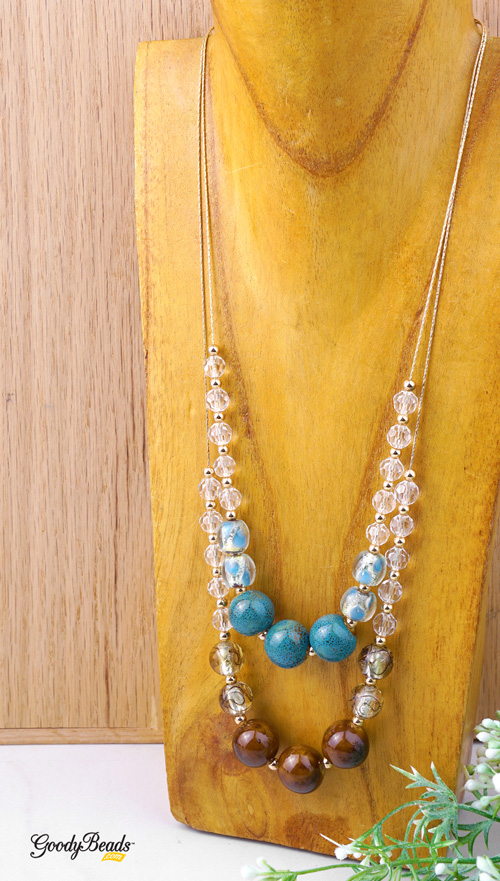
Porcelain & Glass Necklace
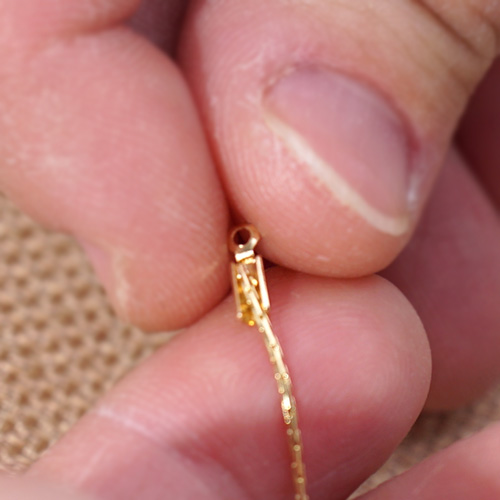
Designing DIY necklace is easy with beading chain. Here is a quick tutorial on using crimp ends with beading chain and creating a Porcelain & Glass Necklace!
On beading chain, slide on the following sequence of beads: A. hematite bead and Chinese crystal, repeat for a total of 5. B. hematite, lampwork, hematite and lampwork C. hematite, porcelain, hematite, porcelain, hematite, porcelain, D. Repeat Step 1B E. Repeat Step 1A F. Slide on hematite bead.
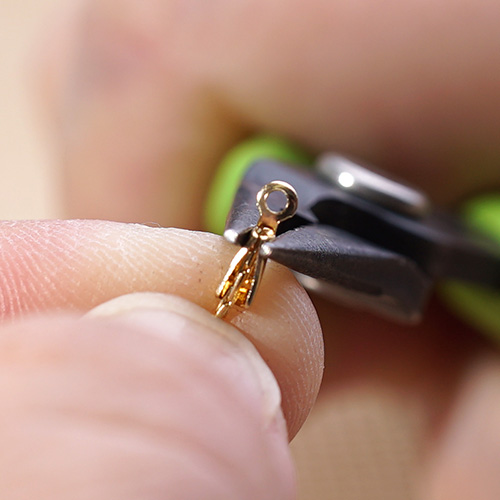
Crimp both ends of your beading chain with crimp ends. (Refer to tutorial above).
Learn how to use and design with bead aligners in today’s DIY Lampwork Drop Necklace.
What stringing on beads on a beading wire or headpins, sometimes you’ll notice the extra wiggle room. That’s where bead aligners can help. Bead aligners helps centers, align and fills in the space inside the bead so that your overall strung on beads look straight and sturdy. Plus, bead aligns has a cap at the top to give your beads a finished look also.
Check out this Facebook Video with Tory explaining bead aligners and her quick DIY Project using bead aligners and Grace Lampwork beads. Bead aligner tutorial starts around 10min mark.
Check out these two projects using bead aligners.
Directions:
On a headpin, slide on the following and make a wrapped or simple loop: bead aligner, large lampwork, bead aligner, small lampwork and bead aligner.
Open small jump ring and slide on loop of lampwork dangle and a loop on silver connector. Close jump ring.
Open another small jump ring and slide on other hole of silver connector. Close jump ring.
Slide chain through jump ring and add your choice of clasp to your necklace ends.
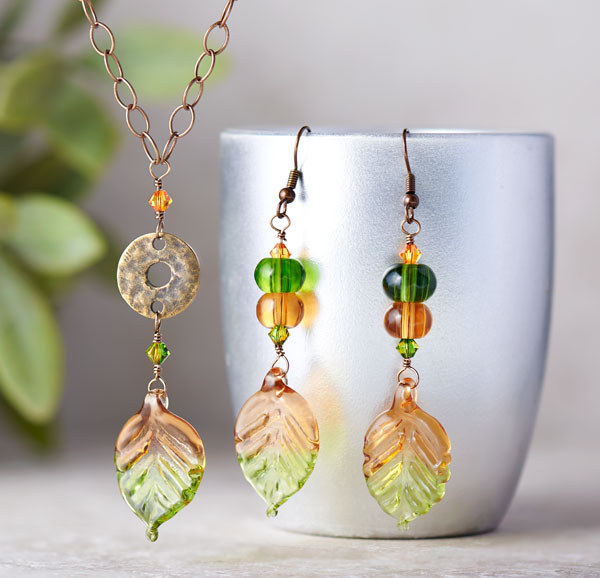
Falling Leaf Necklace and Earrings Set – Free Tutorial
We love Autumn. You get to bundle up and be cute in fashionable layers, scarves, boots and fluffy hats! We have this super simple DIY necklace and earrings set using Amber and Green Leaves Set (Y001056).
What you will need for Necklace and Earring:
Amber and Green Leaves and Rondelle Glass Beads Set (Y001056)
Cut a 4″ wire. Make a wrapped loop at one end while sliding on a glass bead before wrapping the loop. Make sure loop is big enough for glass leaf loop.
Slide on a fern/topaz bicone, the orange rondelle bead, the green bead and a topaz bicone.
Make a wrapped loop.
Open ear wire loop and slide on leaf dangle. Close loop.
Repeat all steps for other earrings.
Necklace Instructions:
Cut chain in half.
Cut a 3″ wire. Make a wrapped loop at one end while sliding on a glass bead before wrapping the loop. Make sure loop is big enough for glass leaf loop.
Slide on fern/topaz bicone and make a wrapped loop, while sliding on one end of the brass link. Finish wrapped loop.
Cut another 3″ wire and begin making a wrapped loop, while sliding on the other end of the brass link through. Finish wrapped loop.
Slide on topaz bicone crystal and beginning making another wrapped loop, while sliding on both ends of the two cut chain. Finish wrapped loop.
Open jump ring and slide on clasp loop and one end of chain. Close jump ring.
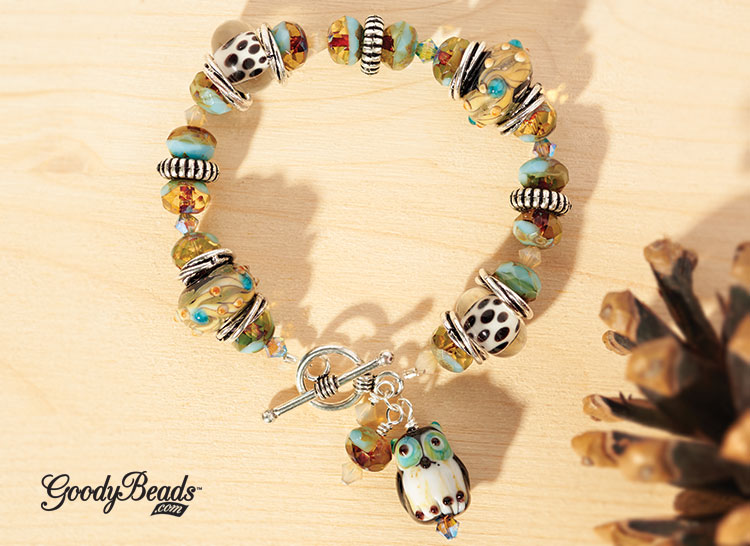
Hooting Owl DIY Bracelet and Necklace
Owls are a hoot – I mean a hot motif trend. With their symbolism of knowledge and power, we’ve created two pieces of jewelry to show our love of owls.
It’s a Hoot Beaded Bracelet
Designed by So Vang
Selecting high-quality lampwork glass beads, fiery Czech beads and Swarovski® crystals, we pulled out hues of opaque turquoise, chalky browns and silver accents. Strung on elastic, this bracelet is easy to wear and perfect for an evening hike or bird watching.
Step 6. Loop one elastic end through toggle bar loop and back through crimp tube. Crimp tube with crimping pliers.
Step 7. Loop other elastic end through toggle round loop and back through crimp tube. Crimp tube with crimping pliers.
Step 8. Open jump ring and slide on the three bead dangles and loop of round toggle clasp.
Step 9. Close jump ring.
Owl Be It Necklace
Designed by Tory Vezina
You can just feel autumn with this owl necklace. The gradation of colors in the fairy necklace to the dangling leaf charm entices your senses of seeing the changing colors of treetops to hearing leaves crackling as they brush across the sidewalk.