Beadable cuffs are an easy DIY bracelet to wear or gift. Here is an easy tutorial for making your very own beadable cuff with Miyuki Delicas.
This simple tutorial is easy for all beading levels. Plus, it’s a trendy piece of jewelry you can layer with all of your bracelets!
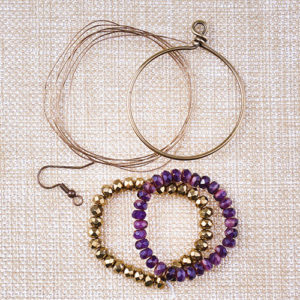
Items you will need to make a beadable cuff:
Ladder Stitch
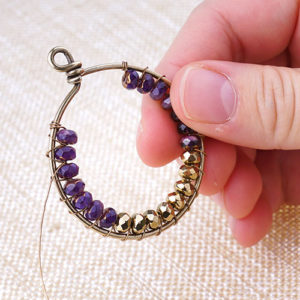
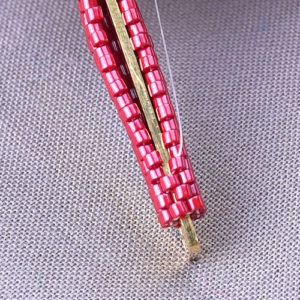
One basic technique when bead stitching your beadable cuff is the ladder stitch, also known as the invisible stitch. For sewers or quilters, this technique is used to cleanly close fabric openings. But in our case, we are using the same technique to loop through the holes of the beadable cuff while adding Delica beads in between the channel of the cuff.

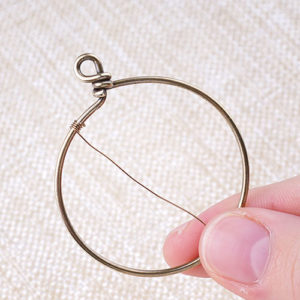
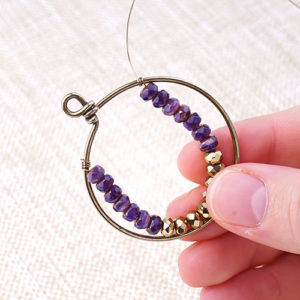
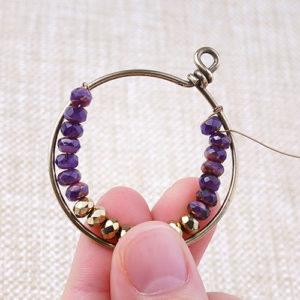
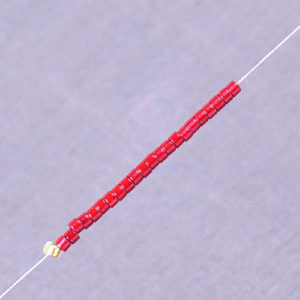
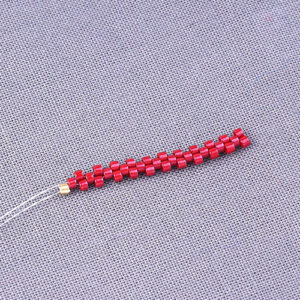
Add a stopper bead to the end of your beading thread. To do this, loop your thread TWICE through a seed bead, leaving a 6 inch tail end. Sew up through one hole and pick up three Delicas. Sew down through the hole across the channel. Sew up through the next hole, add three Delicas and sew down through the hole across the channel. Repeat until you’ve reach the end of your Cuff.
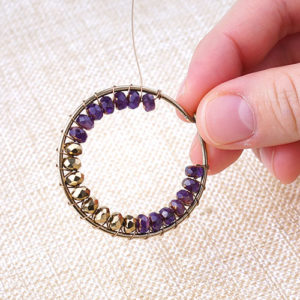
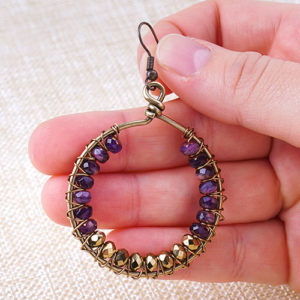
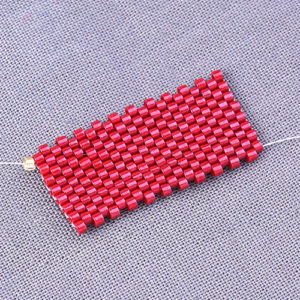
NOTE: to strengthen your beading thread, sew back up through the beads and holes using the same ladder stitch technique.
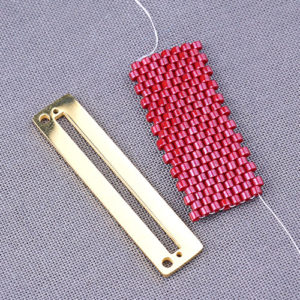
Tie both ends off and use a tiny dab of glue to secure the knots. Cut off excess thread.
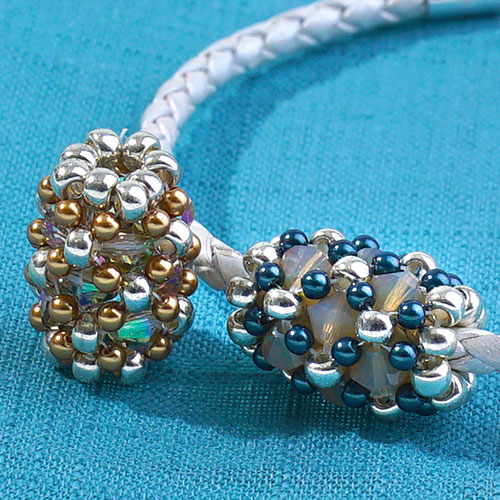
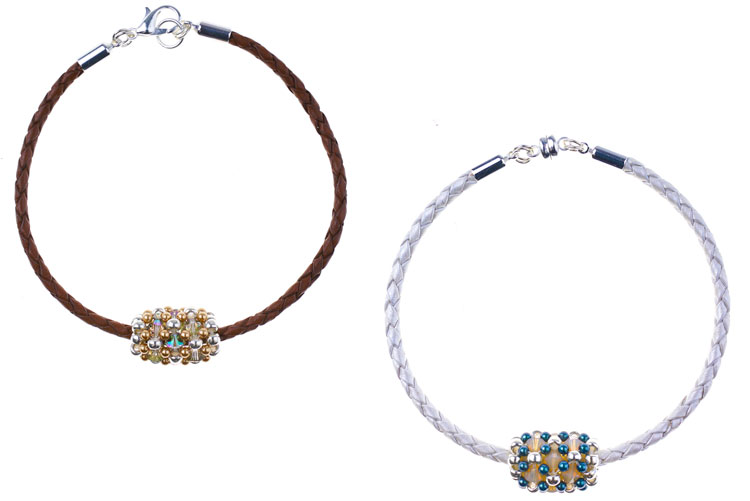
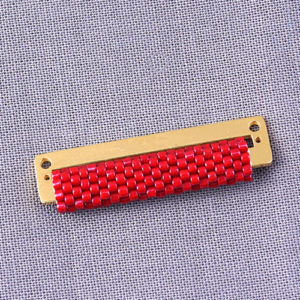
Beadable Cuff
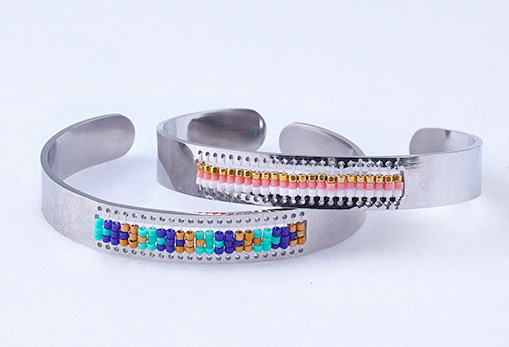
Items used in cuff:
TOP – Z001859, A006587, SB00269, SB00229, SB00223
BOTTOM – Z001859, A006587, SB03546, SB01824, SB02334
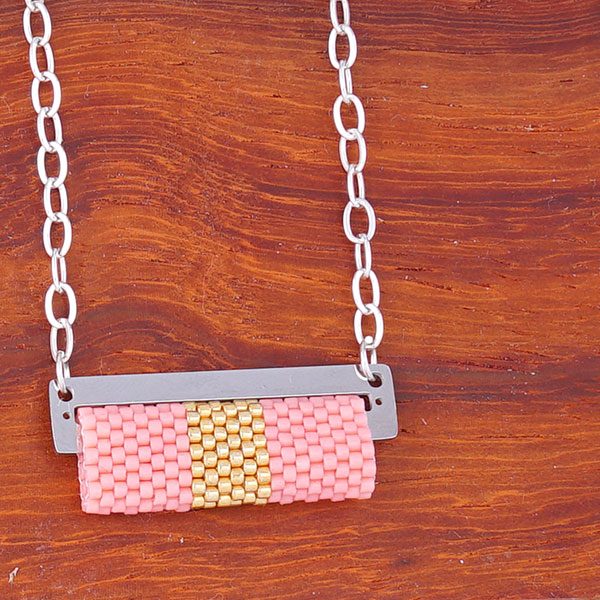
Wide Beadable Cuff
On our website, we also have a Wide Cuff (Silver Z001451/Gold Z001542) that requires 10 Delicas in between ladder stitched. Make fun designs like our chevron design we have here.
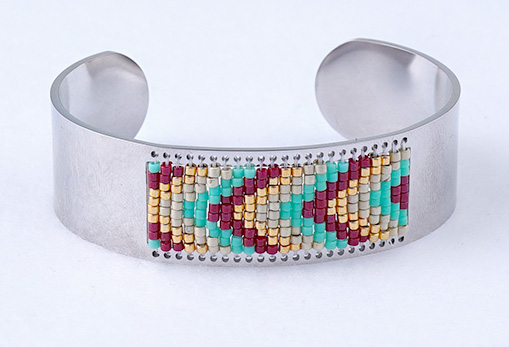
Items used in cuff: Z001451, A006587, SB03545, SB01822, SB02334, SB00269
Beadable Ring
Don’t forget to complete your cuff with a Beadable Ring (Z001454/Z001455). This beadable and adjustable ring can easily be designed with the same ladder stitch technique.
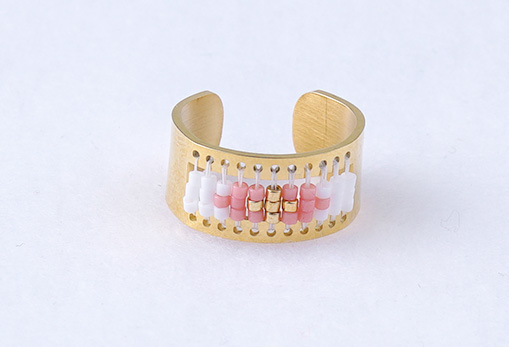
Items used in ring: Z001455, A006587, SB03546, SB01824, SB02334