Holiday Gift Guide for Last-Minute Easy DIYs
Christmas is fast approaching, so here are some last-minute easy DIYs you can whip up in no time and with just a few components. Our ideas consists of Easy Bracelets, Easy Hoop Earrings, DIYs for the Table and DIY Kits.
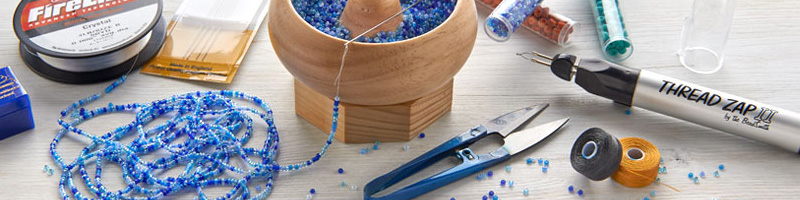
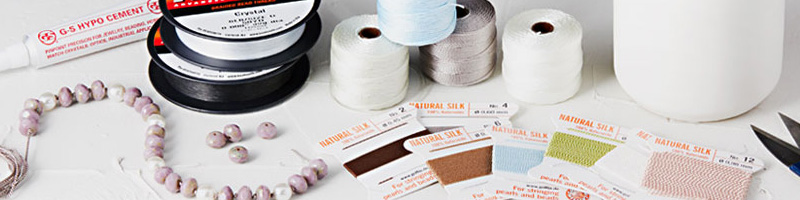
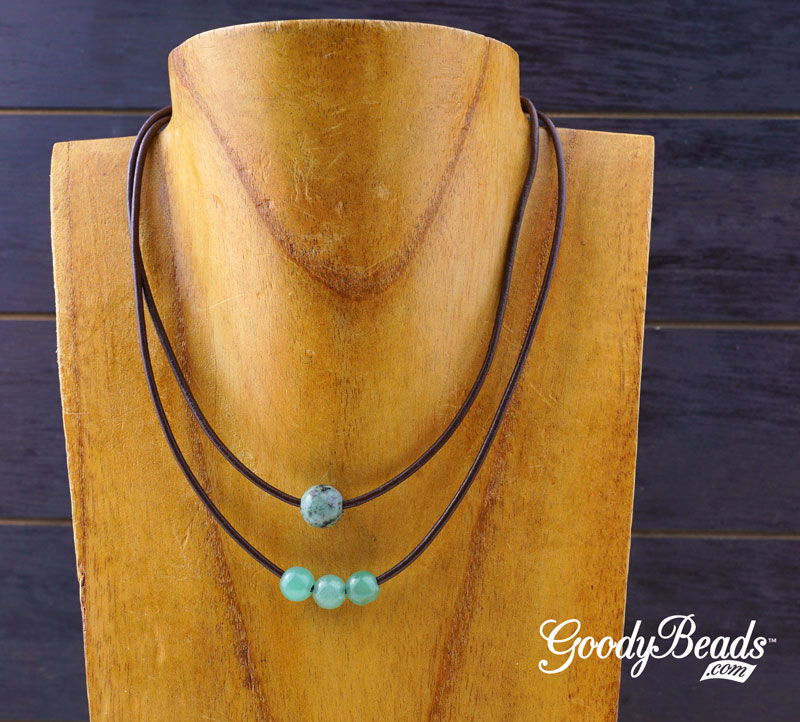
Easy DIY Bracelets

Here are some easy DIYs for simple bracelets!
- EZDIY Stackable Bracelets
- EZDIY Leather Hook Bracelet
- Leather Safari Bracelet
- Paperclip Charm Bracelets
- Carabiner Clasp Bracelets
- Turquoise Satin Bracelet
- MORE Bracelet Ideas on the Blog
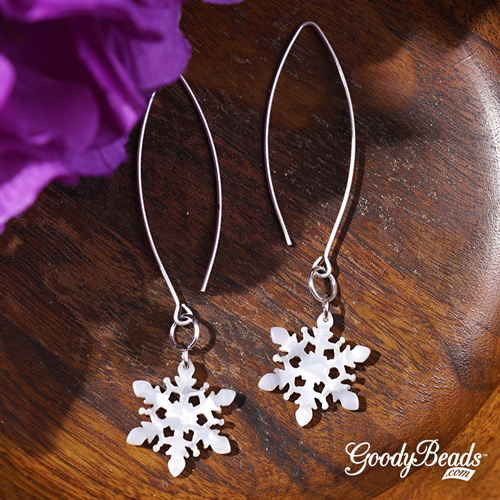
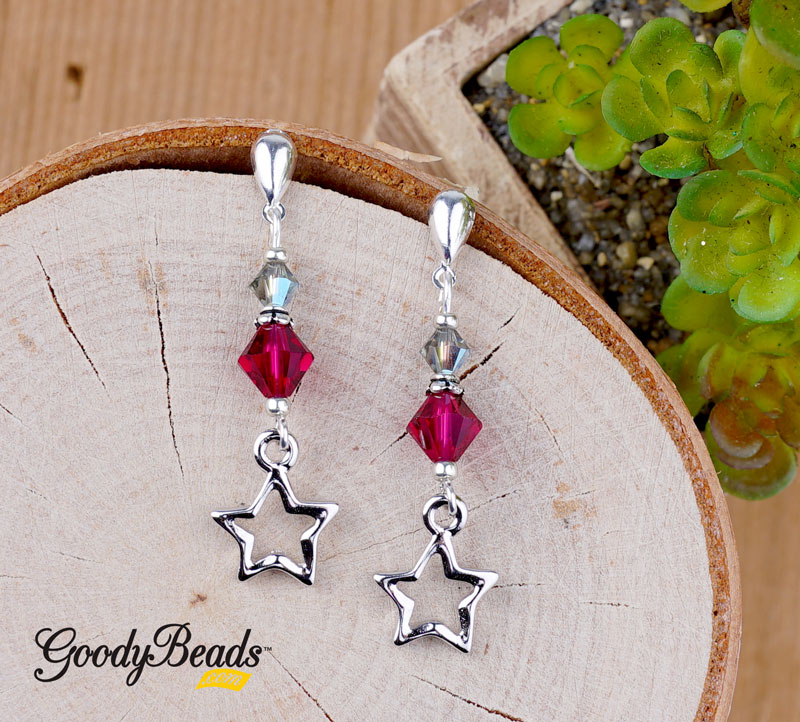
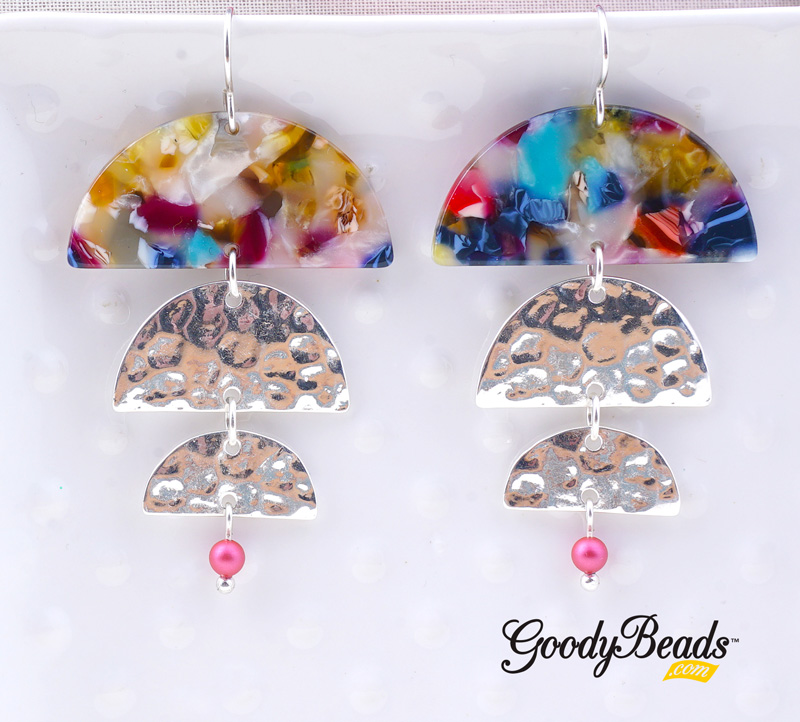
DIY Hook Earrings

Here are some easy DIYs to make trendy hoop earrings:
- Acetate Drop Earrings
- Beachside Hoop Earrings
- Pearl Hoop Earrings
- Skull Earrings
- Hoop Earrings with Classic Cut Crystals
- Straw Hoop Earrings
- More Earrings Ideas on the Blog
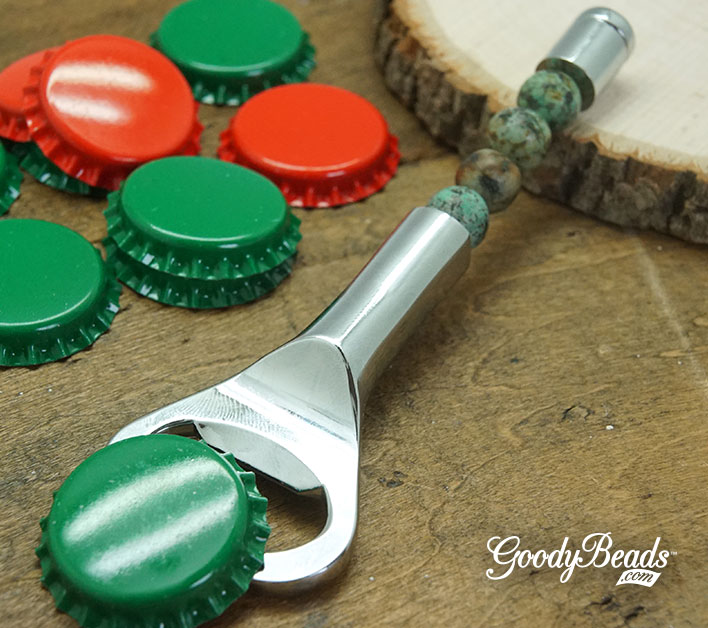
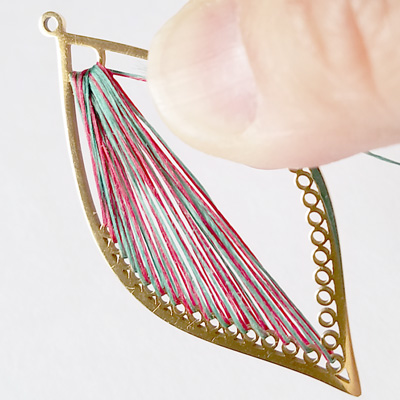
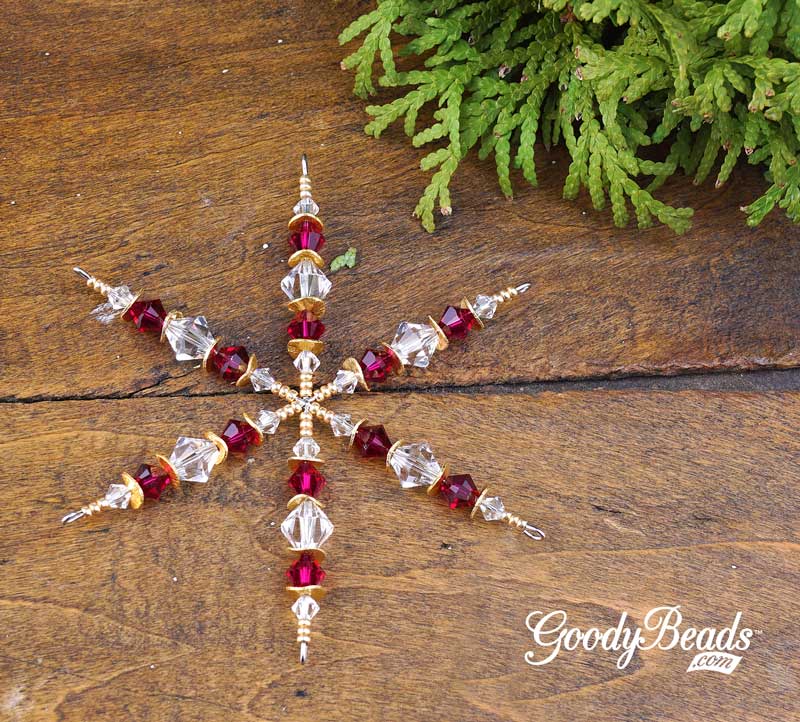
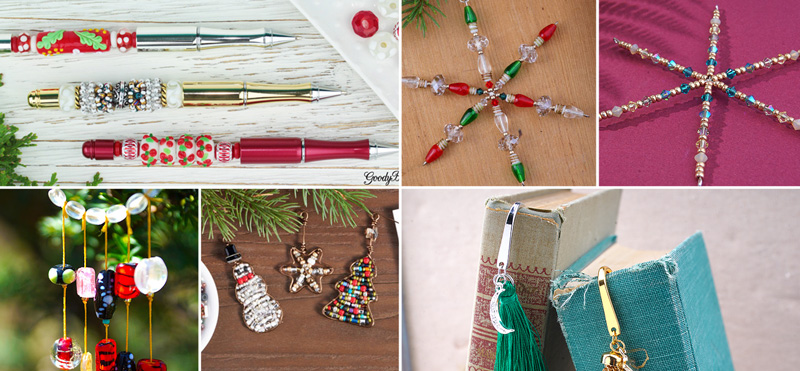
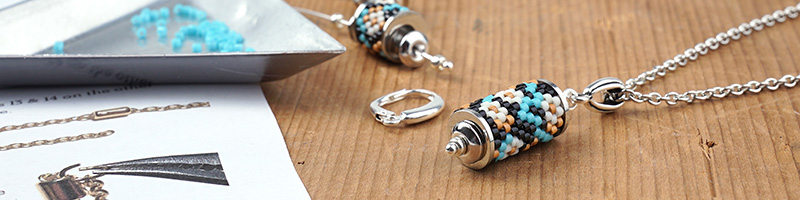
DIYs for the Table
Here are some easy DIYs to make for the dinner table, beading table or even your work table:
- Metal Stamped Bookmarks
- Bookmark Tassels
- DIY Wine Stopper with Large Swarovski crystal
- DIY Bottle Opener
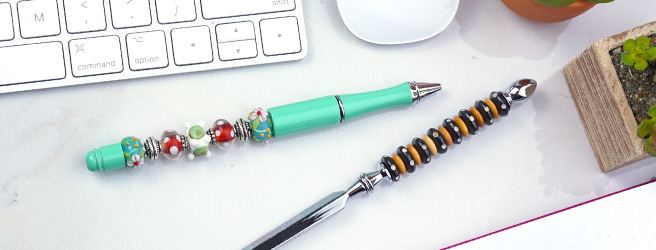
- Bead Pens
- Dinner Beadable Gifts
DIY Kits
Need more ideas? Get some DIY kits so you can get started!