Designing DIY tassel earrings with Long Tassels and charming connecting pieces.
Our selection of long tassels are a statement itself when it comes to designing jewelry. Simply attach your tassel to an earring finding or use connecting pieces or charms to accent your designs.
What you’ll need:
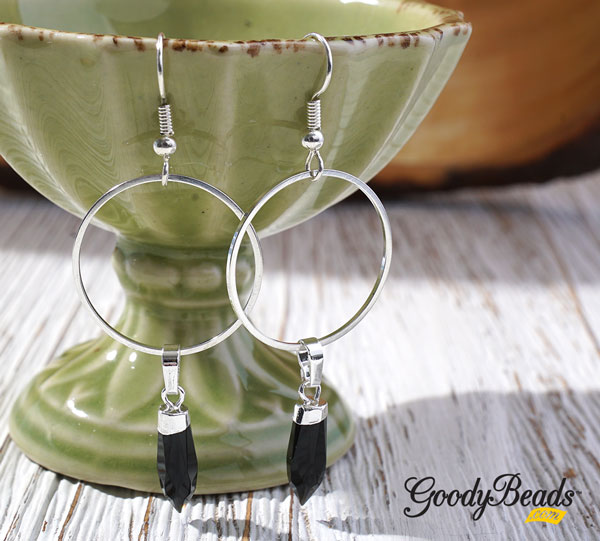
Midnight Tassel Earrings
Directions:
- Open jump ring and slide through tassel loop and one hole of silver connector. Close jump ring.
- Open Ear wire loop and slide other hole silver connector. Close loop.
- Repeat all steps for other earring.
Items used in earrings: Z013860, TC00201 (2), TCZ0077, Z004093
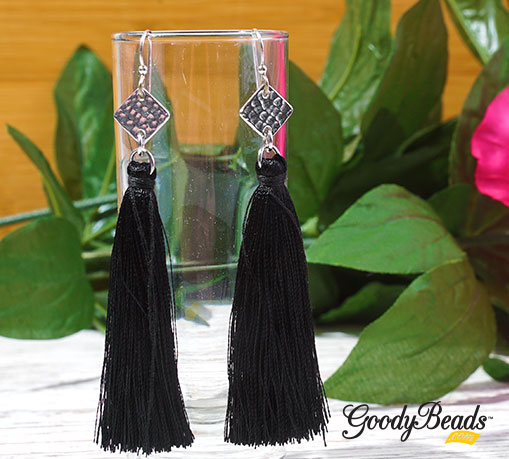
Wine Diamond Earrings

Directions:
- Open oval jump ring and slide through bottom, middle portion of the diamond and through tassel loop. Close jump ring.
- Open another jump ring, slide through top middle portion of the diamond and close jump ring.
- Open round jump ring and slide through previous oval jump ring and through ear wire loop. Close jump ring.
- Repeat all steps for other earring.
Items used in earrings: TC02296, Z004093, A008799, Z013859, Z003213 (2)
Blue Lotus Earrings
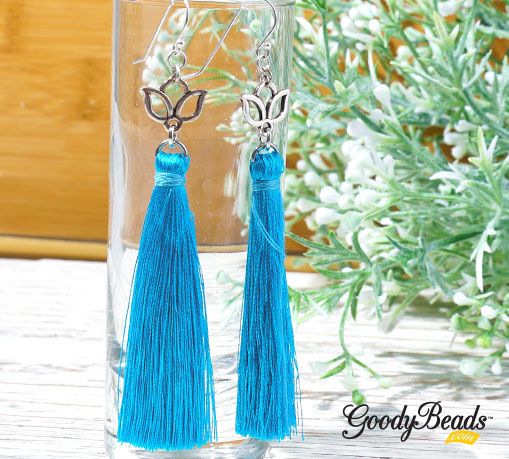
Directions:
- Open 5mm jump ring, slide through tassel loop and bottom loop of lotus charm. Close jump ring.
- Open 4mm jump ring and slide through top petal of lotus charm. Close jump ring.
- Open another 4mm jump ring and slide through previous 4mm jump ring and ear wire loop. Close jump ring.
- Repeat all steps for other earring.
Items used in earrings: Z013826, TC02442 (2), A002413, Z004093, Z001008