Necklace Pendant Tutorial with Gemstone Cabochon & Glue On Bails
One of the most easy way to design with these DakotaStones Gemstone Cabochon is using Glue On Bails. They make easy necklace pendants. Check out this easy tutorial.
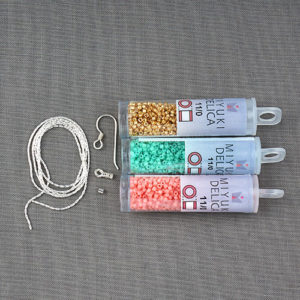
What you’ll need for making a cabochon pendant:
- DakotaStone Gemstone Cabochon
- Glue on Bail
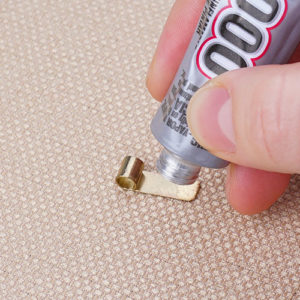
- E 6000
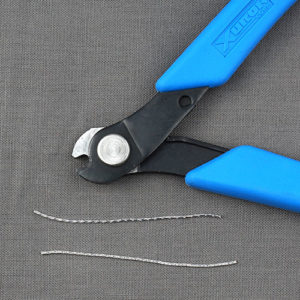
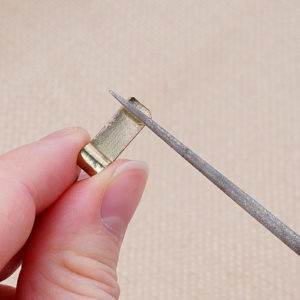
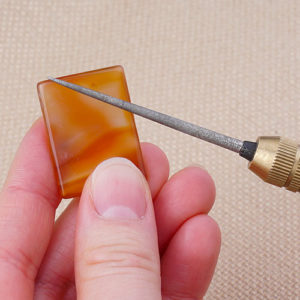
- File (Examples: Bead reamer or Sanding Sponge)
Preparing Gemstone Cabochon
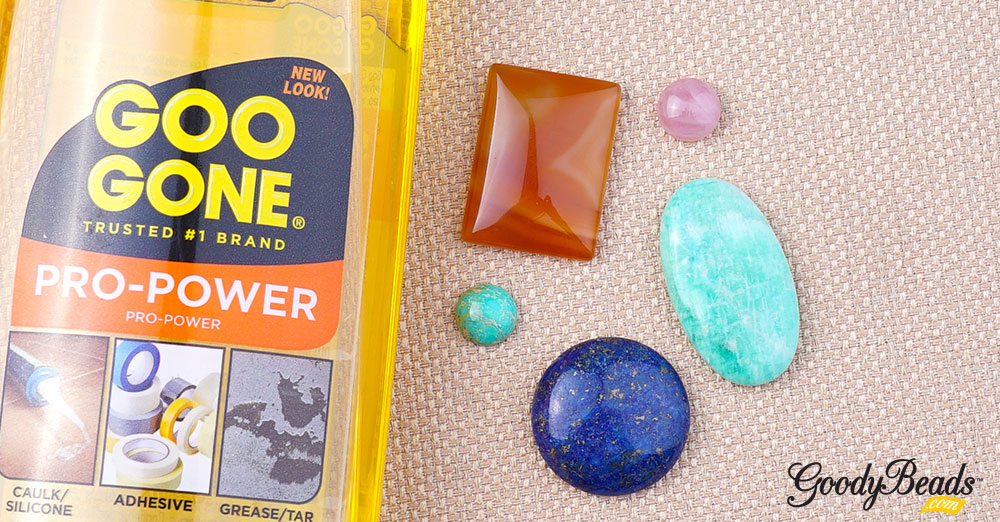
The first thing to do when you receive your gemstone cabochons is to clean the flat, back-side. Some of these cabochons may have been applied to a paper backing for shipping purpose. Remove and rub as much of the paper and adhesive as you can. You can also use Goo Gone to help with getting removing the adhesive. DO NOT USE nail polish remover, rubbing alcohol or any liquid with acetone. It can discolor the gemstone
Glue on Bail
When determining the size Glue on Bail you want to us, first determine the size and shape of your cabochon. You want to have enough surface on the bail to hold the cab.
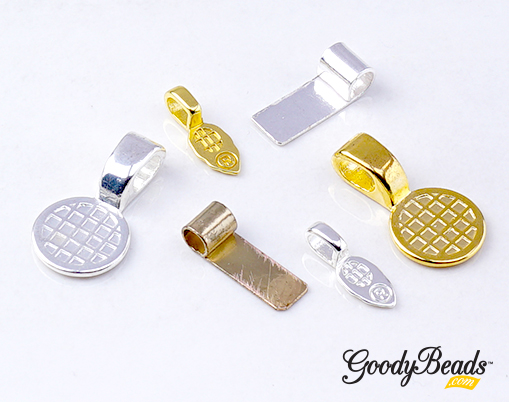
- For small Cabochons, you may be better at using the 10mm or 15mm bail: A011979, A011980 or A011982
- For larger round or oval shape cabs, use the Round Glue on Bail: Z002366 or Z002384
- For square or rectangle shapes: Z002386, Z002387
- And for all other shapes and sizes, use one of these Glue on Bails: A013643, A013644, A013645, Z013646, A013647, A013648
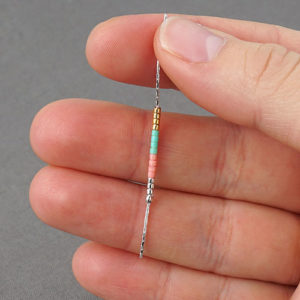
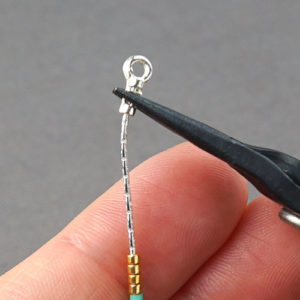
Cabochon Pendant Tutorial

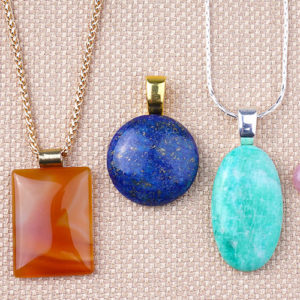
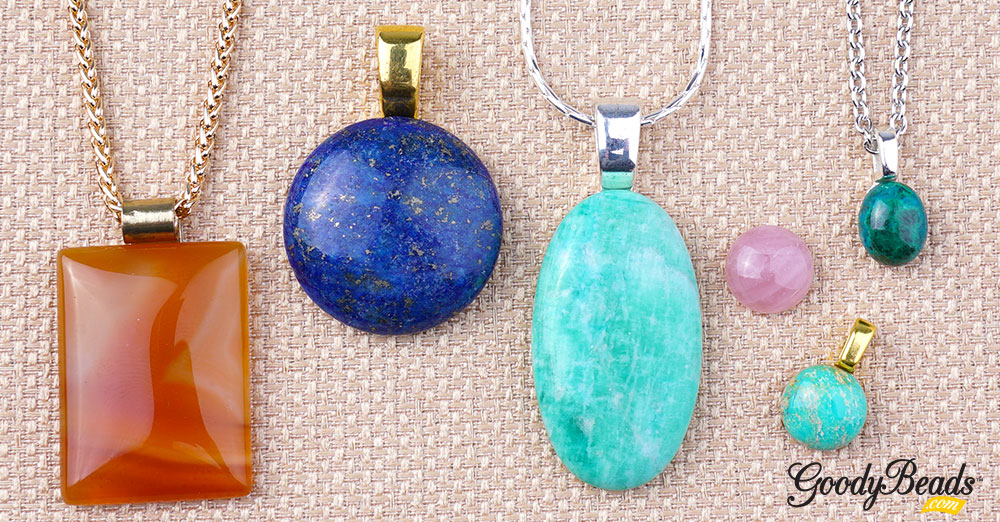
Gemstone Cabochons in image: CAB-CRN30X22REC, CAB-LAP25DC, CAB-BAZ35X20OV-AAA, Pink Quartz, CAB-CHR10X8OV, CAB-NCT10DC