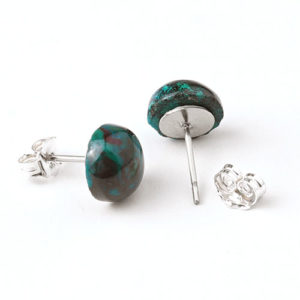
Liven up your summer with these DIY earrings with Straw and Tassels!
Summer jewelry should be fun, colorful and fashionable, just like our Straw & Tassel Earrings. Designed with our NEW straw shapes and tassels, these pair of earrings should be a part of your memorable summer!
What you’ll need for earrings:
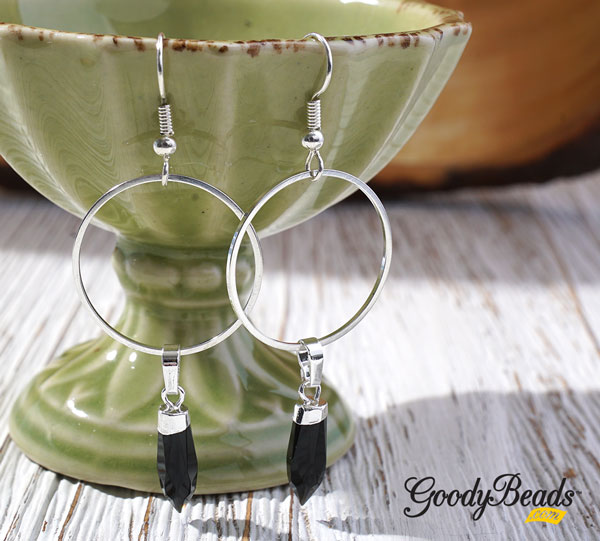
Beachside Coral Earrings

Directions
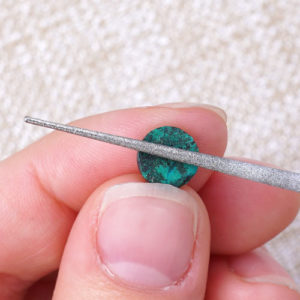
- Using an awl, bead reamer or a solid point like your round nose, poke a hole in between the outer two rings of your straw. This will be where you will add your jump ring.
- Poke another hole in the opposite end of the hole you made in Step 1.
- Open jump ring and slide through hole you made in Step 1 or 2 and through the loop of the fan tassel. Close jump ring.
- Open another jump ring and slide through the other other hole in the straw. Close jump ring.
- Open small 3mm jump ring and slide through jump ring from Step 4 and loop of ear wire. Close jump ring.
- Repeat all steps for other earrings.
Specific items used in earrings: A011525, Z007702, Z007861, TCZ0139
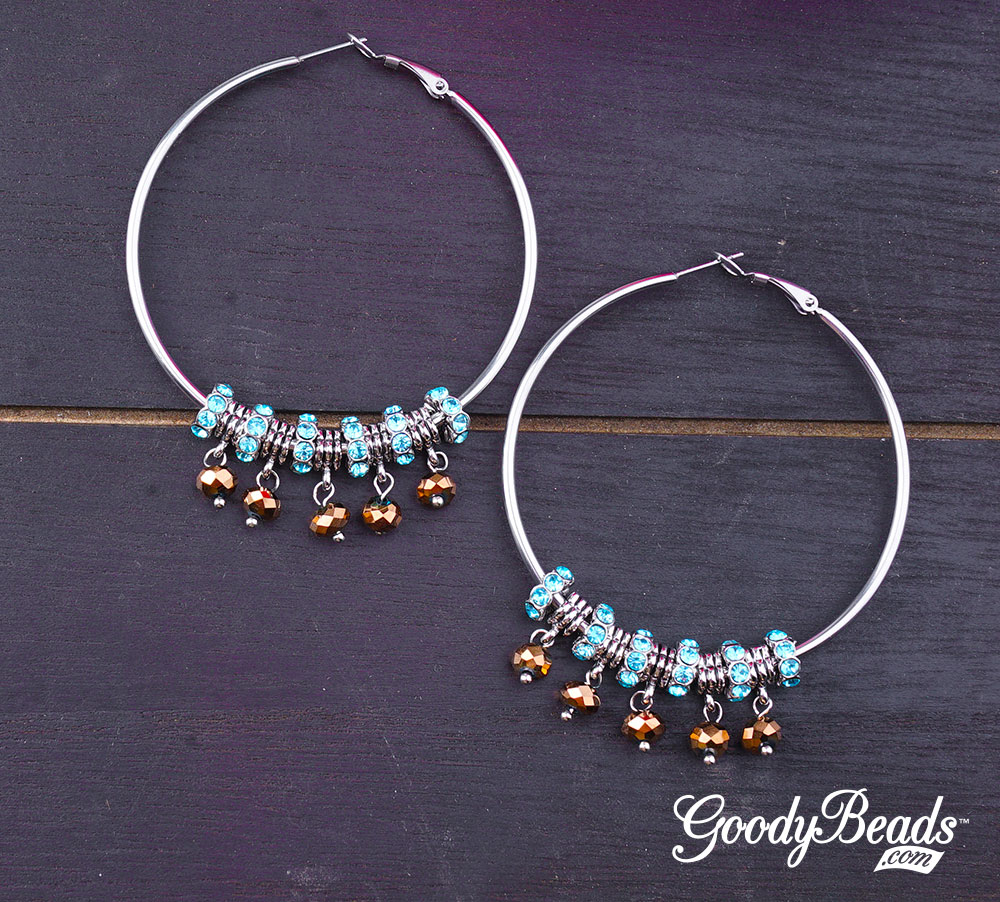
Summer Sky Earrings

Directions
- Using an awl, bead reamer or a solid point like your round nose, poke a hole in between the outer two rings of your straw, at one corner. This will be where you will add your jump ring.
- Poke another hole in the opposite corner of the hole you made in Step 1.
- Open large jump ring and slide through hole you made in Step 1 or 2 and through the loop of ear wire. Close jump ring.
- Open another large jump ring and slide through other hole on straw component. Close jump ring.
- Open small jump ring, slide through large jump ring from Step 4 and through loop of cone tassel. Close jump ring.
- Repeat all steps for other earring.
Check out our Facebook LIVE Videos on Tory doing a quick demonstration using these components! Tutorial starts at 9 Minute mark!