Simple Starter Guide to Bead Stitching Tools
Want to get started on Bead Stitching? Here’s a simple starter guide to bead stitching with Stringing Tools, Stringing Materials and simple DIY tutorials ideas.
Needles
Needles are a must for getting started. They come in many shapes and sizes, depending on the size of your beads and its hole size. Since many of the beads you will use have small holes, needles for bead stitching are thin and can be used for all small beads. Shop needles in Stringing Tools.
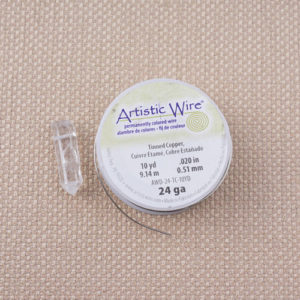
String Thread
- Beading Threads: You’ll need strings/thread to create your bead stitching designs.
- For intricate patterns, using waxed beading thread like Fireline beading threads are a great material. They don’t stretch and keeps your pattern tight and secured with each stitching.
- For loose stitching like fringe tassels, use some cotton beading threads They are also a less expensive option that can be used on for fringes but also for all your bead stitching projects.
Stringing Tools
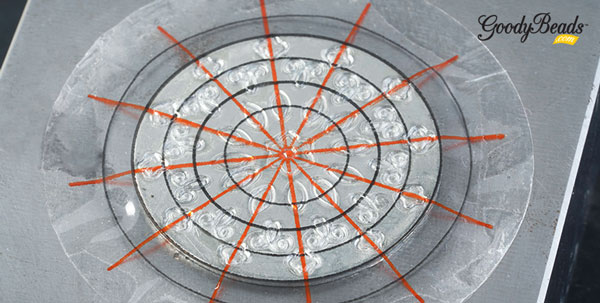
- Looms: Create straight patterns or designs using a loom. Check out how to use the Rick’s Bead Loom.
- Bead Mat: Stop your beads from rolling away with a Bead Mat
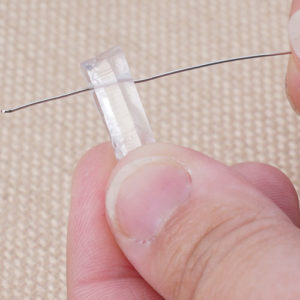
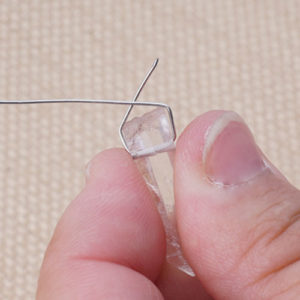
- Bead Stoppers: Use the Large, Small or Combo pack of bead stoppers to cinch your thread ends so that your beads don’t fall through.
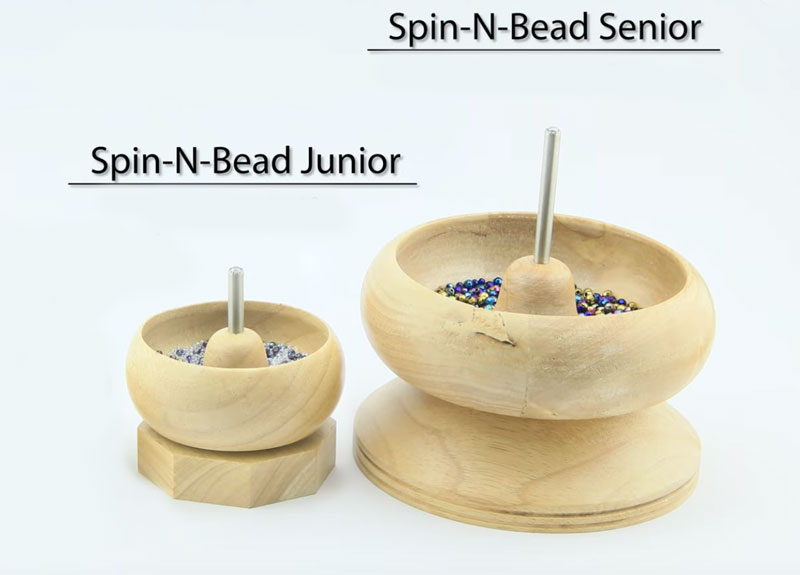
- Bead Sort Tray: Scoop use your leftover beads with the help of this tool.
- Cutters: You will need a fairly flush cut when you cut the ends of your thread. Some cutter tools you can use are:
Seed Beader Beginners Kit
If you don’t know where to get started, you can simply get the Seed Beader Beginner Kit. You’ll get the basic tools and stringing materials to get your project started. Kit includes beading needles and beading thread, along with some simple tools such as beading mats, thread clipper, bead scoop and bead stoppers. All you need are seed beads and some creativity to get you rolling! Check out the GoodyBeads blog for inspirational designs and tutorials. You will receive 1 of each of the following: A006767, A006587, TL00337, A006980, A021663, and A006770.
Easy Beading Projects
Get started on some simple bead stitching projects using seed beads:
- Cymbal Remata Earrings
- Honeycomb Tassel Earrings
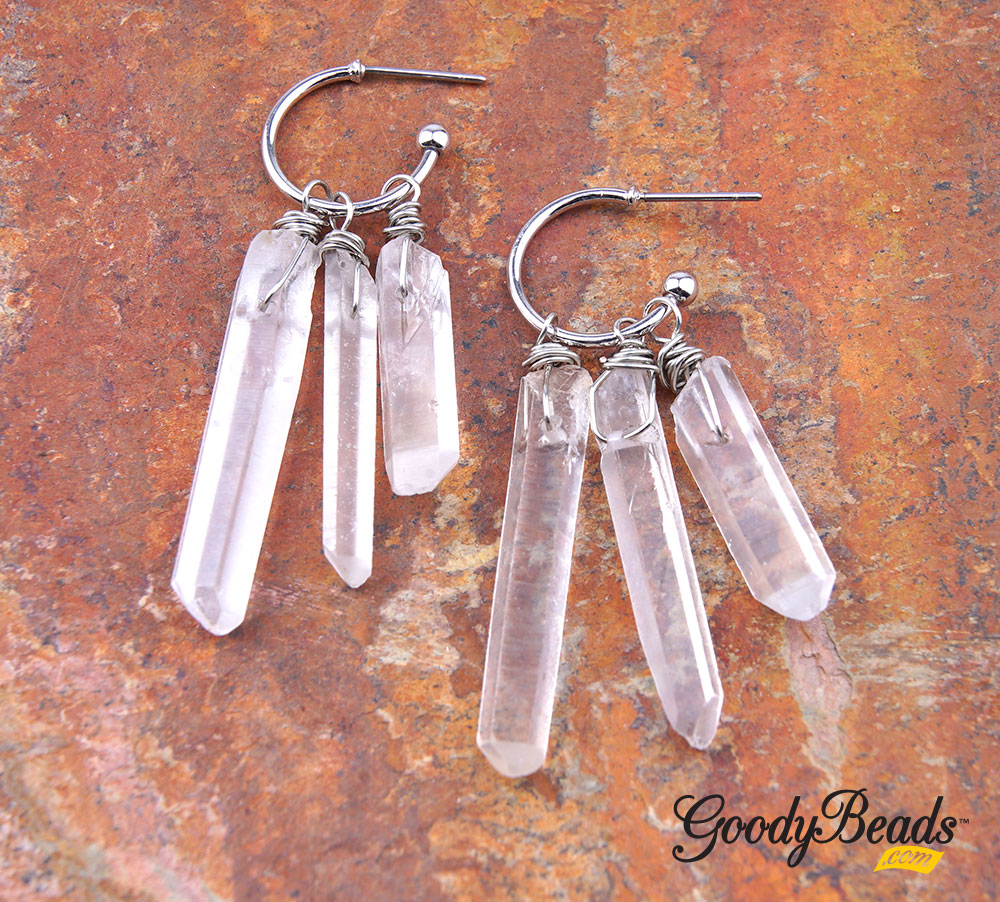
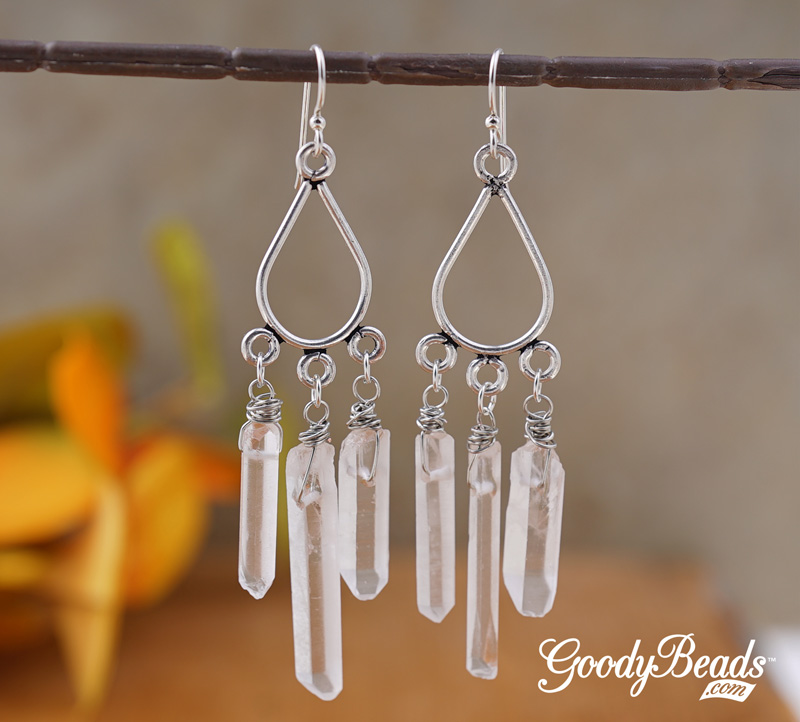
- Spike Drip Earrings
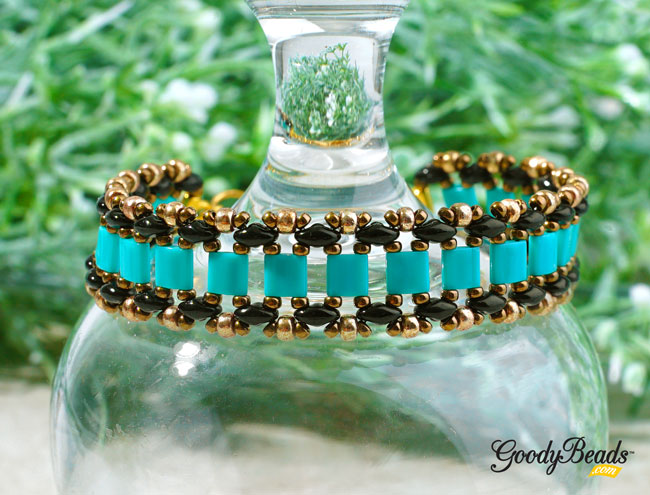
- Honeycomb Jewel Bracelet
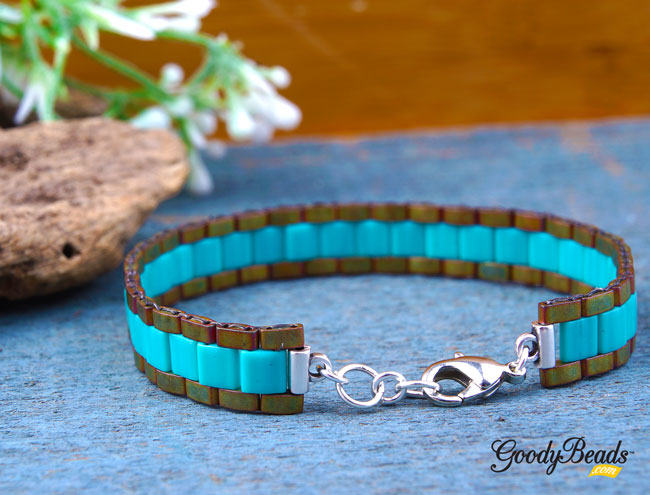
- Delica Adjustable Bracelet
Looking for some Leather Wrap Bracelet, bead-stitching ideas:
- DIY Wrap Bracelet with Fire Polish Czech Beads
- Leather Wrap Bracelet
- Leather Bracelet with Swarovski Bicones
- Leather Bracelet with Paisley Beads
- Leather Bracelet with Swarovski Spike Beads
Or even try out some beading options with our Beadable Accessories and Miyuki Delica Seed Beads: