Happy Mother’s Day with an Easy DIY Bracelet with TierraCast Charms & More!
Mother’s Day is coming up and we have this sweet and east bracelet idea using TierraCast Wire Bracelet, TierraCast® Birthstone Crystal charms & more! Let your mom feel loved this year.
Dress up a TierraCast Wire Bracelet with birthstone crystal charms that represents each meaningful child or grandchild in their lives. Each month has it’s own birthstone and below is a list of each TierraCast birthstone crystal charm to add to your mom’s bracelet:
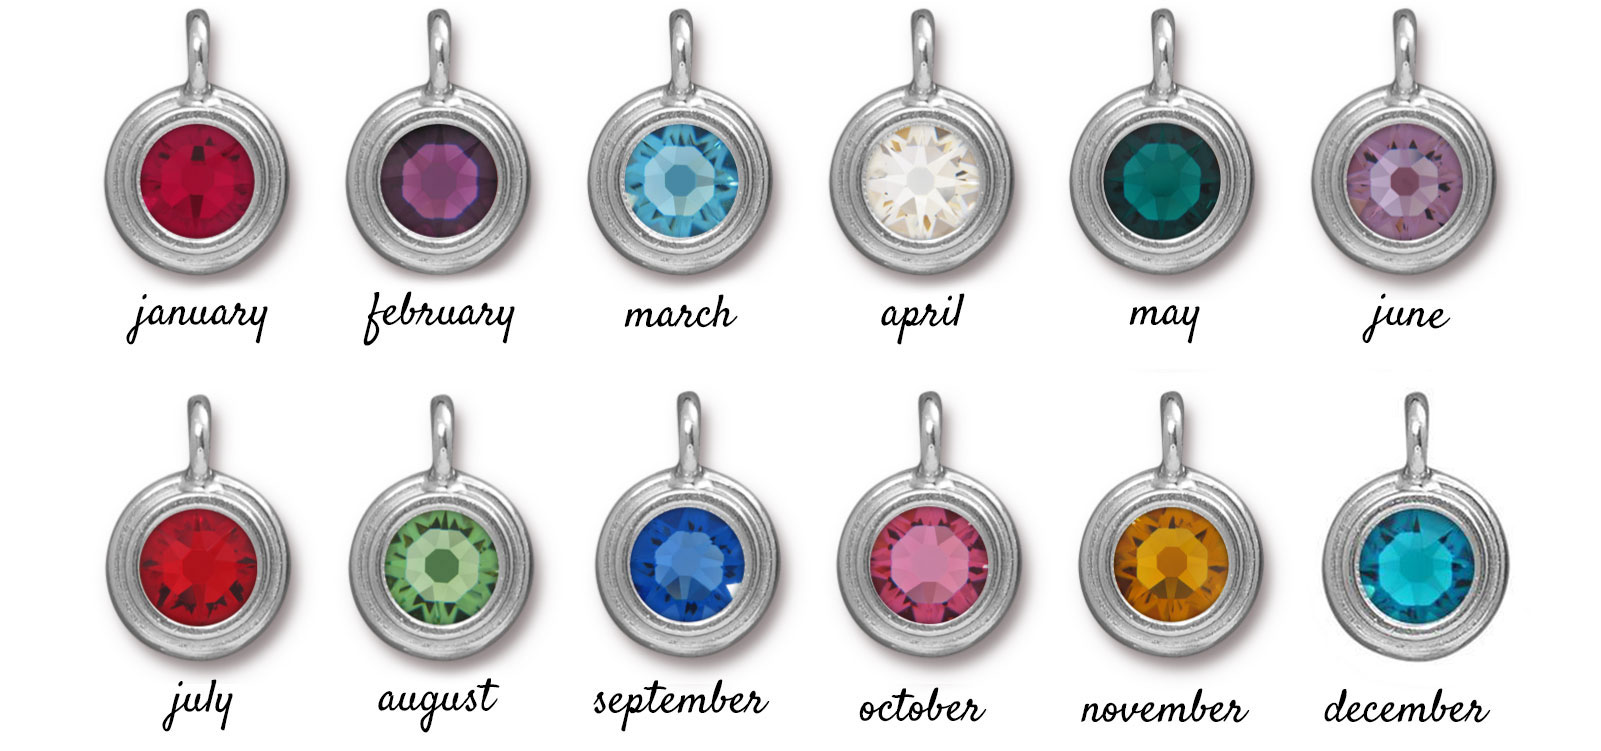
- January – Garnet (Siam) – TC02103
- February – Amethyst/Tanzanite – TC02104/TC02114
- March – Aquamarine – TC02105
- April – Crystal – TC02106
- May – Emerald – TC02107
- June – Light Amethyst – TC02108
- July – Ruby (Light Siam) – TC02109
- August – Peridot – TC02110
- September – Sapphire – TC02111
- October – Rose – TC02112
- November – Topaz – TC02194
- December – Blue Zircon – TC02198
Need more charms to add to your bracelet, we’ve got a fun collection of Large-Hole Girl and Boy charms with birthstone crystals! Get these to add to the bracelet too:
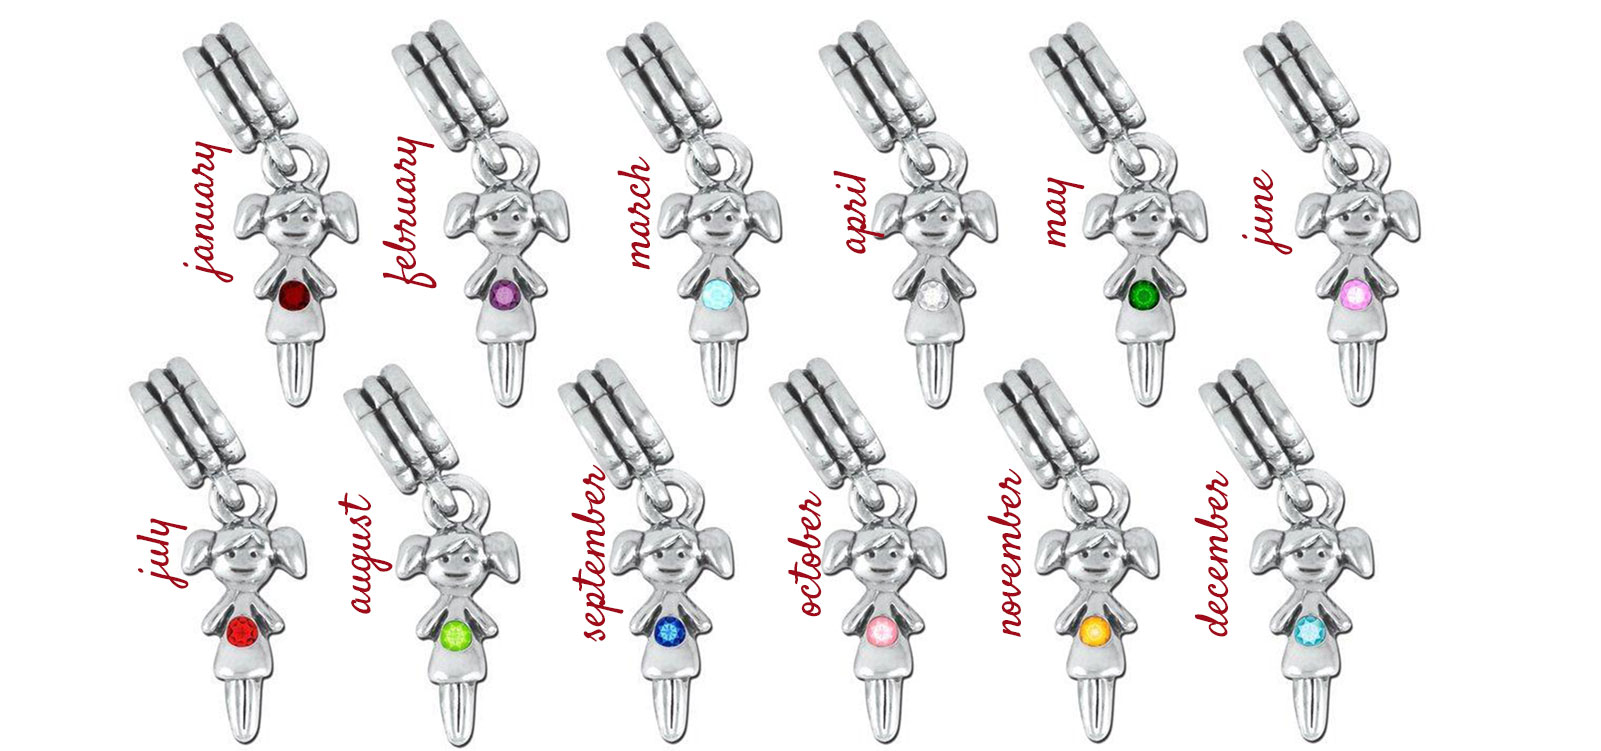
Girls Birthstones:
- January – A008026
- February – A008027
- March – A008028
- April – A008029
- May – A008030
- June – A008031
- July – A008032
- August – A008033
- September – A008034
- October – A008035
- November – A008036
- December – A008037
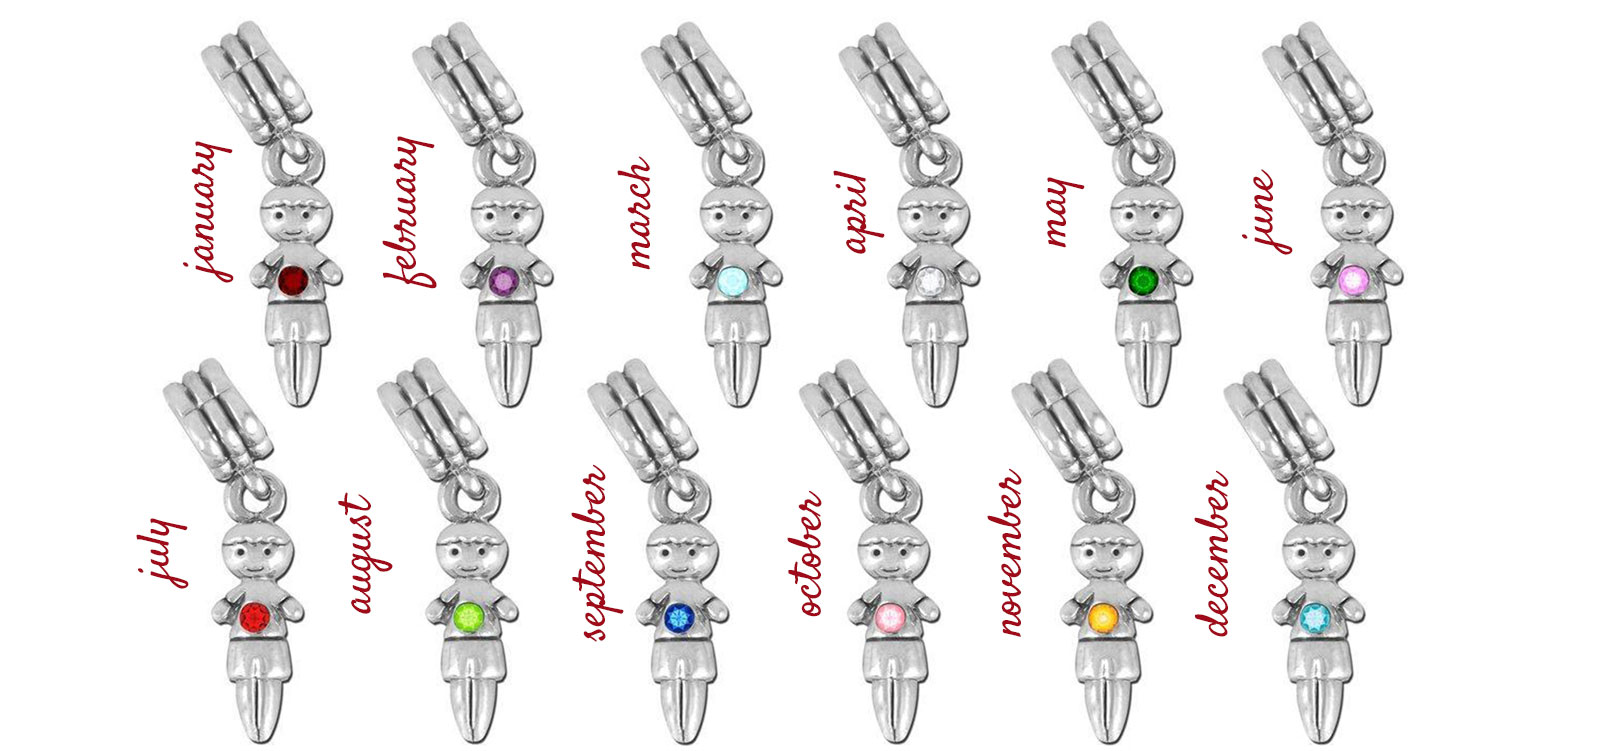
Boy Birthstone:
- January – A008038
- February – A008039
- March – A008040
- April – A008041
- May – A008042
- June – A008043
- July – A008044
- August – A008045
- September – A008046
- October – A008047
- November – A008048
- December – A008049
Celebrate Moms with her own personalized Wire Bracelet today!
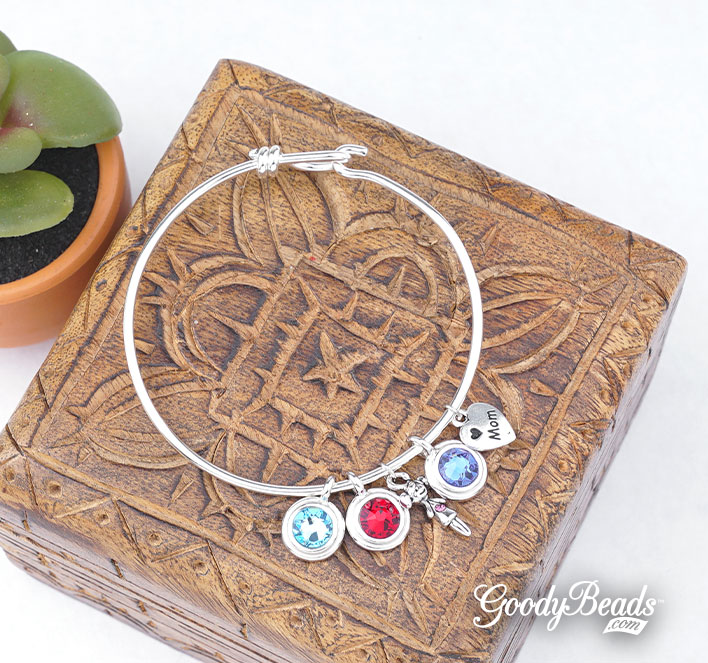
Items used in Wire Bracelet: TCZ1514, TC02105, TC02109, A008031, TC02111, TC00095 & A008799.
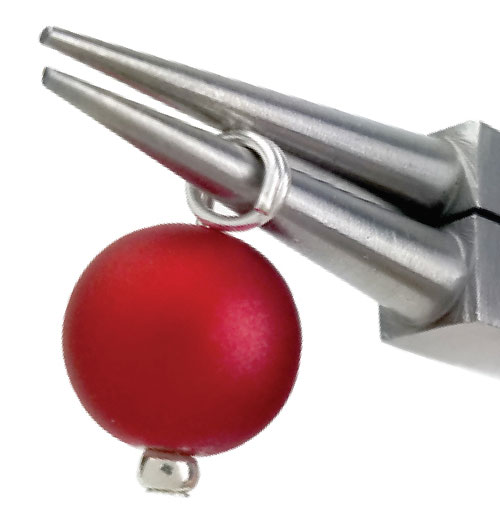
- Cut bail off of large hole girl charm. Open jump ring and slide on girl charm.
- Open another jump ring and slide on Mom charm
- Open wire bracelet, slide on charms through looped end.
- Wrap and gift it to Mom!