How to Use Ricks Bead Loom, PLUS Two Ways to Clasp Loom Bracelets
From traditional Native American Indian-loomed wampum belts to popular and modern Julie Rofman wrap bracelets, bead looming has transcended through changes in time, culture and fashion. A bead loom can help you make elaborate, beautiful necklaces to simplistic bracelets.
If you are new to using the bead loom or have been wanting to use a bead loom, believe us when we say that using the Ricks Bead Loom is super easy and simple. Here are some tips and tricks to using Ricks Bead Loom, as well as some inspirational loom bracelets to get you started. We also provide two different ways to clasp loom bracelets.
Ricks Bead Loom
When you purchase a Ricks Bead Loom, you receive the bead loom and its components, as well as a detailed, visual instructions of how to set up and use the bead loom. You can also check out Ricks video tutorial on his webpage on how to use his bead loom.
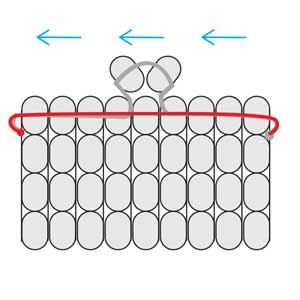
The basic method of bead looming is weaving a thread back and forth through rows of seed beads that are sandwiched in between vertical strands or “warp strands”. The difference between a traditional bead loom and Ricks Bead Loom is the amount of warp strands you are using. A traditional loom will have multiple warp strands going up and down along the loom, while a Ricks Bead Loom will have only one strand that wraps back and forth, up and around between the two rods. This continuous wrapping of the strands between rods will leave you with two threads at the end.
Like the instructions you will receive, first you insert your metals rods. These rods are where your vertical warp strands will lay. Adjust the wood piece/tailstock to your preferred bracelet length and start making your warp strands. The amount of warps you have is according to the amount of beads you have in a row, PLUS ONE. If you see the image below, you will see that we have eight seed beads per row and thus we need nine warp strands.

Next, lay your card separator in between the warp strands. It is optional to use the card separator. You can use the warp separator card that comes with the kit. Here, we cut a ½ inch piece of cardstock paper to get us started.
Hook your thread end to your peg and insert it into one of the holes in the front.
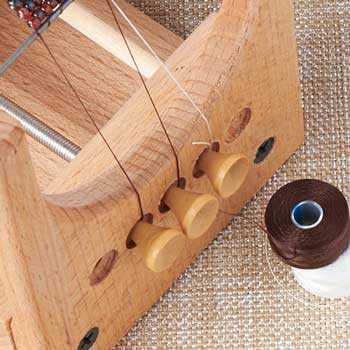
You are ready to start your rows. The basic motion of weaving each row is by weaving behind the warp strands with your beads and string. You will then weave back into the same row of beads, but when you feed your needle through, you are gracing the top side of the warp strands.
TIP: When bringing your needle back, use the backside of your needle. Using the backside of the needle will give you a smoother glide through the beads. Be careful not to prick yourself with the sharp end when using this method. Makes you wish you had a thimble on hand, huh? I did.
The first two rows will be tricky but after that you get those two on, it will be easier.

After your two rows are done, slide off the separator and pull your two rows down so it is flushed against the metal rod. Twist the peg that attaches to your thread to keep loose thread tight.

And you are ready to continue with your rows until you’ve reached the end.
TIP: When bringing your needle back through the row of beads, press up on the beads so that they protrude upward. Then, when you sew back through the beads, you will go over the vertical warp strands.
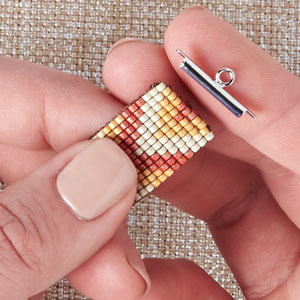
When you have finished your piece, unhook your threads from the pegs and sew the end threads through the rows and knot them. Cut excess thread. Slide your loomed piece off the metal bars and spread out your bead rows evenly outwards towards the ends to hide the loops of the warp strands. Then you are ready to add your clasp ends. Here are two types of loomed bracelets with instructions for adding a Miyuki Tube Finding and sewing on a bead loop to add your clasp.
Miyuki Tube Findings
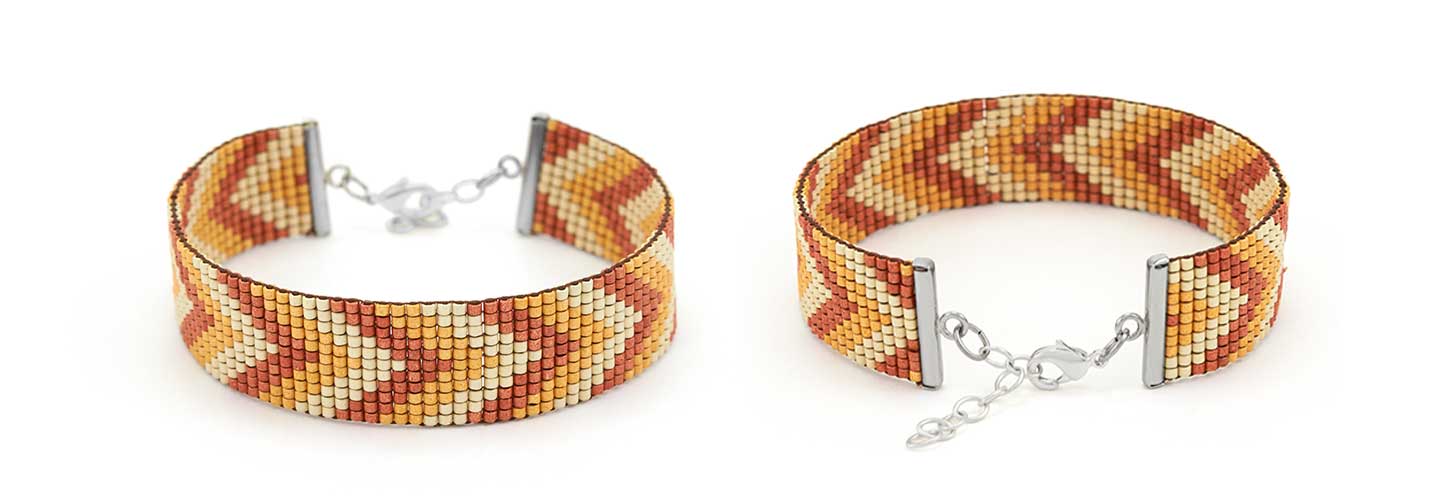
Items used in Miyuki Tube Finding Loom Bracelet: A015624 (2), SB01824, SB01826, SB01822, Z004093, A012847, A006597, A014106
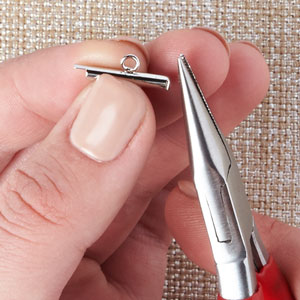
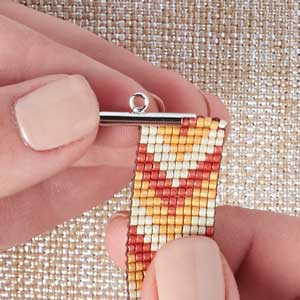
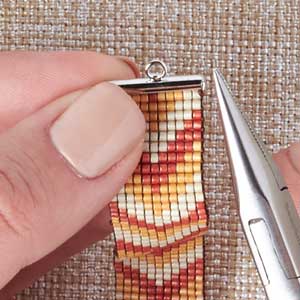
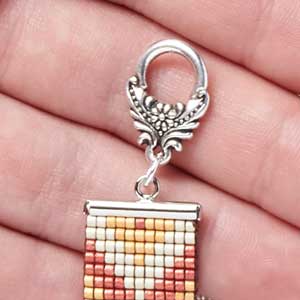
For this bracelet, we used Miyuki Tube Findings, which are used particularly with Miyuki Delica Size 11 seed beads. GoodyBeads has four available sizes at 15mm, 20mm, 35mm, and 60mm, which will accommodate a certain amount of seed bead per row.
- 15mm uses 10-11 Delica seed bead (A015623 & A015624)
- 20mm uses 15-16 Delica seed bead (A015621 & A015622)
- 35mm uses 26-27 Delica seed bead (Z010413 & Z010422)
- 60mm uses 45-46 Delica seed bead (A018389 & A018390)
Bead Loop Clasp

Items in Bead Loop Clasp Loom Bracelet: A001528, TC00452, A006599, SB01077
You can make a design like our Delica seed bead bracelet or you can use a Miyuki seed bead mix like our bracelet here. For our clasp for this bracelet, we made a loop using seed beads.