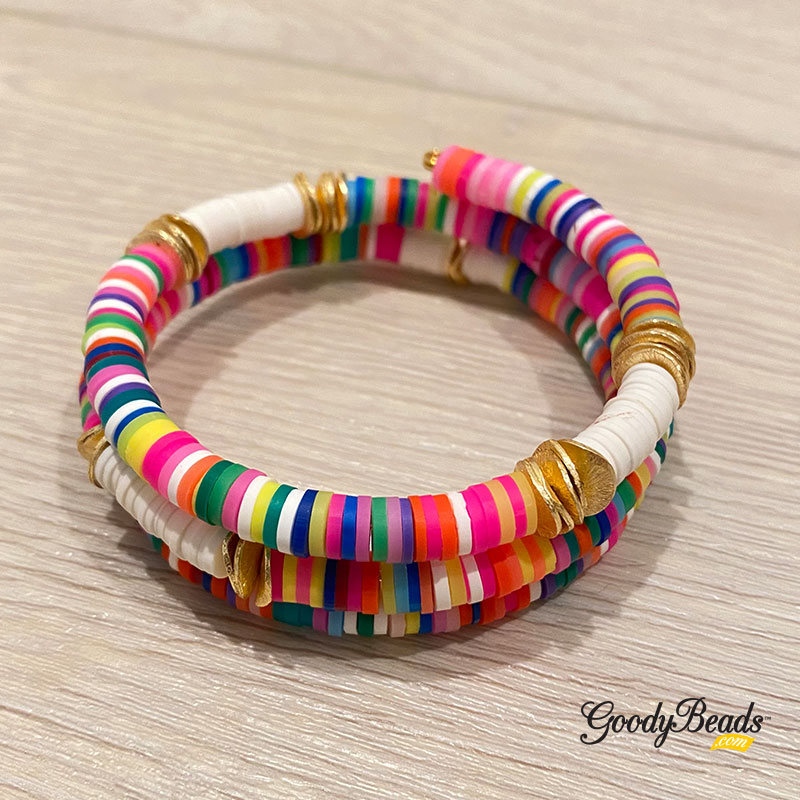
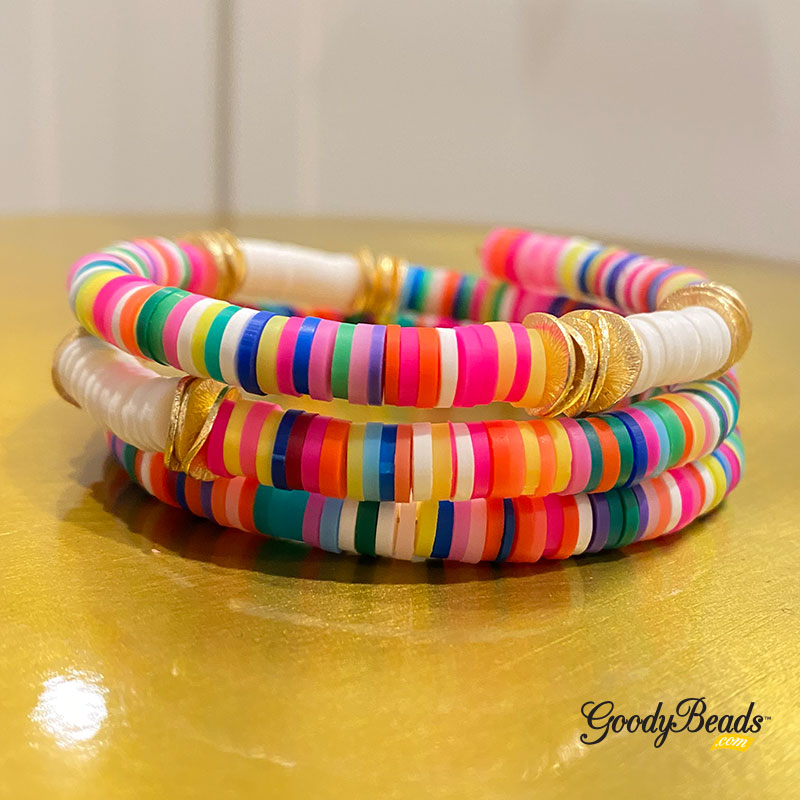
Summer Stretch Bracelets with Vinyl Beads
Catch this summer vibe with trendy summer stretch bracelets with Vinyl Beads. We’re pairing the fun array of colors with heishi silver beads and wood beads; all strung together on Beadalon Elasticity to make three different bracelets!
Items used in bracelet set:
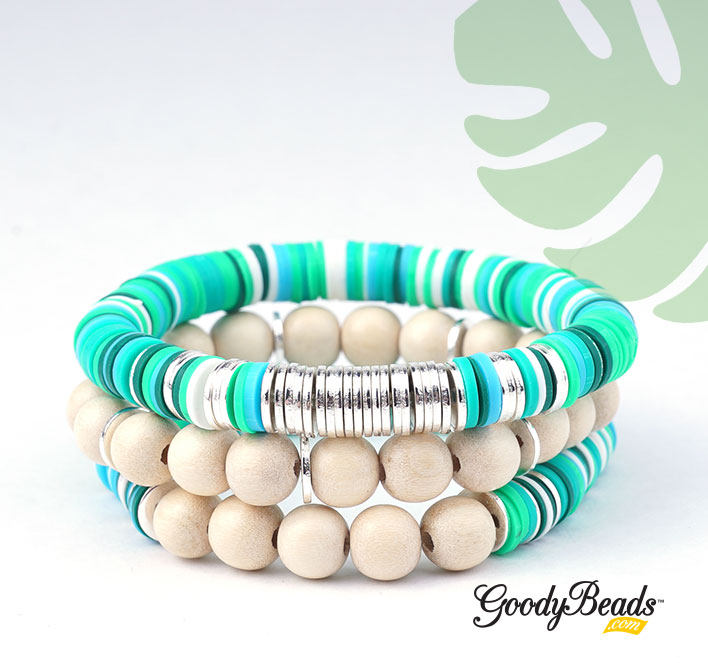
- X001271 – 8mm Green Mixed Vinyl
Also, try out other 8mm Vinyl Beads colors! - Z017110 – 8mm Silver Plated Heishi
You can also try the Gold Heishi – Z017112 - Y004712 – 8mm Natural Wood Beads
Also, try out other 8mm Round Wood Beads - A021633 – 0.5mm Elasticity Cord
- A010587 – Big Eye Needle
Get all the components for this project here
Directions:
- Cut a piece of elastic cord to about 14 inches. Stretch the elastic to loosen its elasticity.
- Cut one tip of the Big Eye Needle to open up the needle into a V-shape.
- Fold elastic in half and slide needle on at that midpoint.
- Slide on your beads; you will string on a length of your wrist size + .5″ more.
Version A: 1 heishi, 4 vinyl beads, 2 heishi, 3 vinyl beads, 3 heishi, 2 vinyl beads, 20 heishi, 2 vinyl, 3 heishi, 3 vinyl, 3 heshi, 4 vinyl, 1 heishi and the rest will be vinyl beads to length advised above.
Version B: 1 heishi, 3 vinyl, 1 heishi, 3 vinyl, 1 heishi, 5 wood beads, 1 heishi, 3 vinyl, 1 heishi, 3 vinyl, 1 heishi and the rest is vinyl beads.
Version C: 3 wood beads, 1 heishi and repeat 7 more times.
You don’t need to follow our versions but make your own fun sequence and designs. - Take your strung on beads and make the Tricky Ricky Knot. Cut off excess elastic, leaving a 1/4″ tail. Gently stretch the bracelet so that the tail tucks and hides inside the holes of the beads.