Prepping costumes, buying candy, carving pumpkins, setting up ghoulish decorations and all your yearly routines of getting Halloween-ready, you can sure make some time to whip up some easy Halloween jewelry pieces. We have three fun and easy jewelry pieces to complement this spooky holiday.
#BOO Necklace
One of Goody Beads’ New Goodys for September month are these dainty, cute letters that you can string onto even daintier chain. For the love of Halloween, we choose “#boo” letters to showcase one Halloween’s signature statements, while throwing in a social media reference of course! We cut the 1mm rolo chain at 16 inches and attached a silver crimp with loop to the ends of the dainty chain by folding the crimps. We selected an easy lobster claw to one end and a closed jump ring to the other. You are ready to trend up your outfit with this #boo necklace!
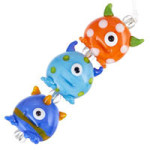
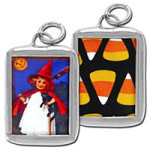
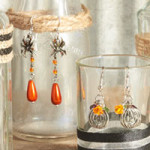
Spider Web Necklace
We started out by choosing one of our many beaded link chains, in our chain section. The CH00281 is perfect in size and theme. We had measured it to a length of 3 feet and used a small jump ring to link the ends together. With another jump ring, we attached a spider and web charm to the chain. And you are done with this easy necklace that you can slip on and off with your wicked costume outfit.
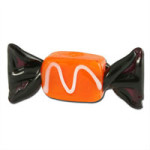
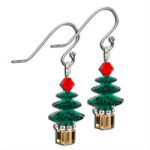
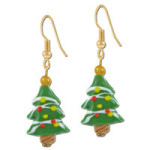
Candy Corn Earrings
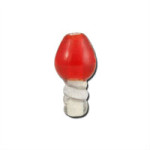
Halloween isn’t Halloween without mentioning candy corn. Who doesn’t love candy corn? It’s pure sugar! We dedicate this portion to the love of candy corn by making a pair of cute earrings! Using gunmetal headpins, we threaded on seed beads and iconic candy corn and finished it off with a simple loop. Hooked them onto some gunmetal lever back earrings and you are set to celebrate Halloween!
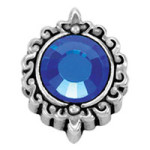
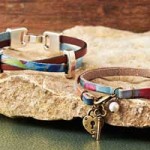
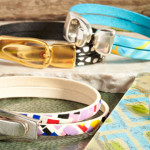
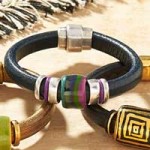
We love, love, LOVE the simplicity of making 5mm flat leather bracelets. With two simple components of flat leather and a clasp, plus the help of adhesive, you have a simple bracelet in no time. Let’s amp that 5mm flat leather bracelets by adding slider charms and dangles. With over 300 slider charms to choose from on GoodyBeads.com website, you can customize your bracelet with unique charms or colors, make a fun seasonal theme, or choose some of your favorite charms and bling your bracelet.
We suggest that you start by compiling your slider charms and laying them out before stringing them on 5mm flat leather. This way you get an overall look at the colors and sequence, and at the same time, you can choose what color of 5mm flat leather you want to go with. Once you are satisfied, cut the flat leather to fit your wrist, slide on slider charms and glue on a clasp. Quite easy, eh?
We made three different bracelets to showcase how you can spruce up a 5mm flat leather bracelet.
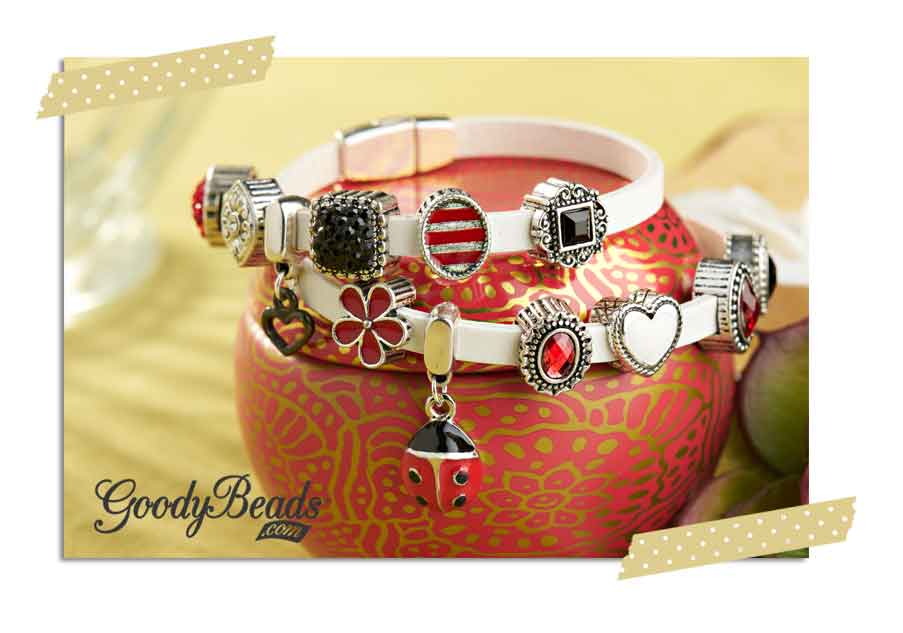
Love Bug Wrap Around
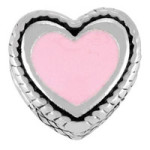
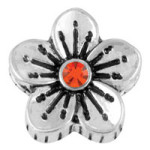
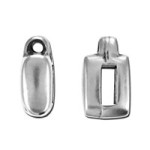
We love how our selection of black, white and red slider charms pops out from the white flat leather. One added bonus is the Charm Holder Slider that allows you to add any charm or dangle. Here, we added a fun TierraCast® heart charm and red enamel ladybug.
Seafoam Waves Bracelet
Summer may be over, but we will always have sunny days on our minds; the smell of salty water, the cool, brisk breeze of the wind, and the warm sensation of sand between your toes. In memory of summer, we made this Seafoam Waves Bracelet with a combination of turquoise, green and topaz colors. We also added a Charm Slider Holder and created a stone dangle, making a simple loop with a headpin and gemstone, for extra embellishment.
Kim Bracelet
For this bracelet, we doubled up a 5mm flat leather bracelet to have the width of 10mm. With that, we were able to use 10mm letter sliders to customize a name, while still adding two slider charms.
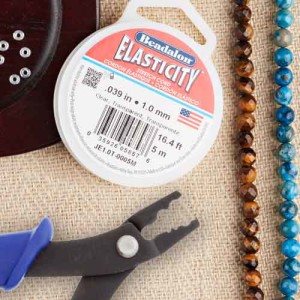
Remember when you were young and made stretchy elastic bracelets with a store-bought DIY kit of colorful beads and letters? Fast forward 10-20 years and let’s take that idea up a notch with a grown-up mentality of elastic bracelets. We love the concept of elastic bracelets because they are easy to make, inexpensive, and if you aren’t crimping the elastic, there are no tools needed.
Elastic Bracelets are simple to create, comfortable to wear and convenient: just slip them on and off! Elastic bracelets are the perfect jewelry piece for people with arthritis or those who have difficulty hooking on clasps with one hand. Layering different elastic bracelets is very on trend and bohemian looking.
We have two easy tutorials on how to finish your very own elastic bracelet.
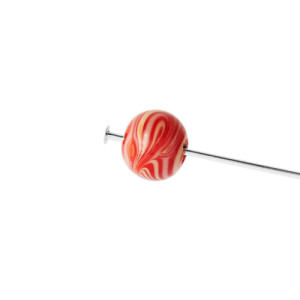
Our first tutorial is how to tie the elastic cord of your bracelet using a surgeon’s knot.
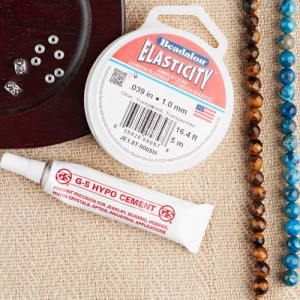
Step 1: Gather your elastic, beads, spacers, and adhesive.
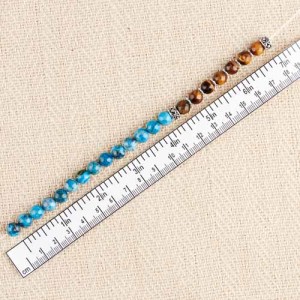
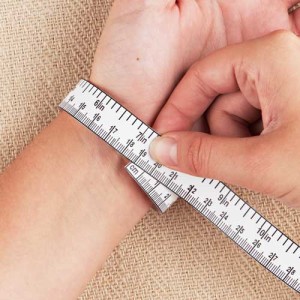
Step 2: measure your wrist size. An average size is 7″. You may add an inch if you’d like the fit of the bracelet to be a bit looser.
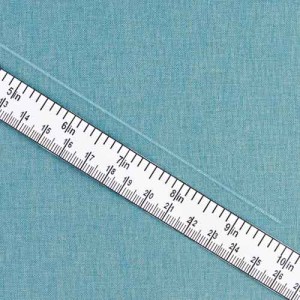
Step 3: Measure the elastic cord to your desired size, add about 4″-5″ and cut. Grab the cord at both ends and give it a tug, to loosen the elastic.
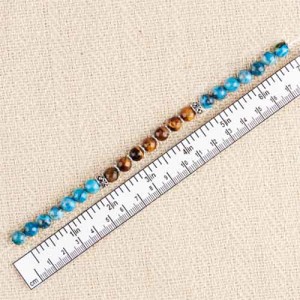
Step 4: String on the beads to the preferred length.
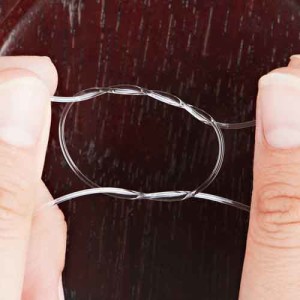
Step 5A: Make a cross knot and secure it by tying a square surgeon’s knot.
Step 5B: Illustrated look at the surgeon’s knot.
Step 6: Complete the bracelet by gluing the knot to reinforce its strength, then cut the excess cord, leaving about ¼”.
Step 7: Done!
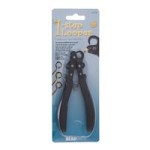
Our second tutorial is how to crimp your elastic ends to clasps, connectors, jump rings, toggle clasp, etc. Follow the same bead sequence as above or try your own sequence without tying the ends. For this tutorial, you will need a pair of Crimping Pliers, crimp beads/tubes, and your choice of clasp.
Step 1: Gather your products.
Step 2: First, measure your wrist size. An average size is 7″.
You may add an inch if you’d like the fit of the bracelet to be a bit looser.
Step 3: Measure the elastic cord to your desired size, add about 4″-5″ and cut. Grab the cord at both ends and give it a tug, to loosen the elastic.
Step 4: String on the beads to the preferred length.
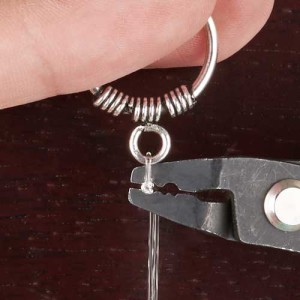
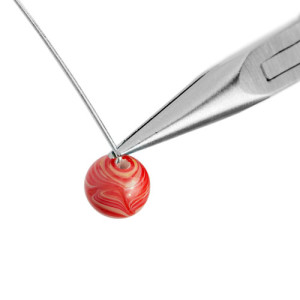
Step 5: Use a Crimping Tool. There are 2 hole crimpers. Inner hole will have a U-shape that will turn the crimp tube into a U-Shape, while the other will fold the crimp tube. First, crimp to make the U-shape.
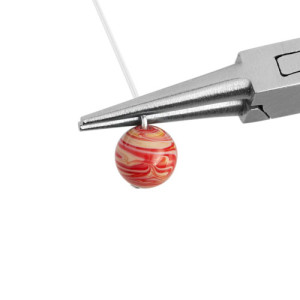
Step 6: Then, turning the crimping tool, use the other hole crimp to fold the crimp tube, as if you are folding a book close.
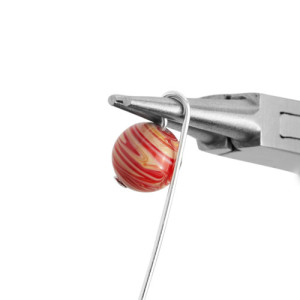
Step 7: Repeat for other end of clasp. Cut off excess cord and done!
A tip when using elastic cord: loosen the elasticity by giving it a tug/stretch before starting your project. This will help in two ways. First, if you start with a piece of elastic cord, sometimes you will find it stiff. Stretching it will help make the cord more manageable to use. And secondly, because over time you will constantly stretch the elastic when slipping them on and off, it will eventually loosen the elastic. Loosening it before starting your project can avoid a looser and larger fit in the future.
Another tip when knotting or crimping your elastic, is to have a large hole bead next to it. You can conceal the knot or crimp inside the bead for a clean and professional looking finish. Or you can use crimp covers to cover the crimp or knot as if it was another bead in your elastic bracelet design.
Here are some inspirational, simple elastic bracelets that we have made using our tutorial above.
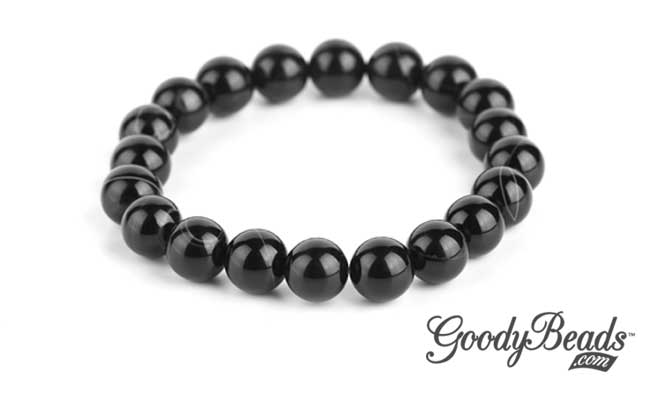
Onyx Stone Bracelet
Designed by So Vang
Elastic bracelets can be as simple as this Onyx Stone Bracelet. What makes this bracelet more grown up is the quality beads used for your projects. These Dakota Stone Sardonyx Gemstone Beads have a smooth, round shape with natural white lines. They are also cool to the touch so you know they are high-quality gemstones.
Wrap-Around Golden Ruby Bracelet
Designed by So Vang
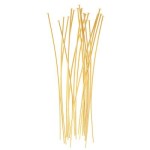
You will find that elastic cords are thin yet sturdy enough for seed beads. Here, we used some size 8 seed Japanese Miyuki seed beads that have a hole size large enough for a .7mm elastic cord. Making a fun sequential design with faceted Chinese crystals, brass-plated Bali beads, Miyuki seed beads, and Czech O beads, we strung on a 28” long strand to wrap around four times a 7” wrist. You can always add more or less beads to accommodate your own wrist size.
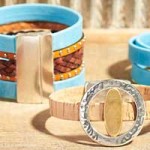
Elastic Watch
Designed by So Vang
For this piece, we used crimp tubes/beads to connect the elastic ends to the watch face and toggle clasp. This is a fun combination of using a watch face and making it into an elastic bracelet.
Wood Tassel Bracelet
Designed by So Vang
From our Tassel blog post, comes this pair of Wood Tassel Bracelet that were made with elastic cord. Wood beads were strung in a random sequence and an added tassel for extra embellishment. We adore these two bracelets because they are lightweight and trendy with tassel addition.
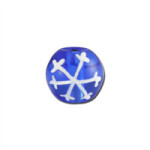
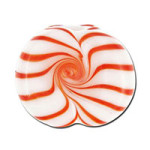
SuperDuo is a Czech-made glass seed bead with a diamond shape and two 0.8mm holes. They are great for dimensional bead weaving designs, from your basic flat stitching to more intricate 3D lace seed bead designs. We have two fun jewelry pieces using these versatile Czech SuperDuo seed beads; accompanied with pattern tutorials.
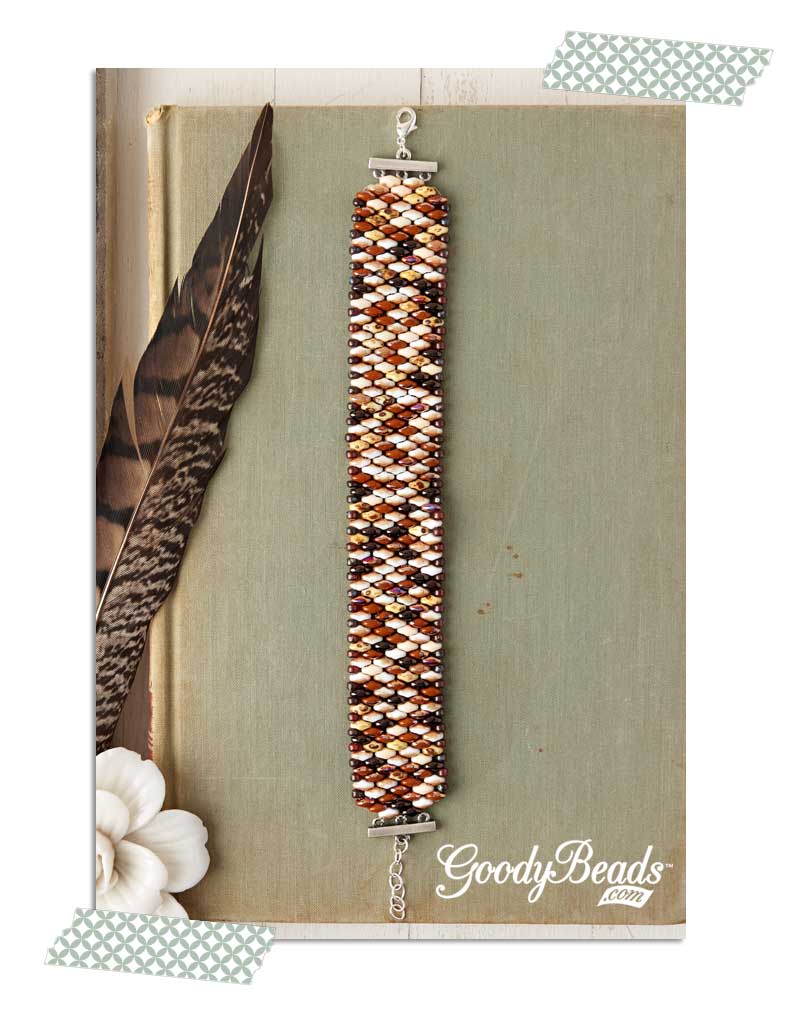
Ocean Pebble Bracelet
Design and tutorial illustration by So Vang
We love the different mixes that SuperDuo offers. The assorted SuperDuo colors make it easy to bead freely and not worry about color sequence. Our bracelet is weaved with a simple straight stitch and because Super Duo has two holes, they are easy to intertwine.
Below is our bracelet pdf pattern tutorial. With a tube of 300+ beads, we were able to make this bracelet project, with extra beads to spare. For our 7” bracelet, we started with 83 beads for the first row. You can add more or less for your wrist preference, but make sure to have an odd bead count before coming back around. When you reach the end of the pattern, tie the remaining string with the string closest to it and thread through a few more beads before snipping the string. As an option, you can glue the knot for a secure hold. Add your choice of lobster clasp to one end with a jump ring and on the other end, attach ¾” of chain with another jump ring. Or you can certainly choose a toggle or tube clasp to finish off your bracelet.
We love our dainty spiral SuperDuo earrings. They glisten with an edging of gold seed beads and findings. These earrings are simple to make and a great project for the beginning bead stitcher.
(1 pair) A014108 – Gold Plated French Wire Earrings
Headpin Wire Loop Tutorial: Christmas in July Edition
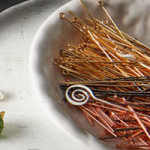
Are you thinking about Christmas in July? We are. We want to give you a heads up about the gift of handmade this upcoming Christmas. And what better way to jump start your jewelry projects by learning the basic skill of how to make a headpin wire loop.
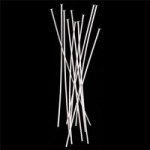
Make sure to have lots of headpins on hand. Plated headpins are inexpensive and a great starter for wire looping. Don’t be discouraged if your first or second or tenth loop doesn’t turn out the way you want it. Practice. Practice. Practice. Just remember to grip your tools loose but firm and as cliché as it may sound, it’s all in the wrist.
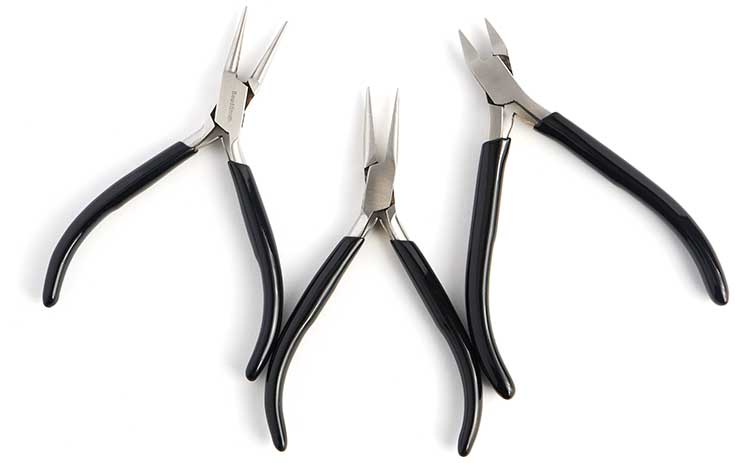
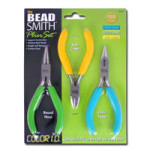
The tools you will need: Round Nose Pliers Needle Nose Pliers
Side Cutter
Supplies you will need: Beads A LOT of headpins (for practicing)
Tutorial:
Step 1: Put bead(s) on headpin.
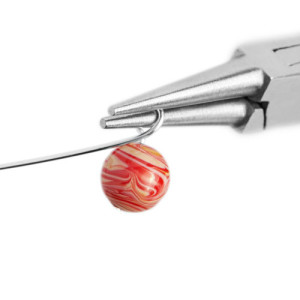
Step 2: Using Flat Nose Pliers, bend the headpin, from the top of the bead, in a 45 degree angle.
Step 3: Using a Round Nose Pliers, measure about ¼” of the plier tip. That is where you will place your pliers at the curve of the headpin. *Tip: You can mark the pliers with a Sharpie if you want consistent loops
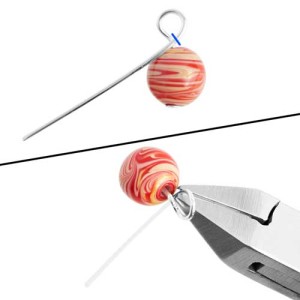
Step 4: Using your fingers, wrap the headpin over the plier.
Step 5: Continue wrapping the headpin under the plier.
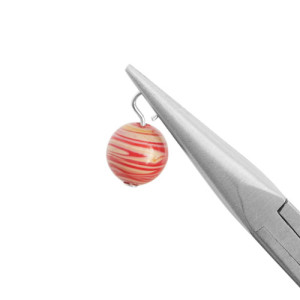
Step 6: Using Side Cutters, cut the excess wire where the headpin crosses.
Step 7: If there is a gap, use Flat Nose Pliers to adjust and close the loop.
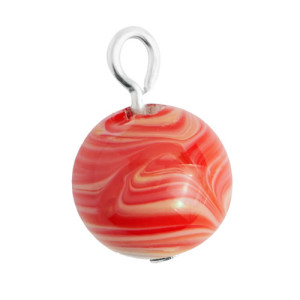
Step 8: Done!
Tip:
When clipping, be safe and hold headpin end so that the end doesn’t shoot away. You can also face the headpin end away from you – towards your jewelry mat – to avoid excess from flying off.
Get your holiday gifts done and ready with this essential skill. You can make multiple bead dangles for a chunky beaded bauble bracelet, a statement pendant for a necklace or simple holiday dangle earrings. For a fun and easy idea to test your skill, pick up one of our many earring kits. The necessary beads, headpins, and ear wire are included to make a charming pair of earrings.
Love starting projects but can’t seem to finish them? Well, here is an easy project that you can make and wear within minutes! Making leather bracelets with flat leather and leather cord is so easy, you may end up making more than one in one sitting. It’s a perfect project for when you gather your girlfriends for a night in.
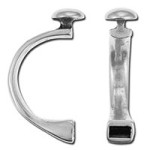
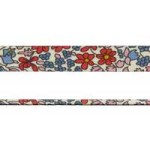
Flowery Flat Fabric Leather Bracelet:
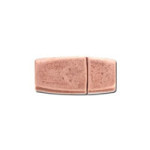
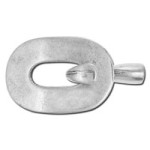
To prep for summer, we chose a summery, flowery flat fabric leather paired with the half-circle clasp. Because the clasp is already a half circle, you only need 3.5” to 4” of 10mm flat leather. Glue both ends to each clasp end for a complete summer look.
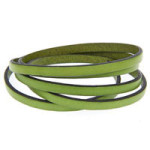
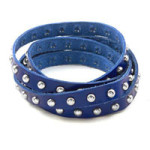
Purple Sky Flat Leather Bracelet:
For this buckle clasp, use three 5mm flat leather or one 5mm and one 10mm flat leather. To keep in line with our summer look from our fabric bracelet, we chose a sky blue and deep purple. Cut three leather pieces identical to 7” (or to your wrist preference). Glue all three strand ends together to each clasp end. After a few minutes, you are ready to enjoy a new piece of summer jewelry!
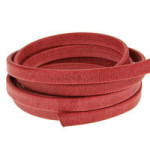
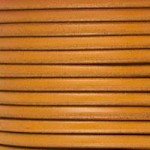
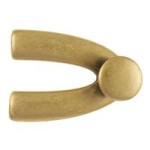
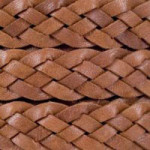
Cobra Bracelet:
For a unique statement bracelet, we chose this cobra snake clasp. Pair it with 5mm round leather cord, cut to approximately 15” long. Thread in the slider through both round leather ends to create a loop at the middle. Glue both ends to the other end of the clasp. After the glue dries, you are ready to show off your cobra bracelet.