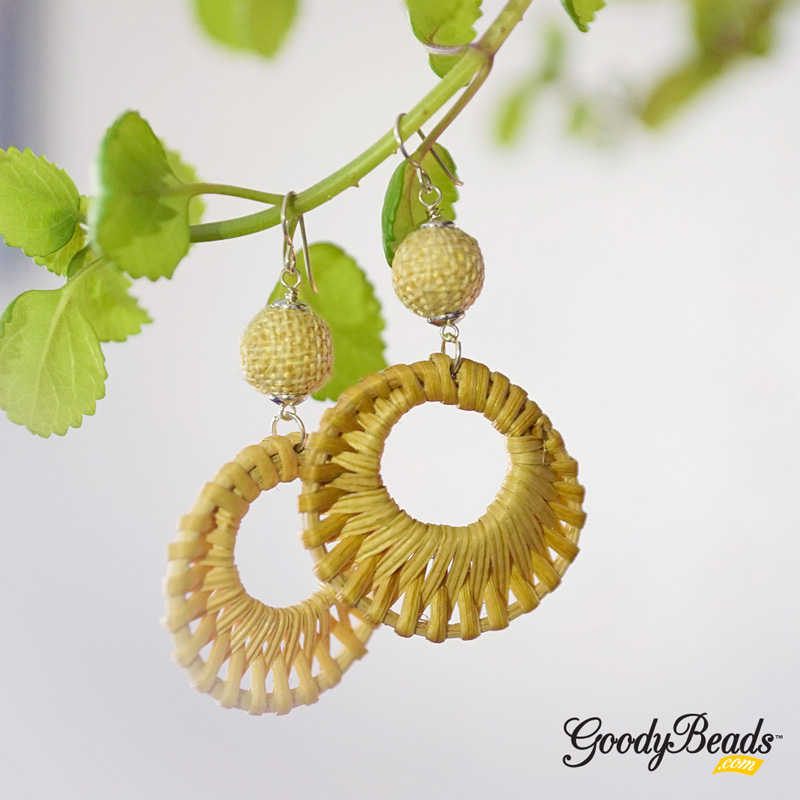
DIY Tropical Leaf Earrings with Wood & Resin Pendants
Can you just hear the islands calling your names to play? Well, slow down and prep some DIY tropical leaf earrings!
Items used in leaf earrings:
- Y017915 – 10mm Handmade Woven Rattan Straw Round Bead
- Z017902 – 14mm Handmade Woven Rattan Straw Round Bead
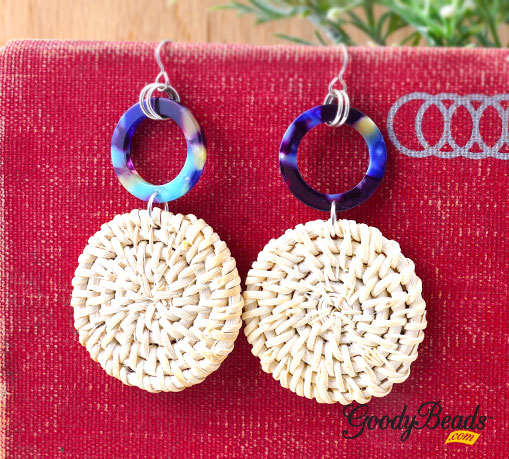
- Z021716 – 20x38mm Wood & Olive Resin Leaf
- TC02908 (4) – 4mm Gold Plated Heishi Disk Bead by TierraCast
- TC02912 (4) – 5mm Gold Plated Heishi Disk Bead by TierraCast
- A019617 – 2 Inch Gold Plated 20 Gauge Eyepins
- TCZ0139 – Gold Filled Earring Wire by Tierracast®

Directions:
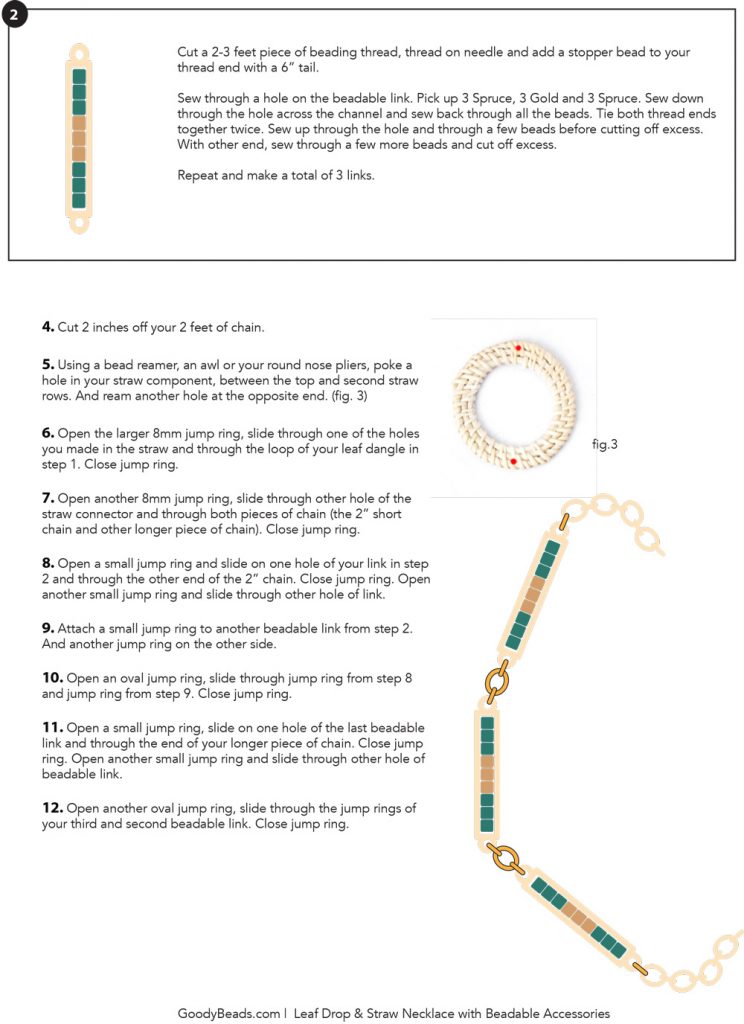
- On a eyepin, slide on a 5mm spacer, 14mm straw bead and 5mm spacer. Make a larger simple loop, about 5-7mm in diameter or large enough to slide on loop of the leaf pendant. Open this larger loop, slide on the leaf pendant and close loop.
- Open loop of another eyepin, slide on loop from the top straw bead in step 1. Close loop. Slide on a 4mm spacer, 10mm straw bead and 4mm spacer. Make a simple loop.
- Open earwire loop and slide on your dangle piece. Close loop.
- Repeat all steps for other earring.
Earring Designed by Tory Vezina.