Vintaj Patina Polka Dot Wood & Resin Earrings

Let’s be creative with these DIY Wood & Resin Earrings with Patina Paint. From one of our Facebook LIVE episode, Tory showed how easy it is to paint with Vintaj patinas on these trendy wood & resin pendants.

What you’ll need for wood & resin earrings:

GoodyBeads.com Blog | DIY Wood & Resin Earrings with Patina Paint FREE Tutorial

Directions:

  1. Shake up the patina bottle to mix the contents well. Pour out a small amount of patina.
  2. Using the back side of a paint brush or a small round tip and dip it in to the paint.
  3. Make dots on the wood part on both wood & resin pendants.
  4. Let paint dry for a few minutes.
  5. Open jump ring, slide on wood & resin pendant and through loop of earring. Repeat for other wood & resin and earring.

Video Tutorial

Check out our previous Facebook LIVE episode with these fun wood & resin earrings tutorial.


DIY Hoop Post Earrings with Wood Resin Bead

We love our selection of wood & resin charms that we’ve made some super cute beads out of them. And we’ve used them in our project today!

Items used in earrings:

  • Y003022 – 21mm Gold Hoop Post Earrings
  • Z015234 – 15mm Wood & Pale Pink Resin Disc Bead
  • TC02820 (2) – 7mm Bright Gold Hammertone Rondelle Bead by TierraCast
  • TC00567 (2) – 5mm Gold Nugget Spacer by TierraCast
  • A019696 – 2 Inch Gold Plated 21 Gauge Headpins with Ball Top
  • A011517 – 4mm Gold Plated 20 Gauge Round Jump Ring

Get all the components for this project here

GoodyBeads.com Blog | DIY Wood Resin Bead Hoop Post Earrings FREE Tutorial

Directions:

  1. Slide the following on a headpin and make a simple or wrapped loop:
    5mm nugget bead, wood/resin bead & 7mm hammertone bead.
  2. Open jump ring, slide on wood/resin dangle and hoop of earring. Close jump ring.
  3. Repeat all steps for other earring.

Check out more DIY Projects with Wood & Resin.


DIY Golden Resin Foil Earrings

Nothing says fall better than some wood and gold jewelry! Our pair of earring today uses gold-plated findings with our every-popular wood & resin pendant charms.

Items used in earrings:

  • Z004331 – 13mm Satin Gold Rectangle Textured Post Earrings
  • Z010290 – 28mm Wood & Clear Resin with Gold Foil Disc Pendant Charm
  • Z011522 – 6mm Gold Plated 20 Gauge Round Jump Ring
  • TC01208 (2) – Clear Comfort Earring Back by TierraCast®

GoodyBeads Blog | DIY Golden Resin Foil Earrings

Directions:

  1. Open jump ring, slide on wood/resin charm and loop of earring. Close jump ring.
  2. Repeat for other earring.
  3. Don’t forget the earring backs!


Wood and Resin Pendant Necklace

New Wood and Resin Charms combines beautiful resin colors and natural wood for a show-stopping component to all your DIY jewelry. Here, we’ve taken this large focal pendant and made a simple necklace using pinch bails and our Adjustable Rollo Chain Necklace Double Slide Clasp.


What you’ll need:

  • Gold Adjustable Rollo Chain Necklace Double Slide Clasp – Z010757
  • Wood & Deep Red Resin Free Form Pendant – Z010703
  • Pinch Bail – TC02583
  • 9mm Gold Jump Ring – Z020041


ResinPendantNecklace_Main

Directions:

  1. Slide pinch bail over hole of wood/resin pendant and pinch it close.
  2. With two pliers, open jump ring, slide on bail and slide through both jump rings of adjustable rollo chain necklace. Close jump ring.
  3. You’re done!


GoodyBeads EZ DIY Series: How to Make a Resin Pendant

From our GoodyBeads vault, we pull out our EZ DIY Series on how to make a resin pendant. This tutorial will show you the basics of how to mix resin and to use resin with bezels.


Resin

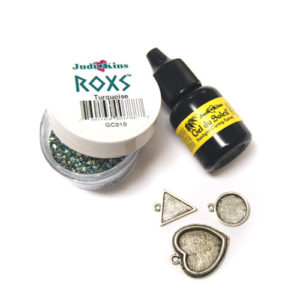
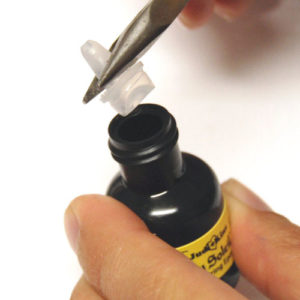
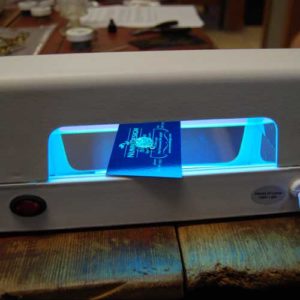
Resin comes in two parts: a resin solution and a hardener solution. To utilize the resin, you will mix equal parts of the two. Only then will it cure or harden after 24 hours of sitting. Check out GoodyBeads Resin supplies.

When mixing the resin, always pour into a container that will be discarded later, like these cups and sticks. When mixing the two solutions, always scrape the bottoms and sides at a slow speed for two minutes. If you mix rigorously, you will create more bubbles, which may be harder to get rid of later.

Once mixed, let the it settle for a minute before use. Depending on the resin, you have less than an hour to use the resin before it starts to thicken or become unmanageable.
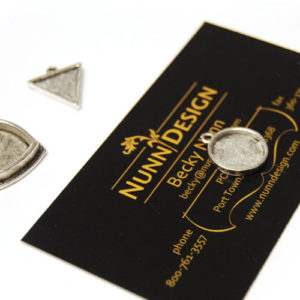
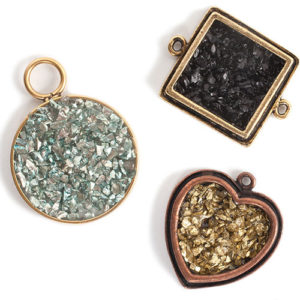
 

Bezels

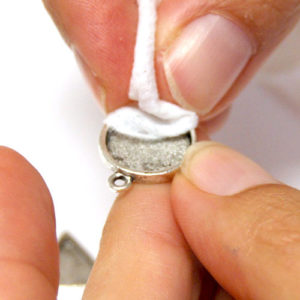
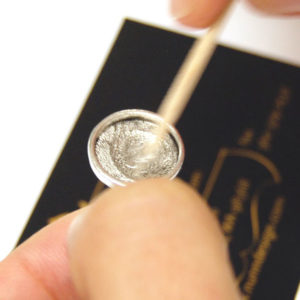
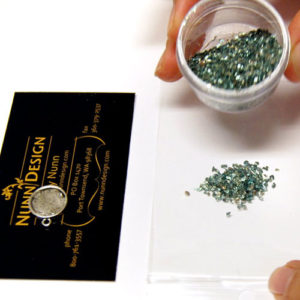
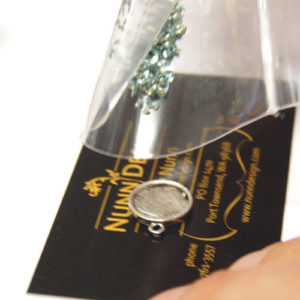
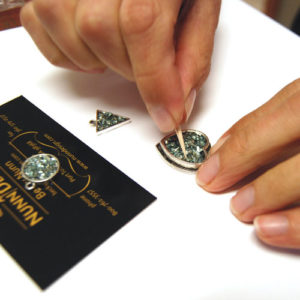
Each bezel has a framed lip, which is great for resin, as the resin will be contained within the bezel area. You can also create a resin dome with a bezel. To do so, pour the resin almost to the top. Let it dry for a few hours. Then pour more resin on top slowly, in the middle, to create a dome.

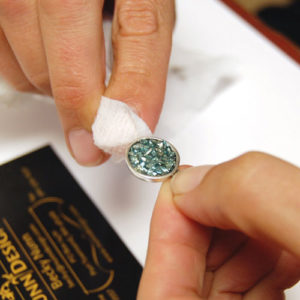
Note: Make sure to clean off any debris or dust that may have settle in the bezel before pouring in resin.


Resin and Bezel Tutorial

GoodyBeads | Blog: GoodyBeads EZ DIY Series: How to make a resin pendant


Resin Tips

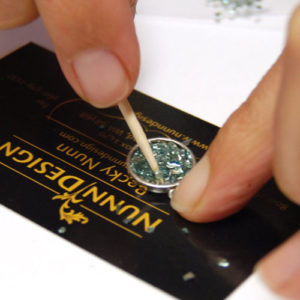
  • If there are small bubbles after you pour in your resin, take a straw and blow gently at the bubble. This will help pop it. You can also use a toothpick to pop the bubbles.
  • To dome your resin in your bezel, fill your bezel until it reaches almost to the top. Let it sit for a few hours. Your second resin layer will dome your bezel. Slowly pour a little resin at a time. Let it settle to the edges while your slowly pour the resin into a done shape. Let it dry for another 24 hours.
  • If you use pre-printed collage sheets or a printed image from your printer, make sure to seal the front and back of the paper with glue or Modge Podge. Let it completely dry before use.
  • Color or tint your resin with opaque or transparent Dye.
  • You can pour resin into resin molds. Make sure to coat the molds with a conditioner for easy resin removal later.


Nunn Design®: How to Make Pendants with Glitter Roxs and Gel du Soleil

From Nunn Design®, comes a fun tutorial on how to use Glitter Roxs and Gel du Soleil. Hop on the trend wagon and make a super easy pendant with glitter roxs.


Gel du Soleil

Gel du Soleil is a UV light sensitive resin. There is no mixing, no waste and the gel cures in 20 minutes when exposed to UV light. Because it is UV light sensitive, all aspects of the Gel du Soleil MUST be exposed to UV light in order for a piece to cure.


Glitter Roxs

Glitter Roxs are small pieces of translucent glass flakes imported from Germany. Because of their translucent quality, they fit the necessary restriction of curing success! Light can pass through the colored glass and cure.


Glitter Rox and Gel du Soleil Tutorial

Nunn Design Supplies:


Tools Needed:

  • Wet wipes
  • Toothpicks or headpins
  • Gloves
  • Timer
  • Business cards or card stock
  • Q-Tip
  • Pair of needle nose pliers
  • A small cello bag
  • Safety Glasses

(Tutorial and images provided by Nunn Design®)