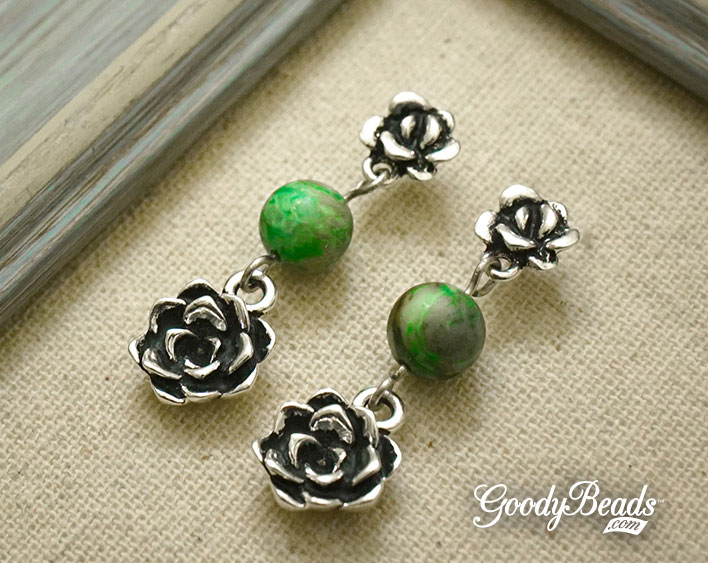
DIY Succulent Earrings with Crazy Lace Agate Gemstones
Make these cute succulent earrings using TierraCast succulent findings from their Renewal Collection and Crazy Lace Agate gemstones from Dakota Stones.
Items used in earrings:
- TC02874 – 10mm Antique Silver Succulent Earring Post by TierraCast®
- TC02877 (2) – 12mm Antique Silver Succulent Charm by TierraCast
- GCL8RD-M-8 – MATTE Green Crazy Lace Agate 8mm Round 8-Inch
- TC01253 (2) – 2 Inch Silver 21 Gauge Eyepin by TierraCast
- TC01208 (2) – Clear Comfort Earring Back by Tierracast
Directions:
- Open eyepin loop, slide on succulent charm and close loop.
- Slide a gemstone onto the eyepin and make a simple loop.
- Open loop and slide onto loop of post earring. Close loop. Make sure loops on eyepin are parallel and facing the same direction. This will help the succulent dangle to face forward.
- Repeat all steps for other earring.