By Kristal Wick
We love everything about a good tassel here at Goodybeads. You can create the simplest of jewelry designs, add a tassel and violà you’ve got instant glam! Traditionally, tassels were popular for embellishing home goods (Aunt Gertrude’s curtains, pillows, lampshades and even chandeliers), but they’ve “trended” their way into our jewelry and DIY projects — thank goodness! “Tassel” originated from “tassau”, a Latin term referring to a clasp at the neck of a garment that was originally worn by military officers and priests as talismans to ward off evil spirits. Also known as “passementerie” in France, “passamanaria” in Italy and “aziamentos” in Spain, the simple tassel can be traced back to the ancient tombs of the pharaohs in Egypt.
The Chinese incorporated tassels into their woven silks. But it was those trendsetting French folks that turned tassels into some serious ornamentation. In the 16th century, the first Guild of the Passementiers was founded and passementiers had to complete a seven year apprenticeship in order to become a Master in one of the many guilds. Each tassel was made from highly valued materials like silk or metallic gold-and-silver threads, so they became a symbol of wealth, power and prestige. With at least 300 threads per tassel, it is no wonder that the passementiers took such great pride in their work (and you thought seed beading took a lot of time to perfect)!
Tassel Earrings

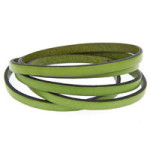
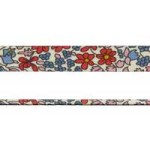
You can actually make your own tassel (perhaps not quite as elaborate as the passementiers’ version) or you can use ready-to-wear tassels such as these in our earring and bracelet projects. They come in some very popular colors so you can customize to your liking. Earrings can also become dangle purse charms, or make a necklace using a single tassel. Here’s the #411 on how to make these terrific tassel beauties:
Tassel Earrings
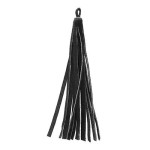
(2) Z007553 – 8cm Small Black Suede Leather Tassel
(2) A016387 – 2 Inch Hematite Enameled Copper 20 Gauge Eyepins
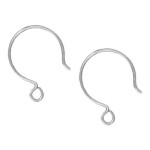
(2) TC01903 – Silver Filled French Hoop Wire Earrings by Tierracast
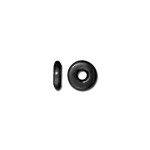
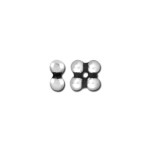
(4) TC00030 – 4mm Antique Silver Quad Heishi Spacer by TierraCast
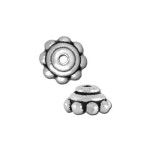
(4) TC00252 – 5mm Antique Silver Beaded Cap by TierraCast
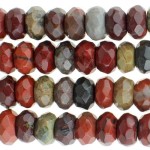
(1) GS00530 – 8mm Apple Jasper Faceted Rondelle Gemstone Beads from Dakota Stones
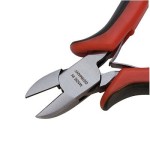
Tool: A013734 – EUROnomic 2K German Side Cutter
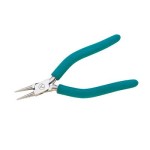
Tool: A013728 – Classic Wubbers Round Nose Pliers
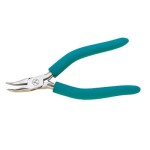
Tool: A013727 – Classic Wubbers Chain Nose Pliers
Steps
- Open eye pin and insert tassel. Close eye pin.
- String onto eyepin: bead cap, rondelle, spacer, rondelle, spacer, rondelle, bead cap and create a small loop at the top of the eye pin.
- Open earwire loop and add eye pin. Close loop and trim tassel to desired length.
- Repeat for the other earring.
- Trim tassels to your liking.
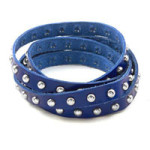
Tassel Bracelet
 Tassel Bracelet
(2) Z007553 – 8cm Small Black Suede Leather Tassel
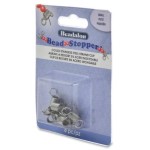
(2) A021663 – Small Bead Stoppers
(1) FTBW0002 – Soft Flex MEDIUM Gauge 0.019 Inch Diameter Beading Wire
(1) A012857 – 2mm Crimp Tube Assortment Pack
(2) TC01899 – 3mm Silver Crimp Cover by TierraCast
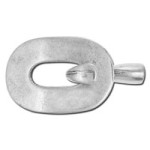
(1) TC00439 – 17mm Silver Oval Pewter Toggle Clasp by Tierracast
(3) Z011515 – 5mm Silver Plated Round Jump Rings
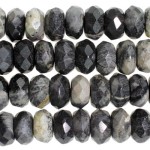
(1) GS00537 – 8mm Black Silver Leaf Jasper Gemstone Faceted Rondelle Beads from Dakota Stones (20)
(40) TC00030 – 4mm Antique Silver Quad Heishi Spacer by TierraCast
(22) TC01132 – 4mm Black Kenyan Heishi Spacer by TierraCast
Tool: A013734 – EUROnomic 2K German Side Cutter
Tool: A013728– Classic Wubbers Round Nose Pliers
Tool: A013727– Classic Wubbers Chain Nose Pliers
Tool: FTTL0003– Crimping Pliers
Steps
- Open jump ring, insert tassel and close jumpring.
- Cut a piece of beading wire 12 inches long, add a beadstopper to one end.
- String on silver spacer, black spacer, silver spacer, rondelle.
- Repeat Step #3 nine more times.
- Add black spacer, tassel jumpring, black spacer, rondelle and repeat Step #3 ten more times.
- Slide a crimp tube into the wire, add the toggle and pass the wire back through the crimp tube.
- Place the crimp tube into the crimping pliers’ notch closest to the handle and squeeze the pliers until you feel the crimp tube squish into a little taco shape.
- Place the crimp in the first notch of the pliers so the taco is standing up.
- Squeeze the pliers until the crimp is fully squished. Give the wire a gentle tug to make sure the wire is secured.
- Trim the wire using your wire cutter so the wire is flush with the crimp tube.
- Add a crimp cover over the crimp end and place in the 1st notch of the crimping pliers. Gently squeeze until the crimp tube is completely surrounding the crimp forming a round bead shape.
- Repeat crimping the other bracelet end attaching the toggle bar using two jumprings.
- Repeat Step #11 on the other bracelet end.
- Trim tassel to your liking.
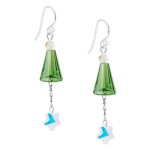
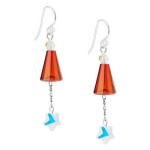
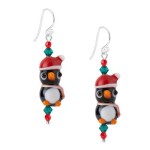
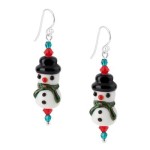
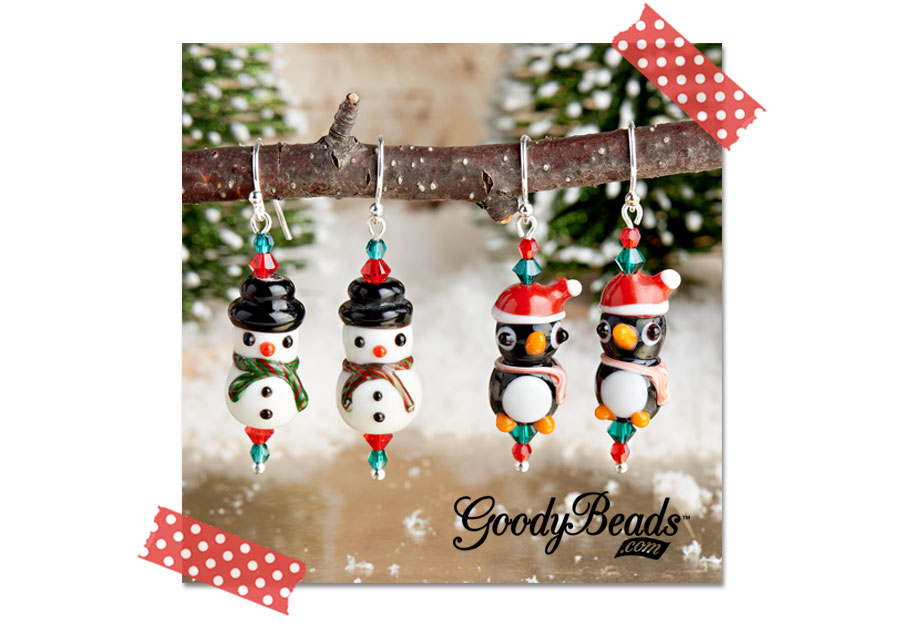 Everyone needs a little whimsy now and then, don’t you think? These little snowmen and penguins are just the ticket. Whether you’re gift giving to a youngster or a young-at-heart-ster, these are sure to bring a smile—not to mention they’re simple and quick!
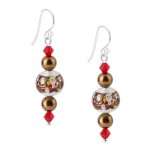
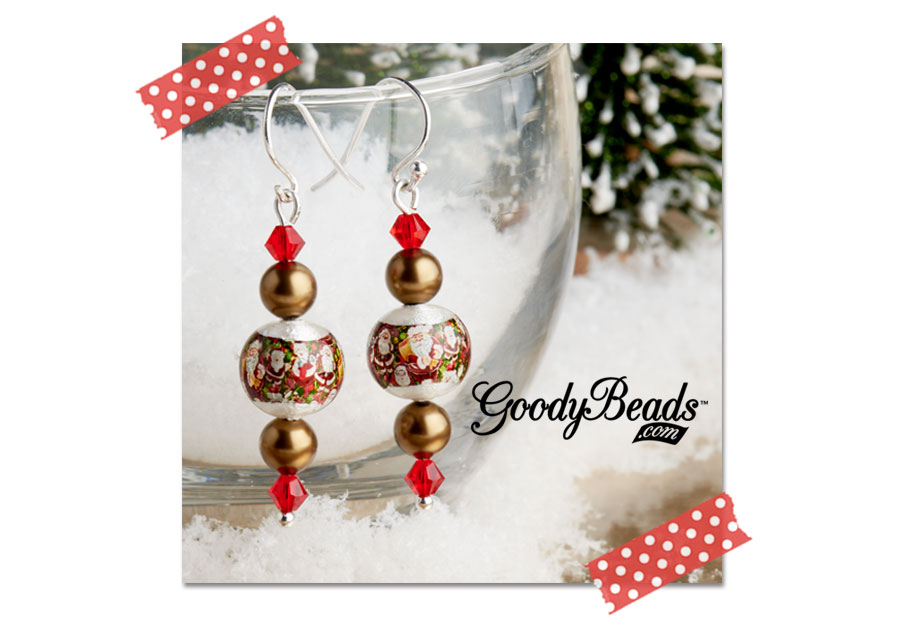 Nostalgic Nana on your nice list? These darling mini snow globe kits have the daintiest, detailed Santas just waiting to delight all ages (mostly yours). They’re very lightweight and wearable, perfect for the office.