Black Friday Free Gift DIY
by Kristal Wick
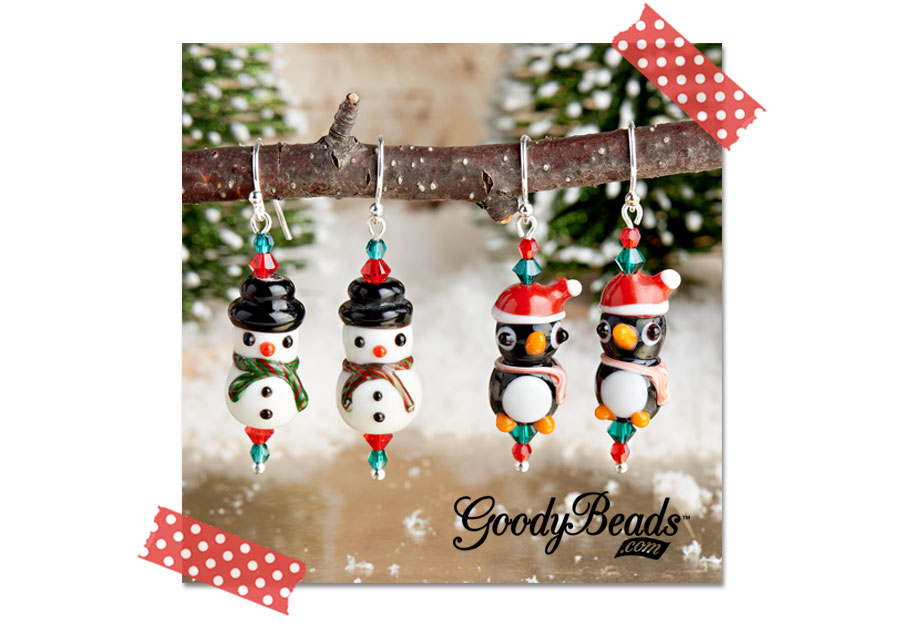
We’ve got a brilliant Black Friday gift with purchase for all you beady peeps! Since the gift-giving season is upon us and you’re creating like magical elves, we’re here to help you out with loads of FAB holiday beads you can mix and match! Use them to design an all-in-one beautiful jewelry piece for yourself or make dozens of earrings for your gal pals. Just add a few ear wires, headpins, chain and you’re good to go. I made seven different projects out of this Black Friday Free Gift and still had leftover beads! So there’s plenty to go around. You can also find all the beads included in our Black Friday Free Gift on our website. So what are you waiting for? Let’s get going!
Snowman Earrings
 Here are three easy designs in this DIY blog. They’re quick to make and highly addictive – once you start, it’s impossible to stop!
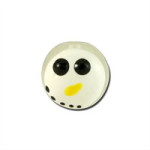
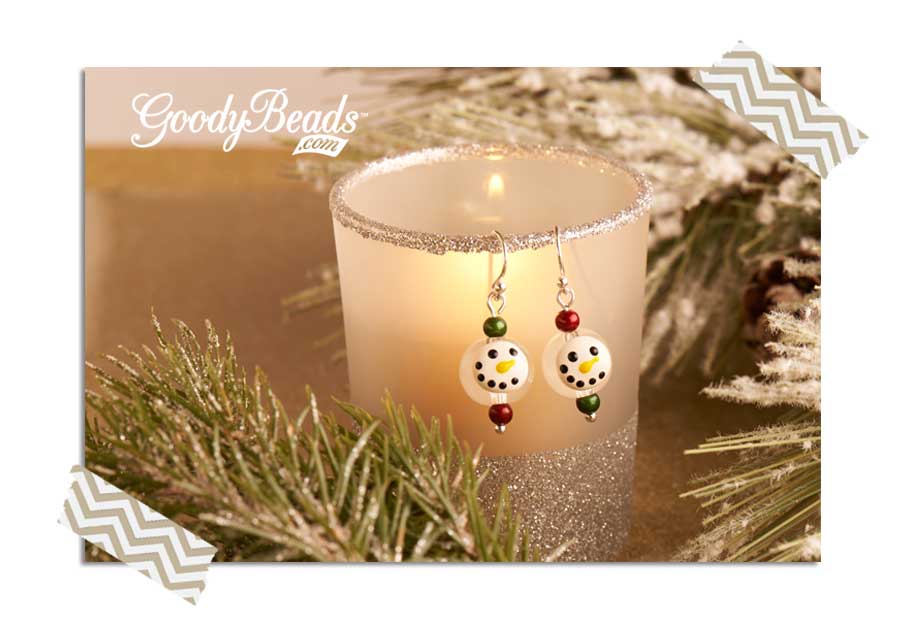
Snowman Earrings
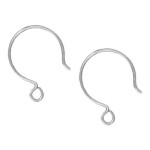
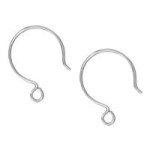
(2) A012827 – Sterling Silver Filled French Wire Earrings
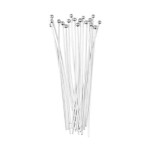
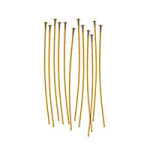
(2) A019688 – 2 Inch Silver Plated 20 Gauge Headpins with Ball Top
(2) A004285 – 12mm Clear Hand Painted Snowman Head Lampwork Beads
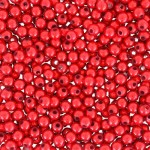
(2) A008069 – 4mm Red Miracle Bead
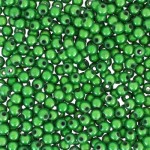
(2) A008067 – 4mm Green Miracle Bead
Steps
- Slide your beads onto a headpin in the following order:
Red Miracle Bead
Snowman Bead
Green Miracle Bead
- Make a simple loop at the top of your headpin.
- Open the loop of the earwire. Slip the headpin dangle onto earwire loop and close loop.
- Repeat for the other earring.
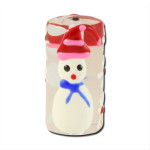
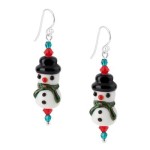
Snowman with Flowers Earrings
 Who doesn’t like a darling snowman? Festive with a pair of jeans as well as with a fancy holiday party dress, these little guys are sure to bring many smiles this holiday season.
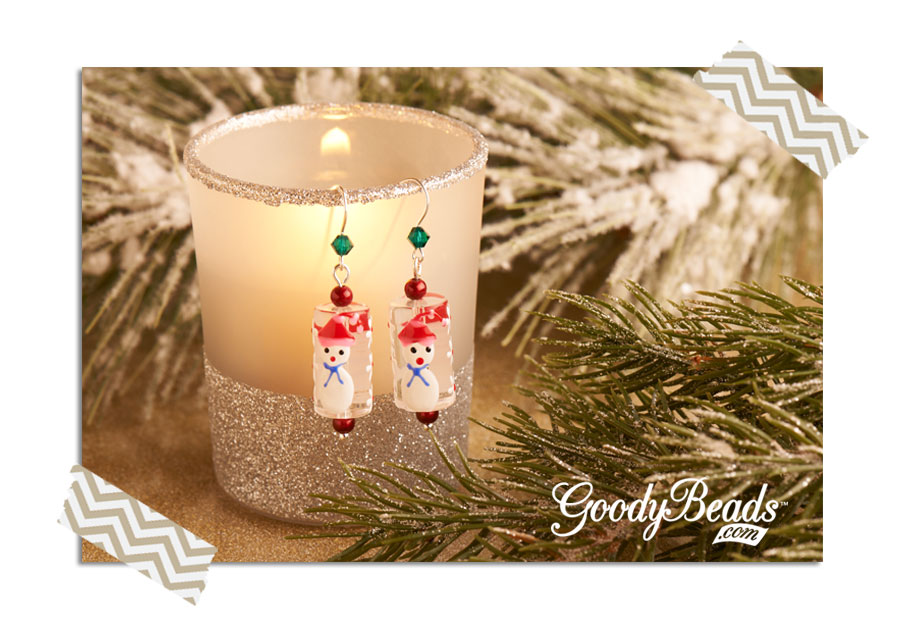
Snowman with Flowers Earrings
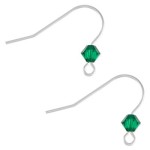
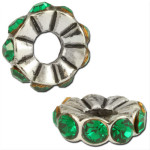
(2) A020541 – Sterling Silver Ear Wire with 4mm May Bi-Cone Crystal
(2) A019688 – 2 Inch Silver Plated 20 Gauge Headpins with Ball Top
(2) A004282 – 20mm Clear Hand Painted Snowman Lampwork Beads
(4) A008069 – 4mm Red Miracle Bead
Steps
- Slide your beads onto a headpin in the following order:
Red Miracle Bead
Snowman Bead
Red Miracle Bead
- Make a simple loop at the top of your headpin.
- Open the loop of the earwire. Slip the headpin dangle onto earwire loop and close loop.
- Repeat for the other earring.
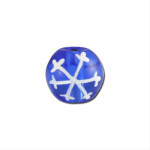
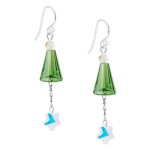
Snowflake Bracelet
 Blue snowflakes and a splash of silver says winter in the warmest way, don’t you think? Customize this bracelet for any age and style. Oh, be sure to make one for yourself, too!
Snowflake Bracelet
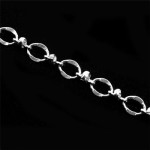
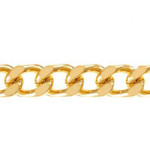
(1) A002734 – 8mm Rhodium Plated Fancy Chain Link
(1) A019633 – 3 Inch Silver Plated 20 Gauge Eyepins
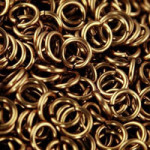
(3) A012842 – 4mm Matte Silver Plated Jump Rings
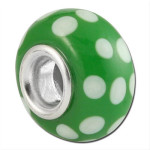
(1) A005566 – 10mm Blue Hand Painted Snowflake Lampwork Beads
(4) A008065 – 4mm Silver/White Miracle Bead
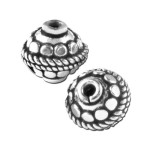
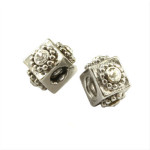
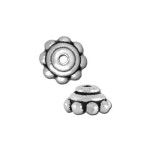
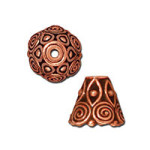
(2) A002968 – 9mm Silver Plated Bali Style Round Beads
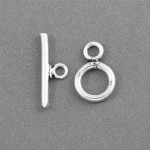
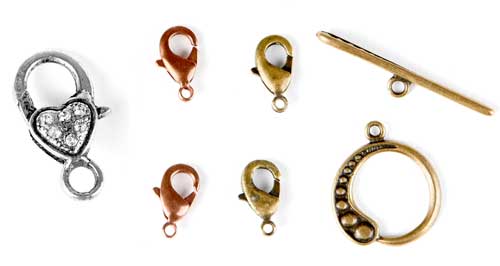
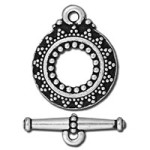
(1) A003578 – 8mm Silver Plated Simple Round Toggle Clasp
Steps
- Cut two equal lengths of chain.
- Slide your beads onto the eyepin in the following order:
Silver/White Miracle Bead
Silver Plated Bali Style Round Bead
Silver/White Miracle Bead
Snowflake Bead
Silver/White Miracle Bead
Silver Plated Bali Style Round Bead
Silver/White Miracle Bead
- Make a simple loop at the top of your eyepin.
- Open the eyepin loop, slip one chain link into the eyepin loop and close loop.
- Repeat for the other side of the bracelet.
- Add a toggle bar to one end of the chain using two jump rings.
- Add the toggle to the other chain link using a jump ring.