Take two links from the bead chain link by opening and closing the loops.
Open jump ring, slide on one end of beaded chain and through crystal pendant. Close jump ring.
Open earwire loop, slide on other beaded link end and close loop.
Repeat all steps for other earring.
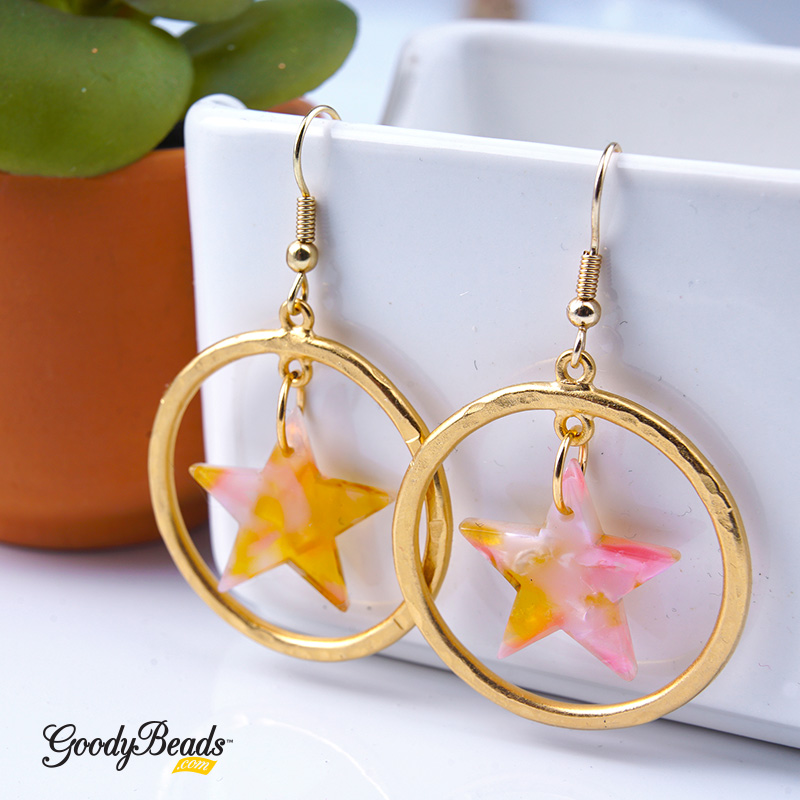
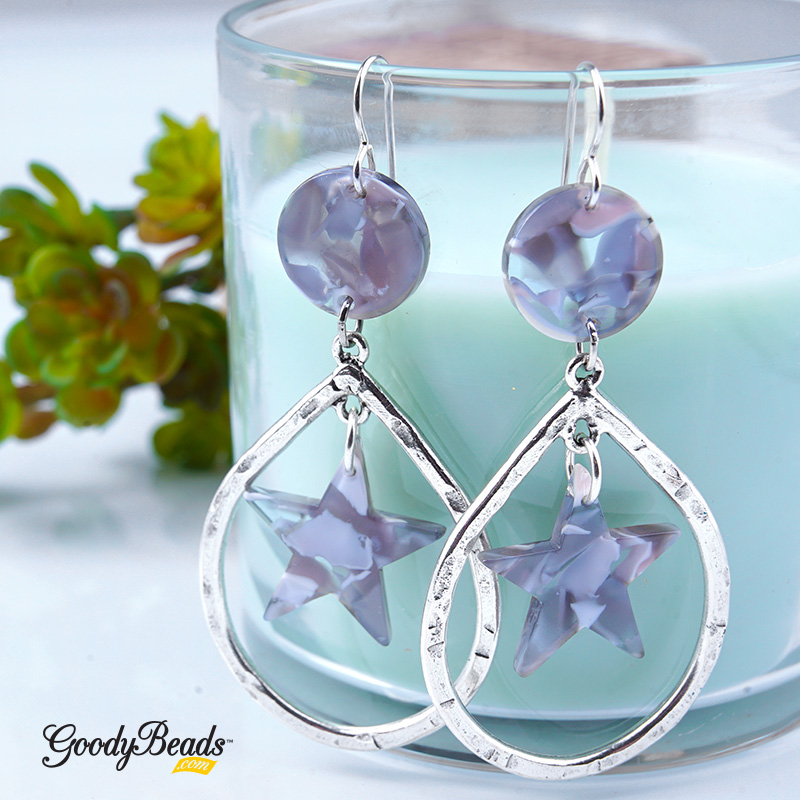
DIY Starry Acetate Earrings
It’s getting warmer out, so why not plan for a stargazing trip? Let’s get your gear ready with some appropriate star earrings with acetate components. Here are two DIY Starry Acetate Earrings to get you started, from the Twinkle, Twinkle Little Star Trend.
Open jump ring, slide on last link and a tassel. Close jump ring.
Open another jump ring, slide on middle link and a tassel. Close jump ring.
Open another jump ring, slide on last link and a tassel. Close jump ring.
Open another jump ring, slide on a tassel and close jump ring.
Open another jump ring, slide through post earring hole, through jump ring in Step 5, and one end of chain link. Close jump ring.
Repeat all steps for other earring.
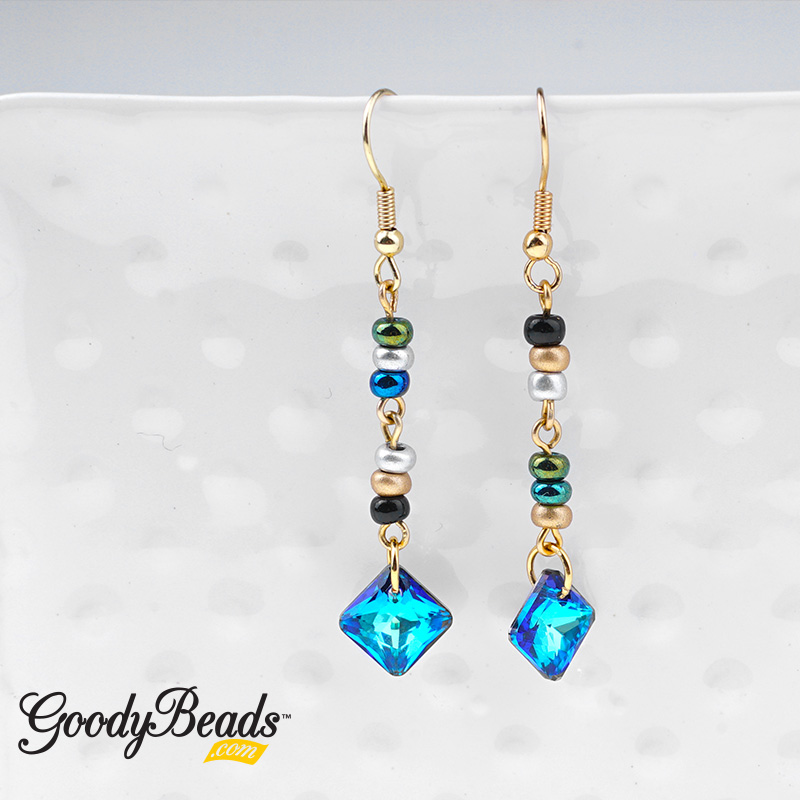
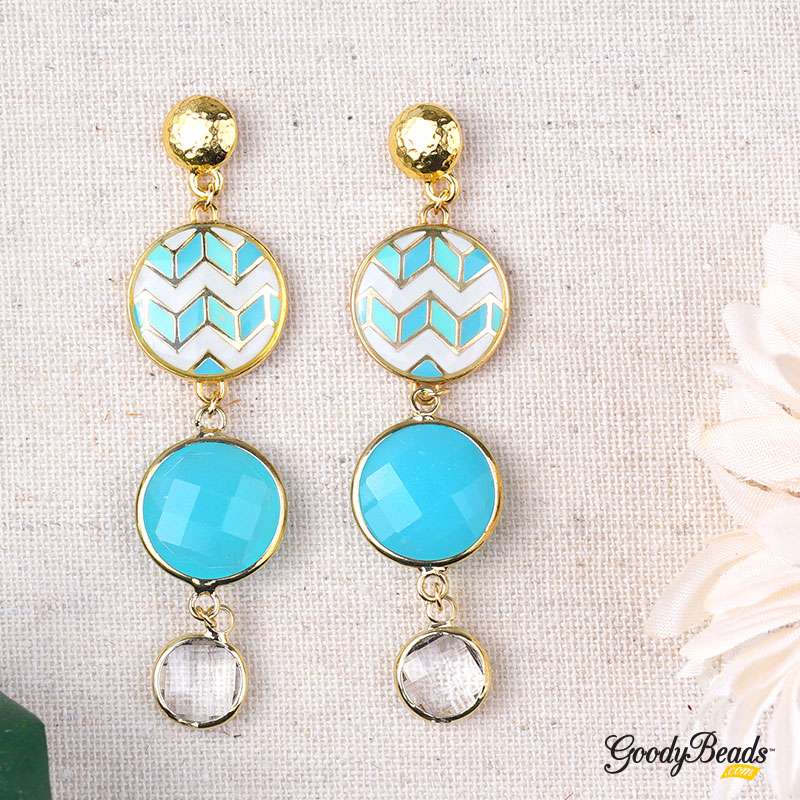
DIY Enamel and Faceted Glass Earrings
One thing we love about making jewelry is creating length and layers by linking connectors and dangles. When it comes to our Enamel Chevron and Faceted Glass Earrings, designed by Heidi, she did just that! She used enamel and faceted connectors with gold findings!
Open jump ring with two pliers, slide on glass dangle and one loop of faceted glass connector. Close jump ring.
Open another jump ring, slide on other loop of faceted glass connector and one loop of enamel connector. Close jump ring.
Open another jump ring, slide on other loop of enamel connector and post ear wire loop. Close jump ring.
Repeat all steps for other earring.
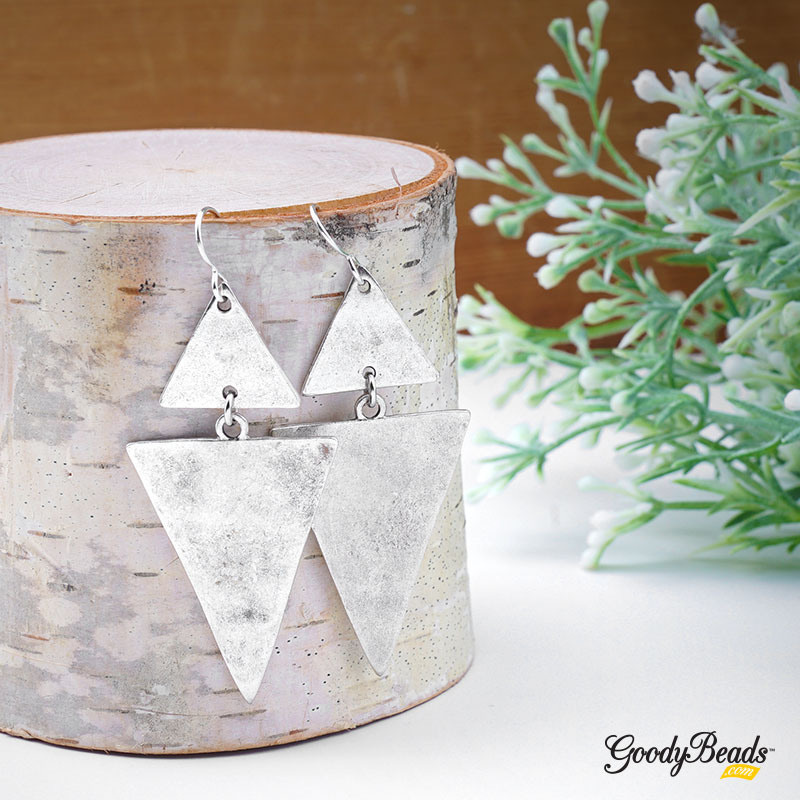
Geometric Triangle Earrings
Today’s easy tutorial is designed by Heidi! She has an eye for large, geometric and statement jewelry. So these pair of Geometric Triangle Earrings is definitely the pair for her!
Open jump ring, slide on triangle charm and triangle link (hole on flat side) and close jump ring.
Open ear wire loop, slide on triangle link (hole at the point) and close loop.
Repeat all steps for other earring.
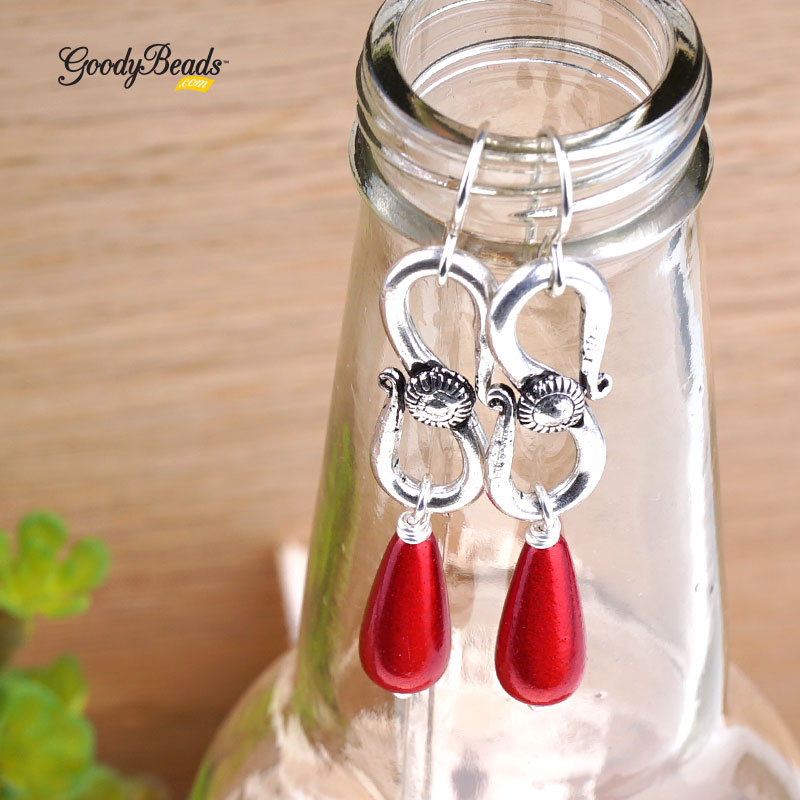
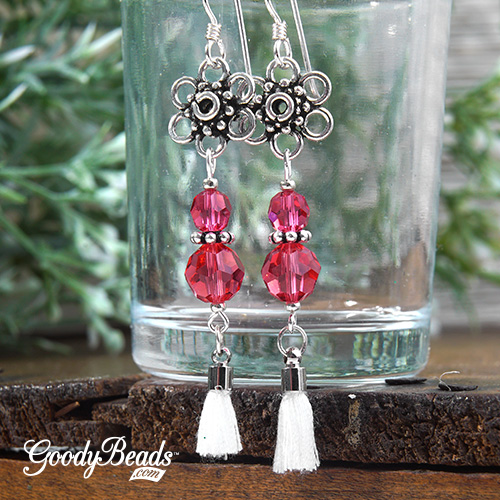
DIY Red Bali Drop Earrings
We love to take our products and use it in different ways. In our Red Bali Drop Earrings, we’ve taken an S-Hoop Clasp and transformed it into a connector piece.
Here is what you’ll need to make the drop earrings:
Slide a miracle bead onto the headpin and make a simple or wrapped loop.
Gently pry the hook clasp ends outwards.
Slide the drop bead you made in Step 1 onto one clasp end and close or pinch the clasp end inward to close.
Slide earwire hoop through other clasp end and close or pinch the clasp end inward to close.
Repeat all steps for other earring.
DIY Fine Rocks Wire Earrings
Today’s tutorial features one of our newer products 55mm Swarovski® Ultra Fine Rocks Tube beads. These Ultra Fine Rocks are longer in length and thinner than our usual Fine Rocks Tube. Plus, they are also a little more pliable to wrap around memory wire, which is what we’ve done in our earrings tutorial!
Cut two coils of memory wire. While holding both coils of memory wire together, cut off an extra inch of memory wire end.
Make a simple loop on one memory wire end by rolling memory wire finishing pliers and making a loop outwards and perpendicular away from the memory wire.
Slide nugget spacers on the memory wire. Curl the fine rocks tube to create a curved piece while sliding it on the memory wire. And then slide on another nugget spacer.
Slide the other memory wire end through loop you made in Step 2.
Grasp that end with Memory Wire Finishing pliers.
Roll loop towards you to make a simple loop. Use crimper to help close the loop tighter.
Add your ear wire and repeat all steps for other earring.
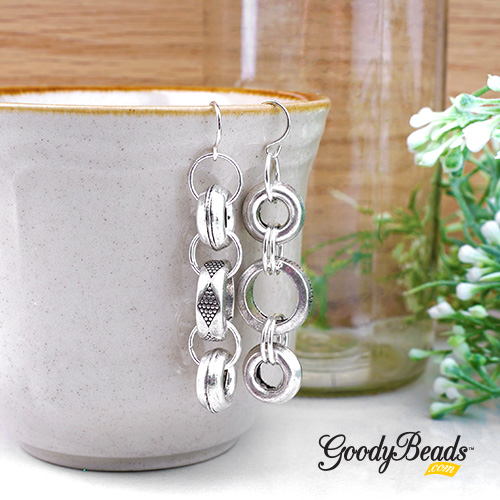
DIY Silver Bali Ring Earrings
Today’s easy tutorial features a pair of Silver Bali Ring Earrings our Designer Tory designed during one of our Facebook LIVEs in 2019. Here is what you’ll need:
Open jump ring and slide through 12mm and 15mm bead. Close jump ring. Open another jump ring, slide through the same beads again and close jump ring.
Open a jump ring, slide through 15mm bead and another 12mm bead. Close jump ring. Open another jump ring, slide through the same beads again and close jump ring.
Open another jump ring, slide through one of the 12mm bead and through loop of ear wire. Close jump ring.
Repeat all steps for other earring.
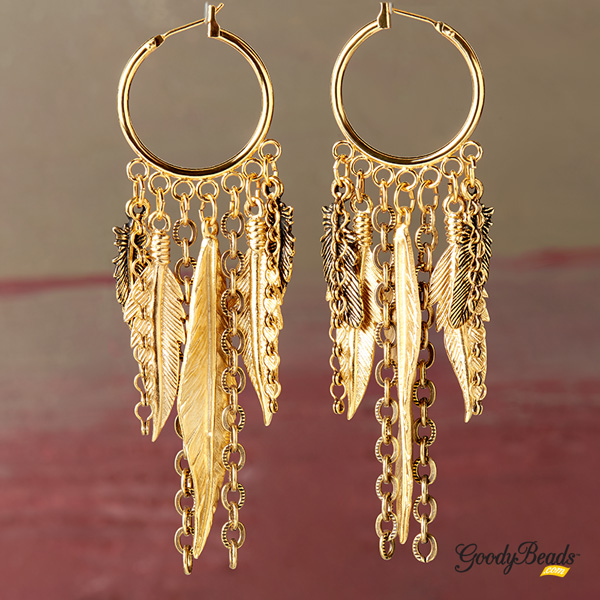
DIY Golden Feather Hoop Earrings
We love a good statement earring. Especially one with fun components and feather charms!
What you’ll need for earrings:
20mm Gold 7 Ring Chandelier Lever Earlier – A010234
23mm Antique Gold Small Feather Charm by TierraCast – TC01366 (4)
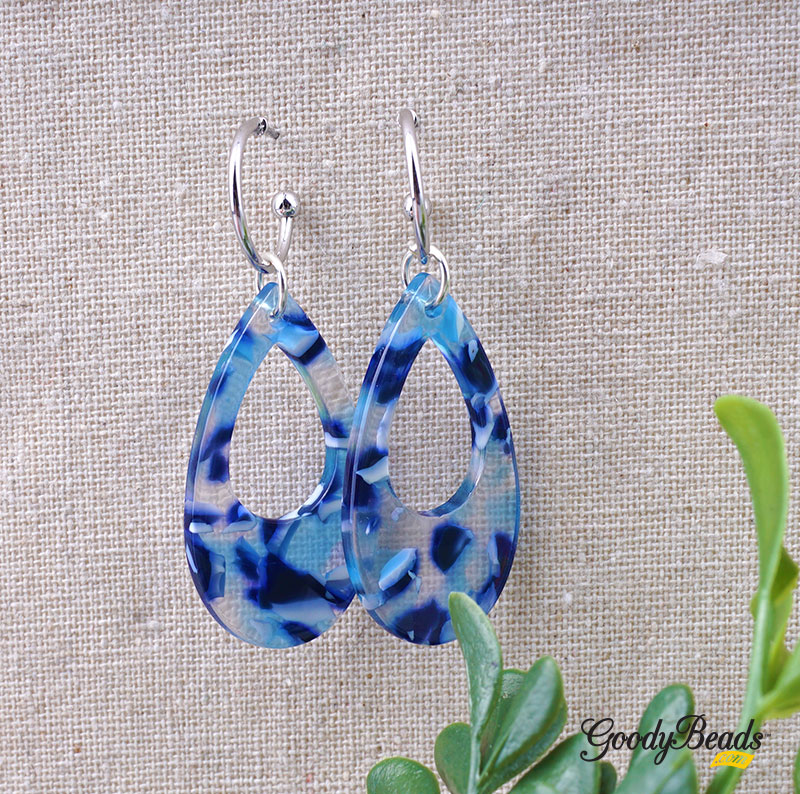
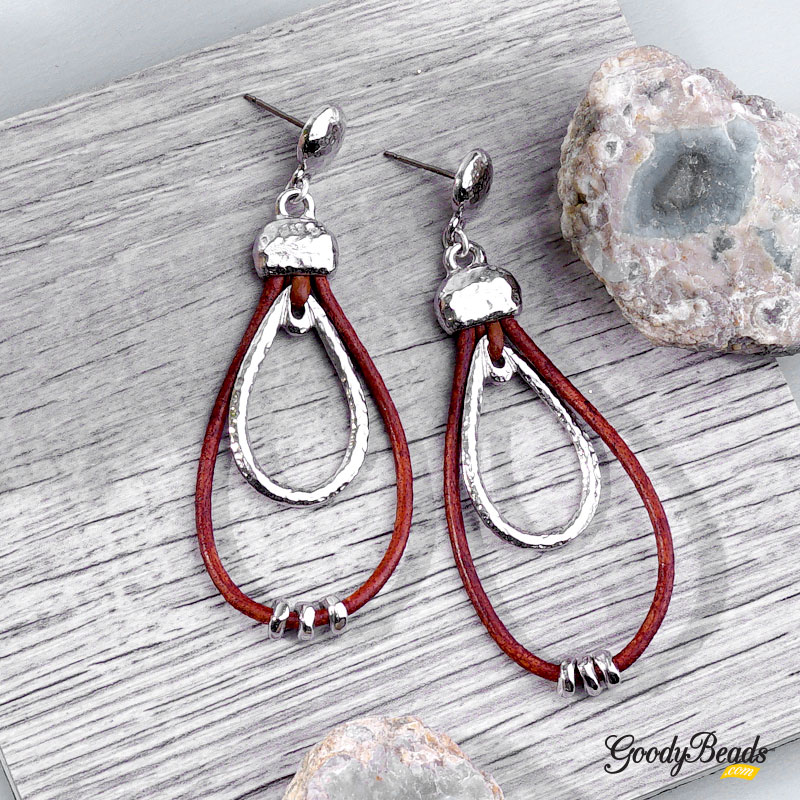
In today’s DIY, make a leather hoop and silver teardrop earrings using leather cord and TierraCast’s new Hammertone collection. Here is what you’ll need:
Cut a half coil of memory wire with memory wire cutters.
Wrap a loop or coil one end of the memory wire with memory wire finishing pliers. Slide on the memory wire: TWO 4mm crystal, 6mm crystal, 8mm crystal, 6mm crystal and TWO 4mm crystal. Cut memory wire end, leaving 3/4 inch end. Coil or make a simple loop to that end with memory wire finishing pliers. (NOTE: You can substitute 20-gauge gold-colored wire for the memory wire in Steps 1 and 2.)
Open a jump ring from adjustable bracelet and slide on one end of crystal link. Close jump ring.
Repeat to other end of link and adjustable bracelet.
Cut your 14 inches of leather in half to have 2 – 7 inch pieces of leather.
Slide the memory wire thru the hole in the center of the leather, trim excess memory wire.
Put the Post earring into one of the end caps so the part of the earring that goes in your ear sticks out of the end cap’s small hole.
Add 2-3 drops of super new glue into the end cap with the earring post and insert one end of your leather. Hold for 20-30 seconds so that the leather and earring post stay straight.
Add glue to the end cap without the earring post and insert the other end of the leather. Hold for 20-30 seconds while the glue sets.
Let set for 24 hours, so glue fully dries.
Use earring backs when wearing.
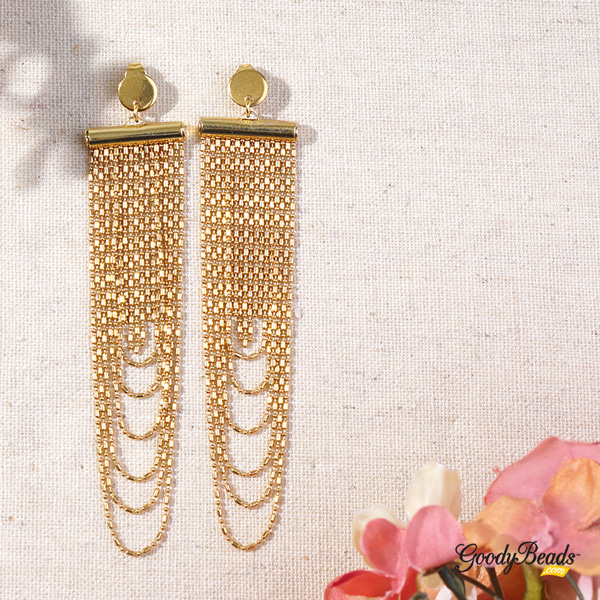
Dot & Dash Fringe Earrings
Today’s tutorial is a revision of popular DIY Golden Fringe Earrings we did a few weeks back. Our Dot & Dash Fringe Earrings is on another level of gorgeous!
What you’ll need for earrings: (Silver alternative available)
Cut chain at these lengths and alternate the dots and dashes 7 inches – Dash at beginning and end 6 ¼ inches – dot at beginning and end 5 ¾ inches – dash at beginning and end 5 inches – dot at beginning and end 4 ½ inches – dash at beginning and end 3 7/8 inches – dot at beginning and end 1 ½ inches – dash at beginning and end 1 ½ inches – dot at beginning and end 1 ¾ inches – dash at beginning, dot at end 1 ¾ inches – dot at beginning, dash at end 1 ¾ inches – dash at beginning, dot at end 1 ½ inches – dot at beginning and end 1 ½ inches – dash at beginning and end
Slide what you’ve cut in Step 1, in the same sequence through the slide end tube.
Slide the end of 3 7/8 inches through end tube.
Slide the end of 4 ½ inches through end tube.
Slide the end of 5 inches through end tube.
Slide the end of 5 ¾ inches through end tube.
Slide the end of 6 ¼ inches through end tube.
Slide the end of 7 inches through end tube.
Close side tab of end tube with a flat edge, like pliers.
Open jump ring and slide on loop of end tube and ear wire loop. Close jump ring.
Repeat all steps for other earring.
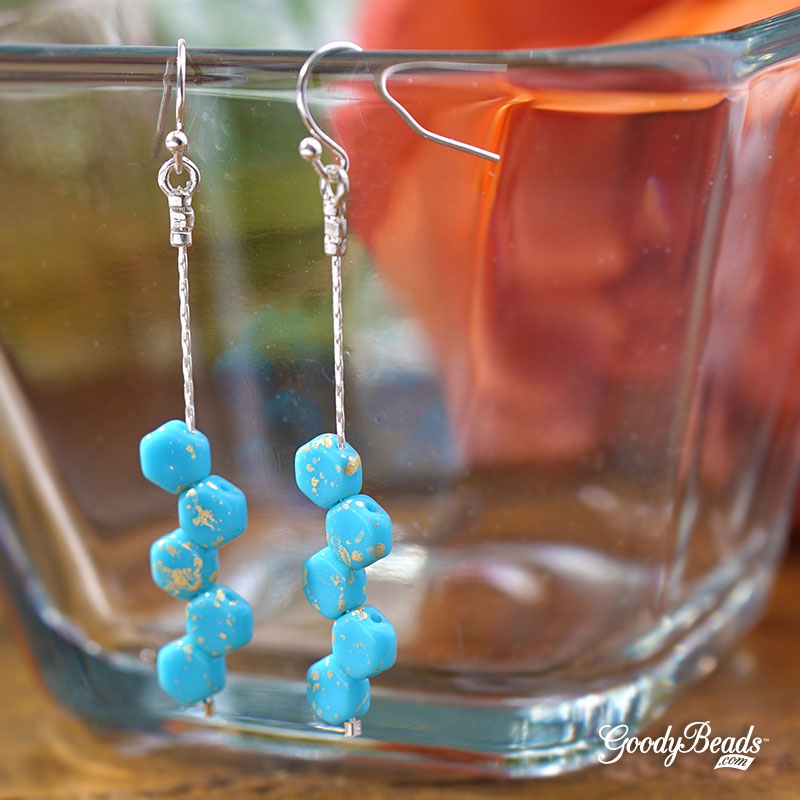
Honeycomb Drop Earrings
Love Czech Honeycomb beads? Our Designer So Vang always has a plethora of miscellaneous Honeycombs around her area! Here’s a simple way to use them in this Honeycomb Drop Earrings.