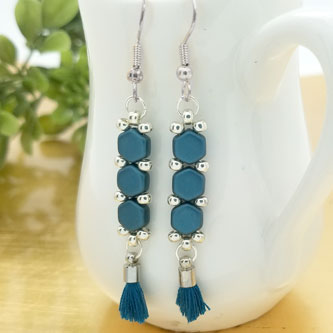
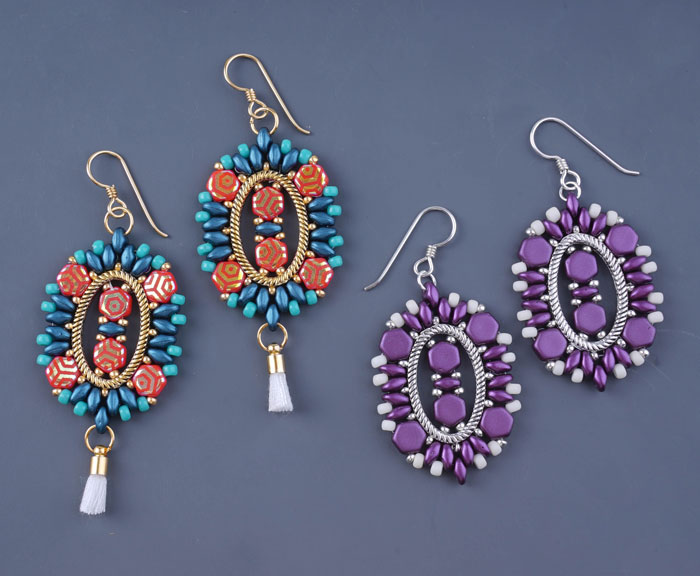
Honeycomb Rosebud Oval Earrings – FREE Tutorial
So Vang has created these beautiful Honeycomb Rosebud earrings using Czech Honeycomb, SuperDuos, Miyuki seed beads and the Oval Groovy Bead Frame. Check out this FREE tutorial on how to make your own.
Inspired by the gorgeous Frida Kahlo and the iconic flowers in her hair, is a pair of beautiful earrings that Frida would’ve love to wear!
Supplies you will need:
- Czech Honeycomb Beads – Try out the NEW Laser Core Honeycomb beads.
- Czech SuperDuo
- Miyuki Round Seed Bead – Size 8 and size 11
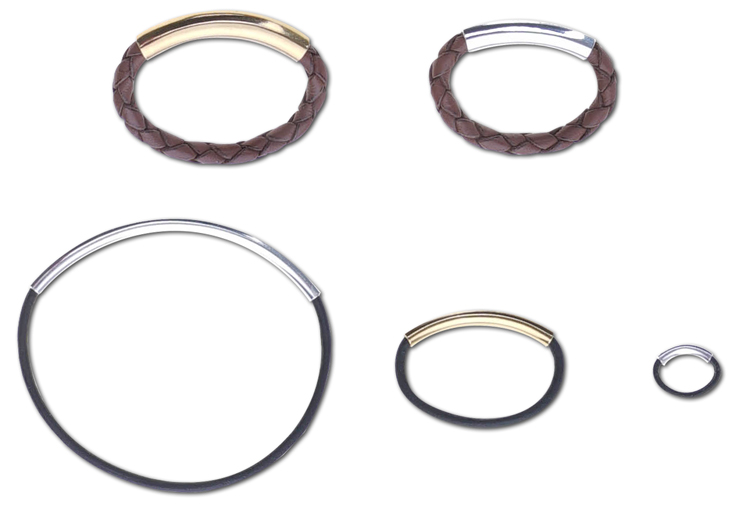
- Oval Bead Frames (Z019139/Z019142/Z019145)
- Beading Needle (A015211)
- Fireline Beading Thread
- 4mm, 5mm or 6mm jump rings with a 24-Gauge or up to a 20-Gauge wire.
- Earring Findings
- Optional: Fiber Tassels with cap
- And FREE Honeycomb Rosebud Oval Earrings Tutorial
Make sure to try different colors and combinations even a monochromatic purple pair of earrings with cream seed beads.
Don’t forget to get the FREE Honeycomb Rosebud Oval Earrings Tutorial!