Gift Ideas for Dad
Celebrate fathers everywhere with gifts he can proudly wear and still be fashionable! Check out these easy DIY gift ideas to prepare for Father’s Day.
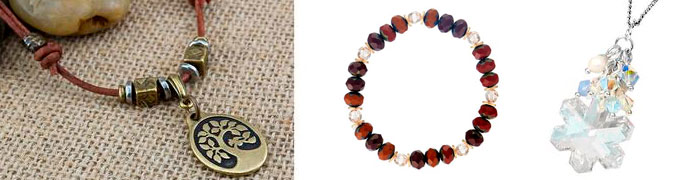
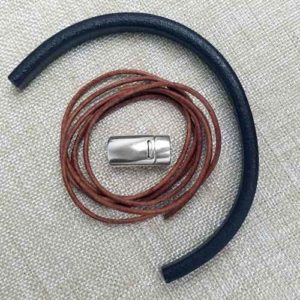
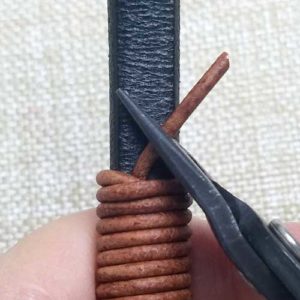
Leather Keychain
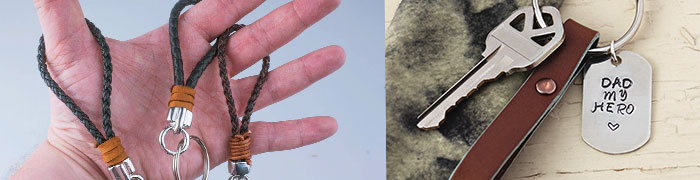
Keychains are a smart gift to give Dad! Make it a memorable accessory that he can hang his keys from! From our Facebook Live show, we showed how easy it is to make braided leather keychains. And from a previous Father’s Day post, we did a tutorial on riveting flat leather for a simplistic keychain with a stamped dogtag charm.
Components from left picture to right:
- CH00474 & Z010962, CH00156 & Z010962, CH00475 & A022075
- MCKR0002, Z009650, A001530, CH00185, TC01679, TC01812, TL00191
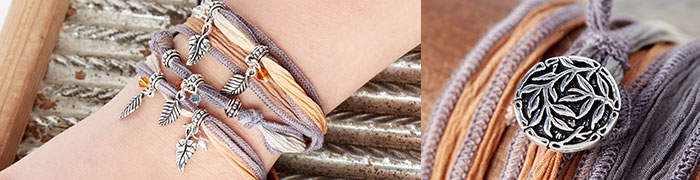
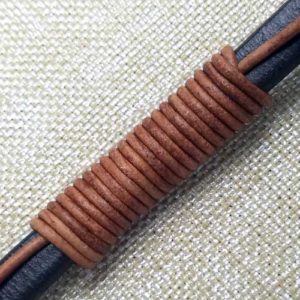
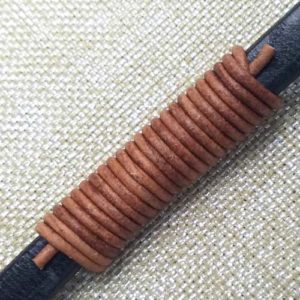
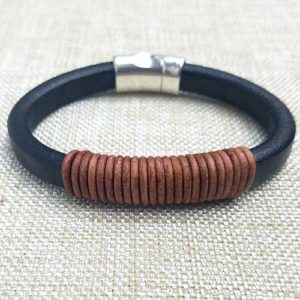
Leather Bracelets

Create a modern leather bracelet with round and Regaliz® leather. From our Men’s Bracelet trend, these leather bracelets will never go out of style. Leather bracelets with a touch of silver makes accessorizing with men’s fashion easily from casual denim to a neat blazer.
Bracelet components from left to right:
- A015313 & A019014
- CH00475 & Z001235
- CH00126, Z003438, Z002073, A014254
- CH00125, Y002136, Z003438
- CH00157, A003853, A022061
Gemstone Stretch Bracelets
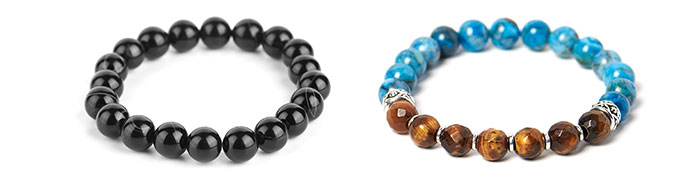
From rock stars to movie stars, you see more men wearing stretch bracelets everywhere. We especially love a bracelet of all Gemstones like these dark Sardonyx or mix it up some gemstones with silver spacers or beads. Check our Easy Elastic Bracelet Tutorial to learn how to make a stretch bracelet with a surgeon’s knot. Or use the Elastic Cord Needle and watch how Beadalon® finishes off their stretch bracelet in this Vendor Video Post.
Bracelet bead components from left to right:
- SDW10RD-8
- TGE8RDLH-F-8 , BCL8RD-8 , (2) TC00340, (6) TC00032