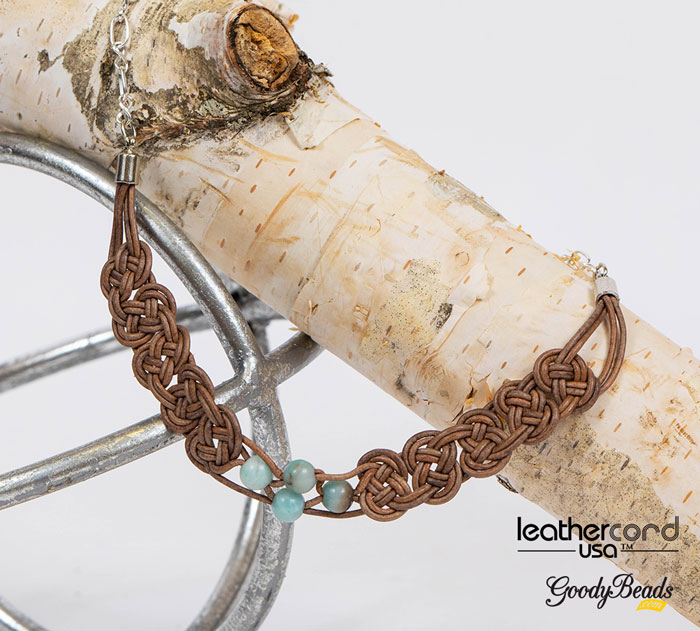
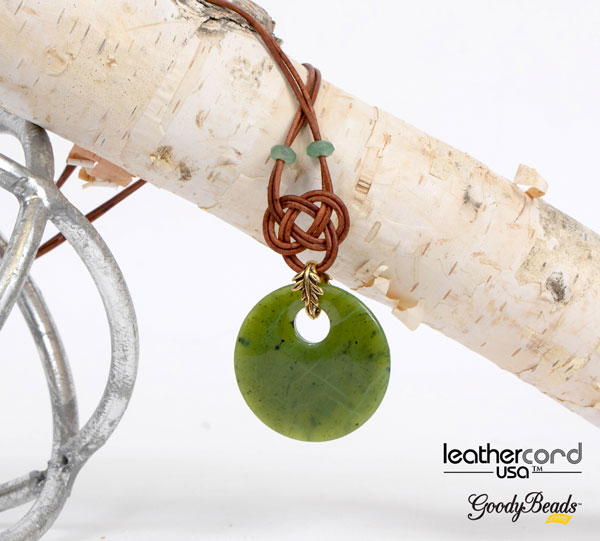
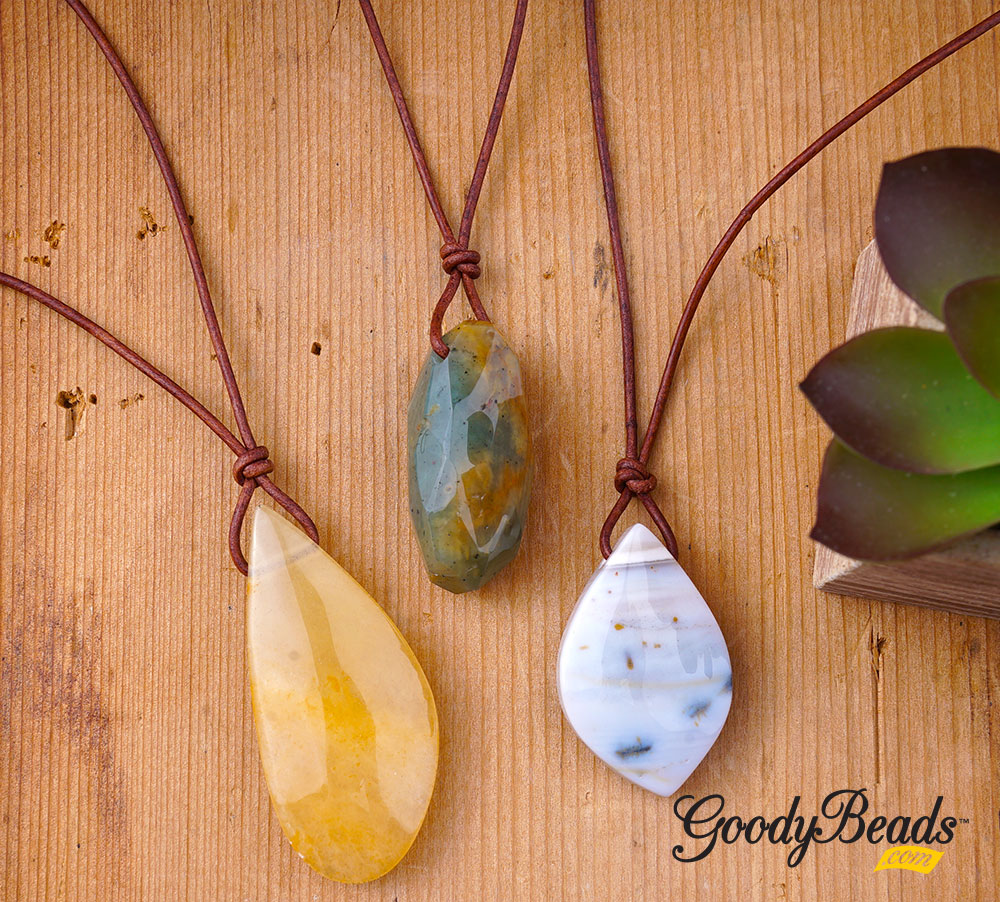
DIY Lariat Necklace with Terra Agate Gemstone & Leather
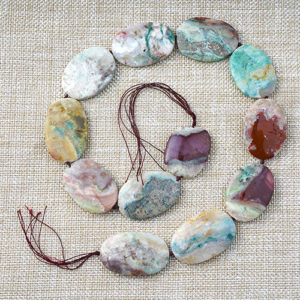
We’re still seeing lariat necklaces everywhere and it certainly will trend for a while because of it’s organic look! You wear it long or short, depending on how you dress it. In our DIY project today, is a lariat necklace using 1mm leather cord, brass beads and some gorgeous Terra Agate gemstones!
What you’ll need for necklace:
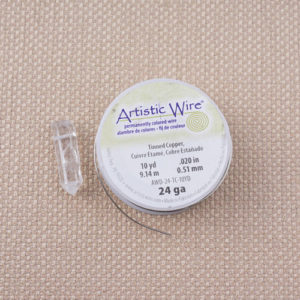
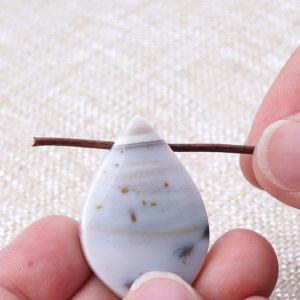
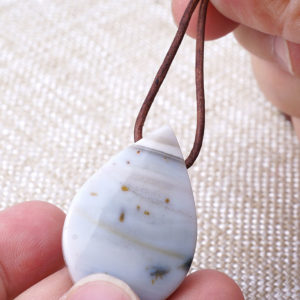
- 14×40 Terra Agate Barrel Gemstone – TRAG14x40BRL
- 1mm light brown leather cord – Z015514
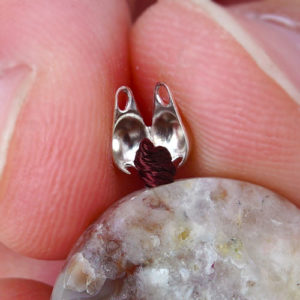
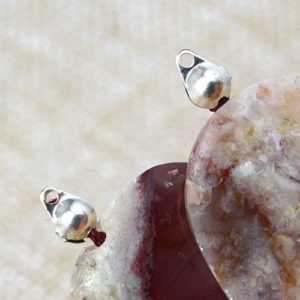
- Brass Bead A022201 OR 5mm TierraCast TC01490 (10)
- 30mm Organic Hoop by Nunn Design – Z004552

Directions:
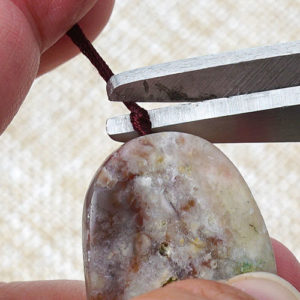
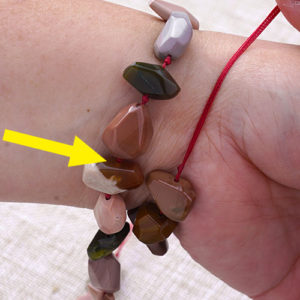
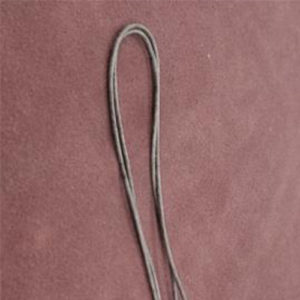
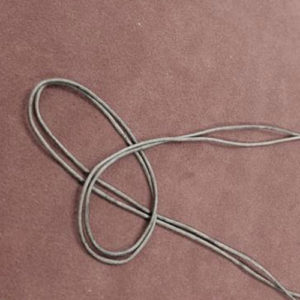
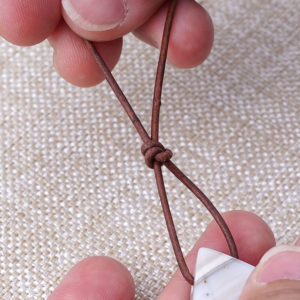
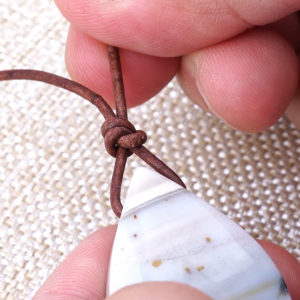
- Start with 2 meters of leather cord. Fold in half and at the loop, make a lark’s head knot through the Organic Hoop.
- On both leather cords, slide on a gold bead, Terra Agate bead and another gold bead.
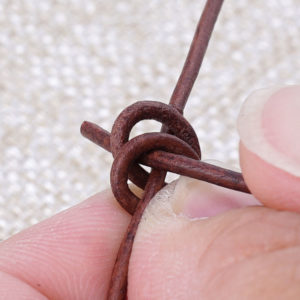
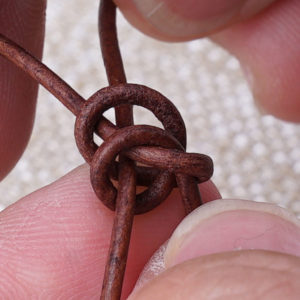
- Make an overhand knot with both leather cords close to the last gold bead.
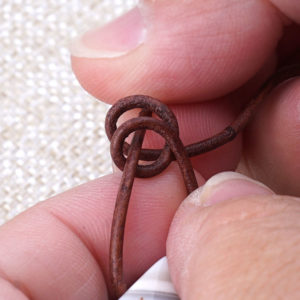
- Wrap your piece around your neck to determine where you would like the lariat gemstone dangle to hang from and the length of your necklace. Make an overhand knot there.
- Slide on both leather cords another gold bead, Terra Agate bead and gold bead. Make an overhand knot close to the last gold bead you added.
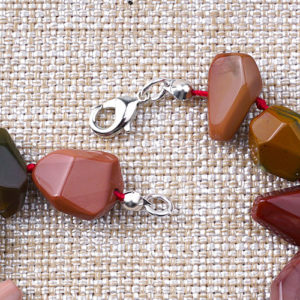
- On one leather cord end, slide on 3 gold beads and make an overhand knot about 2 inches below the Terra Agate bead. Cut off excess.
- On the other leather cord end, slide on 3 gold beads and make an overhand knot about 1.5 inches below the Terre Agate bead. Cut off excess.