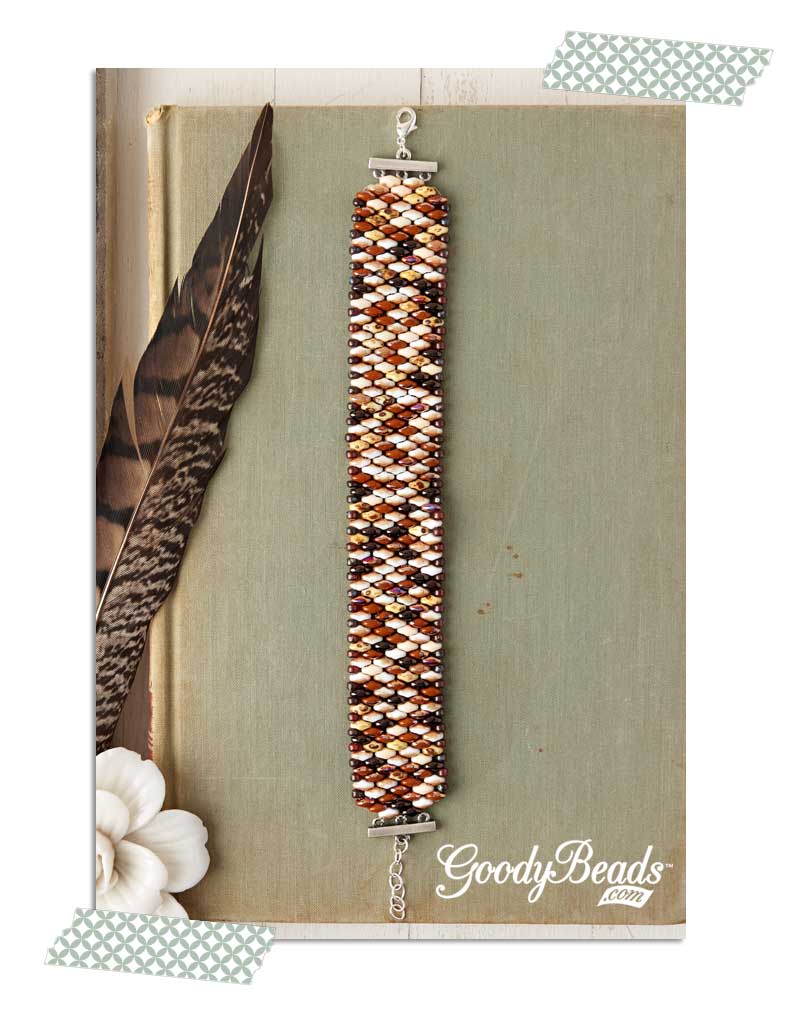
by Kristal Wick
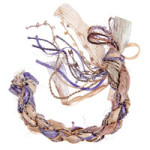
One of the easiest “go-to” designs I have found is a multi-strand necklace or bracelet. WHAT? You say these look soooooooo difficult? Not true! Once you master the multi-strand, you’ll be hooked! I like to start by making piles of my fave components; for example, sitting in my studio on a chilly (16 degrees below zero) January day in Minnesota, I CRAVED a splash of beach so I grabbed some TierraCast® dolphins and seashells, beautiful blue Swarovski Tahitian pearls and crystals and frosted seed beads to give the piece a sea glass effect. Use three different colors of beading wire with one exposed to add an additional dimension to the necklace. It’s trendy these days to mix metals so I threw in copper components to reflect the shades of glistening sand and a bit of silver to represent the crest of the waves breaking up on shore. Whether you’re physically on a beach or visiting one in your mind, I hope this seashore delight will help you get through this long winter! Use three colors of beading wire – one color exposed – to add an additional dimension to the necklace.
Multi-Strand Blue Necklace
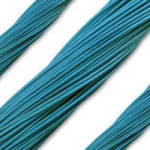
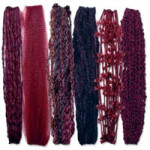
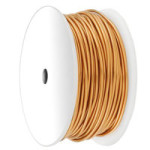
(1) A005473 – Soft Flex TRIOS Beading Wire – Tranquility
(10) FTCT0001 – 2mm Sterling Silver Crimp Tube Beads
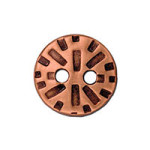
(10) Z008729 – 4mm Antique Copper Plate Crimp Bead Covers
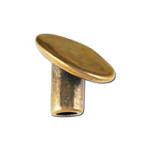
(1) TC00690 – 22mm Antique Copper Vine Hook & Eye Clasp Set by TierraCast
(1) CH00018 – 3.4mm Antique Silver Plated Double Cable Chain (Sample shown uses 2 pieces of 2’ chain)
(2) TC01253 – 2 Inch Silver 21 Gauge Eyepin by TierraCast
(2) TC00001 – 6mm Copper Oval Jump Ring by TierraCast
(2) TC00545 – 4mm Antique Copper Beaded Bead Cap by TierraCast
(2) SW00839 – Swarovski® 6mm Indicolite Round Mini Bead Style #5052
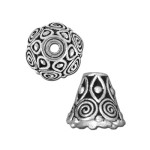
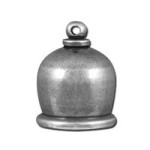
(2) TC00304 – 9mm Antique Silver Spiral Cone Bead Cap by TierraCast
Strand 1
(1) SB00367 11-9263 – Lined Light Seafoam AB Miyuki Seed Beads Tube
(1) SB01996 LDP-1F – Matte Transparent Silver Lined Crystal Long Drop Miyuki Seed Beads Tube
(6) TC00314 – 11mm Antique Silver Diamond Bead Frame by TierraCast
(6) SW00839 – Swarovski® 6mm Indicolite Round Mini Bead Style #5052
Strand 2
(10) FTCT0001 – 2mm Sterling Silver Crimp Tube Beads
(10) Z008729 – 4mm Antique Copper Plate Crimp Bead Covers
(10) TC01116 – 4mm Antique Silver Beaded Heishi Spacer by TierraCast
(10) TC00018 – 3mm Antique Silver Beaded Heishi Spacer by TierraCast
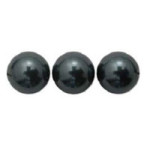
(5) SW00680 – 12mm Tahitian Swarovski Pearl
Strand 3
(1) SB00486 6-9149S – Silver Lined Capri Blue Miyuki Seed Beads Tube
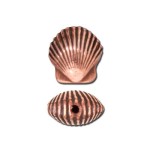
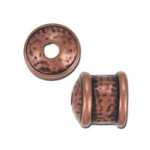
(8) TC01150 – 9mm Antique Copper Small Shell Bead by TierraCast
(32) TC00632 – 4mm Antique Copper Scalloped Bead Cap by TierraCast
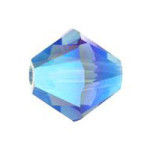
(16) SW00512 – Swarovski® 6mm Bicone Crystal Denim Blue AB2X Style #5328
(4) TC00001 – 6mm Copper Oval Jump Ring by TierraCast
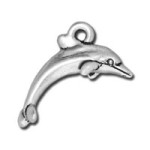
(4) TC00066 – 16mm Antique Silver Dolphin Charm by TierraCast
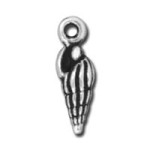
(4) TC00113 – 14mm Antique Silver Small Spindle Shell Charm by TierraCast
Strand 4
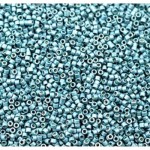
(1) SB01832 DB1847F – 11/0 Matte Dark Seafoam Delica Duracoat Galvanized Seed Beads Tube
(26) SW00779 – 3mm Crystal Jade Swarovski Pearl
(1) SB00483 6-9148FR – Matte Transparent Light Blue Miyuki Seed Beads Tube
(10) TC00545 – 4mm Antique Copper Beaded Bead Cap by TierraCast
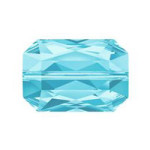
(5) SW01150 – Swarovski® Crystal 14mm Aquamarine Emerald Cut Bead – Style 5515
Strand 5
(1) SB00485 6-9148 – Transparent Aqua Miyuki Seed Beads Tube
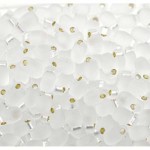
(1) SB00041 8-9234 – Sparkle Metallic Gold Lined Crystal Miyuki Seed Beads Tube
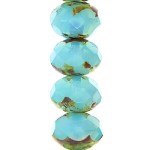
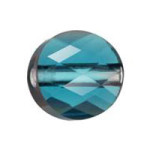
(1) A018807 – 8mm Baby Blue Czech Faceted Rondelle Glass Beads
Multi-Strand Blue Necklace Steps
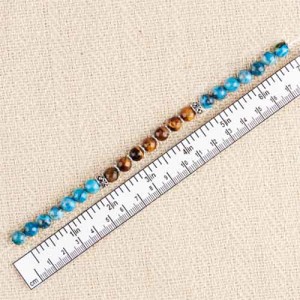
- Cut five 16 inch pieces of beading wire (various colors).
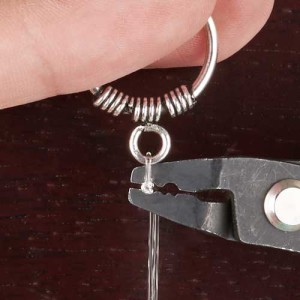
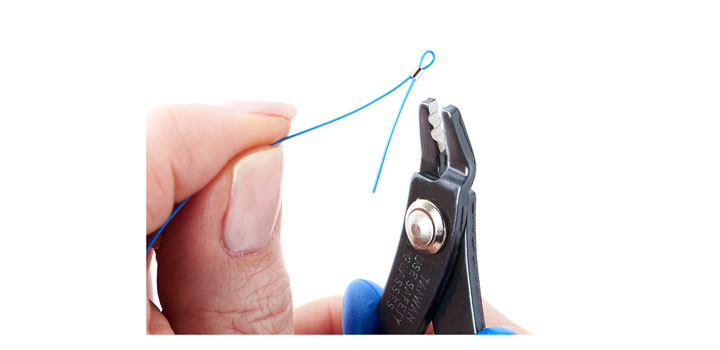
- Crimp one end of the wire leaving a small loop.
- String the following onto strand #1:
Three Lined Light Seafoam AB Miyuki Seed Beads
Seven Matte Transparent Silver Lined Crystal Long Drop Miyuki Seed Beads
Antique Silver Diamond Bead Frame
Indicolite Round Mini Bead
Series: 20 Matte Transparent Silver Lined Crystal Long Drop Miyuki Seed Beads
Antique Silver Diamond Bead Frame
Indicolite Round Mini Bead
Repeat the series four more times and add the following:
Seven Matte Transparent Silver Lined Crystal Long Drop Miyuki Seed Beads
Three Lined Light Seafoam AB Miyuki Seed Beads
- Crimp beading wire end leaving a small loop.
- Add Copper Oval Jump Rings to the four dolphin charms
- Crimp one end of the wire leaving a small loop and string the following onto strand #2:
- Slide the following series onto the beading wire:
Series: Crimp tube
3mm Antique Silver Beaded Heishi Spacer
4mm Antique Silver Beaded Heishi Spacer
12mm Tahitian Swarovski Pearl
4mm Antique Silver Beaded Heishi Spacer
3mm Antique Silver Beaded Heishi Spacer
Crimp tube
- Lay this strand down next to Strand # 1 and space the pearl series in the center of the first 20 Matte Transparent Silver Lined Crystal Long Drop Miyuki Seed Bead series and crimp on either side of the pearl series.
- Gently squeeze the crimp covers over the crimps.

- Add the series again and crimp about an inch down the beading wire. Repeat steps 8–10 for the remaining three pearl series.
NOTE: Before doing the final crimp on each strand, make sure they all end up the same length. Adjust the number of beads on each strand to ensure this.
- Crimp beading wire end leaving a small loop.
- Crimp one end of the wire leaving a small loop and string the following onto strand #3:
Three Silver Lined Capri Blue Miyuki Seed Beads
Series: Antique Copper Scalloped Bead Cap
Bicone Crystal Denim Blue AB2X
Antique Copper Scalloped Bead Cap
Silver Lined Capri Blue Miyuki Seed Bead
Antique Silver Small Spindle Shell Charm
Silver Lined Capri Blue Miyuki Seed Bead
Antique Copper Scalloped Bead Cap
Bicone Crystal Denim Blue AB2X
Antique Copper Scalloped Bead Cap
Silver Lined Capri Blue Miyuki Seed Bead
Antique Copper Small Shell Bead
Silver Lined Capri Blue Miyuki Seed Bead
Repeat the series seven more times alternating the Dolphin charms and Spindle Shell charms, then add two Silver Lined Capri Blue Miyuki Seed Beads.
- Crimp beading wire end leaving a small loop.
- Crimp one end of the wire leaving a small loop and string the following onto strand #4:
Two Matte Transparent Light Blue Miyuki Seed Beads
3mm Crystal Jade Swarovski Pearl
Series: Five Matte Dark Seafoam Delica Duracoat Galvanized Seed Beads
3mm Crystal Jade Swarovski Pearl
Matte Transparent Light Blue Miyuki Seed Bead
3mm Crystal Jade Swarovski Pearl
Five Matte Dark Seafoam Delica Duracoat Galvanized Seed Beads
3mm Crystal Jade Swarovski Pearl
Matte Transparent Light Blue Miyuki Seed Bead
3mm Crystal Jade Swarovski Pearl
Five Matte Dark Seafoam Delica Duracoat Galvanized Seed Beads
4mm Antique Copper Beaded Bead Cap by TierraCast
Swarovski® Crystal 14mm Aquamarine Emerald Cut Bead
4mm Antique Copper Beaded Bead Cap by TierraCast
- Repeat the series four more times then add the following:
Five Matte Dark Seafoam Delica Duracoat Galvanized Seed Beads
3mm Crystal Jade Swarovski Pearl
Matte Transparent Light Blue Miyuki Seed Bead
3mm Crystal Jade Swarovski Pearl
Five Matte Dark Seafoam Delica Duracoat Galvanized Seed Beads
3mm Crystal Jade Swarovski Pearl
Matte Transparent Light Blue Miyuki Seed Bead
3mm Crystal Jade Swarovski Pearl
Five Matte Dark Seafoam Delica Duracoat Galvanized Seed Beads
3mm Crystal Jade Swarovski Pearl
Two Matte Transparent Light Blue Miyuki Seed Beads
- Crimp beading wire end leaving a small loop as in Step #2.
- Crimp one end of the wire leaving a small loop and string the following onto strand #5:
Transparent Aqua Miyuki Seed Bead
Series: 8mm Baby Blue Czech Faceted Rondelle Glass Bead
Transparent Aqua Miyuki Seed Bead
Sparkle Metallic Gold Lined Crystal Miyuki Seed Bead
Transparent Aqua Miyuki Seed Bead
Sparkle Metallic Gold Lined Crystal Miyuki Seed Bead
Transparent Aqua Miyuki Seed Bead
- Repeat this series 17 more times. Add a Transparent Aqua Miyuki Seed Bead and then crimp beading wire end leaving a small loop.
- Open eyepin, insert one end loop of all five strands and close the eye pin. Repeat for the other necklace end.

- Slide on Antique Silver Spiral Cone Bead Cap, Swarovski® 6mm Indicolite Round Mini Bead, Antique Copper Beaded Bead Cap and make a simple loop on the end. Repeat for the other necklace end.

- Add desired chain length (the sample shown uses 2-¼”) to simple loop.
- Using a jump ring, add the toggle to the other end of the chain. Repeat steps 20-21 for the other necklace end.