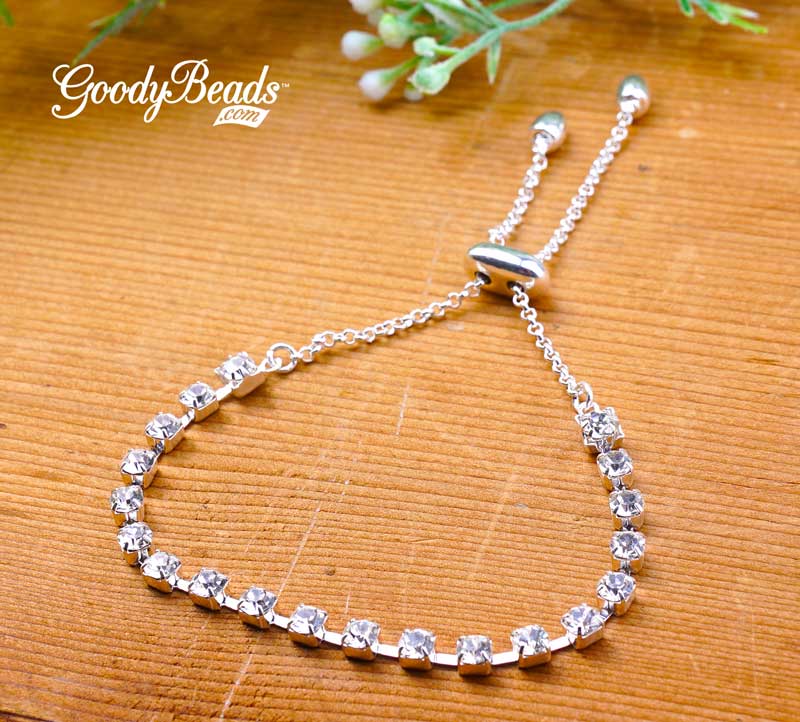
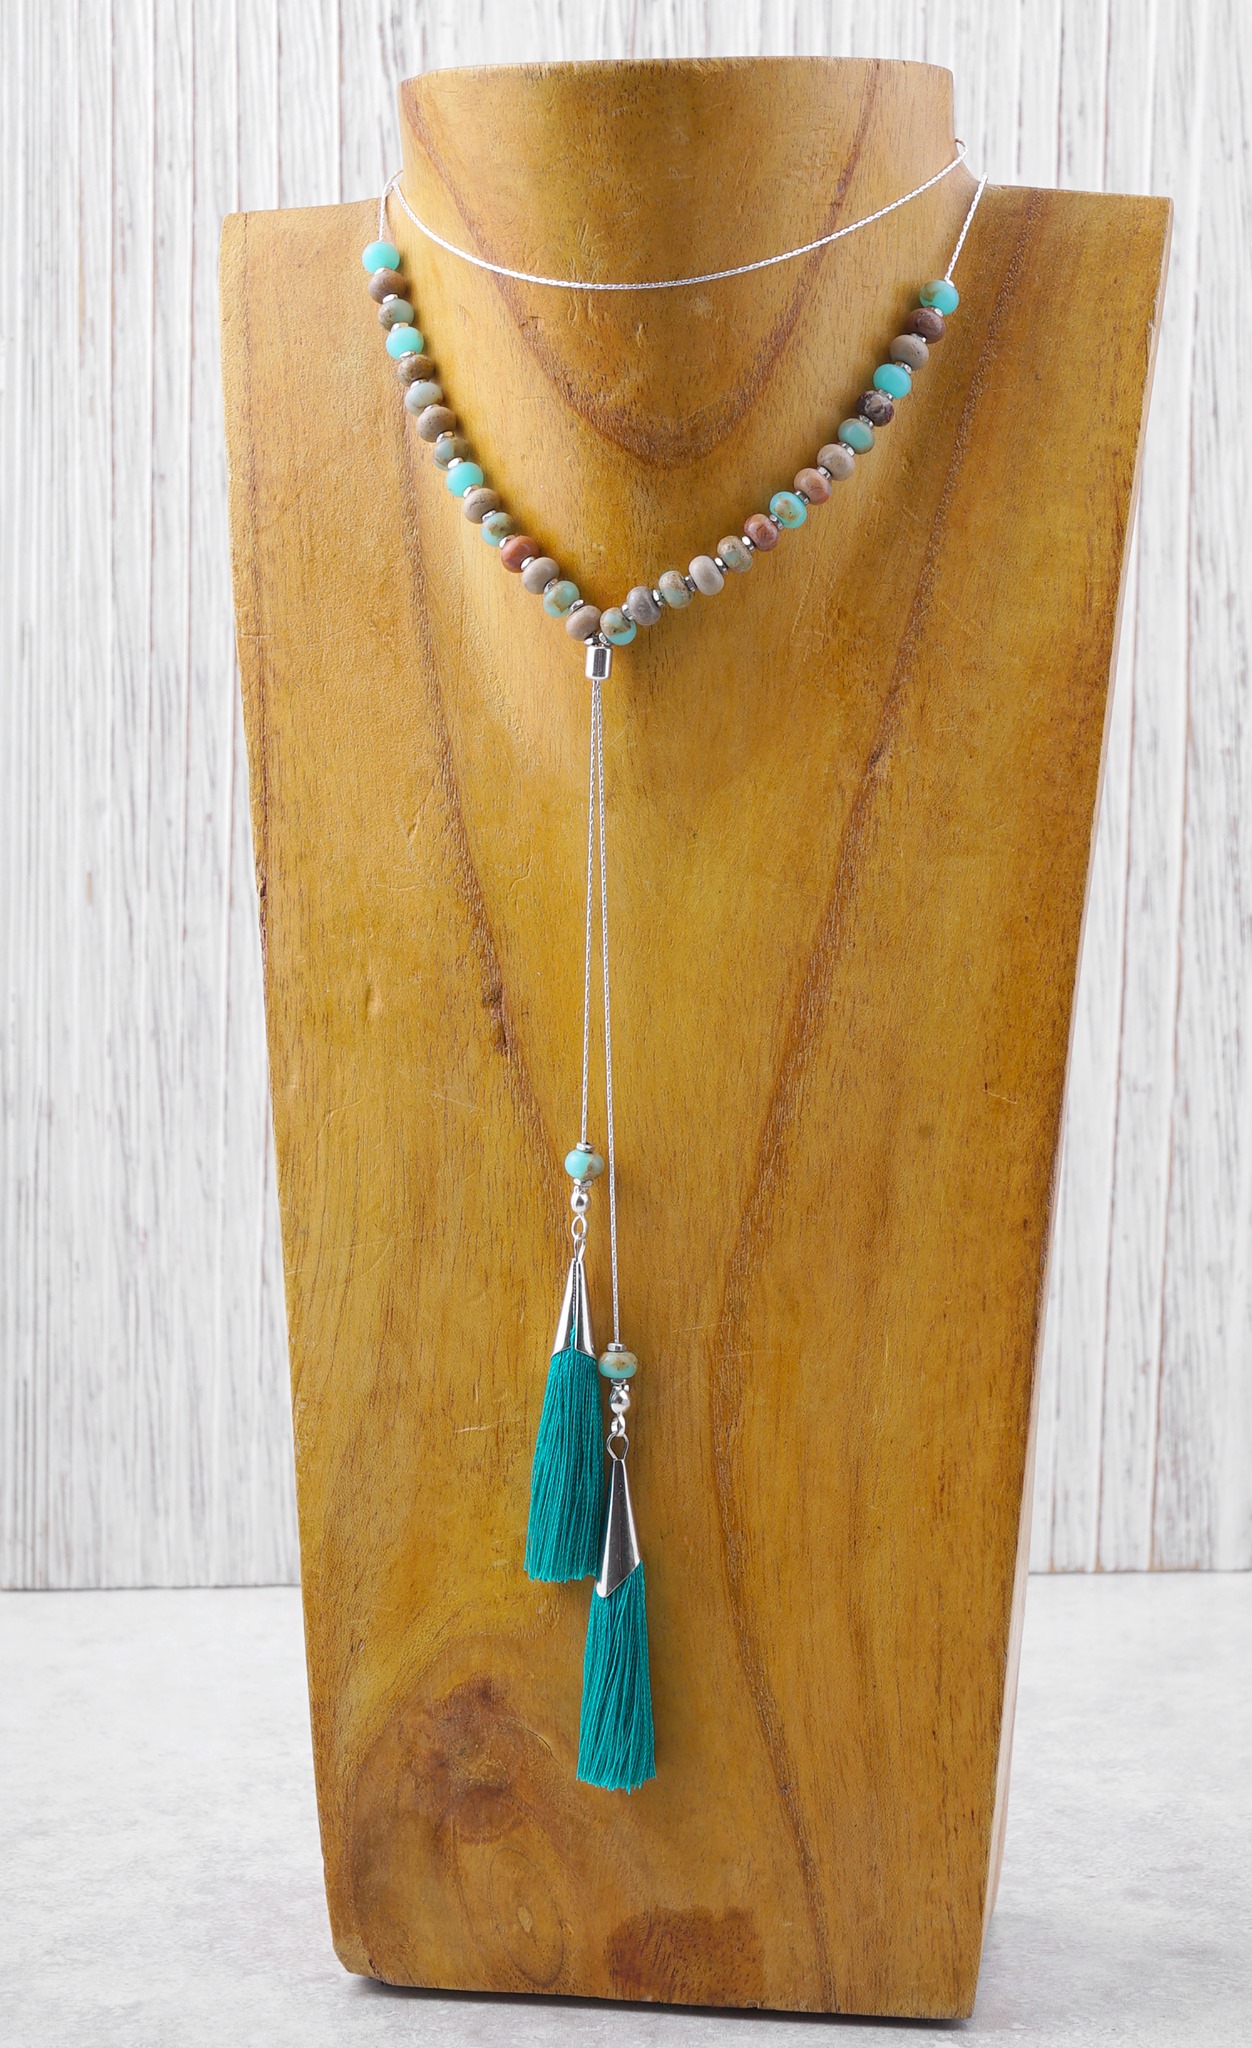
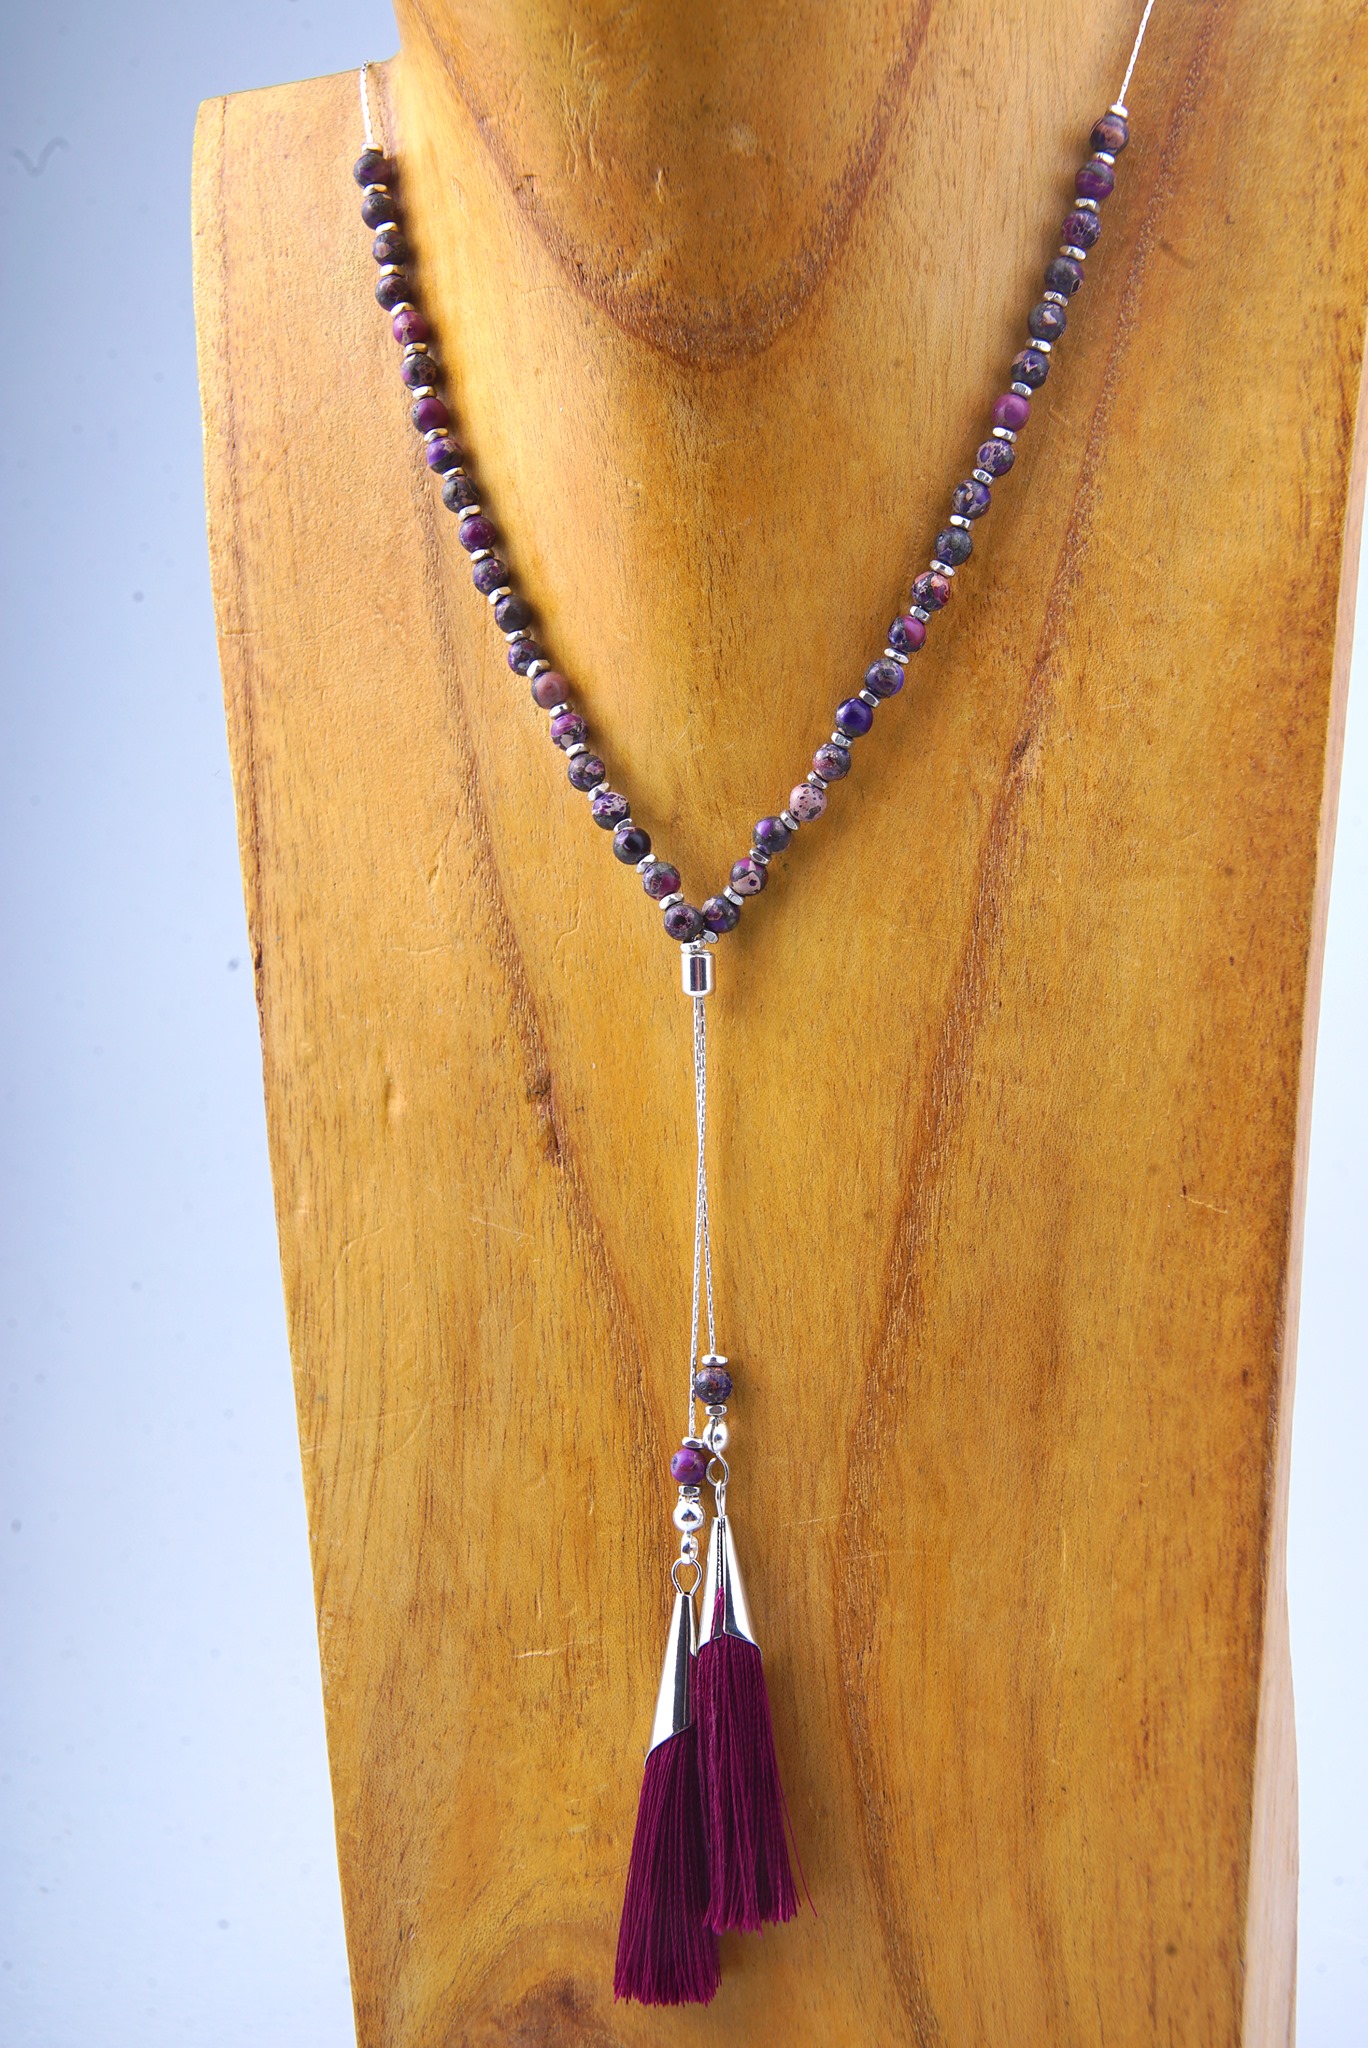
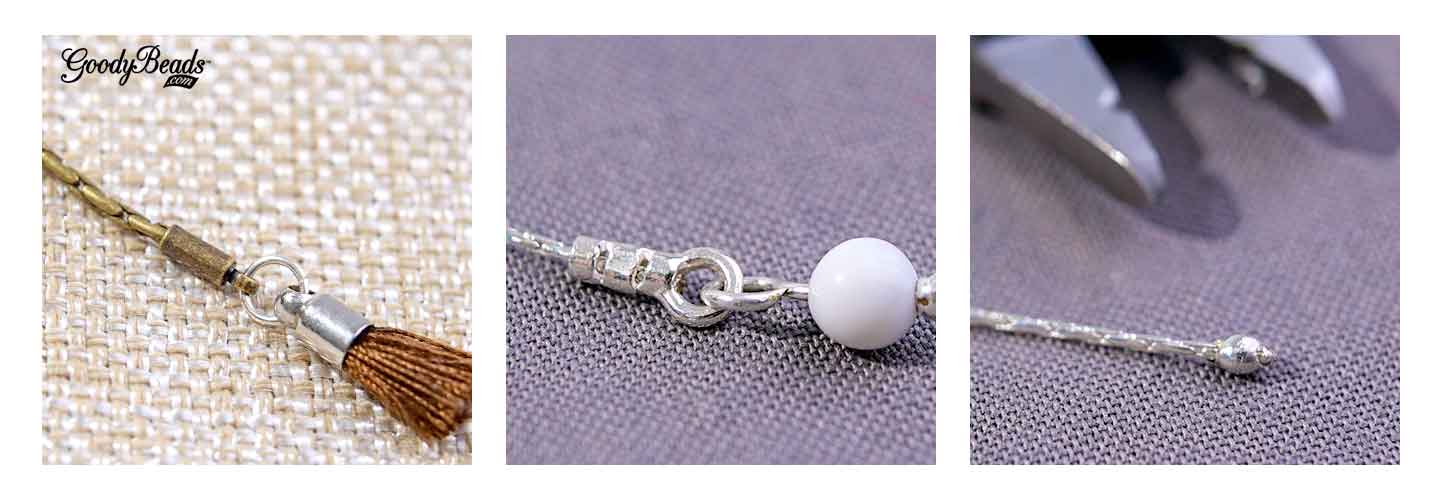
DIY Golden Lariat and Enamel Charm
2020 is all about necklaces and the trend of The Neck Mess. We have an easy DIY lariat necklace you can make and layer up it!
The Neck Mess is a new trend about layering a mix-match of necklaces. Mix up different chains and textures. Even mix up different metals like gold and rose gold; gold and silver; brass and gold. While keeping the necklaces itself dainty with a simple charm or link of chain, makes for easy layering and a whole lot of neck mess! Like our easy DIY Golden Lariat and Enamel Charm.
Here is what you’ll need to make DIY Lariat:
- 2mm Gold Plated Petite Cable Chain with Soldered Links – CH00721 – 3 feet (Silver CH00720)
- 15mm Black Enamel Gold Plated Drop Charm – Z015973 (Turquoise Z015952, White Z016957, Coral Z015955 – also available in silver)
- 4x5mm Gold Plated Slide on Clasp with Hole for Jump Ring – Z010769 (Silver Z010759)
- 4mm Gold Plated 24 Gauge Oval Jump Ring – Z001662 (Silver Z001661)

Directions:
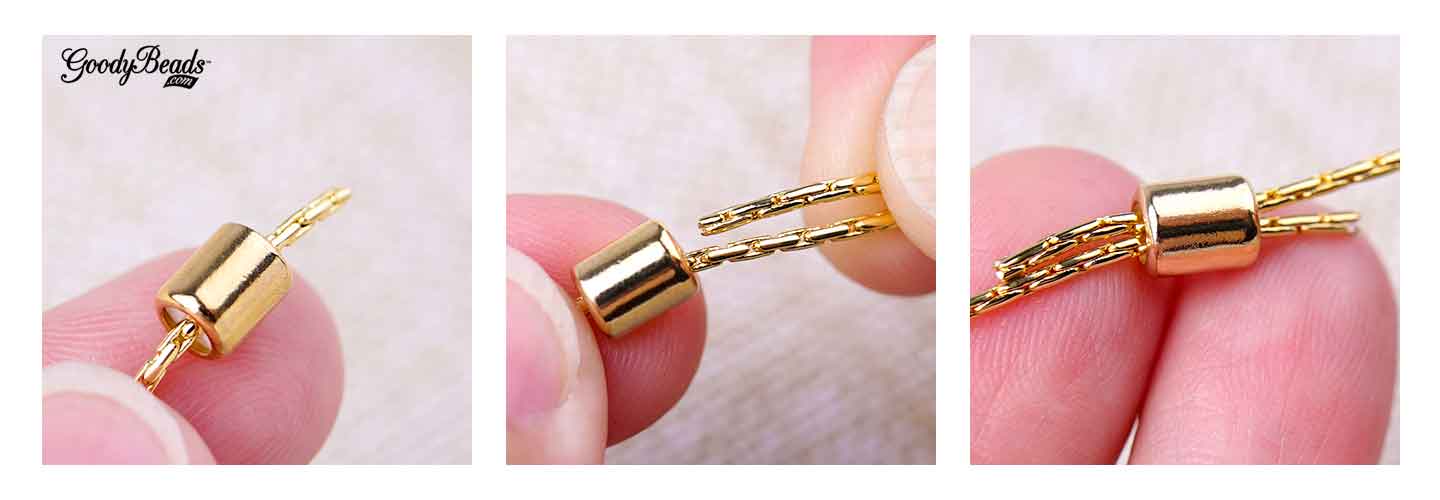
- Open jump ring and slide jump ring through the hole on the side of the slide on clasp. Slide jump ring towards the top opening of the slide on clasp. Slide on one end of your chain and close jump ring.
- Using a thin piece of an inch wire, slide on other end of chain to the middle and fold needle in half to create a makeshift needle.
- Slide both ends of the ‘makeshift needle’ through the slide on clasp. Grasp the ‘needle once it pokes through the other side with your fingers or flat pliers.
- Open another jump ring, slide through loose chain end and enamel charm. Close jump ring.