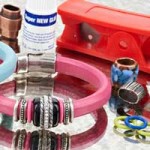
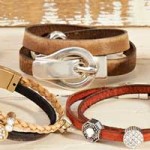
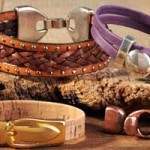
Resolution Bracelet – Metal Stamping
As the clock starts ticking down the hours, minutes and seconds to finish off 2015 and chime into 2016, did you make any last minute New Year’s resolution? Making New Year’s resolutions are easy but the hardest part is the commitment. Resolution bracelets are the perfect accessory companions to help you stick to your 2016 plans. Here are some inspiring resolution bracelets that we’ve made showcasing metal stamping. Check out our previous blog post on how to get started with metal stamping, to learn how to make this popular personalized jewelry.
Quoted Stamped Bangle

Quotes are words of encouragement. We have quoted Ghandi on this bangle with, “The future depends on what you do today.” What is your favorite quote?
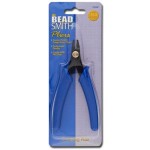
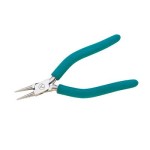
To make this bangle, start out with a Z005837 copper stamping blank. Take some Sanding Sponges like TL00154 and sand down the edges and corners of the stamping blank. Once you have smoothed them down, lightly pencil your quote on the stamping blank, keep in mind the size of the letter stamps you intend to use. Space words evenly to fit the whole quote. Stamp your quote. Use a black permanent market or Stamp Enamel to fill in your letters. Wipe and shine your stamping blank with a polishing cloth. This will also help rub off the light pencil marks. Use a Bending Bar to curve your bangle and Bending Pliers to help shape the bangle.
Items Used:
- (1) Z005837 – 1/4×6 Inch Rectangle Copper Stamping Blank
- A010615 – Lower Case Jeanie Metal Letters Stamping Set
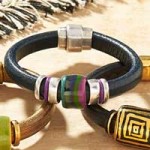
Picture Jasper Charm Bracelet

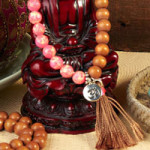
Picture Jasper is about peace and relaxation. It’s why we included some Picture Jasper dangle charms in this bracelet to help calm your mind and soul for 2016. We’ve also added a few Chinese crystal dangle charms for added sparkle. We’ve used metal blanks and stamped words to help encourage the mind and soul to “take chances” and “be patient,” as wells as to just “breathe,” “heal” and to “laugh more” in the New Year.
Items used:
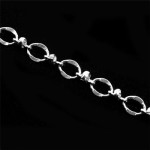
- (1) Z001016 – 10mm Silver Cable Chain
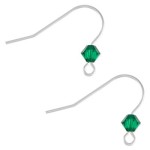
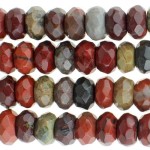
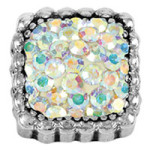
- (5) A008547 – 8mm Black Diamond Rondelle Chinese Crystal
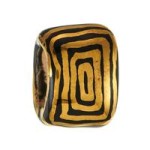
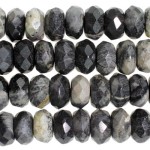
- (7) GS00406 – 4mm Round Picture Jasper
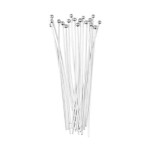
- (12) A001493 – 2 Inch Silver Headpins
- (5) A019452 – ¾ Inch Pewter Stamping Blank
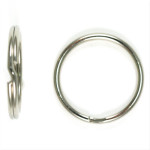
- (6) A001529 – 6mm Silver Jump Ring
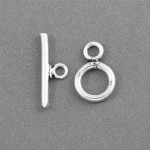
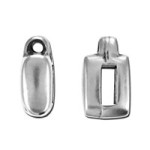
- (1) Z005822 – 16mm Swivel Lobster Clasp
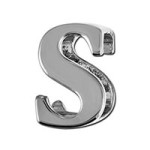
- TL00191 – 3mm Upper Case Bridgette Metal Letters
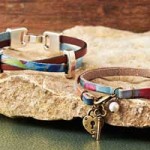
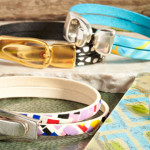
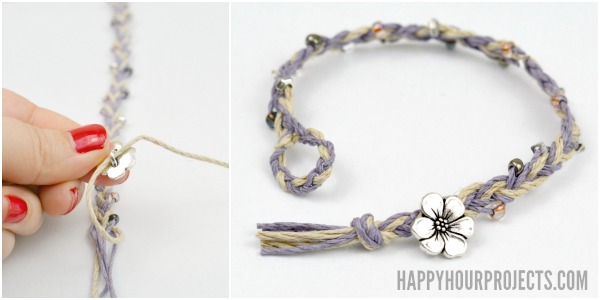
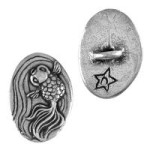
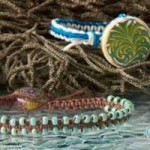
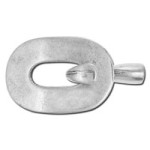
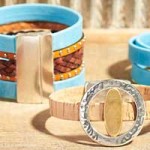
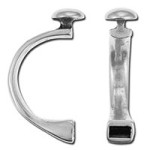
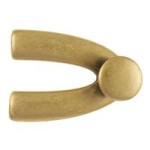
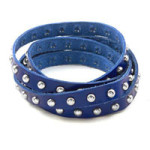
Focus Wrapped Bracelet

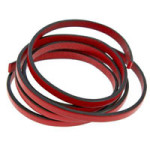
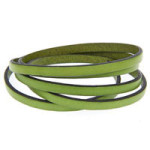
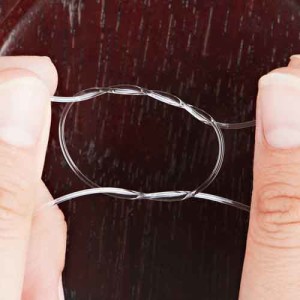
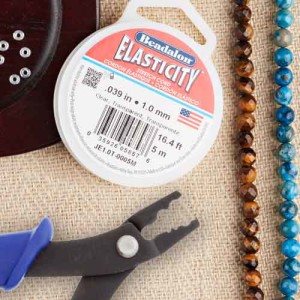
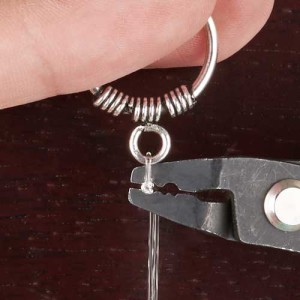
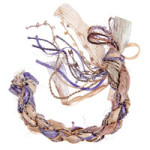
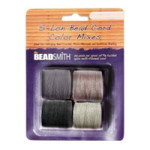
We love the versatility of this wrapped bracelet. We cut a piece of our Lycra cord in half and pulled/stretched it until it curled sideways, providing a soft yet strong, stretchy bracelet base. Thread the lycra cord through both sides of the metal blank we have stamped “Focus” on. Tie it according to the example we have below and wrap around your bracelet three times for a versatile look.

This bracelet is perfect to wrap around your wrist for a morning jog to “focus” on a healthy goal. Or wear this bracelet while studying your next school exam, so you can “focus” on getting that A+! Focus on the goal and you shall succeed!
Items Used:
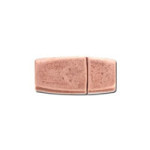
- (1) A021495 – 1.375 Inch Oval Pewter Stamping Blank
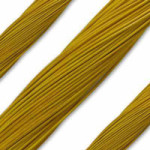
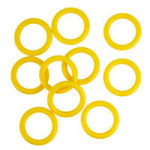
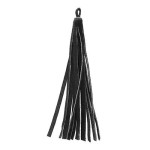
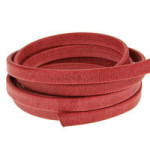
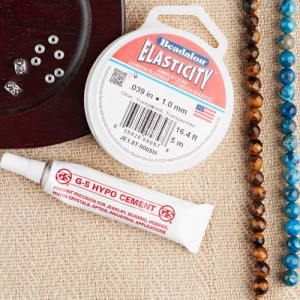
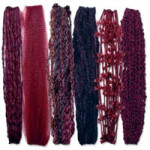
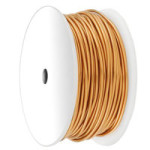
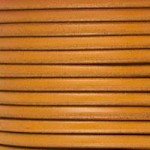
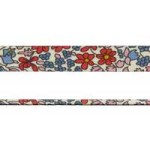
- (1) A017779 – 30mm Yellowish Paisley Italian Lycra Cord
- TL00191 – 3mm Upper Case Bridgette Metal Letters