Beachy Flamingo and Palm Tree DIY Bracelets
Are you ready to head bang to the beat of “Boys of Summer,” while cruising along the beach? We have three bracelets that feature trending flamingo and palm tree motifs. Easy to make and slip on, you can make these simple stretch or leather bracelets while catching rays on the beach.
Beach Party Stretch Bracelet

Wear your oversized floppy hat, romper, flip flops and this cool bracelet to your next beach party! You can whip up this bracelet and still have time to figure out if you want to change your outfit again.
What you will need for this bracelet is the following:
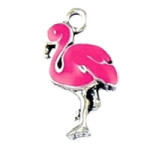
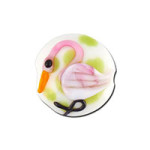
- (1 pk.) Z007190 – Flamingo Bead
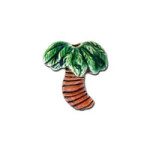
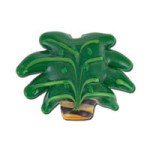
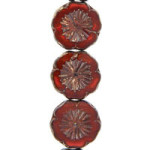
- (1 pk.) A007214 – Palm Tree Bead
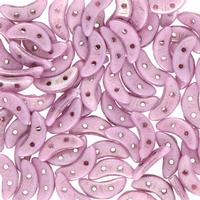
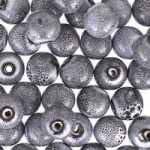
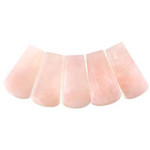
- (1 pk.) A005646 – Beige with Light Pink Dot Bead
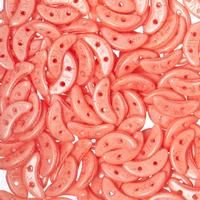
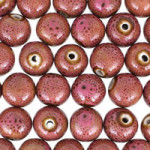
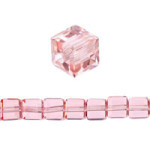
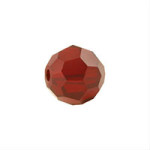
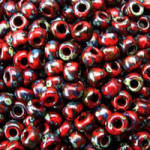
- (1 pk.) A006682 – Raspberry with White Dot Bead
- (1) Z001624 – 0.8mm Elastic Cord
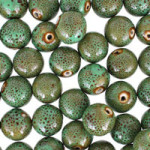
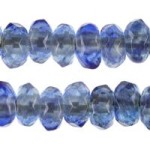
- (1 pk.) MIRA0008 – Green Miracle Bead
- (1 pk.) A002225 – Silver Plated Bali Style Beads
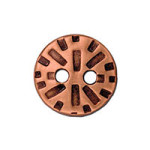
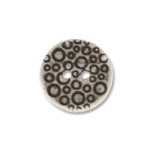
- (1 pk.) A021466 –Silver Plated Bali Style Disc Spacer
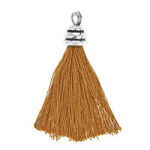
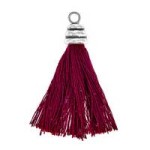
- (1) Z004335 – Burgundy Tassel
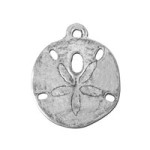
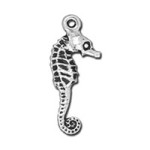
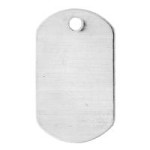
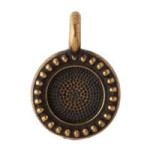
- (1) A007703 – Sand Dollar Pewter Charm
- (1) A001529 – 6mm Jump Ring
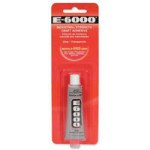
- Fast-drying glue OR (1) A015821 – Super New Glue
Instructions:
Step 1 – Open your jump ring and slide on your tassel and sand dollar loop. Close jump ring.
Step 2 – Cut your elastic to 9 Inches. Give your Elastic a tug to loosen the elasticity.
Step 3 – Slide on the following bead sections:
- Raspberry bead, disc spacer, pink bead, disc spacer, pink bead, disc spacer, pink bead, raspberry bead
- green bead, small spacer, green bead, flamingo bead
- green bead, small spacer, green bead, palm tree bead
- green bead, small spacer, green bead, flamingo bead
- green bead, small spacer, green bead, palm tree bead
- green bead, jump ring dangle, small spacer, green bead
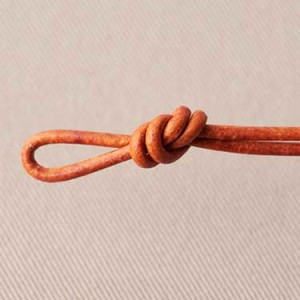
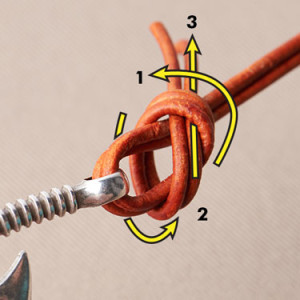
Step 4 – Make a surgeon’s knot. Check our elastic bracelet post to learn how to make a surgeon’s knot.
Step 5 – Add a dab of your fast-drying glue to your knot.
Step 6 – Cut excess elastic.
Coastal Palm Tree Leather Bracelet

We are so loving this palm tree leather bracelet. It’s ultra trendy for summer with leather cord and bright palm tree beads in this simple design.
Items you will need:
- (1 pk.) A007214 – Palm Tree Bead
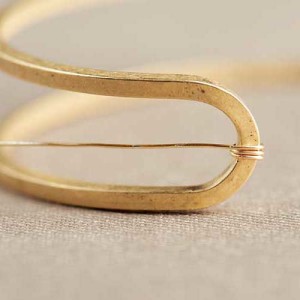
- (1) WR00120 – Large Silver Memory Wire
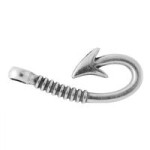
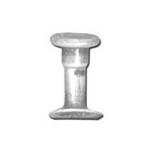
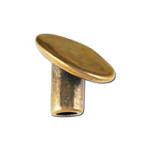
- (2) TC01855 – Brass Cord End
- (2) SW00300 – Swarovski® 4mm Topaz Cube Crystal
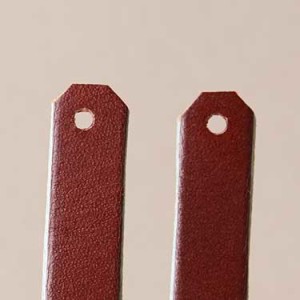
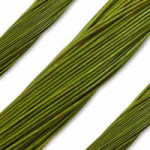
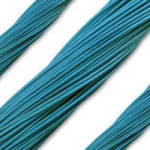
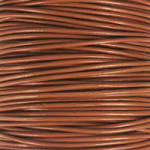
- (9) CH00789 – 6mm Whiskey Round Portuguese Leather Cord with Hole
Tools:
TLZ0207 – Memory Wire Finishing Pliers
FTTL0005 – Memory Wire Cutter
Instructions:
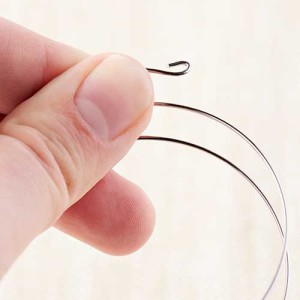
Step 1 – Make a simple loop at one end of your memory wire.
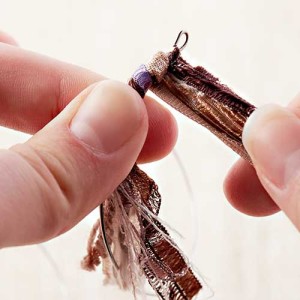
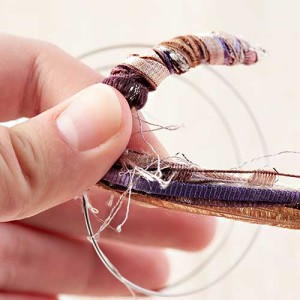
Step 2 – Slide on the following beads:
Palm tree, cube crystal, cord end, leather, cord end, cube crystal, palm tree
Step 3 – Cut with your memory wire cutters 1/2″ away from the last palm tree.
Step 4 – Round the wire end to make a simple loop.
Blushing Flamingo Leather Bracelet

Can you imagine yourself wearing this bracelet, while humming and sipping on a fruity drink? We love the handmade flamingo glass bead surrounded with hues of pink.
Items you will need:
- (1 pk.) Z007190 – Flamingo Bead
- (1 pk.) A005646 – Beige with Light Pink Dot Bead
- (1 pk.) A006682 – Raspberry with White Dot Bead
- (1) WR00120 – Large Silver Memory Wire
- (4) TC01857 – Rhodium Plated Cord End
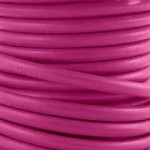
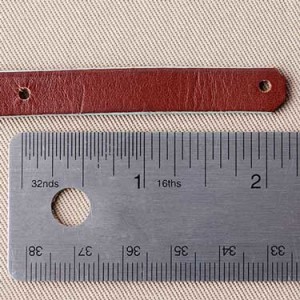
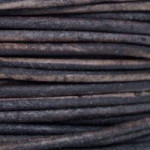
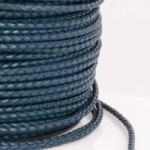
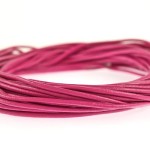
- (7) CH00791 – Distressed Red Round Portuguese Leather Cord with Hole
- (2) SW00232 – 4mm Swarovski Round Indian Pink Crystal
- (2) SW00233 – 6mm Swarovski Round Indian Pink Crystal
- (8) TC00357 – 8mm Rhodium Bead Aligner
Tools:
TL00207 – Memory Wire Finishing Pliers
FTTL0005 – Memory Wire Cutter
Instructions:
Step 1 – Cut your leather cord in half to create two 3.5” lengths.
Step 2 – Make a simple loop at one end of your memory wire.
Step 3 – Slide on the following bead sections:
- Cord end, leather, cord end, 4mm crystal, bead aligner, raspberry bead, bead aligner
- 6mm round crystal, bead aligner, pink bead, bead aligner, flamingo bead, bead aligner, pink bead, bead aligner, 6mm pink crystal
- bead aligner, raspberry bead, bead aligner, 4mm crystal, Cord end, leather, cord end
Step 4 – Cut with your memory wire cutters 1/2″ away from the last cord end.
Step 5 – Round the wire end to make a simple loop.