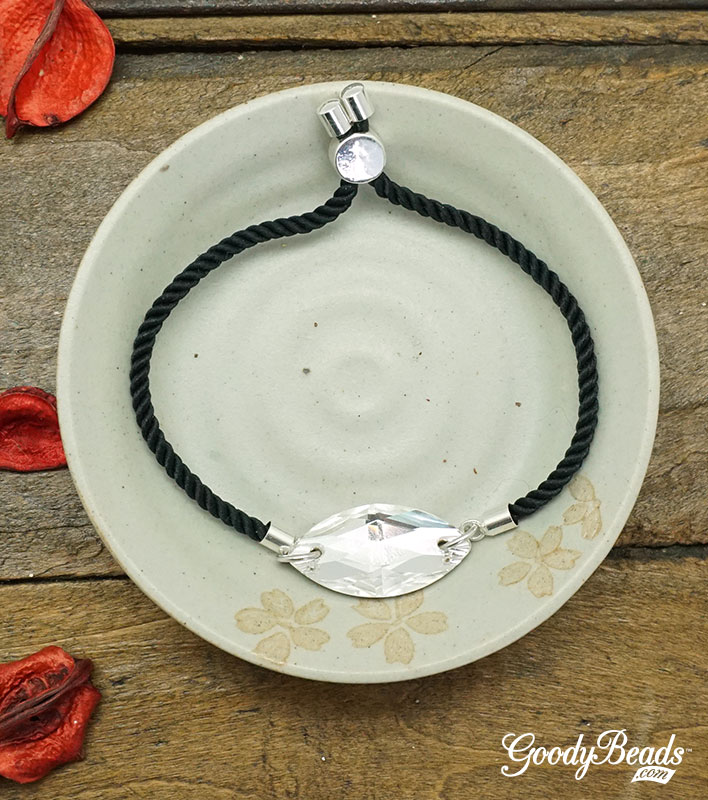
DIY Mixed Moons Leather Bracelet with Adjustable Sliding Clasp
Our Mixed Moons Leather Bracelet with adjustable sliding clasp tutorial today is dedicated to the celestial phenomenon of two Full moons this October. The first was on Oct 1st and the second is on an ominous Halloween night! Make this fun bracelet for a spooky holiday or for the next full moon on Halloween, which wont be for another 19 years.
What you’ll need for the Mixed Moon Leather Bracelet with adjustable sliding clasp:
- Z019103 – 1.5mm Leather cord
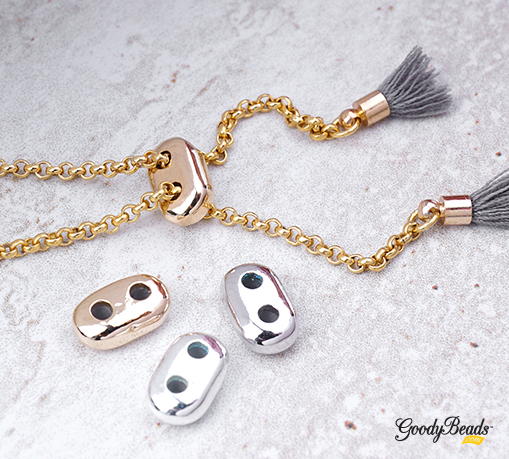
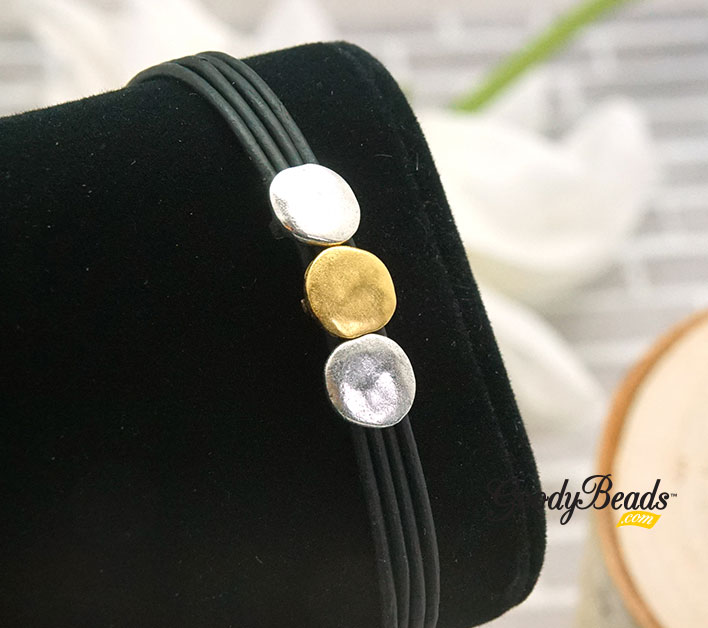
- Z019982 (2) – Antique Silver Coin Slider
- Z019983 – Satin Gold Coin Slider
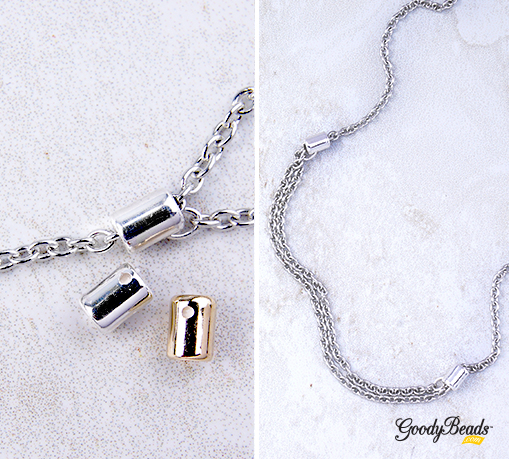
- Z019986 (2) – Rectangular End
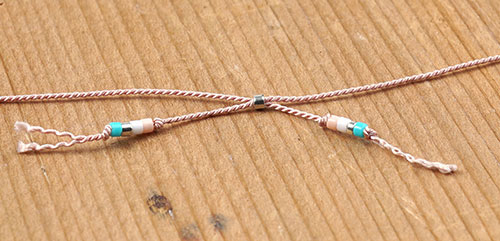
- Z012153 – Adjustable Wheat Chain Bracelet Sliding Clasp
- A015821 – Super New Glue


Directions:
- Cut 4 pieces of leather at 4 inches each.
- Add a small drop of glue inside the rectangular end. Insert all four ends of leather inside the end. Let it dry for a minute before going to step 3.
- Slide on the 3 Coin Sliders, Silver, Gold and Silver. Now, make sure other ends of the leather are straight, cut if necessary. Add a small drop of glue to the other rectangular end, insert leather ends inside the rectangular end. Let it dry for a minute before going to step 4.
- Remove both jump rings from adjustable slider clasp. Set jump rings aside. Trim 1-2 inches off both chains, depending on your wrist size.
- Slide jump ring back onto the slider chain end and loop of a rectangular end, close jump ring. Repeat on other side.