Headpin Wire Loop Tutorial: Christmas in July Edition
Are you thinking about Christmas in July? We are. We want to give you a heads up about the gift of handmade this upcoming Christmas. And what better way to jump start your jewelry projects by learning the basic skill of how to make a headpin wire loop.
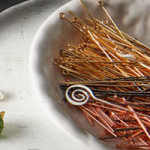
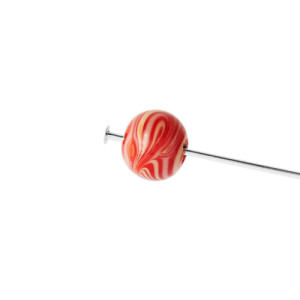
Make sure to have lots of headpins on hand. Plated headpins are inexpensive and a great starter for wire looping. Don’t be discouraged if your first or second or tenth loop doesn’t turn out the way you want it. Practice. Practice. Practice. Just remember to grip your tools loose but firm and as cliché as it may sound, it’s all in the wrist.
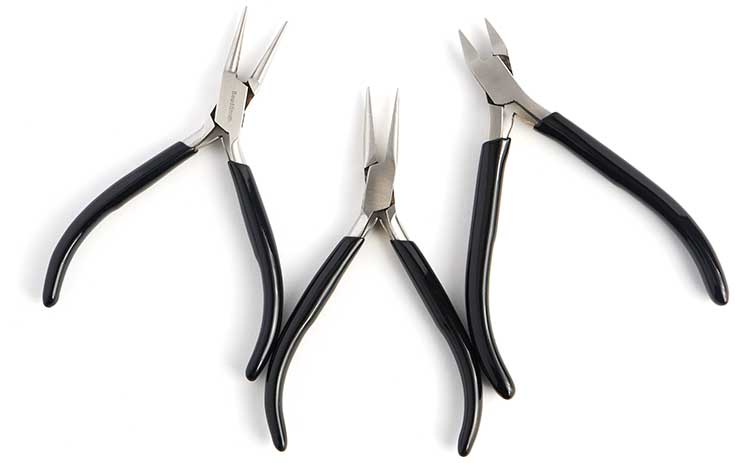
The tools you will need:
Round Nose Pliers
Needle Nose Pliers
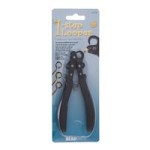
Side Cutter
Supplies you will need:
Beads
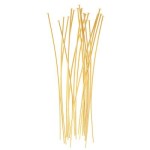
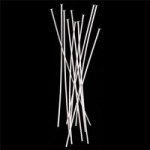
A LOT of headpins (for practicing)

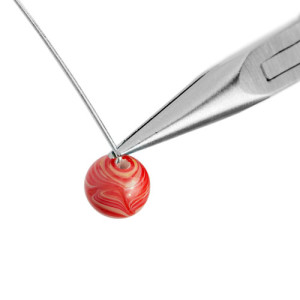
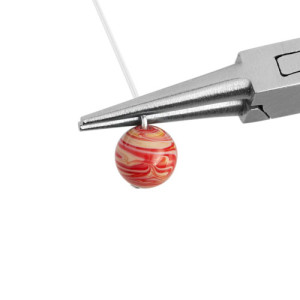
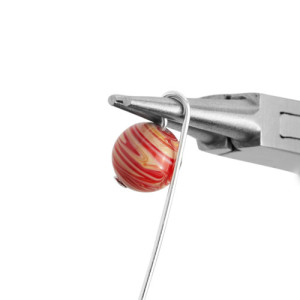
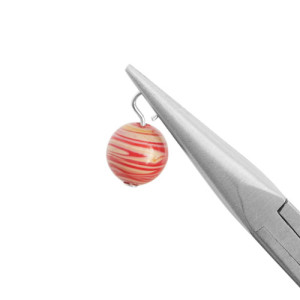
Tutorial:
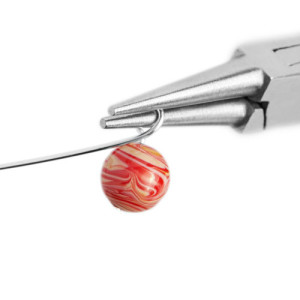
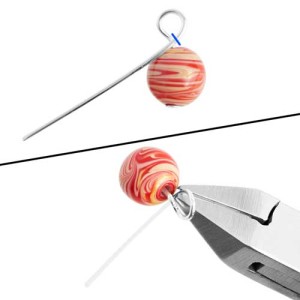
Tip:
When clipping, be safe and hold headpin end so that the end doesn’t shoot away. You can also face the headpin end away from you – towards your jewelry mat – to avoid excess from flying off.
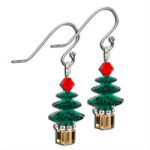
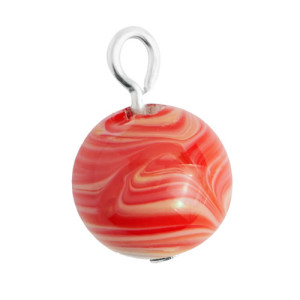
Get your holiday gifts done and ready with this essential skill. You can make multiple bead dangles for a chunky beaded bauble bracelet, a statement pendant for a necklace or simple holiday dangle earrings. For a fun and easy idea to test your skill, pick up one of our many earring kits. The necessary beads, headpins, and ear wire are included to make a charming pair of earrings.

Happy Holiday and Happy Beading!
Tools and Supplies used in images:
Tools:
- A001400 – Super Fine Side Cutter
- FTTL0002 – Super Fine Chain Nose Pliers
- FTTL0004 – Super Fine Round Nose Pliers
Supplies:
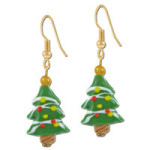
- A006236 – Peridot Swarovski Christmas Tree Earring Kit
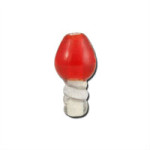
- A006547 – Garnet Swarovski Holiday Light Bulb Earring Kit
- A019505 – Holiday Tree and Swarovski Earring Kit
- A002428 – Natural Gift Box
- A001493 – 2 Inch Headpins