How to Make Leather Wrap Bracelets with Illustrated Tutorial
Leather wrap bracelets is a trending favorite to spice up a boho outfit or rock out to a head-banging concert or add to a casual outing with your girlfriends. Wrap bracelets are a must-have for 2016. We will show you how to make wrap bracelets with illustrated tutorial that you can download.
They may look difficult to make, but after a few attempts, they are honestly easy to make. We will show you a tutorial on how to make these bracelets using one-hole beads and super duo beads, as well as a few tips and tricks to help you make these wrap bracelets.
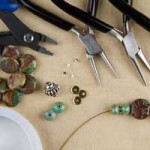
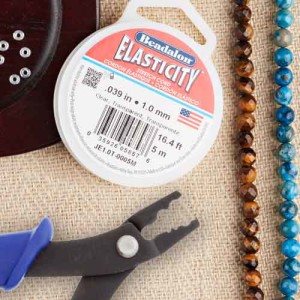
The basic components you need for these bracelets are:
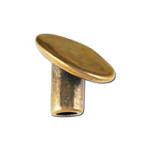
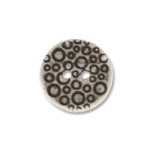
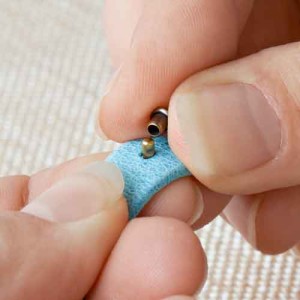
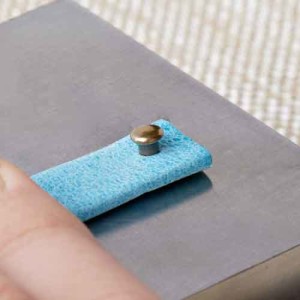
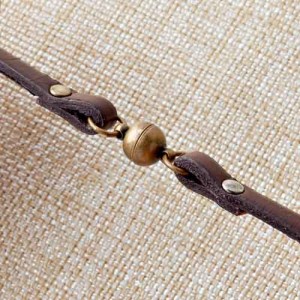
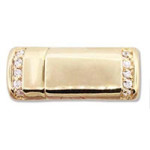
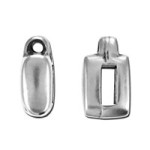
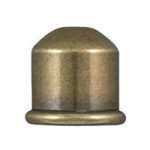
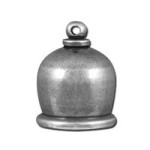
- Button findings: which will act as your clasp. Button Ends will work well, also.
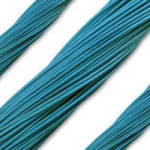
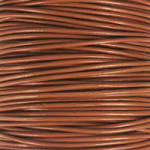
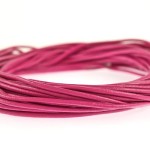
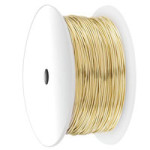
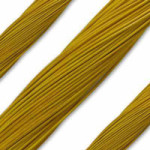
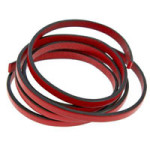
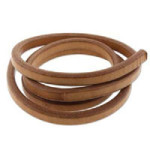
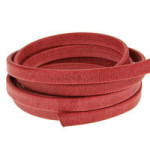
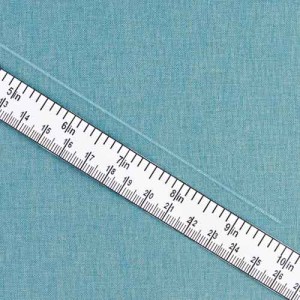
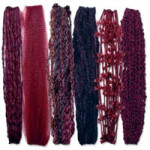
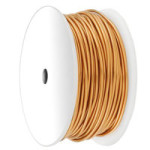
- Leather or cotton round cord: these could range from 1mm to 2mm or larger, depending your preference and on the size of beads you are going to use. The length of cord needed for your bracelet will be determined below.
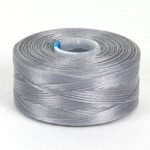
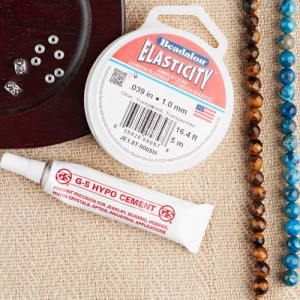
- Thread: you can match the thread to your leather cord to hide the look or to add color. Check out some Beading Thread options but keep in mind that you will need a thin enough thread to go through the hole of your beads twice.
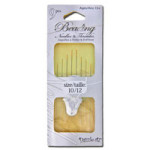
- Beading Needle: size will be according to your thread and bead’s hole size.
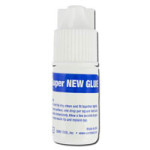
- Adhesive: Hypo-Cement with precision tip, is a good choice to glue thread ends or any fast-drying glue will do.
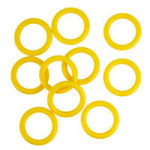
- Beads: use your preference of beads or seed beads. Have enough if you plan to have a multi-wrap bracelet.
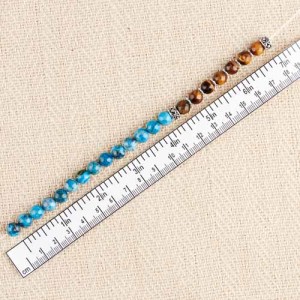
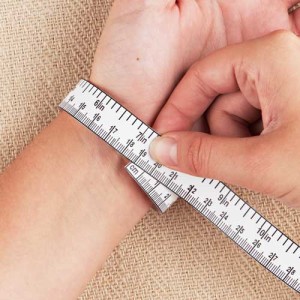
Determine leather length needed for a wrap bracelet
Use this method to determine the leather cord length you may need for a multi-wrap bracelet.
Take your wrist length and double the length. Multiply that by the number of wraps you want and then add 12”. That will give you an approximate cord length you will need to start your bracelet. (The extra 12” factors in the button knot, end knot(s) and bead size.)
Example:
2 wraps for an 8.5” bracelet: (8.5” x2) x 2 wraps = 34 + 12 = 46” needed.
Or
4 wraps for a 7.5” bracelet: (7.5” x2) x 4 wraps = 60 + 12 = 72” needed.
Keep in mind, these total numbers are approximate. You will want to test the wrap length while you’re making your bracelet. Having extra length is better than being short on your wrapped length goal.
Basic Leather Wrap Bracelet Tutorial
The basic weaving of the thread will be going under the leather cords and then coming over leather cords.
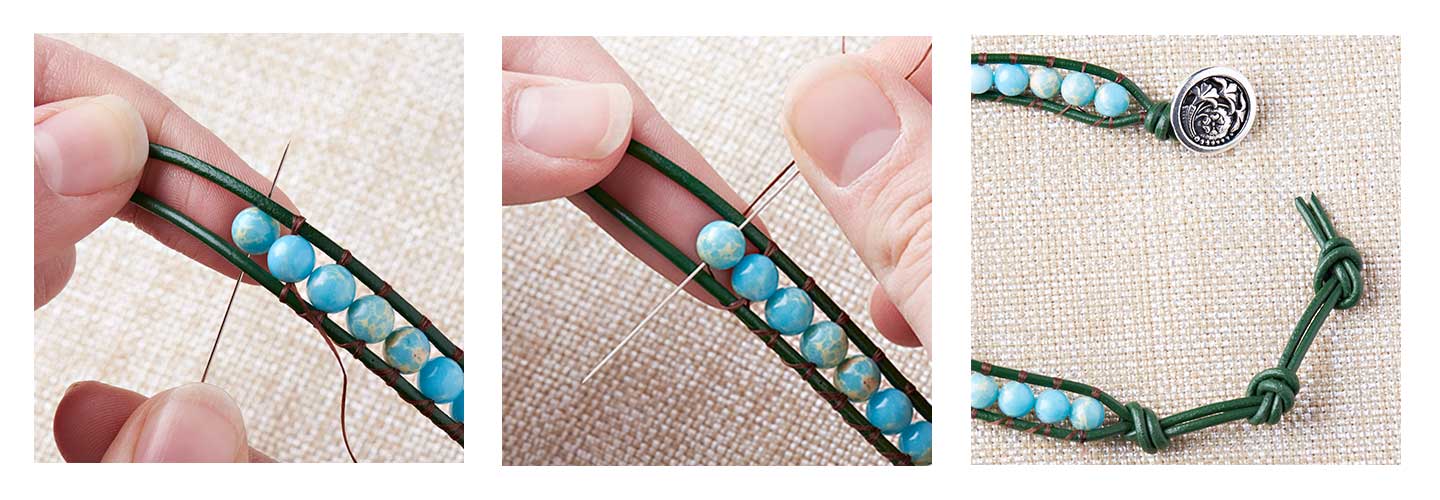
Click HERE to View and Download an illustrated PDF tutorial on how to make these Wrap Bracelets. You can also save/download this pdf file.
Czech SuperDuo Leather Wrap Bracelet Tutorial
With Czech SuperDuo seed beads, you will be layering the bead holes to create a layer sequence. Below is a tutorial on how to make this SuperDuo wrap around bracelet.
Click HERE to View and Download the SuperDuo bead wrap bracelet PDF tutorial and to download illustrated pdf tutorial.
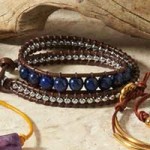
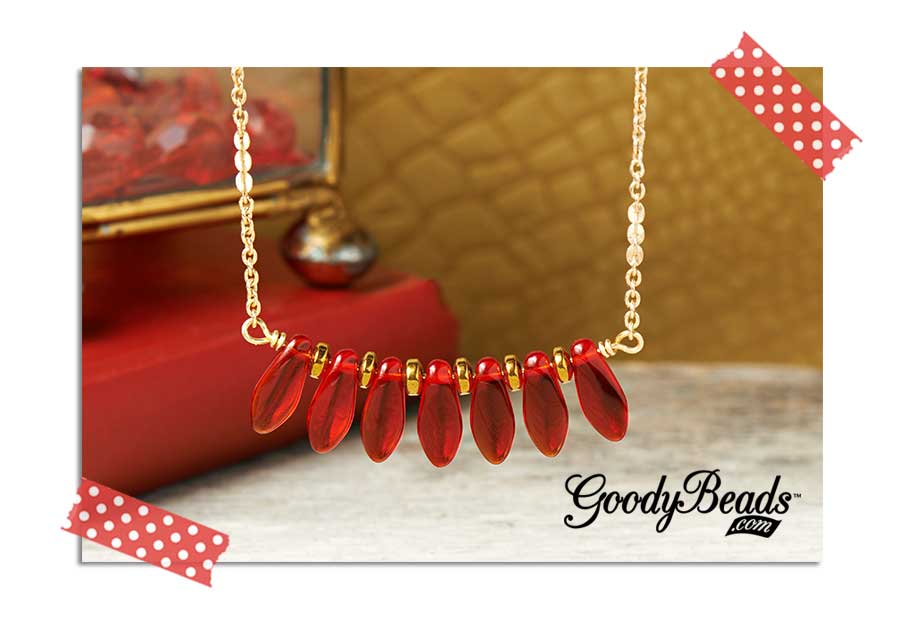
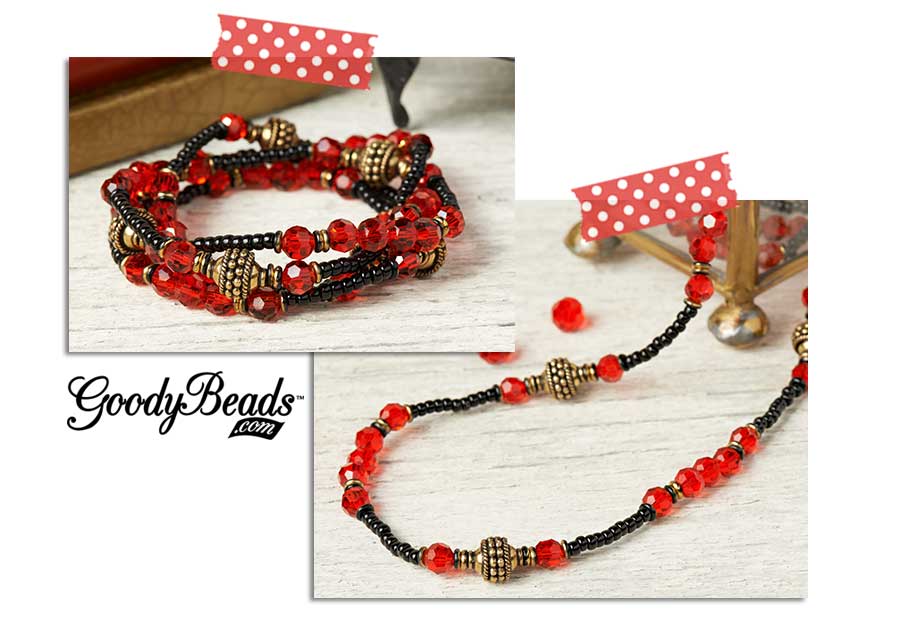
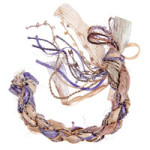
Example Wrap Bracelets
Here are some of our inspired wrap bracelets.
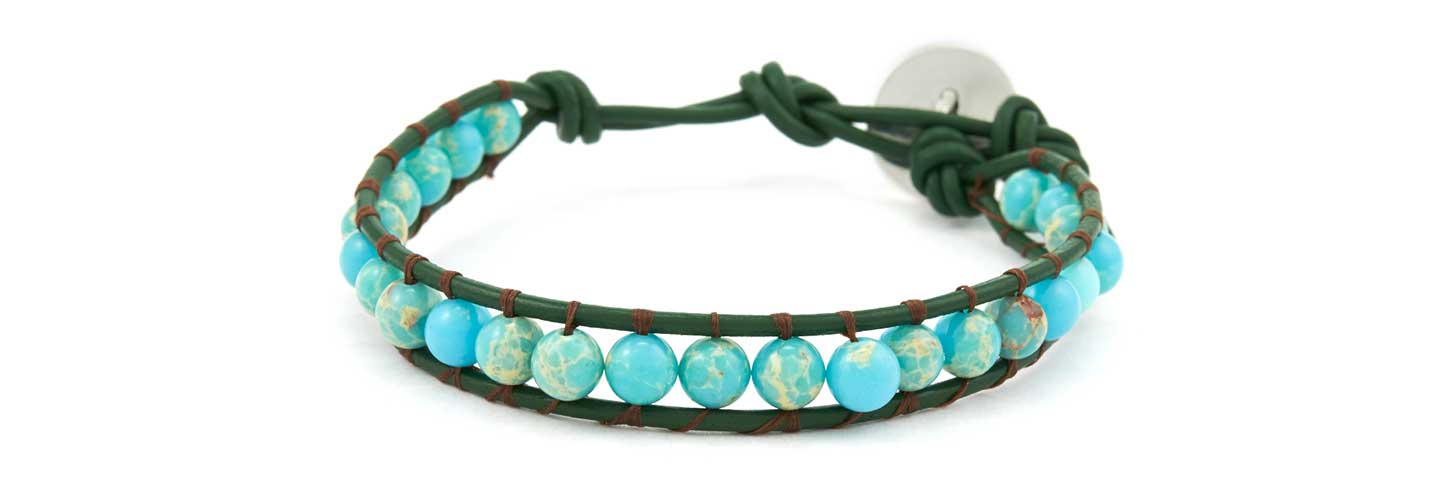
This is a simple one-wrap bracelet. Think about using a different thread color than your leather cord color for a mix of colors.
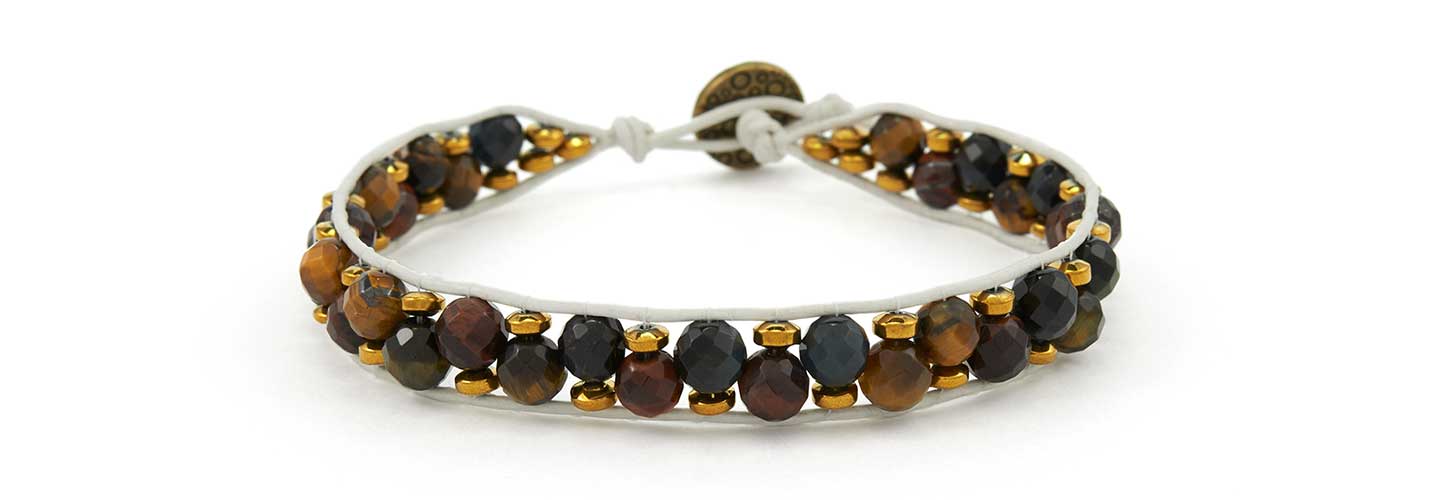
Use more than one bead on each layer for more embellishment options.
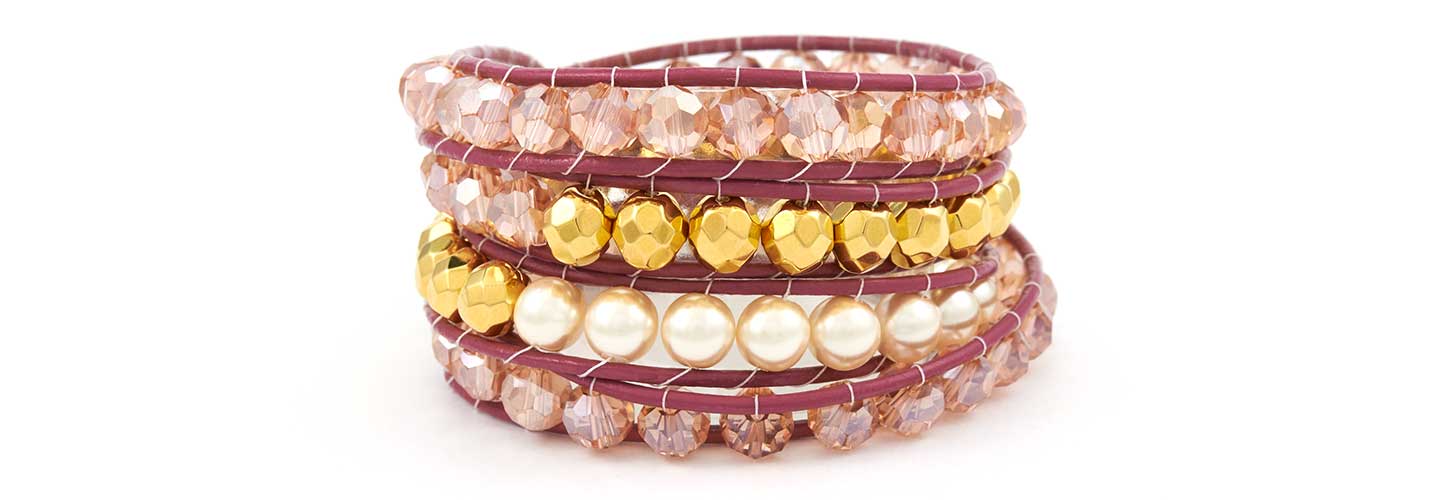
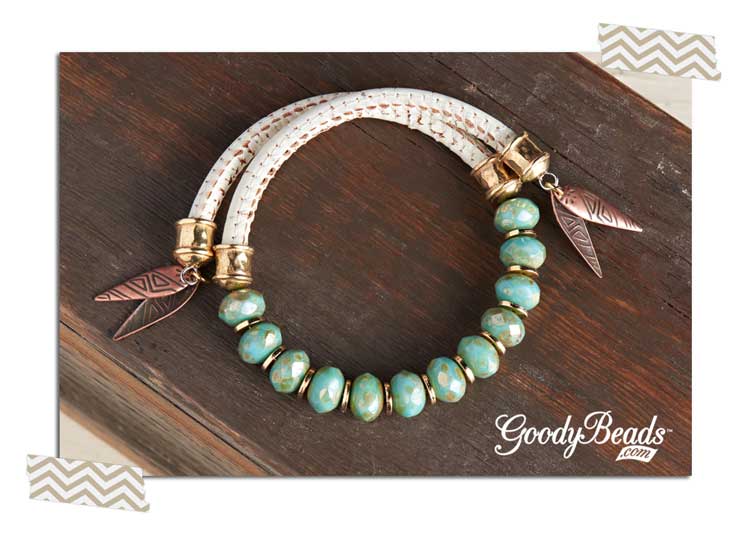
Make a bracelet with multiple combinations of beads to create a fun layered look.
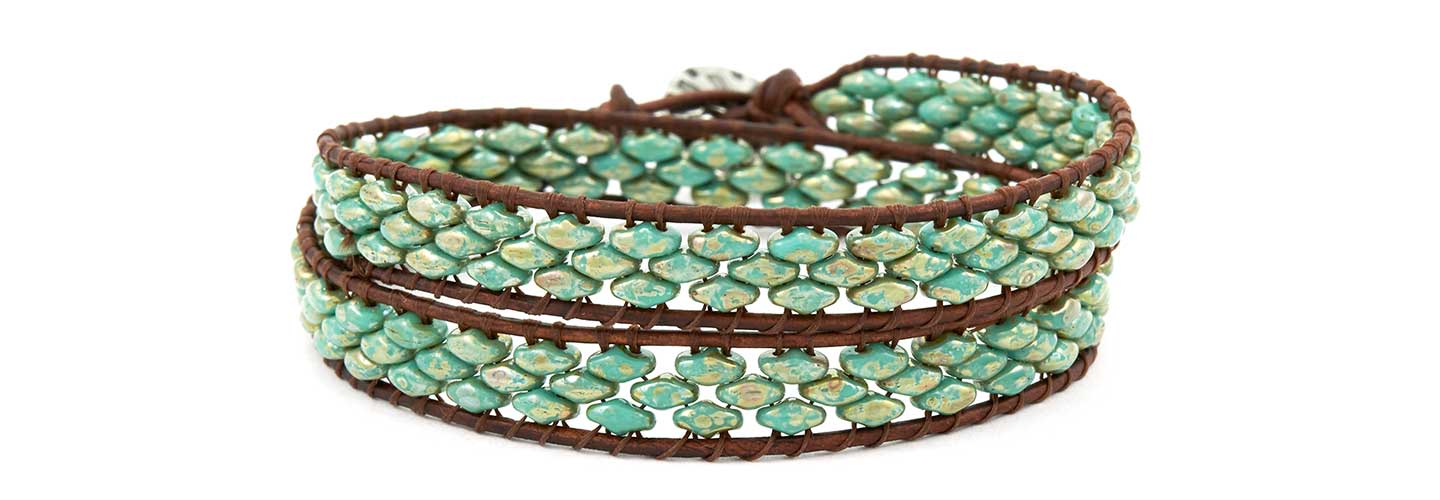
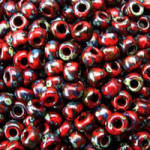
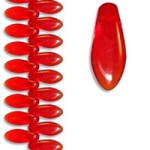
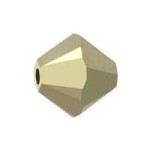
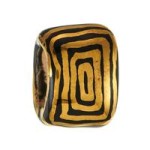
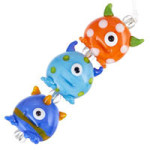
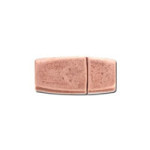
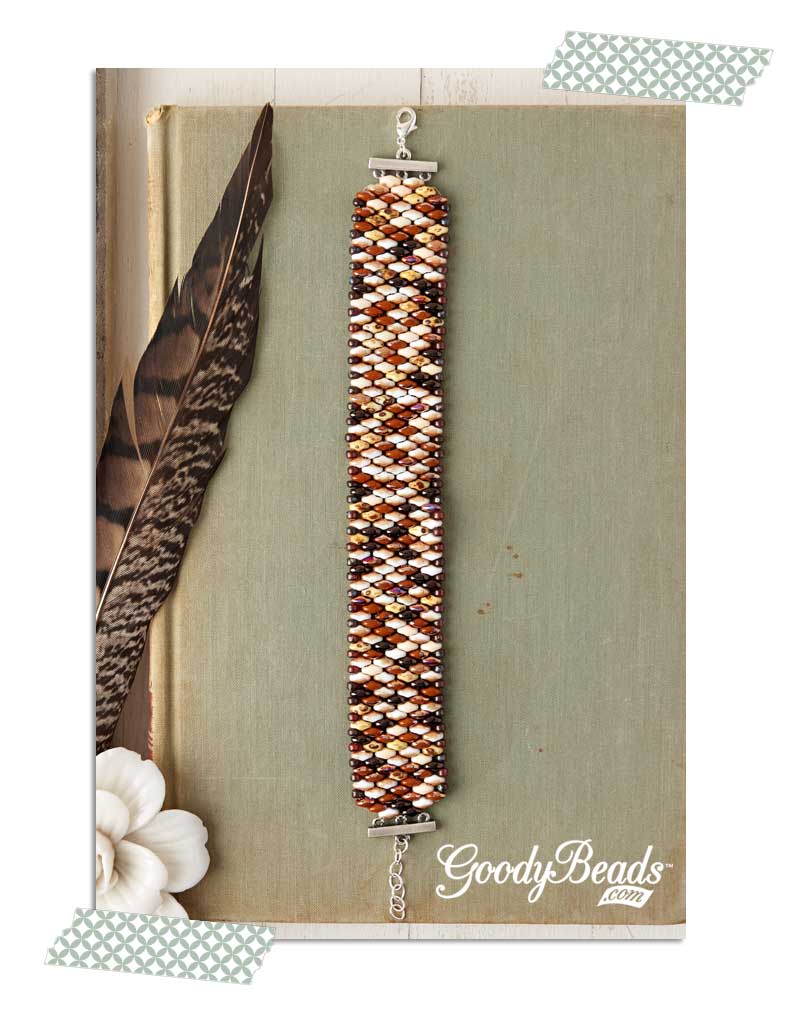
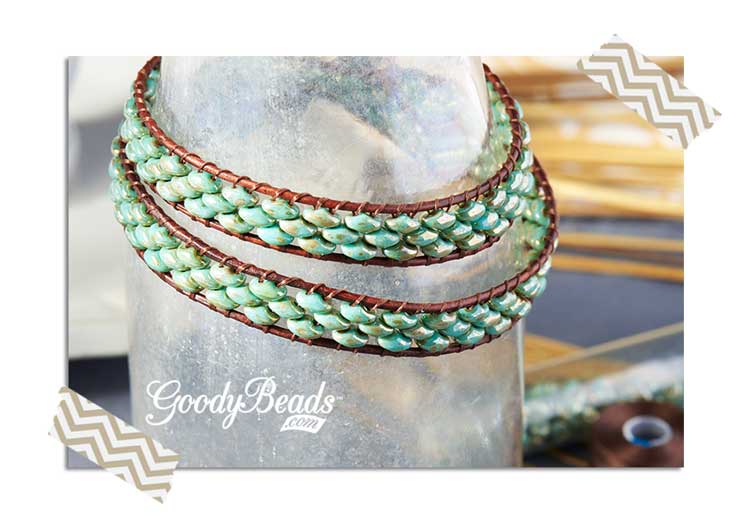
These SuperDuo beads look like tiny stone pebbles, don’t you think? Try a SuperDuo mix set for a colorful bracelet or create a zigzag pattern. What will you try?
Other Tips
How to add on additional thread: Tie thread to closest leather cord and glue with Hypo Cement or fast-drying glue. Cut off excess. Tie new thread to leather cord, glue knot and continue.
How to hold leather strands: An alternative to holding the leather strands, for stability when adding beads, is to clamp the button to a clipboard.
How to straighten leather cords: While you are stringing on beads, adjust previous beads with fingers to straighten out leather cords. Or when you have reached your desired bracelet length, lay the bracelet down and run your hand across your bracelet. This will help to smoothen and straighten your leather cords.
How to tighten threads/bead layers: If you find that your thread does not keep your bead(s) sandwiched in place or the bead sits loosely, sew up and under the cords and through the bead again. Over and down through the bead. Sewing through the bead twice on the leather cords will give your beads a tighter hold.
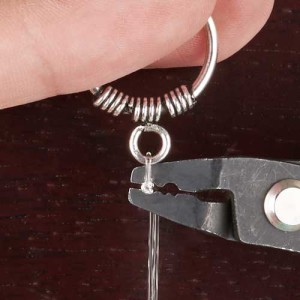
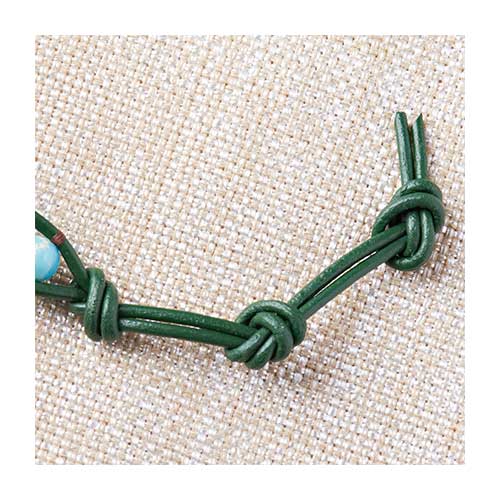
Tighten leather knots: If your leather cord knots are loosening, add a small dab of fast-drying glue or Hypo-Cement to knot(s) for tighter holds.
How to make an adjustable bracelet: Make additional knotted ends for an adjustable bracelet.
Single Wrap Bracelet
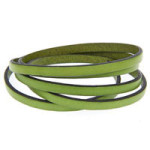
- (1) Z005069 – 2mm Emerald Green Leather Cord
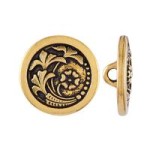
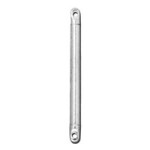
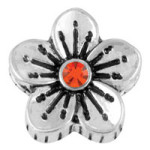
- TCZ0194 – 17mm Flower Button
- A006596 – Brown Beading Thread
- GS00490 –6mm Blue Dyed Impression Jasper
- A018854 – Gold Eye Beading Needles
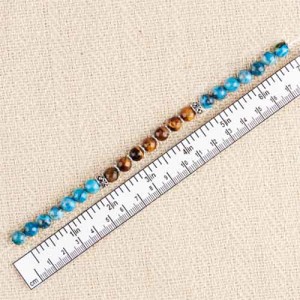
Faceted and Gold Nugget wrap bracelet
- (1) A020532 – 1mm White Leather Cord
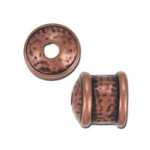
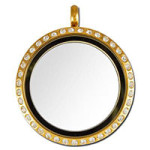
- BT00038 – 12.5mm Gold Circles Button
- A020510 – 4mm Gold Hematite Rondelle Bead
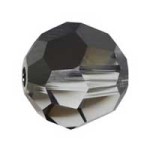
- GS00414 – 6mm Faceted Blue, Red & Brown Tiger Eye Gemstone
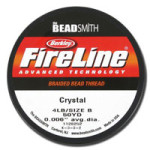
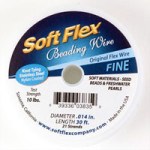
- A006587 – 6lb Crystal Fireline Thread
- A018854 – Gold Eye Beading Needles
Pink and Pearl Wrap Bracelet
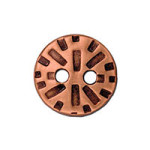
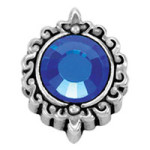
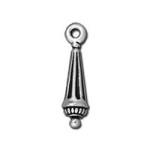
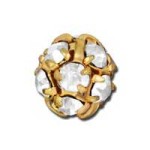
- TC01262 – 15mm Brass Round Radiant Button
- A016808 – 8mm Pink AB Round Chinese Crystal Glass
- PR00284 – 8mm Preciosa Round Cream Rose Pearl
- Z001553 – 8mm Czech Fire Polish Shiny Gold Beads
- A019038 – 2mm Dark Pink Economy Leather Cord
- A006587 – 6lb Crystal Fireline Thread
- A018854 – Gold Eye Beading Needles
Arianna Caribe SuperDuo Wrap Bracelet
- (1) A020113 – 1mm Natural Red Brown Leather Cord
- TC01263 – 15mm Antique Pewter Round Radiant Button
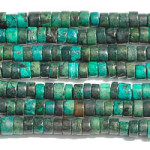
- SB02239 – Turquoise Blue Picasso Super Duo
- A006596 – Brown Beading Thread
- A018854 – Gold Eye Beading Needles