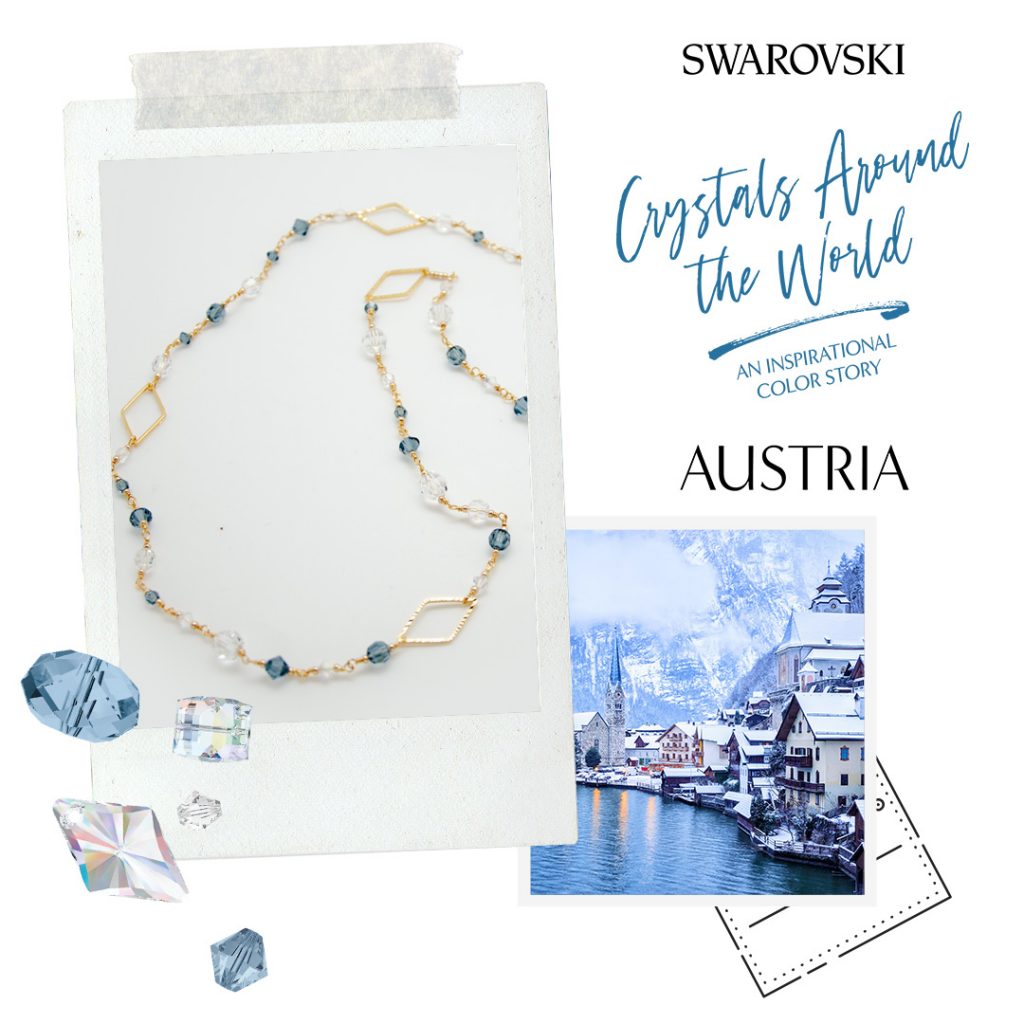
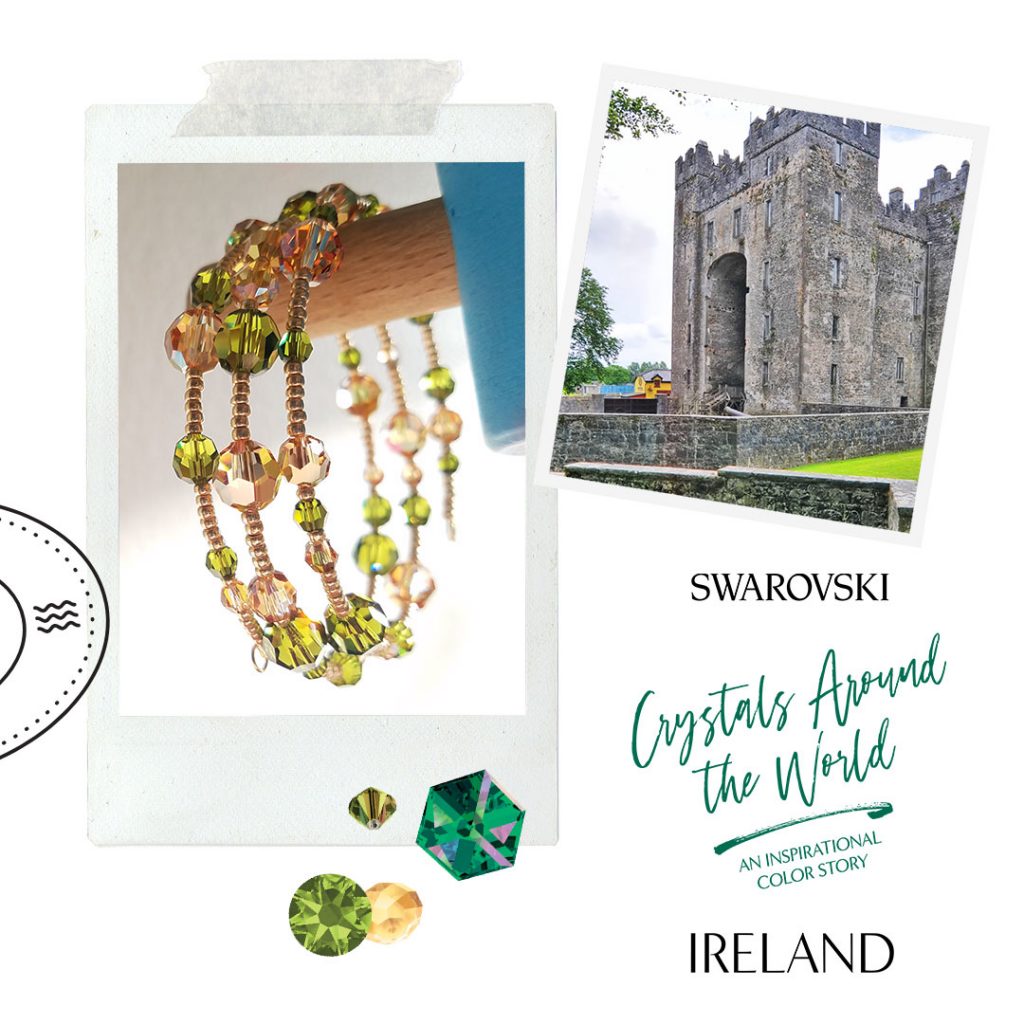
DIY Jewelry with Swarovski® Around the World: Ireland
This month’s trip is Ireland. Find out how rich and romantic this country is from its green landscapes and historical architects. Plus, venture the lush hues Swarovski suggests to inspire your Ireland trip along with a DIY jewelry project for you to try.
Ireland
As you follow the rolling hills from the Causeway Coast to the Sunny South East, your heart will be one with Ireland. Filled with centuries of ancient stories, rich culture and rugged, romantic landscapes, the “Emerald Isle,” is sure to put a sparkle in your eye. The wild unruly countryside and awe-inspiring sights lead to countless photographs in the hopes of capturing nature in its most majestic state. They say a picture is worth a thousand words, but these pieces capture all the heritage and beauty that is Ireland.
Here are some fun facts for your visit:
- Ireland is named the Emerald Isles, first mentioned in William Brennan’s poem ‘When Erin first rose.”
- Ireland is home to Guinness Beer
- Riverdance consists of traditional Irish music and dance
- The origins of Halloween is from Ireland
- St. Patrick’s Day is a national Ireland holiday
- Ireland has a history of world-known writers such as James Joyce, Oscar Wilde W. B. Yeats
- Ireland has over 30,000 castles.
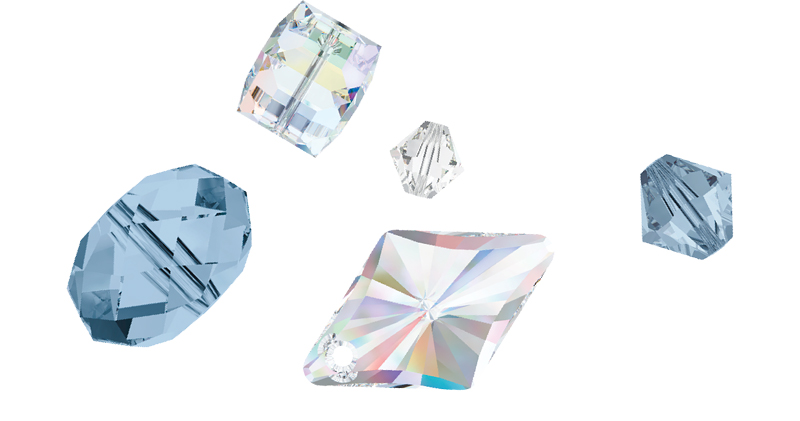
Ireland – Swarovski Colors
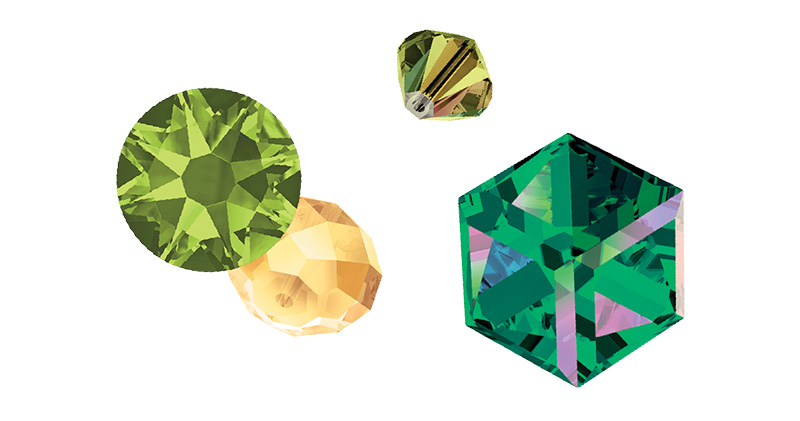
- Crystal Metallic Sunshine
- Olivine
- Crystal Vitrail Medium
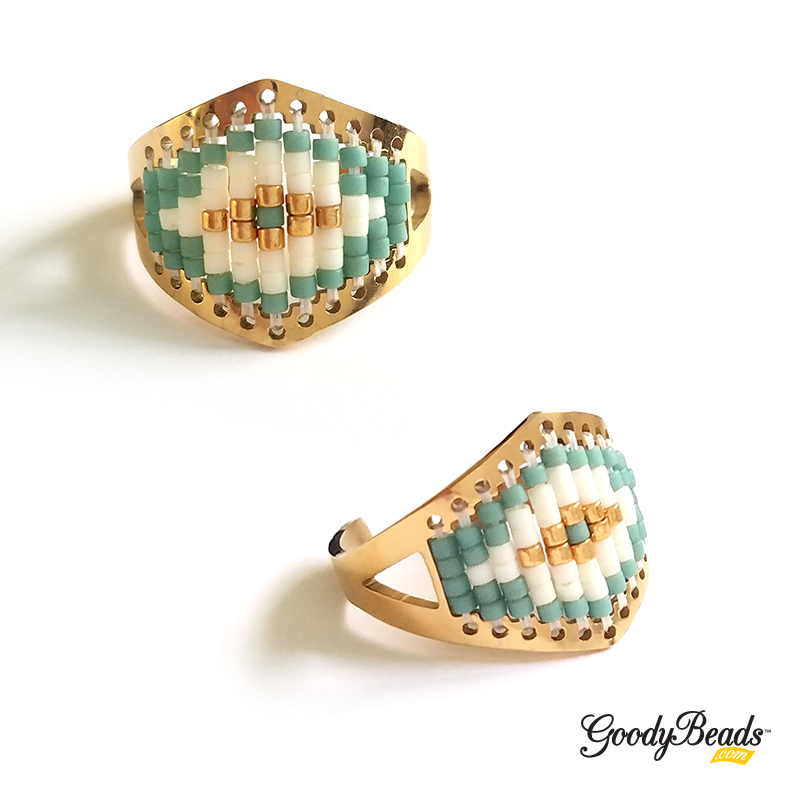
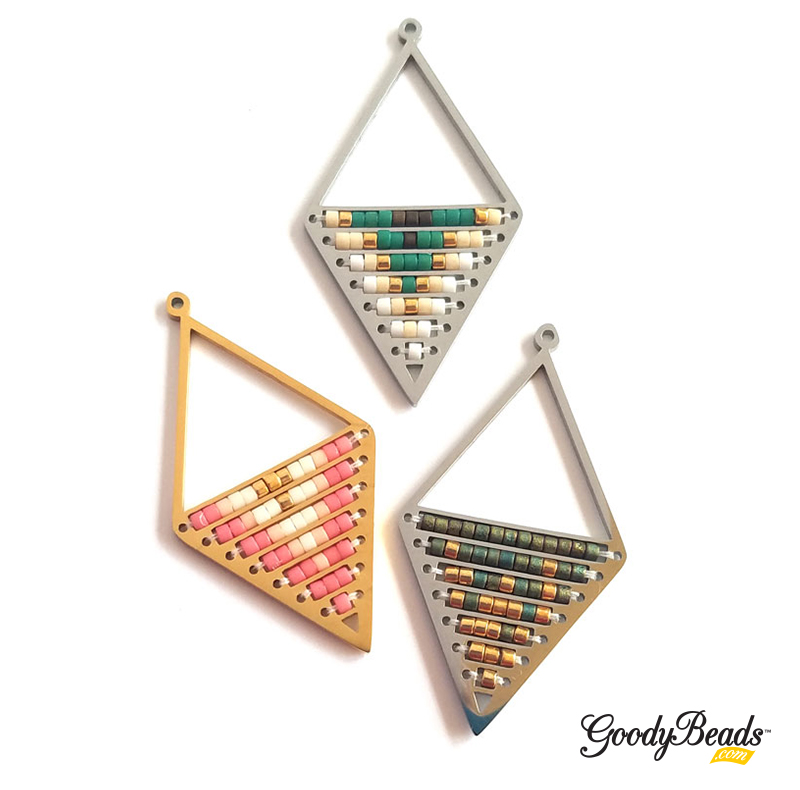
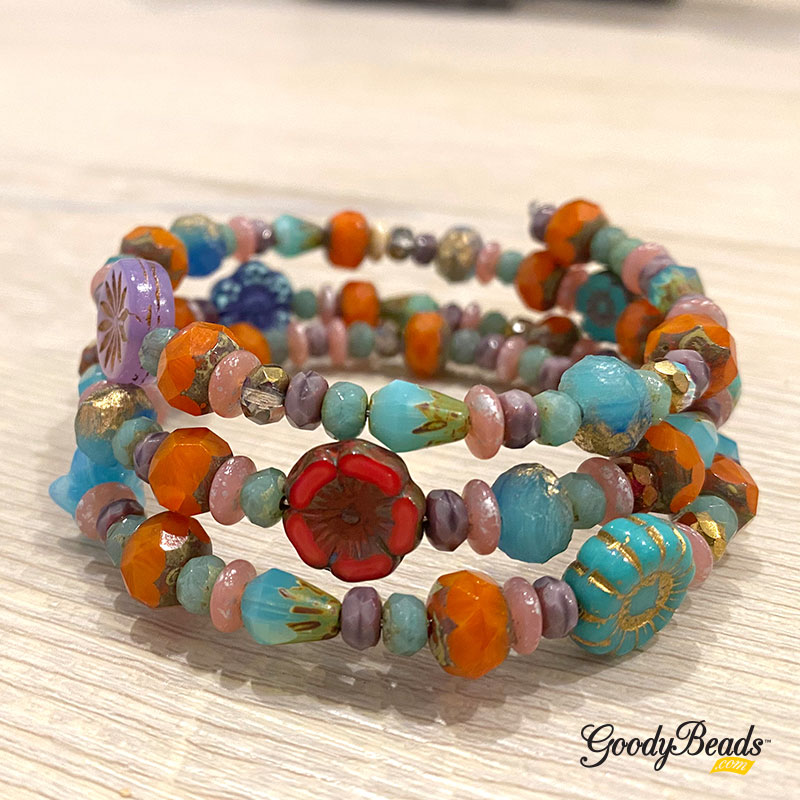
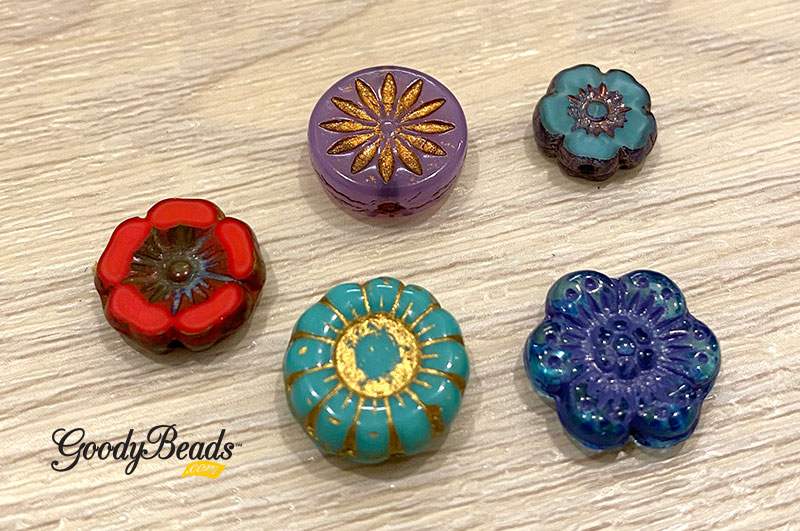
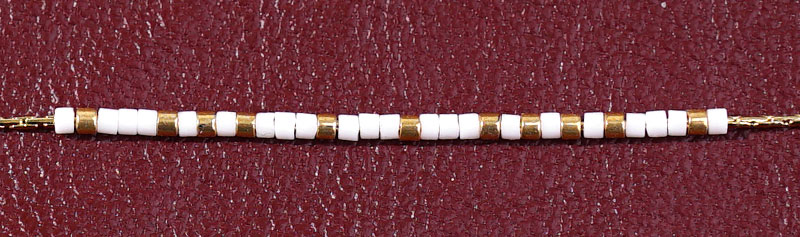
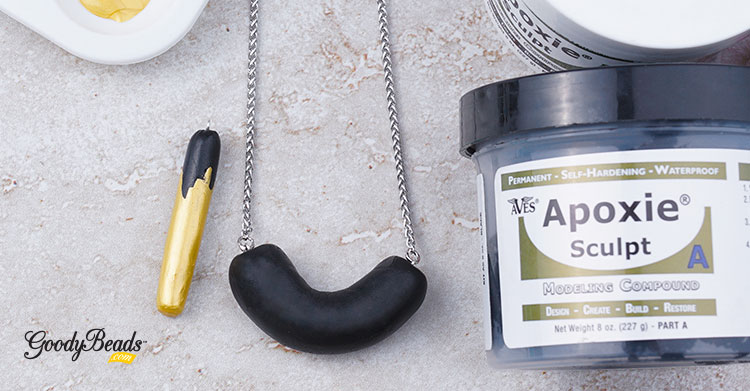
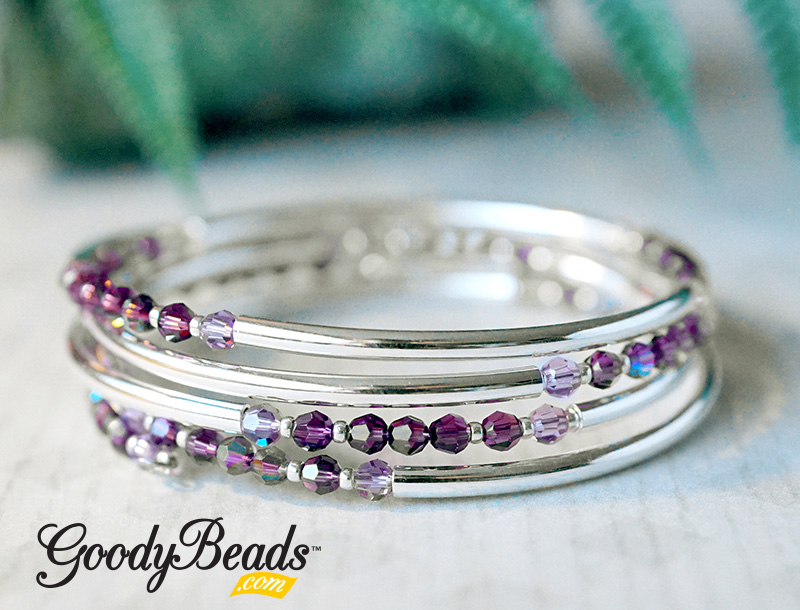
Ireland Inspired DIY Jewelry
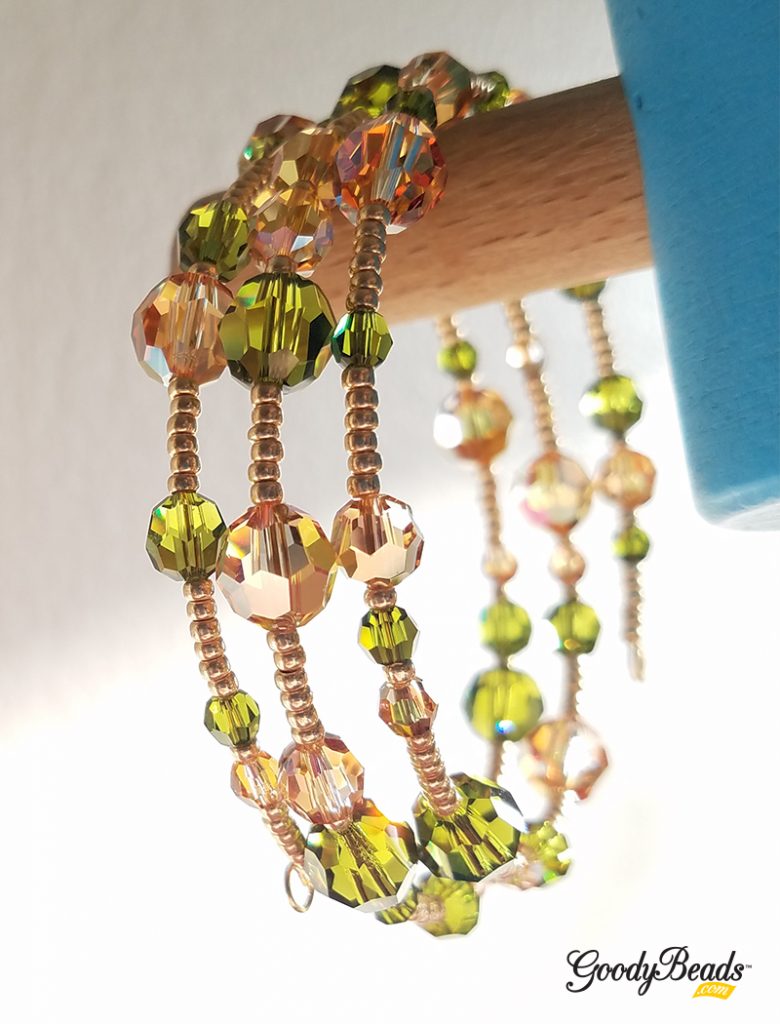
What you’ll need:
- Gold Memory Wire – WR00126
- 11/0 Galzanized Yellow Seed Bead – SB00423
- 4mm, 6mm, & 8mm Round Swarovski Crystals:
SW02532 (8)
SW02531 (8)
SW02530 (8)
SW02527 (8)
SW02526 (8)
SW02525 (8)
Directions:
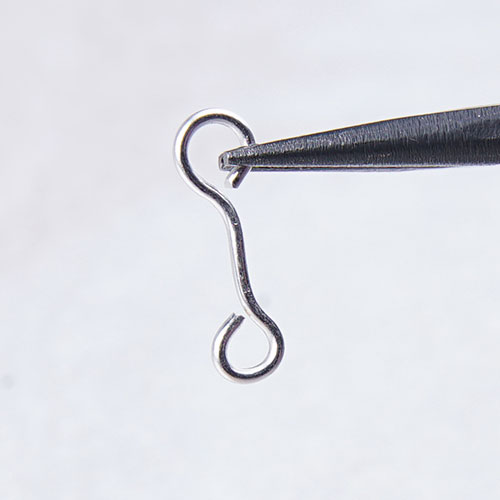
- Make a simple loop to one end of your memory wire.
- Slide on 6 seed beads.
- Make various sequence of 1-3 crystals with a seed bead in between. And 6 seed beads in between each sequence.