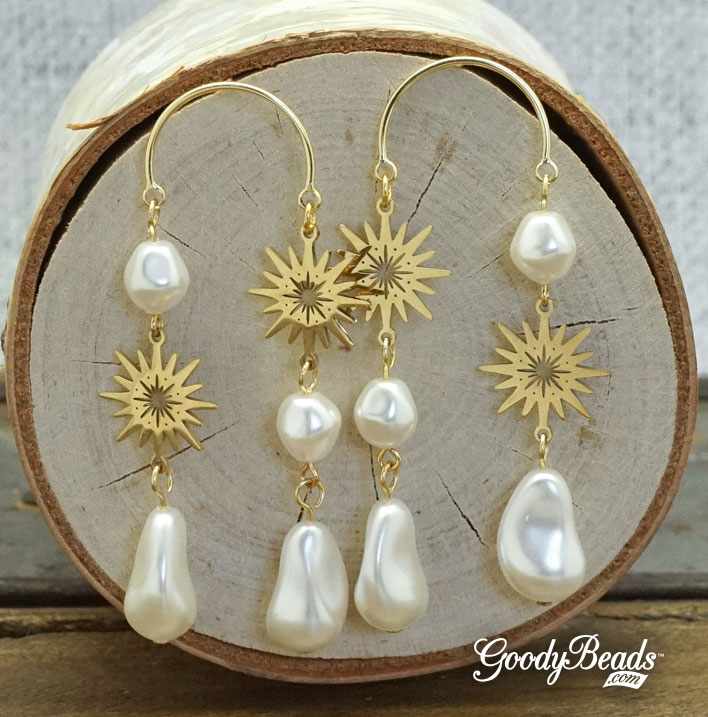
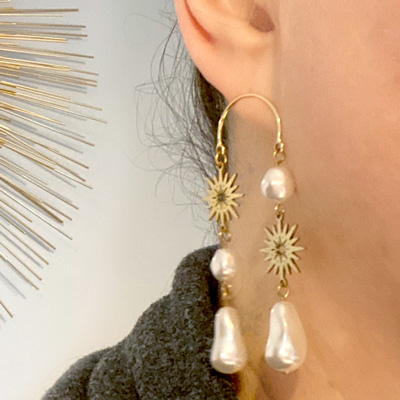
DIY Beadable Fan Earrings with Diamond Drop
We’re combining two fun beadable accessories in these fan earrings. Beadable accessories are easy to use because all you need to do is bead-stitch size 11 delica beads inside the channels. The colors and ideas are endless with beadable accessories.
Items used in fan earrings:
- Z005132 (2) – Beadable 1 to 7 Triangular Link
- Z001471 (2) – Beadable Fan Pendant
- SB03774 – Opaque Cream Delica
- SB04030 – Ocean Spray Delica
Or try other 11/0 Delica Seed Beads colors. - SW00664 (2) – 4mm White Swarovski® Pearl
- TCZ0077 – Silver Earring Wire by TierraCast
- A002413 – 4mm Jump Ring
- A006767 – Beading Needles
- A006587 – 6lb Crystal Fireline Thread
——- CLICK for FREE Downloadable Pattern Tutorial ——-

Follow the FREE Pattern to create your own!
Fan Earrings Designed by So Vang