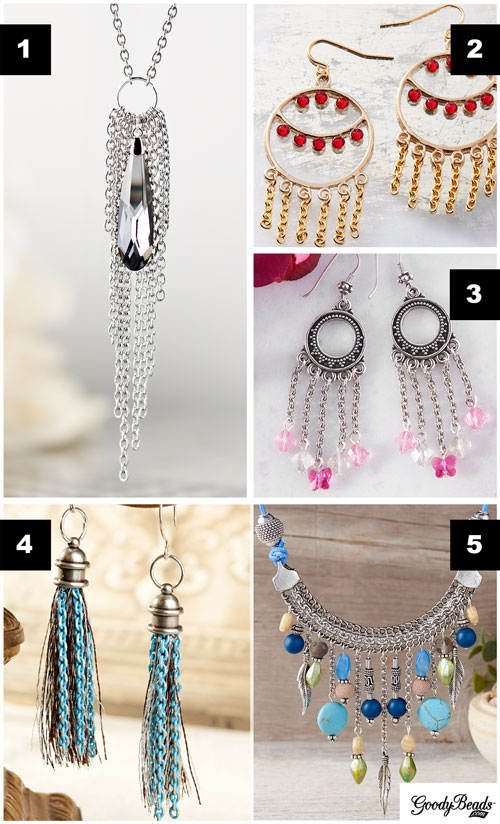
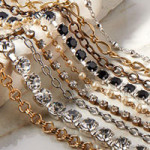
Chain link is not only great to add length to necklaces or as chain extenders for bracelets, but they are fun to create fringe with. With its popularity in fashion jewelry and accessories, we have some examples of how we’ve created fringed jewelry with chain.
Dangle chain for some crazy, fun fringe. Keep fringes simple or trail it with beaded dangles. Let these examples inspire the next time you create with chain links.
How to Make Leather Wrap Bracelets with Illustrated Tutorial
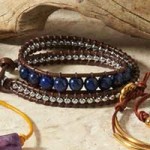
Leather wrap bracelets is a trending favorite to spice up a boho outfit or rock out to a head-banging concert or add to a casual outing with your girlfriends. Wrap bracelets are a must-have for 2016. We will show you how to make wrap bracelets with illustrated tutorial that you can download.
They may look difficult to make, but after a few attempts, they are honestly easy to make. We will show you a tutorial on how to make these bracelets using one-hole beads and super duo beads, as well as a few tips and tricks to help you make these wrap bracelets.
The basic components you need for these bracelets are:
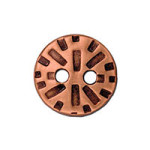
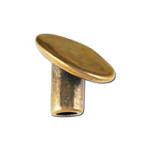
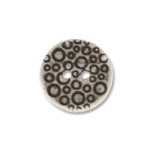
Button findings: which will act as your clasp. Button Ends will work well, also.
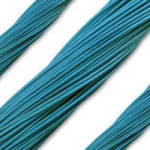
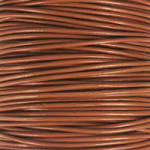
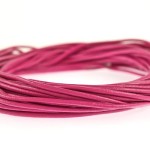
Leather or cotton round cord: these could range from 1mm to 2mm or larger, depending your preference and on the size of beads you are going to use. The length of cord needed for your bracelet will be determined below.
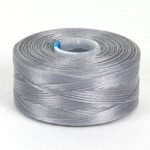
Thread: you can match the thread to your leather cord to hide the look or to add color. Check out some Beading Thread options but keep in mind that you will need a thin enough thread to go through the hole of your beads twice.
Beading Needle: size will be according to your thread and bead’s hole size.
Adhesive: Hypo-Cement with precision tip, is a good choice to glue thread ends or any fast-drying glue will do.
Beads: use your preference of beads or seed beads. Have enough if you plan to have a multi-wrap bracelet.
Determine leather length needed for a wrap bracelet
Use this method to determine the leather cord length you may need for a multi-wrap bracelet.
Take your wrist length and double the length. Multiply that by the number of wraps you want and then add 12”. That will give you an approximate cord length you will need to start your bracelet. (The extra 12” factors in the button knot, end knot(s) and bead size.)
Example:
2 wraps for an 8.5” bracelet: (8.5” x2) x 2 wraps = 34 + 12 = 46” needed.
Or
4 wraps for a 7.5” bracelet: (7.5” x2) x 4 wraps = 60 + 12 = 72” needed.
Keep in mind, these total numbers are approximate. You will want to test the wrap length while you’re making your bracelet. Having extra length is better than being short on your wrapped length goal.
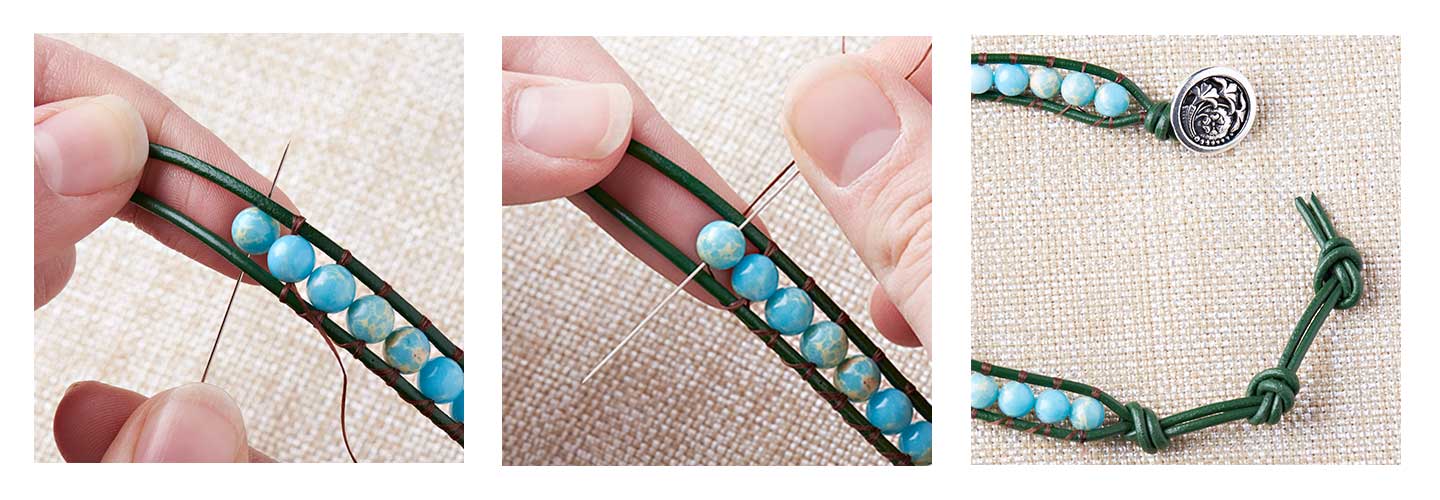
Basic Leather Wrap Bracelet Tutorial
The basic weaving of the thread will be going under the leather cords and then coming over leather cords.
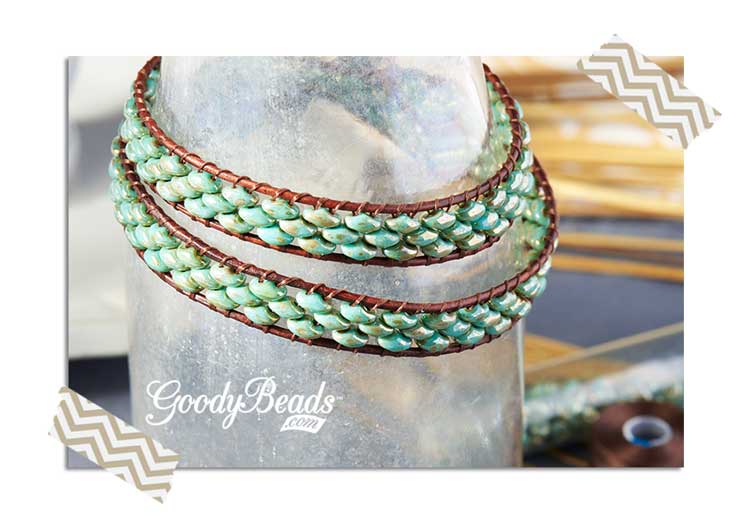
With Czech SuperDuo seed beads, you will be layering the bead holes to create a layer sequence. Below is a tutorial on how to make this SuperDuo wrap around bracelet.
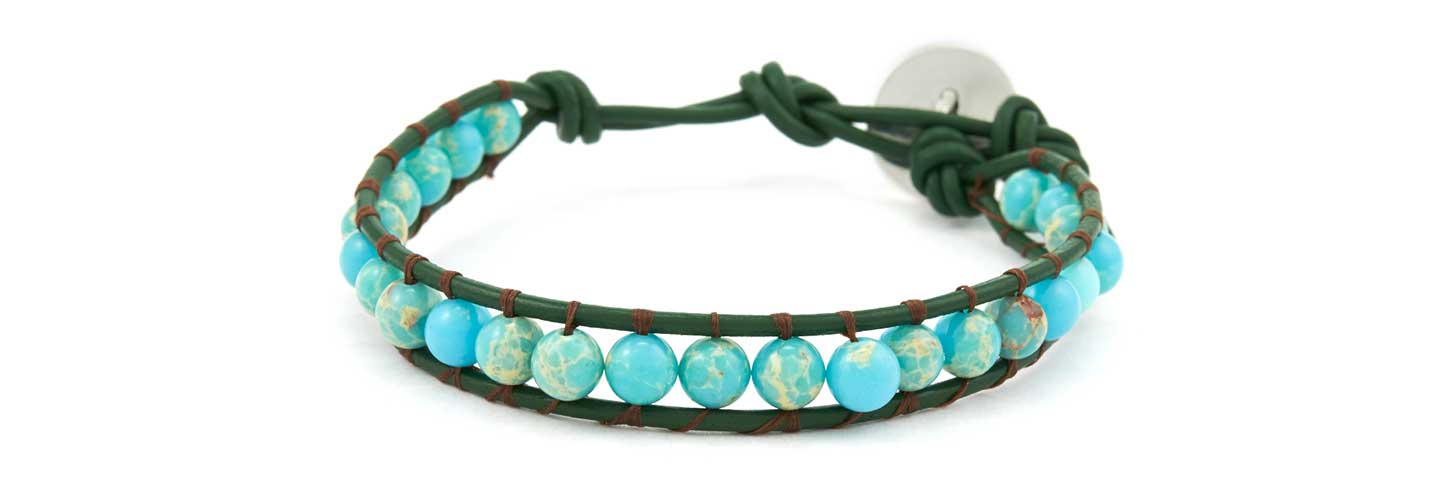
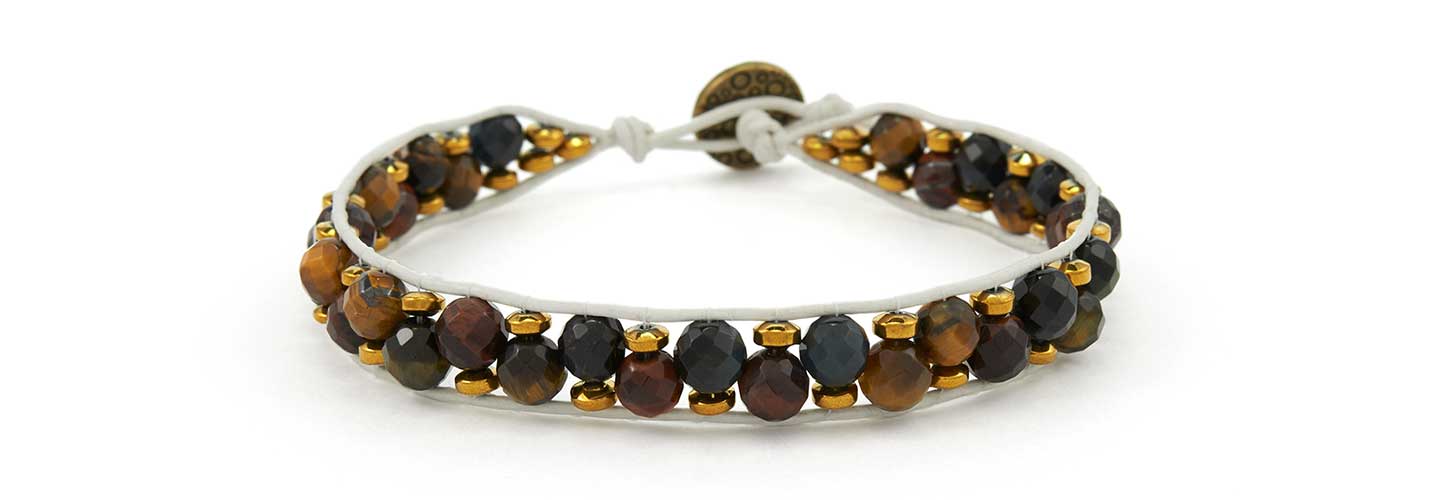
This is a simple one-wrap bracelet. Think about using a different thread color than your leather cord color for a mix of colors.
Use more than one bead on each layer for more embellishment options.
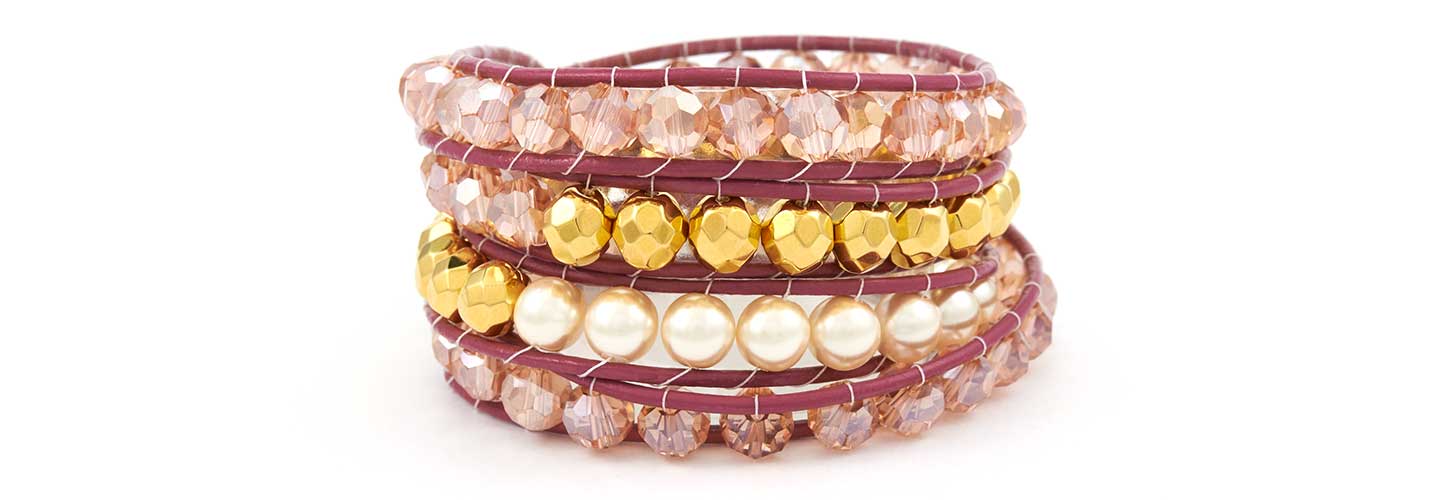
Make a bracelet with multiple combinations of beads to create a fun layered look.
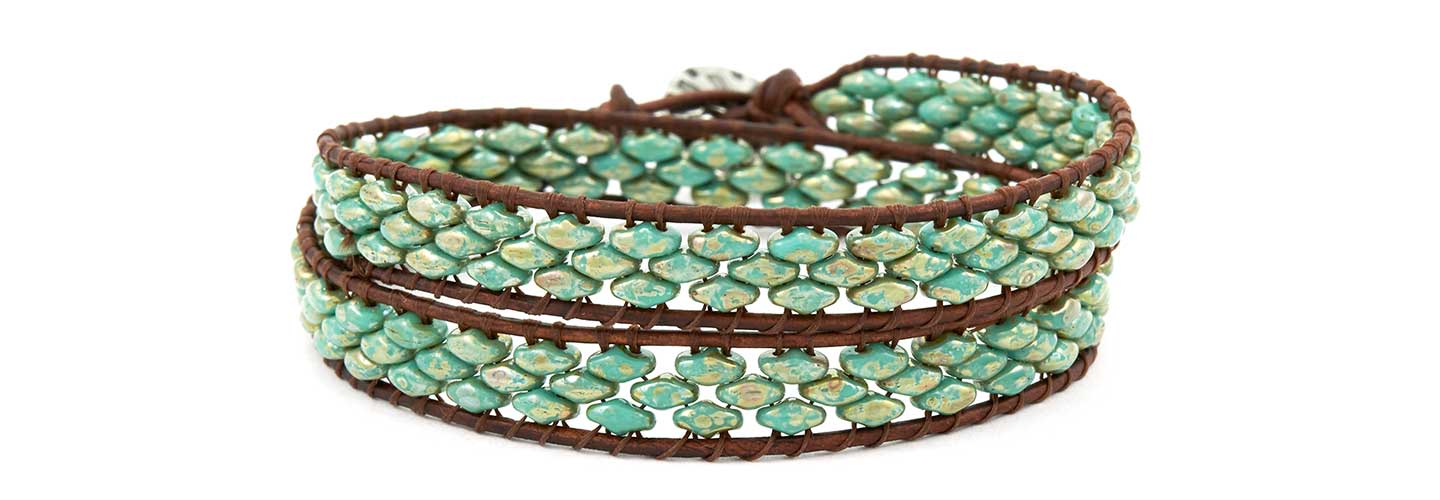
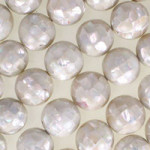
These SuperDuo beads look like tiny stone pebbles, don’t you think? Try a SuperDuo mix set for a colorful bracelet or create a zigzag pattern. What will you try?
Other Tips
How to add on additional thread: Tie thread to closest leather cord and glue with Hypo Cement or fast-drying glue. Cut off excess. Tie new thread to leather cord, glue knot and continue.
How to hold leather strands: An alternative to holding the leather strands, for stability when adding beads, is to clamp the button to a clipboard.
How to straighten leather cords: While you are stringing on beads, adjust previous beads with fingers to straighten out leather cords. Or when you have reached your desired bracelet length, lay the bracelet down and run your hand across your bracelet. This will help to smoothen and straighten your leather cords.
How to tighten threads/bead layers: If you find that your thread does not keep your bead(s) sandwiched in place or the bead sits loosely, sew up and under the cords and through the bead again. Over and down through the bead. Sewing through the bead twice on the leather cords will give your beads a tighter hold.
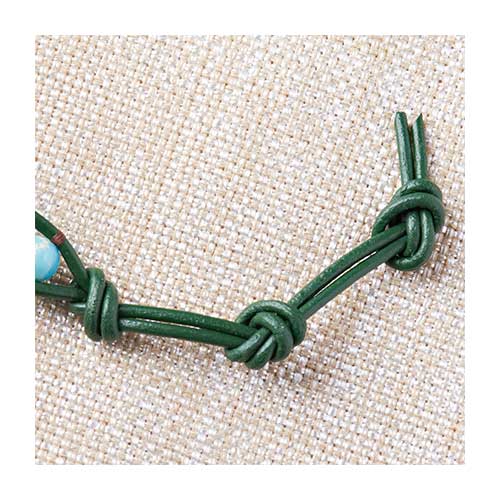
Tighten leather knots: If your leather cord knots are loosening, add a small dab of fast-drying glue or Hypo-Cement to knot(s) for tighter holds.
How to make an adjustable bracelet: Make additional knotted ends for an adjustable bracelet.
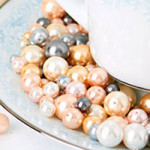
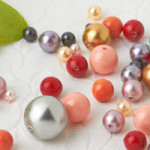
June is known for wedding days with tiered cakes, delicious finger foods and of course, the beautiful bride coming down the aisle. From choosing bridesmaids dresses to the color of reception napkins, everything can and will be perfect. Cut back on a little expense by making beautiful wedding jewelry of your own or for the bride with Preciosa crystals and pearls. About half the cost of Swarovski ®, they give off an elegant look without the price.
Below, we have picked three popular 2015 wedding themes and paired them with their own jewelry pieces, fully handmade with Preciosa crystal and pearls.
Rustic Chic Necklace Rustic chic has its charm of pastel and greenery colors, a backyard tent with white garland lights, and the bride in her white chiffon, flowing dress with side swept braid. Our jewelry piece for this fun and charming wedding theme is something fun and charming itself.
Our rustic chic themed necklace is a long, loose flowing necklace meant to wrap around twice for a layered look. The fun part about making this necklace is that there is no wrong sequence, pearl/crystal quantity, or length you need to follow. Starting out with three feet of silver chain (CH00341), prep the 6mm Preciosa crystals, 10mm Preciosa Pearls, and 6mm Preciosa Pearls by making double loop wire bead segments by using eyepins and making a second loop on the other end. Once there is a good amount of pearls and crystals (about 10 or so each), start at one end of the chain by cutting about an inch off and attaching a crystal, pearl, or a combo of both segments. The various length of where you cut the chain and the type of pearl or crystal segments, really adds to the rustic charm of this necklace. Make more segments as you go along if needed. Once you get to the end, use one more bead segment to attach the chain ends together. Now it’s ready to be showcased on the aisle
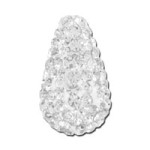
Vintage Style Necklace Inspired by Downton Abbey, TheGreat Gatsby and the royal wedding, gives a chance for vintage-inspired weddings of a courtyard garden, lace wedding dress, satin gloves and curled updos.
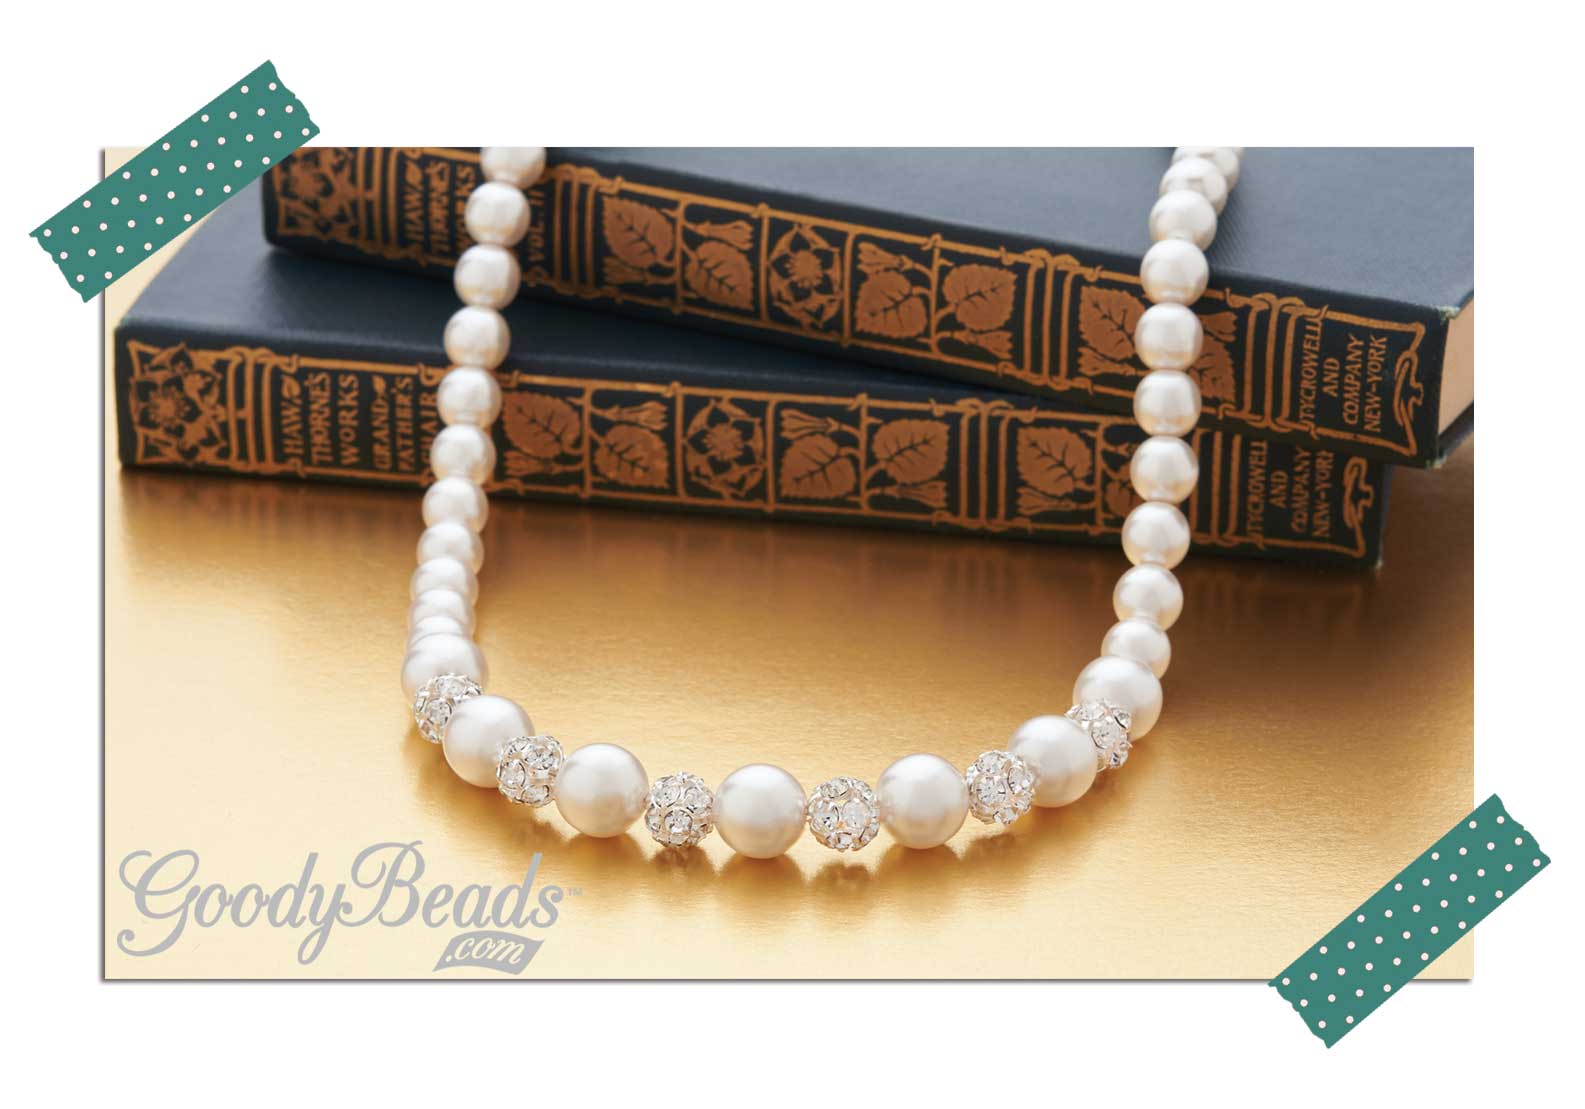
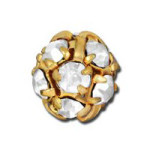
A lovely pearl strung necklace is perfect for this celebration. A sequence combination of Preciosa Pearls and Rhinestone Crystals give the bride an elegant statement necklace to wear.
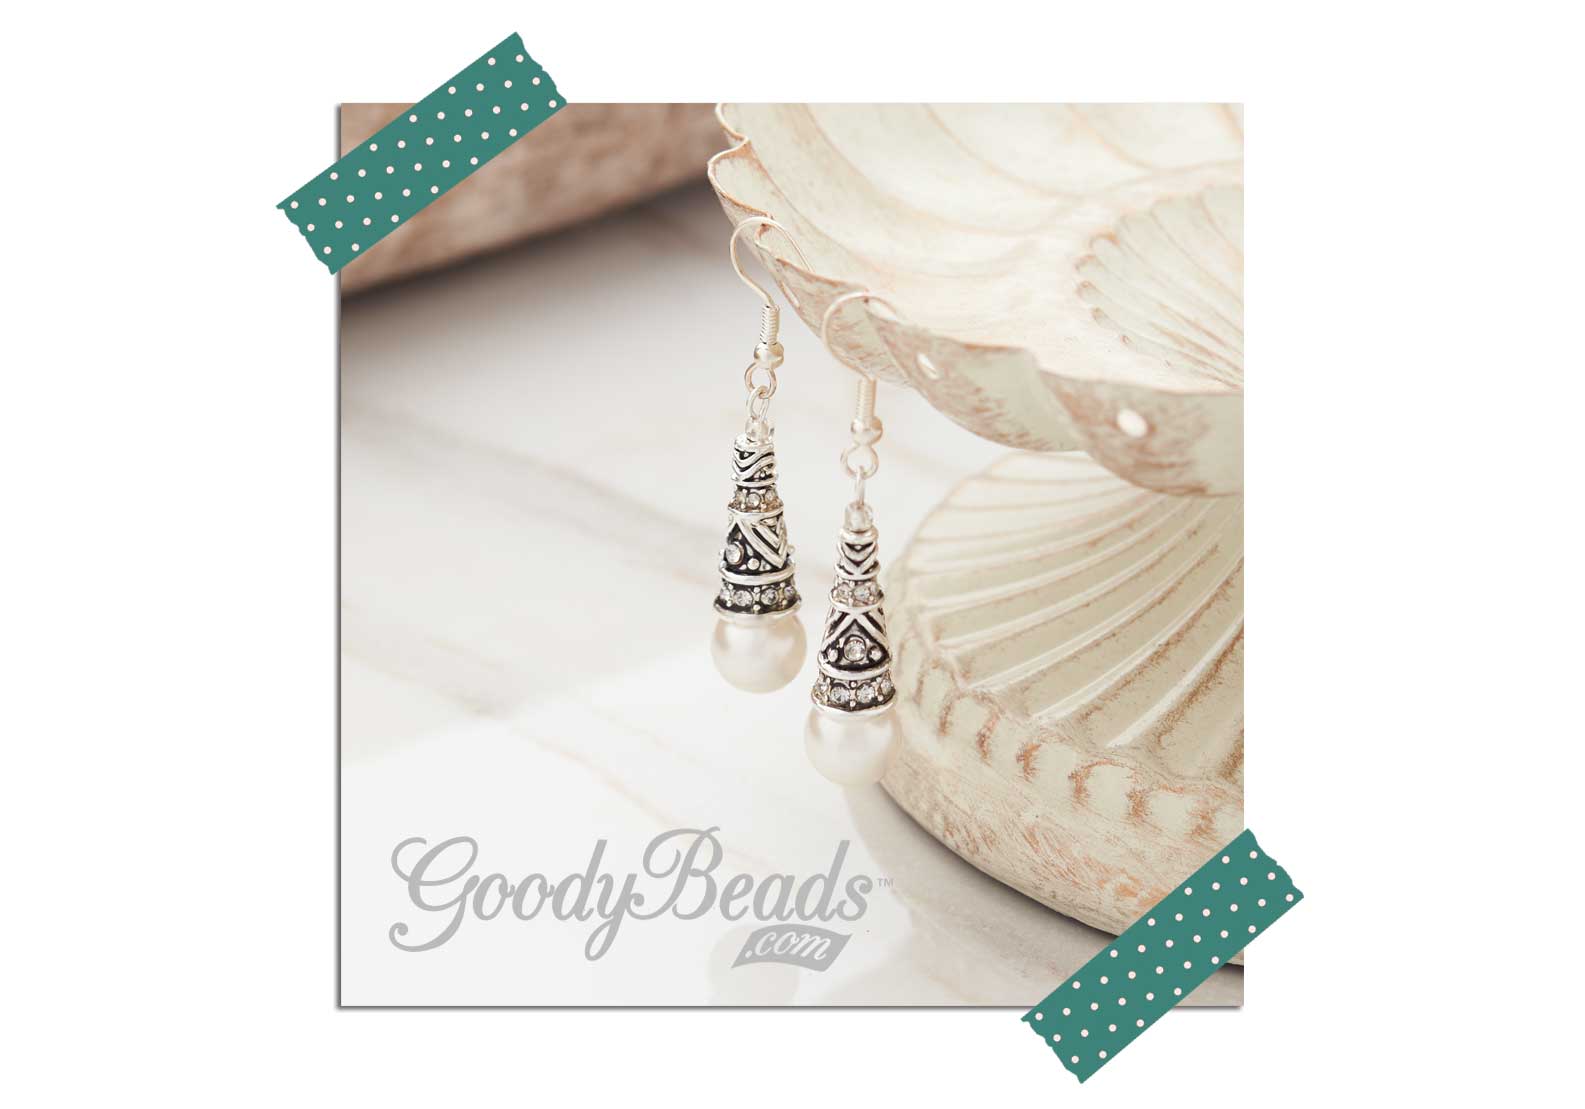
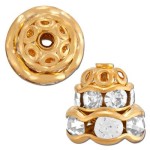
Boho Pearl Earrings Imagine wild flowers hanging dangling from the ceiling canopy, the lush smell of grass under your toes, and the bride in a draped, maxi wedding gown with tousled hair and flowered headpiece.
Trying not to take away from the natural beauty of it all, a perfect pair of boho-inspired earrings would be subtle enough for a little sparkle to this dreamy celebration. We chose these Rhinestone Silver cones to accent a 10mm Preciosa Pearl. They give off a fresh, whimsical touch to a perfect wedding day.