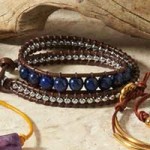
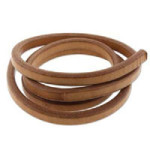
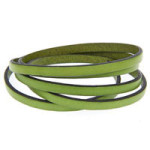
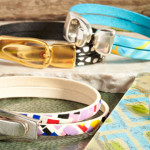
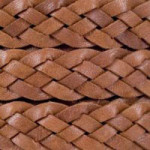
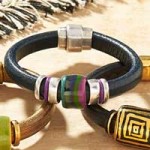
Rainy season is upon us. And what better way to a rainy day then making some leather cuffs. We have an easy leather cuff tutorial that will make you want to put away your rain boots and umbrellas, and “veg out” making these easy leather cuffs.
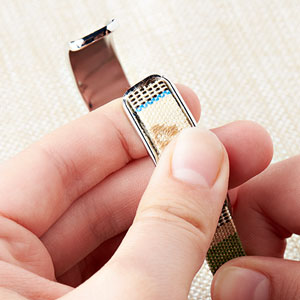
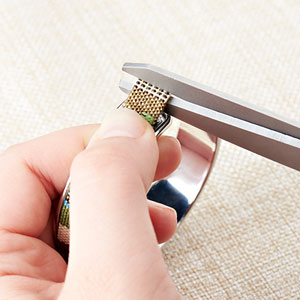
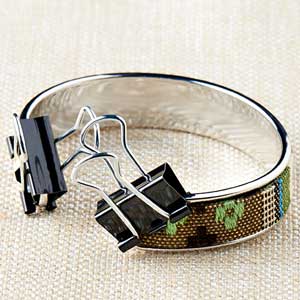
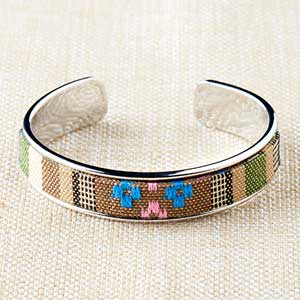
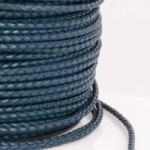
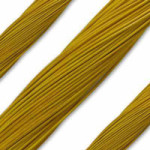
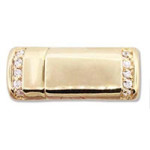
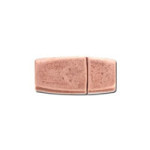
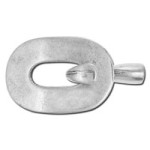
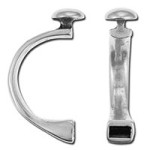
Instead of using a strand of 10mm flat leather, you can make two layers with two 5mm flat leather. We paired the mustard flat leather with this graphic neon splatter-printed leather on a gold-plated, glue-in-cuff.
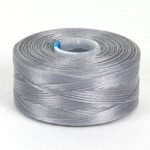
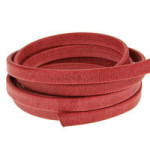
(7) CH00047 – 5mm Mustard/Black Flat Leather (out of stock)
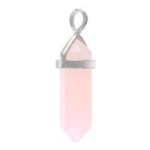
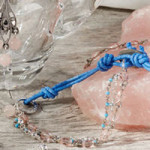
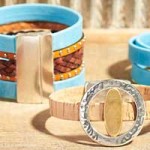
Rose Quartz and Serenity are Pantone’s color of the year winners. And for the first time they debuted a duo-color that blurs the line of femininity and masculinity.
We will show how we used these colors to inspire our Color of the Year Jewelry.
Link Earrings
Designed by So Vang
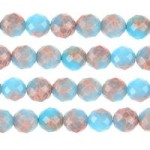
Made with blue foil tint beads and a hint of pink, these earrings pairs the two colors harmoniously.
Necklace
Pink Quartz Necklace Designed by Heidi Urlaub. Blue Serenity Neckalce Designed by Tory Vezina.
Rose Quartz Draped with a shiny tassel and beaded chain, this Rose Quartz necklace is the perfect statement piece to wear this spring. Can you imagine wearing it with your sweet summer dress and suede floppy hat?
Serenity This dream catcher necklace has the right Serenity hues for 2016. Made with handmade silk ribbon, Czech glass chip beads and feather charms, you can pair this with your trending flannel outfit and skinny jeans.
Bracelets
Designed by So Vang
Wire Wrap This wire wrap bracelet combines a darker shade of Serenity and square pink crystals. Accented with silver bali beads, string these colors onto memory wire for a three-loop bracelet with a simple loop on each end. This fun and easy Color of the Year-inspired memory wire bracelet is ready to flaunt.
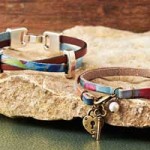
Leather cord When it comes to transcending gender barriers, leather is best to use to create an accessory that both men and women can casually wear. Using the same darker Serenity color as in the bracelet above, we used red aventurine beads on 1mm leather cords. We cut the 1mm cords into three equal strands. Taking the three strands, crimp one end with a revolving crimp tubes. Insert a bead on your top two strands and then the next bead will be on your bottom two strands. Repeat until desired length. Cut the three strand ends straight and crimp them with another revolving crimp tube. Add your choice of clasp and it is ready to wear.
How will you wear this year’s colors of the year?
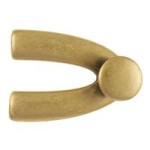
Link Earrings
(2) Z007149 – 30mm Antique Silver Hammered Round Pewter Link
(1) A008998 – Silver Base Metal French Wire Earrings
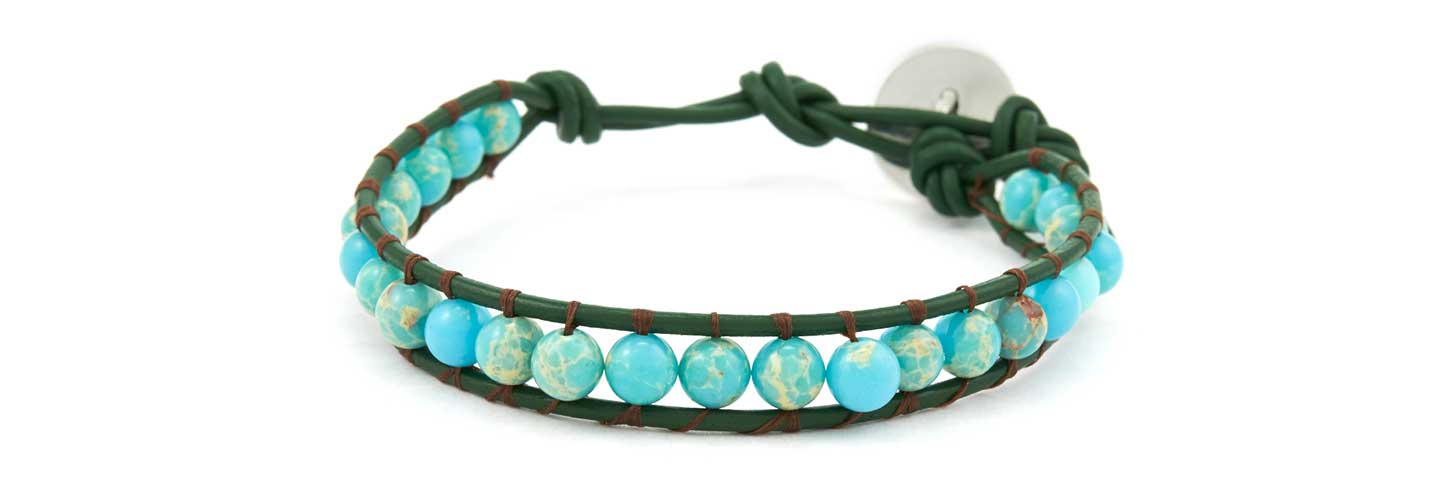
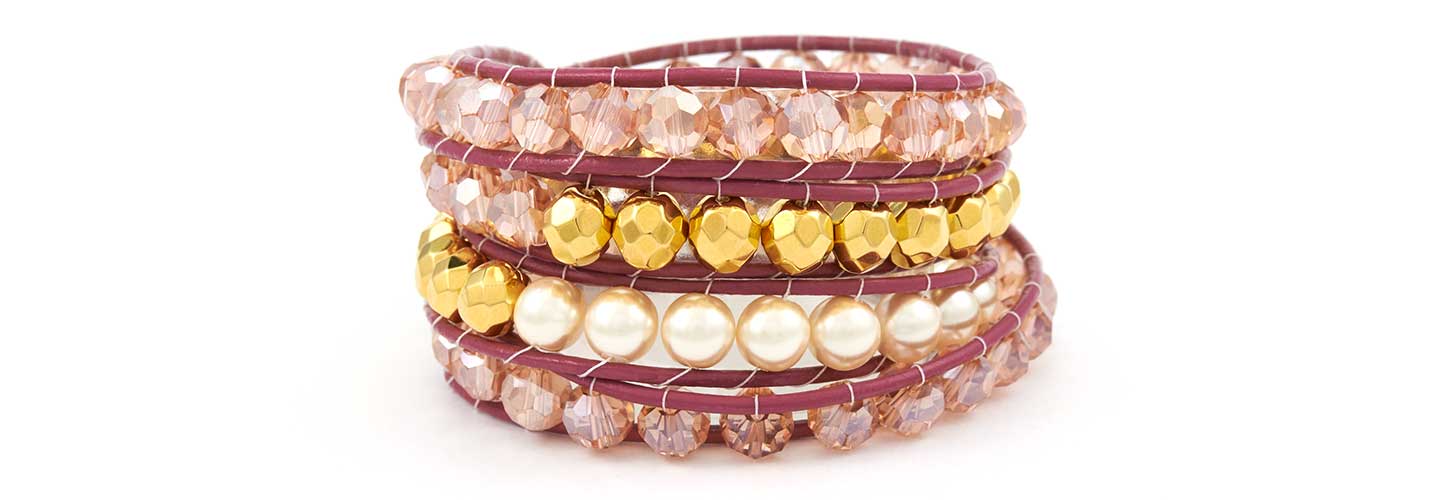
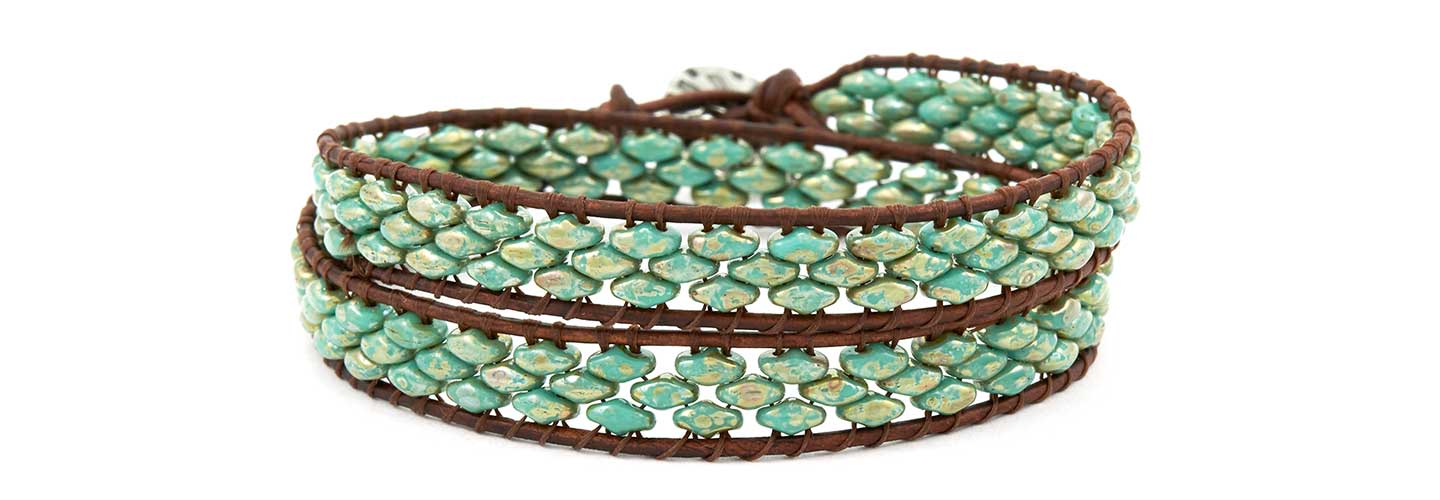
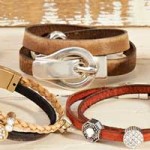
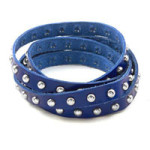
How to Make Leather Wrap Bracelets with Illustrated Tutorial
Leather wrap bracelets is a trending favorite to spice up a boho outfit or rock out to a head-banging concert or add to a casual outing with your girlfriends. Wrap bracelets are a must-have for 2016. We will show you how to make wrap bracelets with illustrated tutorial that you can download.
They may look difficult to make, but after a few attempts, they are honestly easy to make. We will show you a tutorial on how to make these bracelets using one-hole beads and super duo beads, as well as a few tips and tricks to help you make these wrap bracelets.
The basic components you need for these bracelets are:
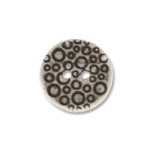
Button findings: which will act as your clasp. Button Ends will work well, also.
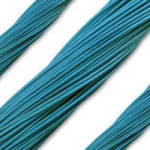
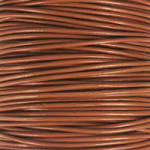
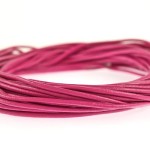
Leather or cotton round cord: these could range from 1mm to 2mm or larger, depending your preference and on the size of beads you are going to use. The length of cord needed for your bracelet will be determined below.
Thread: you can match the thread to your leather cord to hide the look or to add color. Check out some Beading Thread options but keep in mind that you will need a thin enough thread to go through the hole of your beads twice.
Beading Needle: size will be according to your thread and bead’s hole size.
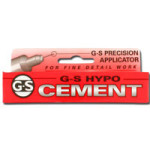
Adhesive: Hypo-Cement with precision tip, is a good choice to glue thread ends or any fast-drying glue will do.
Beads: use your preference of beads or seed beads. Have enough if you plan to have a multi-wrap bracelet.
Determine leather length needed for a wrap bracelet
Use this method to determine the leather cord length you may need for a multi-wrap bracelet.
Take your wrist length and double the length. Multiply that by the number of wraps you want and then add 12”. That will give you an approximate cord length you will need to start your bracelet. (The extra 12” factors in the button knot, end knot(s) and bead size.)
Example:
2 wraps for an 8.5” bracelet: (8.5” x2) x 2 wraps = 34 + 12 = 46” needed.
Or
4 wraps for a 7.5” bracelet: (7.5” x2) x 4 wraps = 60 + 12 = 72” needed.
Keep in mind, these total numbers are approximate. You will want to test the wrap length while you’re making your bracelet. Having extra length is better than being short on your wrapped length goal.
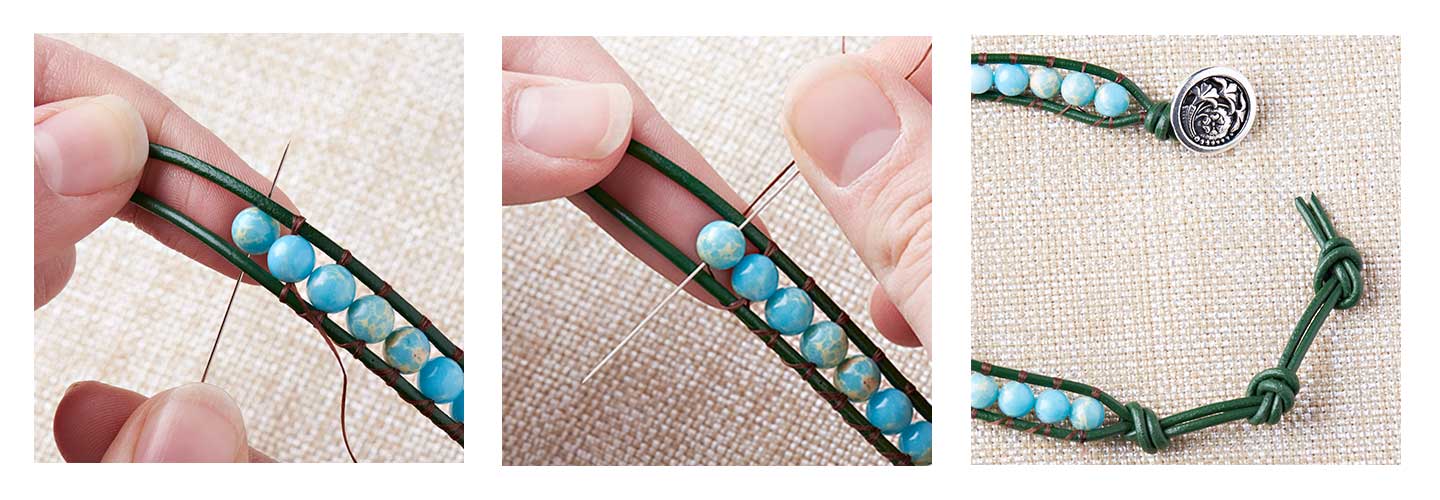
Basic Leather Wrap Bracelet Tutorial
The basic weaving of the thread will be going under the leather cords and then coming over leather cords.
With Czech SuperDuo seed beads, you will be layering the bead holes to create a layer sequence. Below is a tutorial on how to make this SuperDuo wrap around bracelet.
This is a simple one-wrap bracelet. Think about using a different thread color than your leather cord color for a mix of colors.
Use more than one bead on each layer for more embellishment options.
Make a bracelet with multiple combinations of beads to create a fun layered look.
These SuperDuo beads look like tiny stone pebbles, don’t you think? Try a SuperDuo mix set for a colorful bracelet or create a zigzag pattern. What will you try?
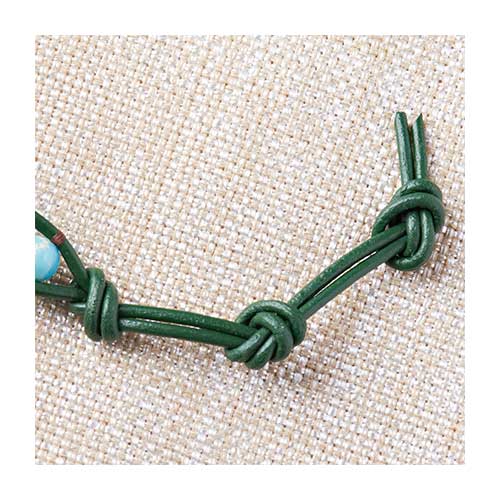
Other Tips
How to add on additional thread: Tie thread to closest leather cord and glue with Hypo Cement or fast-drying glue. Cut off excess. Tie new thread to leather cord, glue knot and continue.
How to hold leather strands: An alternative to holding the leather strands, for stability when adding beads, is to clamp the button to a clipboard.
How to straighten leather cords: While you are stringing on beads, adjust previous beads with fingers to straighten out leather cords. Or when you have reached your desired bracelet length, lay the bracelet down and run your hand across your bracelet. This will help to smoothen and straighten your leather cords.
How to tighten threads/bead layers: If you find that your thread does not keep your bead(s) sandwiched in place or the bead sits loosely, sew up and under the cords and through the bead again. Over and down through the bead. Sewing through the bead twice on the leather cords will give your beads a tighter hold.
Tighten leather knots: If your leather cord knots are loosening, add a small dab of fast-drying glue or Hypo-Cement to knot(s) for tighter holds.
How to make an adjustable bracelet: Make additional knotted ends for an adjustable bracelet.
Using Cold Connection in Jewelry: How to Rivet Leather
Cold connection is a unique metal technique that connects metal components without the use of heat. While you can connect metal pieces by glue or other adhesive, we will demonstrate some basic steps on how to use rivets with leather.
You will find many cold connection and riveting techniques in steampunk jewelry and metalworking. Once you have the basic tools and components for metal working and rivets, you will find how easy this versatile skill can be used for jewelry making.
Designed by So Vang
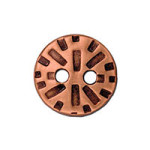
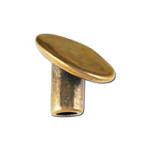
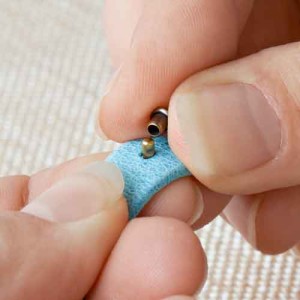
Rivet Leather (Part One)
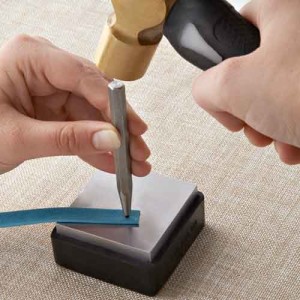
For this project, we are using TierraCast® Rivets to show how to rivet on leather. When riveting on leather, use a two-part compression rivet, which will have a bottom and cap piece. Two-part compression rivets are best for leather, as they will create a tighter hold if you are adding embellishments with the rivets.
Punch leather through the backside using the Leather Hole Punch. Make sure to punch a hole that is large enough for the rivet to sit it, but not too big. If the hole is too big the rivet may not catch the leather, and may fall out. Tip: Punch with the smallest setting first. Increase hole size if the rivet does not go through.
Insert bottom rivet piece through the backside of the leather and put cap piece on top.
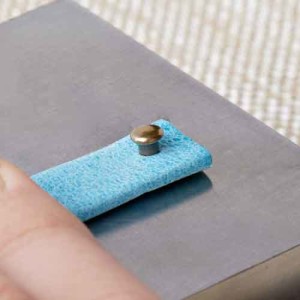
Press the two pieces together until it stops. Place on Bench Block.
Use the Rivet Setter that complies with the size of the rivets. i.e. 4mm rivets will need the 4mm TierraCast® rivet setter tool, while 6mm rivets will use the 6mm TierraCast® rivet setter. Use steel hammer to hit the rivet setter with 2-3 good strikes.
Your rivet is complete.
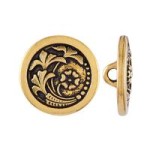
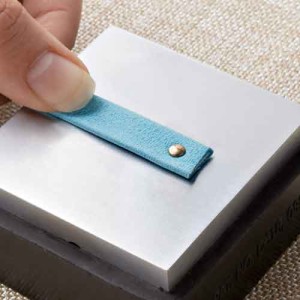
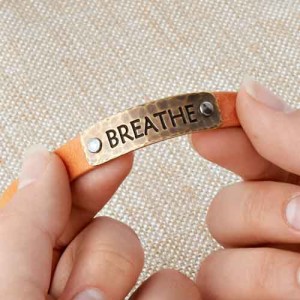
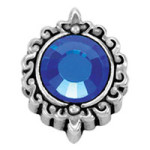
You can sandwich in TierraCast® Components for added embellishments. Or for our bracelet, we used TierraCast® Breathe Link. Use Bending Pliers to curve the link. Line up the leather behind the link and mark the holes of where the rivets will go. Punch the holes where you marked them and rivet the link to sandwich the leather and link together. Glue your clasp and you are done.
Rivet Leather (Part Two)
Designed by So Vang
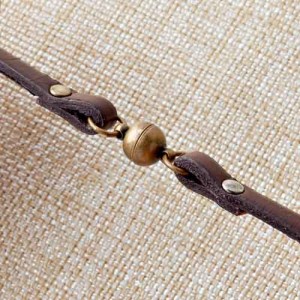
Make leather loop for jump rings, clasps, or joining components together. Create this wrap-around leather watch by using these two part compression rivets. Cut two 12” 5mm flat leather. Make leather loops on all four ends. Attach your clasps and watch face for a fun wrap-around leather watch.
Measure an inch distance between the holes. Punch with Leather hole punch pliers.
Fold and insert your top and cap pieces.
Hammer the rivets with your rivet setter and you are done.
Make loops to add jump rings and clasp as shown in this watch bracelet example.
The holiday season is here and it’s the time of reconnecting with loved ones and gift giving. Looking for a quick holiday gift? We have some inspirational easy leather DIY projects. Jump on the trend of fashionable leather bracelets or try out an alternative use of flat leather for an easy DIY key chain.
Winter White Splendor Leather Bracelet
Designed by Tory Vezina
Simplify gift-giving with a stunning bracelet using 2mm leather cord. Cut the 2mm round cord at 8 inches. Fold the cord in half and slide the TierraCast® barrel bead (TC01538) through the cord ends to create a loop. Glue the cord ends to a hooked curved clasp (A019043) and you are done! You may want to make a few of these because you’ll want to keep one for yourself.
Licorice Leather Bracelet
Designed by Tory Vezina
Licorice leather bracelets are the perfect statement jewelry. Cut the licorice leather to the preferred wrist length. Add a combination of beads and spacers to add color and use O-rings to keep beads and spacers in place. Lastly, glue your choice of licorice clasp.
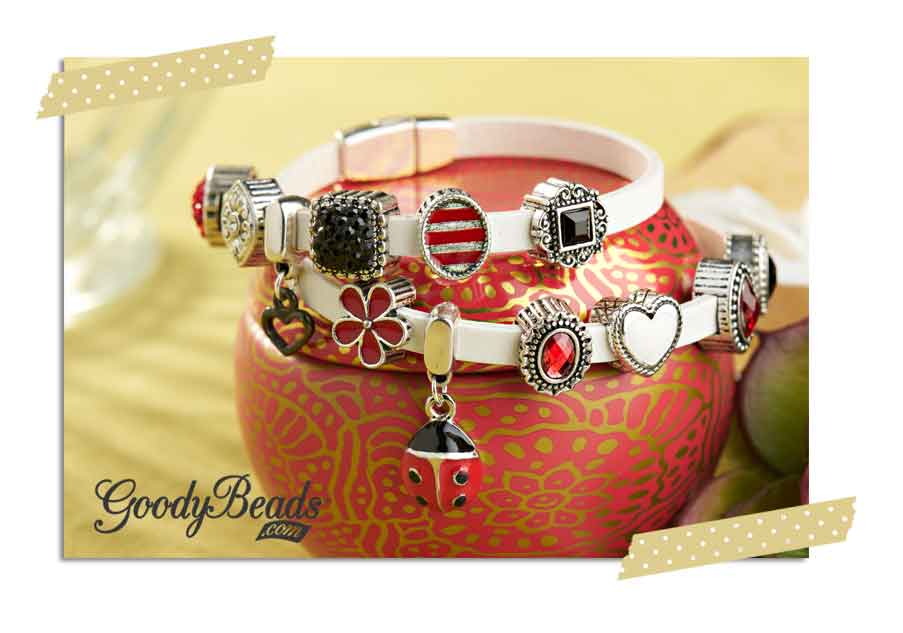
We love, love, LOVE the simplicity of making 5mm flat leather bracelets. With two simple components of flat leather and a clasp, plus the help of adhesive, you have a simple bracelet in no time. Let’s amp that 5mm flat leather bracelets by adding slider charms and dangles. With over 300 slider charms to choose from on GoodyBeads.com website, you can customize your bracelet with unique charms or colors, make a fun seasonal theme, or choose some of your favorite charms and bling your bracelet.
We suggest that you start by compiling your slider charms and laying them out before stringing them on 5mm flat leather. This way you get an overall look at the colors and sequence, and at the same time, you can choose what color of 5mm flat leather you want to go with. Once you are satisfied, cut the flat leather to fit your wrist, slide on slider charms and glue on a clasp. Quite easy, eh?
We made three different bracelets to showcase how you can spruce up a 5mm flat leather bracelet.
Love Bug Wrap Around
We love how our selection of black, white and red slider charms pops out from the white flat leather. One added bonus is the Charm Holder Slider that allows you to add any charm or dangle. Here, we added a fun TierraCast® heart charm and red enamel ladybug.
Seafoam Waves Bracelet
Summer may be over, but we will always have sunny days on our minds; the smell of salty water, the cool, brisk breeze of the wind, and the warm sensation of sand between your toes. In memory of summer, we made this Seafoam Waves Bracelet with a combination of turquoise, green and topaz colors. We also added a Charm Slider Holder and created a stone dangle, making a simple loop with a headpin and gemstone, for extra embellishment.
Kim Bracelet
For this bracelet, we doubled up a 5mm flat leather bracelet to have the width of 10mm. With that, we were able to use 10mm letter sliders to customize a name, while still adding two slider charms.
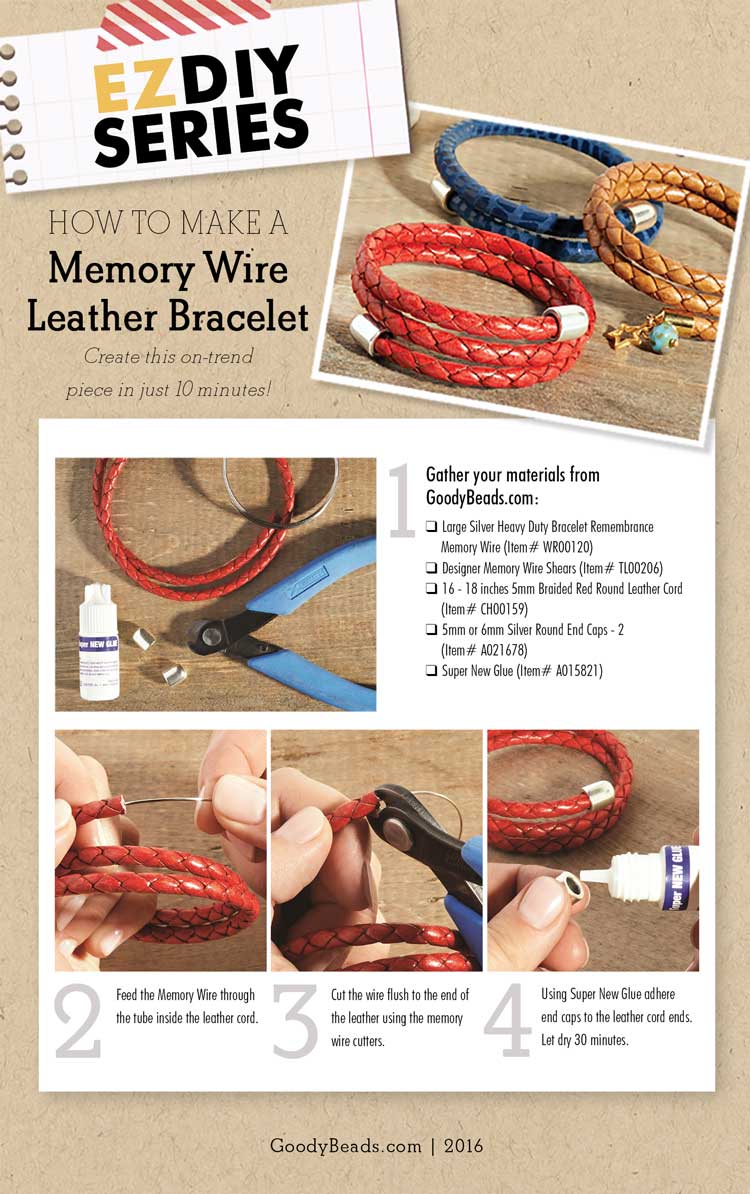
A fun new trend is memory wire leather wrap bracelets. They are easy to pair with your casual outfits, easy to slip-on on your way out the door, and definitely easy to make.
Memory wire leather wrap bracelets are easy to make and require only three components: leather cord, memory wire, and end/bead caps. The best type of leather cord to use for these bracelets has a hollow inner tube or has a hollow center, such as our braided leather and cork cord. The great thing about using memory wire with leather cord is that the bracelet will retain its round shape through many wears. For a clean look, cap off your leather bracelets with bead caps and end caps. You can also add extra character, color and movement to a bracelet with beads, spacers and/or charms.
Memory Wire and Leather Bracelet Tutorial
Memory Wire Tips
When making your wrap leather bracelet, don’t cut the memory wire before adding your bracelet components. First, slip all beads, leather pieces, and caps onto the loops of memory wire. Then you can see how the whole bracelet will look and still have a chance to make changes.
Use Memory Wire Cutters to cut the memory wire, as regular cutters may not be strong enough to cut through the wire.
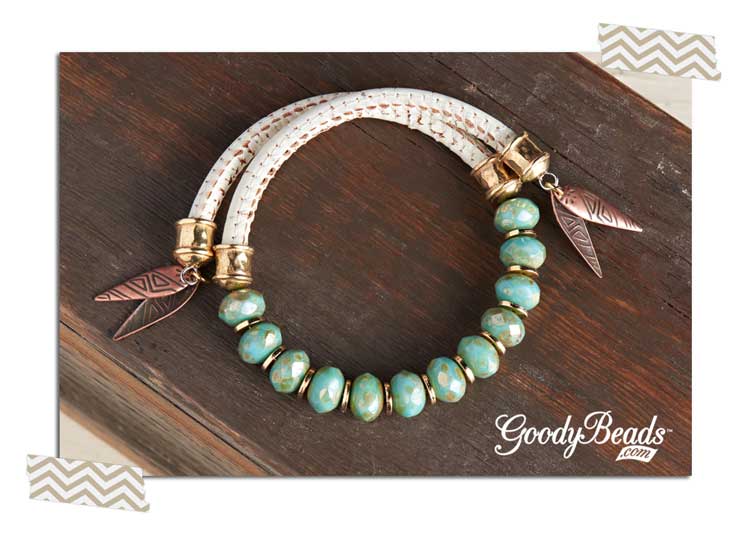
For this bracelet, we broke up the leather into two pieces and used Czech beads and flat spacers to accent the middle portion of this bracelet. We added drop charms to each ends for extra movement.
Make a simple loop at one end of your memory wire.
Cut cork cord in half.
Refer to image above to slide on the following cork cord, end caps and beads.
Make another simple loop and cut excess wire.
Open one side of the memory wire loop and slide two drop charms. Close loop.
Repeat step 5 to other memory wire loop end.
Pink and Pearly Wrap Bracelet
Designed by So Vang
For this leather bracelet, instead of having beads in the middle, we added pearls to the ends of the bracelet for a for a pretty accent before finishing it off with a simple loop.
Love starting projects but can’t seem to finish them? Well, here is an easy project that you can make and wear within minutes! Making leather bracelets with flat leather and leather cord is so easy, you may end up making more than one in one sitting. It’s a perfect project for when you gather your girlfriends for a night in.
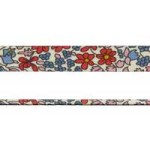
Flowery Flat Fabric Leather Bracelet:
To prep for summer, we chose a summery, flowery flat fabric leather paired with the half-circle clasp. Because the clasp is already a half circle, you only need 3.5” to 4” of 10mm flat leather. Glue both ends to each clasp end for a complete summer look.
Purple Sky Flat Leather Bracelet:
For this buckle clasp, use three 5mm flat leather or one 5mm and one 10mm flat leather. To keep in line with our summer look from our fabric bracelet, we chose a sky blue and deep purple. Cut three leather pieces identical to 7” (or to your wrist preference). Glue all three strand ends together to each clasp end. After a few minutes, you are ready to enjoy a new piece of summer jewelry!
Cobra Bracelet:
For a unique statement bracelet, we chose this cobra snake clasp. Pair it with 5mm round leather cord, cut to approximately 15” long. Thread in the slider through both round leather ends to create a loop at the middle. Glue both ends to the other end of the clasp. After the glue dries, you are ready to show off your cobra bracelet.
Goody Beads has a fun collection of watercolor flat leather. With a touch of soft and vibrant hues and strokes of whimsical patterns, watercolor flat leather projects can be perfect for bright summer days ahead. Here are some inspiring bracelet designs you can do with watercolor flat leather.
Watercolor Double Rainbow Bracelet Have you seen a double rainbow before? I almost lost my head the first time I saw one; which would have literally been a bad idea since I was driving in traffic. To make this bracelet, I chose 5mm squares watercolor flat leather, because it reminds me of rainbows. A double wrap-around style would be prefect for my double rainbow-themed design.
Because I wanted to show a different way to clasp a flat leather bracelet, use this alternative on your next flat leather project: first, cut the 5mm watercolor flat leather at twice the length of your wrist, and add 2-3 inches. Fold over each leather end about 1” and loop through a jump ring. Flatten the each jump ring using a serrated pliers, squeezing the leather together gently. Add another jump ring to each of the leather loops you’ve created. Add fun charms, or create a bead dangle to decorate your bracelet. Finish it off with a lobster claw and you are ready to wrap yourself in a watercolor double rainbow bracelet.
Crisscrossed Watercolor Bracelet Here’s an interesting take on combining flat leathers.
Take two same-length 5mm watercolor flat leather, glue both ends side by side into one side of the clasp. For this project we used a solid color flat leather to enhance the colors of the watercolor flat leather. Keeping the strands straight side by side, thread through the bar slider. Now, cross the watercolor leather over the solid color flat leather. Thread through the second bar slider and glue the ends to the other side of the clasp. Neat, huh?
Golden Watercolor Bracelet This Golden Watercolor Bracelet is simple yet packs a golden glow!
What you will need:
(6) CH00579 – 10mm Brushed Water Color Flat Leather
After measuring your 10mm watercolor flat leather to your preferred wrist length, slide on the gold double bar and then glue the ends to its golden clasp. You can make this simple bracelet in less than a minute and it is sure to brighten your sunny outfit!