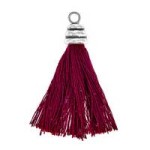
We have this Criss Cross Leather Bracelet tutorial from our friends at Dakota Stones, whom provides high-quality gemstones since 2001. We love this bracelet because it uses leather cord, fairy ribbon and large-hole gemstones.
Thread the button on the leather and find the center. Tie the cords together in an overhand knot. Before you tighten the knot all the way, insert the end of the Fairy ribbon and tighten.
Start by threading the large hole beads onto both ends of the leather and securing each end with a bead stopper or a loosely tied knot.
Weave the ribbon in a figure 8 (fishtail weave) around the left outside leather and in between the two leather cords. Repeat on the right- around the cord and through the middle.
Slide a bead up on your left strand of leather and repeat the figure 8 with the suede on the left side, below the bead. Repeat with the right, slide a bead up and figure 8 with the ribbon on the right.
Continue with Step 4 to use about 32 beads total, or until you reach your desired length. Taper the end by weaving the cord 3-4 times in between the leather without the beads.
Finish by tying an overhand knot to join the ribbon and two leather cords. Tie an additional overhand knot with just the leather cords, leaving enough space in between the two knots for your button or bead to fit tightly. Glue the knots and cut excess. You can always leave the ribbon tails or add beads to the ends of the leather for accents.
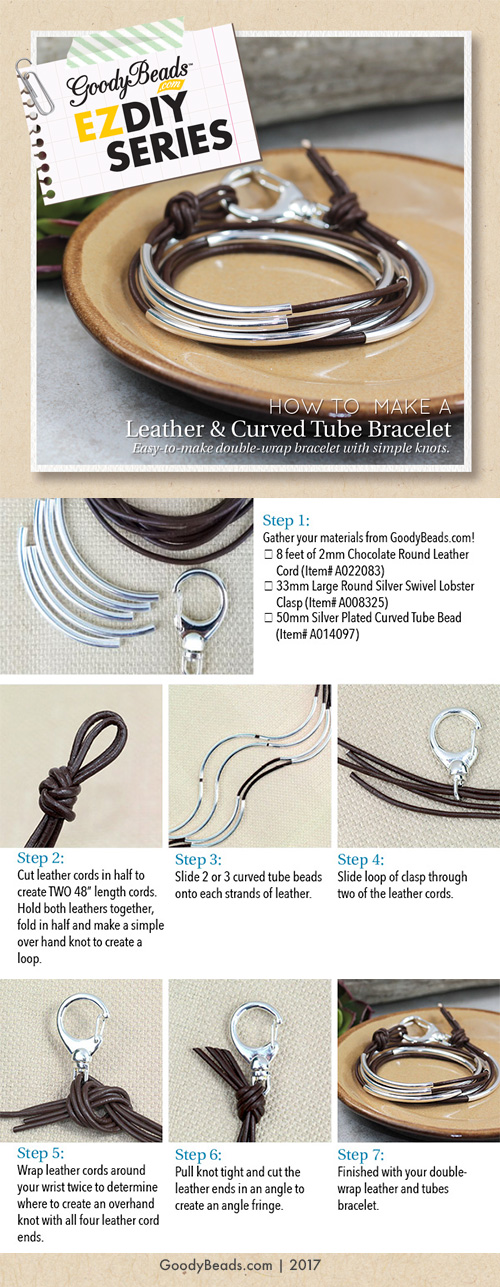
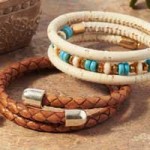
EZDIY Leather and Curved Tube Bracelet
Learn to create this popular DIY bracelet with 2mm leather and curved tube beads. This easy-to-make, double-wrap leather and curved tube bracelet made with simple overhand knots is a versatile tutorial for a single-wrap, double-wrap, triple-wrap or more.
As seen in our Trends we Love: Leather and Tube Beads, create a longer length to double as a necklace or bracelet. Or simply be inspired to add spacers and metal beads.
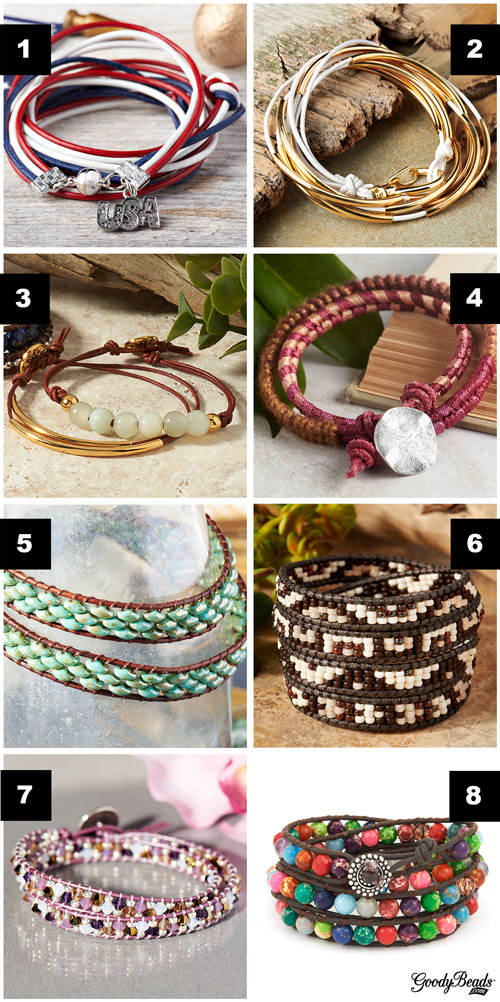
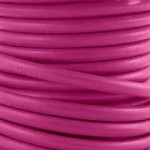
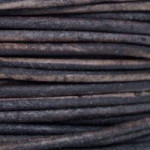
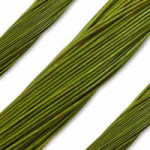
Be inspired to use 1mm or 2mm leather cord in your next project! They are easy to measure and cut, and come in a large variety of colors. We have over 10 different bracelet ideas using these round leather cords. What will you create today?
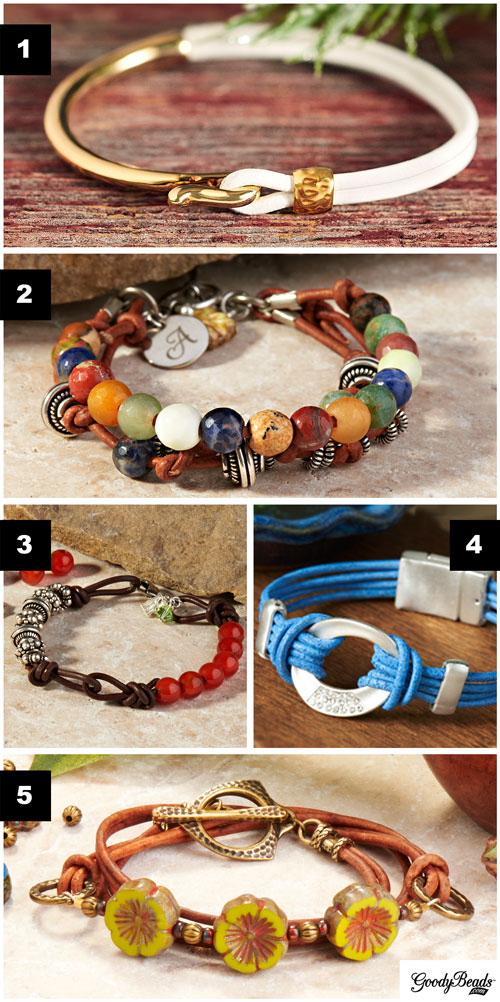
Grab some 2mm leather cord and a couple findings to create this super simple, super inexpensive and super quick leather bracelet. Check out our easy DIY tutorial to create one today!
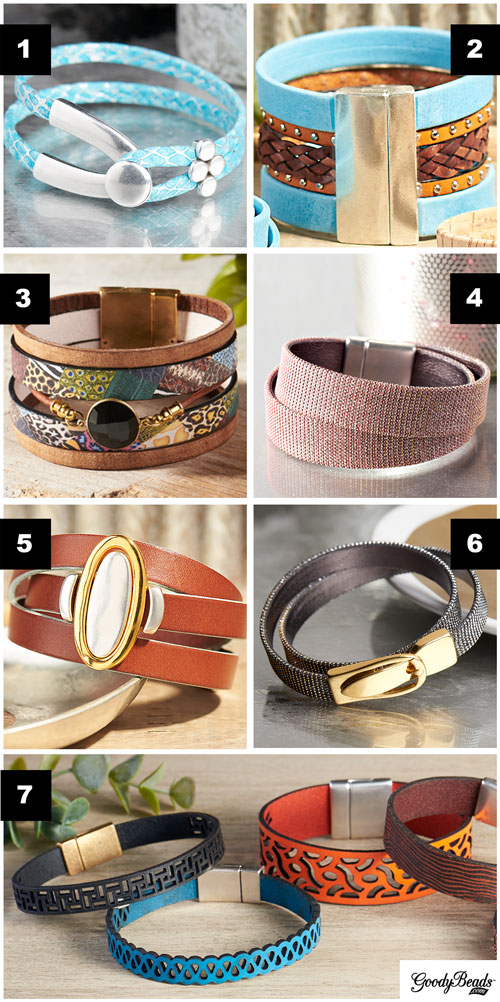
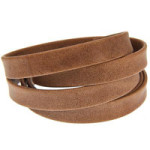
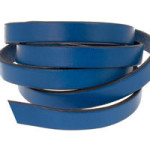
Flat leather bracelets are a modern and trendy fashion accessory. Take a look at some of our inspirational bracelets using flat leather. Create wide cuff or multiple wrap bracelets with different flat leather textures from smooth leather,
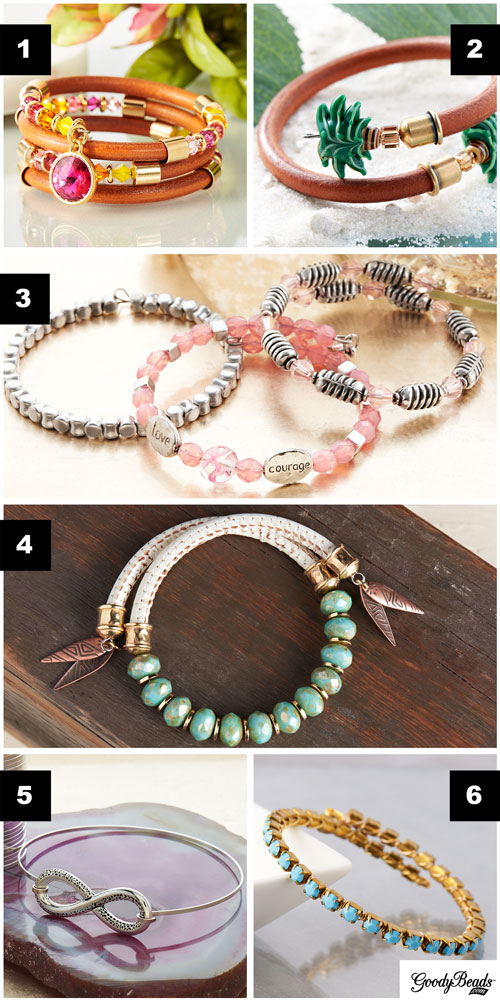
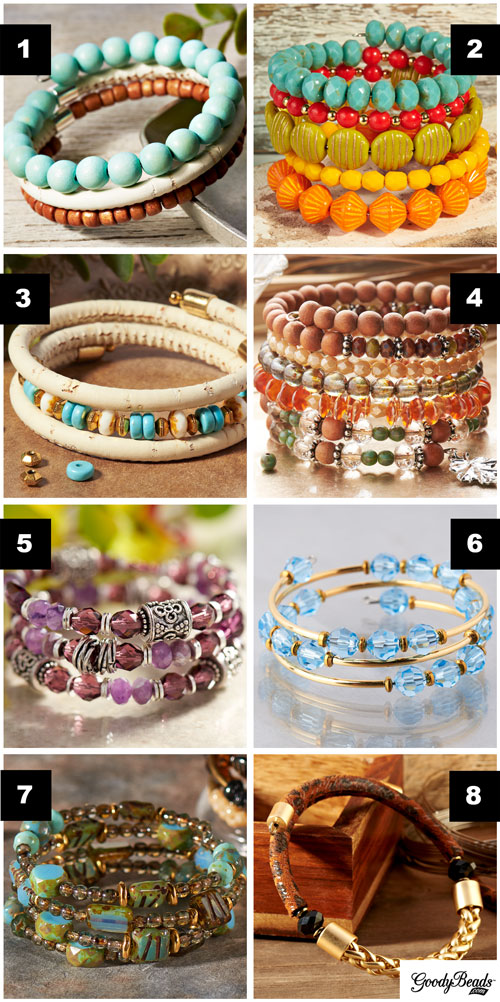
One of the most simple jewelry accessory to make are memory wire wrap bracelets. Memory wires are preformed to maintain its circular shape. All you have to do is add your choice of beads, leather, spacers and charms to memory wire and make a simple loop at both ends. Here are some fun examples of how we used memory wire.
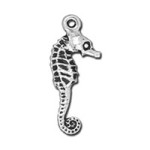
Late 2016, celestial-inspired jewelry was making a rise in fashion popularity. Embrace some moon and star jewelry to vamp up your glorious fashionable wardrobe.
Moon and Star Earrings
Designed by Tory Vezina
Take a trip around the moon as you bedazzle yourself with these simplistic link earrings. Use some glass connectors with some lovely moon and star charms for easy-to-wear earrings.
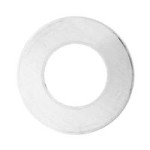
We can’t get enough of lariat necklaces. We made a chain lariat necklace by using a 24” chain and attaching a filigree washer link to one end and star charms to the other. Loop the lariat around your neck and slide the charm end through your link for a sleek necklace that is out of this world!
Moon & Star Wrap Bracelet Kit with Swarovski® Crystals
Designed by Tory Vezina
Another great project to make is an easy bracelet kitlike our Moon & Star wrap bracelet. Embellished with moon and star charms, Swarovski star crystals and dainty miracle beads, you are ready to conjure up some magical fashion wear!
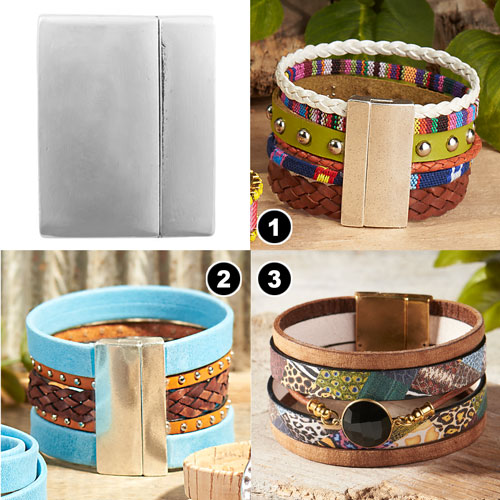
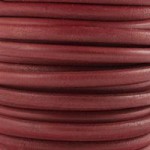
With our popular collection of flat and round leather supplies, choosing a clasp can further personalize your stunning bracelet accessory. Here are some of our favorite leather clasps to inspire your next DIY project.
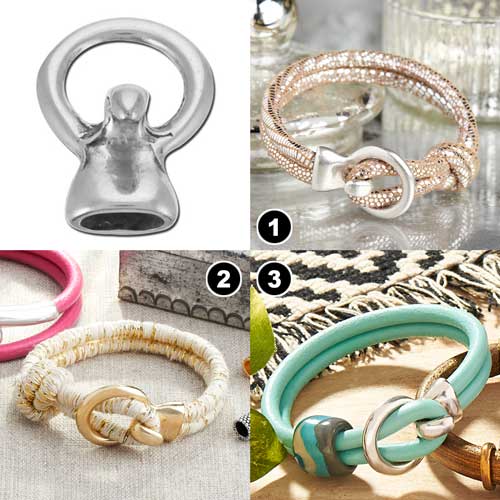
Our popular half-circle magnetic clasp for 5mm round leather is a lovely addition for a single- or multi-wrap bracelet. Pair this clasp (Z006715, Z006726, Z006746, Z006785) with 5mm round leather that has been wrapped with ribbon and wire, braided leather or kumihimobraids.
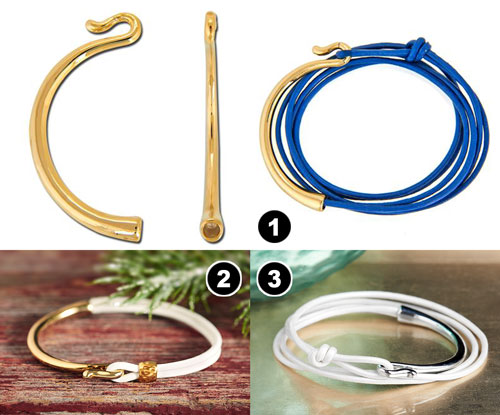
Loop your 5mm flat leather with this round hook clasp (A021499). Use a slider beads or charm to create your folded loop while your ends are glued into the clasp.
A different kind of clasp can create a whole new look. Take these wishbone disc clasps for flat leather (Z006859, Z006945, Z006861, Z007208), it widens two strands of 5mm flat leather to mimic larger band bracelets. We love the
These magnetic clasps for licorice leatherare a popular choice. Choose from antique silver (A015313), antique brass (A015314), or antique copper (A015315) and pair it with our large selection of licorice leather or combine it with two strands of 5mm round leather.
These magnetic clasps for licorice leatherare a popular choice. Choose from antique silver (A015313), antique brass (A015314), or antique copper (A015315) and pair it with our large selection of licorice leather or combine it with two strands of 5mm round leather.
Having the right tools and adhesive for leather projects will make it easier to create stylish accessories. We will show you the basic tools for cutting leather and the types of adhesive to use when adding clasp ends to leather.
Leather Cutter Tools
When cutting leather, you want a precise and straight cut. This will help with adding clasps and keeping your measurements accurate.
Flat and small round leather (i.e. 1mm, 2mm, or 3mm) needs a pair of scissors. Before making your cut, measure your piece of leather and mark with a pencil lightly.
Licorice and round leather are thicker and need a heavy-duty cutter. Below, we have a two cutter tools you can use to cut thicker side leather.
The Little Cut (TL0053) has a sharp angle blade that cuts leather by squeezing the handles together.
Pinch the handles to open the cutter. Slide the leather under the cutter, lining it up with the middle groove. Bring your blade down to wedge the leather in place. Grasp the cutter towards the front and squeeze down.
NOTE: Make sure to always have your angle blade facing down.
Leather Adhesive
We have two adhesive options to use when adding clasp ends.
Precut your leather. Put 1-2 drops of super new glue inside your clasp ends and swirl the glue inside to cover the edges and corners. Insert your leather and let it dry lying down on a flat surface. Dry time should take a few seconds to a minute or two.
E-6000
E-6000 (A011455) is used on heavy-duty beading and crafting projects. While it has a slower drying time, E6000 is a good filler especially when filling excess space or gaps around your leather when inserted into the clasp.
Precut your leather. Scoop up some E-6000 with a toothpick. Swab the inside of your clasp end. Repeat if necessary. You want to apply enough to coat the inside of the clasp. Insert leather ends and let it dry for 12-24 hours lying on a flat surface. Wipe excess glue cleanly if it flows out after leather is inserted.
Extra Note: You can use rubber bands to keep licorice leather in a round shape as the glue dries. And always use E6000 in a well ventilated area.
Important Notes:
Make sure the inside of your clasp end is clean and dry. This helps ensure that your leather end sits flushed inside the clasp. You can swab the inside with a toothpick or cotton swabs to clean any dust or moisture.
If you find your leather cords have extra space in the clasp end, you can coil thin wire or beading thread like SuperLon thread at the ends before insert clasps.
Leather is stored in spools, which in time will create a natural curve. Use the natural curve of your leather to wrap around your wrist. Licorice leather will have a slight curve which you will need to bend to create a round curve.
Having more length of leather is better than not having enough. This is because the inner size of the bracelet may decrease depending if you are adding beads, charms or other embellishments to the leather. First, plan out your design. Next, without using glue, slide on clasp and test it on your wrist. Measure and cut your leather to the desired length. Glue other side of clasp and let dry.
And always, always don’t glue your clasps until you’re sure you’ve added your design elements and your measurements are correct.
GoodyBeads EZ DIY Series: How to Make a Rhinestone Link and Leather Bracelet
For supplies and tools totaling under $20, you can learn how to make a rhinestone link and leather bracelet with a Rhinestone Link Bracelet Kit (A020661/A020662) and 2mm Round Leather Cord.
Tutorial
Items used:
A020661 – Matte Silverstone Rhinestone Link Bracelet Kit
Introducing our new gift jewelry kits perfect for gift-giving. Created by our in-house designers, So Vang, Tory Vezina and Heidi Urlaub, these kits are easy to make and versatile to wear to all of your upcoming events and celebrations. Plus, the kits are conveniently packaged inside a plastic pillow-shaped container for easy gift giving to the DIYers in your life!
Thinking of what to give this holiday season or for birthdays or special occasions? Gift kits are the perfect gift to give to your girlfriends, sisters, bridesmaids, work buddies, etc.
Heidi’s kits have an earthy and edgy vibe with her love of leather and gemstones. You can easily wear her jewelry with the intent of going everywhere and still be on trend. Her Tears of Leather Earringsand On the Fringe Leather Earrings are so gorgeous, you’ll long to own one, two or all of her styles! Meditation Stretch Bracelets have a harmonic combination of round gemstones and emerald-cut Swarovski® crystals, while the Boho Belle Tube Necklace is decorated with small gemstones and curved tubes that gently hug your collarbone.
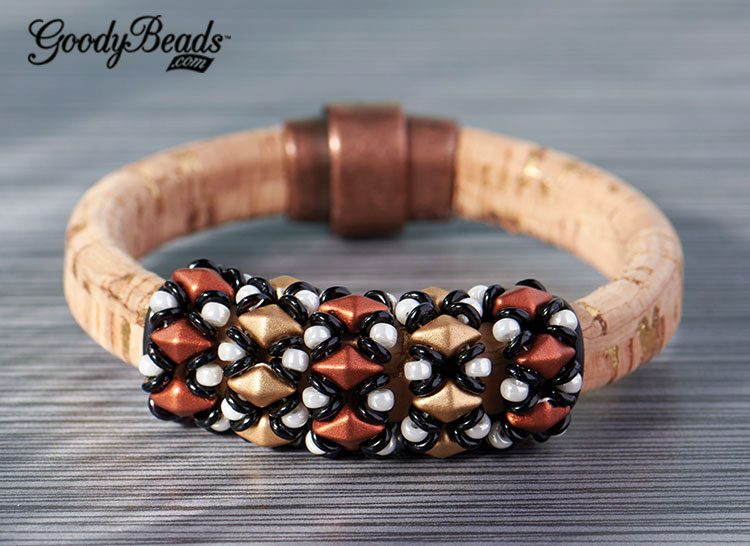
Beaded DiamonDuo Licorice Leather Bracelet with Tutorial
Featured in GoodyBeads July 2016 Trends, we are still loving the versatility of DiamonDuos especially when we pair them with licorice leather. Along with a FREE beaded loop tutorial, we will show you how to create DiamonDuo beaded loops and incorporate them in your licorice leather bracelets.
DiamonDuo Beaded Loop Tutorial
Download our DiamonDuo Beaded Loops pattern tutorial to get started. Create different color combinations with DiamonDuos, Czech O-beads and size 8/0 Miyuki round beads. Here are some examples of how we used these DiamonDuo Beaded Loops.
From our July 2016 trend, we featured this stunning bracelet with cork licorice leather. We made three loops with Matte Copper DiamonDuos and 2 with Matte Gold DiamonDuos. After cutting the cork licorice leather to your wrist size, slide on your beaded loops in alternating colors towards the center. We added a black rubber o-ring on both sides of the five loops to keep them in place. Glue on a clasp and let it dry for 24 hours before you wear. Crazy-neat, eh?
Using different colors can create a different look to your licorice leather. We created our DiamonDuo beaded loops using hues of metallic golds and white.
After we made five beaded loops, we cut our licorice leather to size. With some Super-lon Bead Cord (A012987), we wrapped the center section of our licorice leather with gold cord. Glue as needed on back side. Slide on a rubber ring, the 5 beaded loops and another rubber ring. ALL centered on the wrapped gold cord. Glue on a clasp and you have this flashy bracelet.
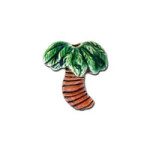
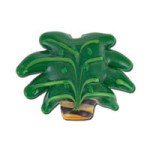
Beachy Flamingo and Palm Tree DIY Bracelets
Are you ready to head bang to the beat of “Boys of Summer,” while cruising along the beach? We have three bracelets that feature trending flamingo and palm tree motifs. Easy to make and slip on, you can make these simple stretch or leather bracelets while catching rays on the beach.
Beach Party Stretch Bracelet
Designed by So Vang
Wear your oversized floppy hat, romper, flip flops and this cool bracelet to your next beach party! You can whip up this bracelet and still have time to figure out if you want to change your outfit again.
What you will need for this bracelet is the following:
Step 3 – Cut with your memory wire cutters 1/2″ away from the last palm tree.
Step 4 – Round the wire end to make a simple loop.
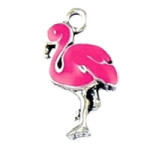
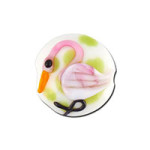
Blushing Flamingo Leather Bracelet
Designed by Tory Vezina
Can you imagine yourself wearing this bracelet, while humming and sipping on a fruity drink? We love the handmade flamingo glass bead surrounded with hues of pink.
Step 4 – Cut with your memory wire cutters 1/2″ away from the last cord end.
Step 5 – Round the wire end to make a simple loop.
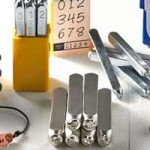
DIY Father’s Day Gifts with Stamping Blanks
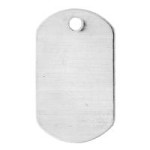
Make a personalized gift with special, customized words for Dad. A new alternative to sterling silver, Alkemé™ stamping blanks make personalizing gifts easy and fun.
Made with a newly formulated, non-corrosive metal alloy, these metal discs allow for intricate, detailed stamping at just a light tap of a hammer. Plus, Alkemé™ stamping blanks are lead-, nickel and cadmium-free. Just buff with a soft cloth, like you do with silver. It’s a great, affordable option to using sterling silver, and looks fantastic.
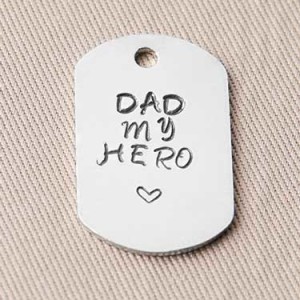
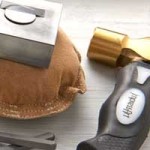
Leather KeyChain with Alkemé Blank
Designed by So Vang
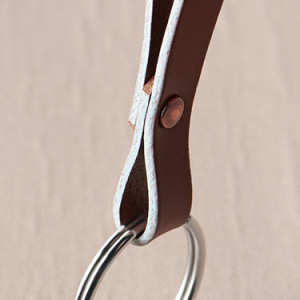
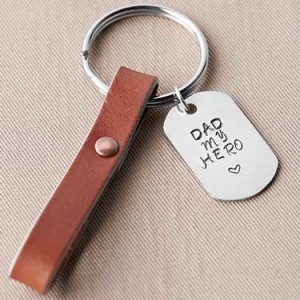
Dads are heroes, don’t you agree? They fix the sink when clogged, change out the burned-out light bulb, chase away monsters under your bed and even drive you to the mall. We have this easy leather keychain to remind him of his superhero qualities. Refer to our How to Rivetblog post for a tutorial on how to rivet leather and our metal stamping blog post on how to stamp metal blanks.
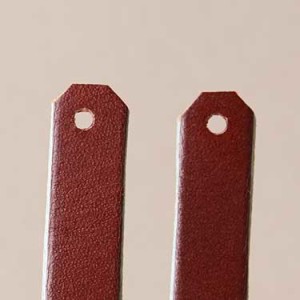
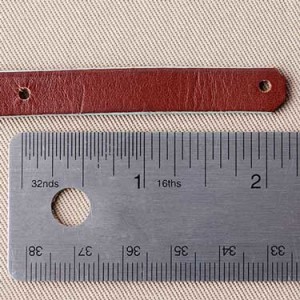
Step Two: Cut 6” of 10mm flat leather. Punch a hole at the ends. Optional: Cut the corners of your leather ends.
Step Three: Punch a hole 2” away from one end of your leather.
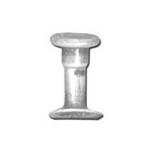
Step Four: Loop your 2” gap hole over your key ring. Loop the other end to sit on top of your other leather end and rivet the three hole layers together with a 6mm rivet.
Step Five: Attach your Alkemé stamping blank with a jump ring to key ring. Done.
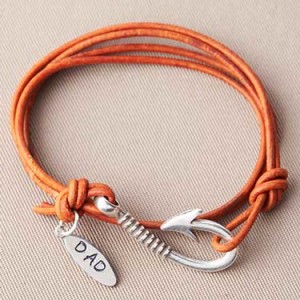
Leather Cord Wrap Bracelet
Designed by So Vang
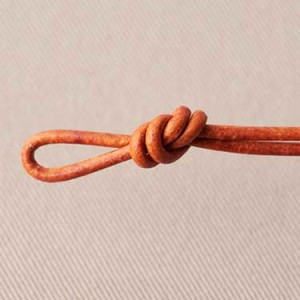
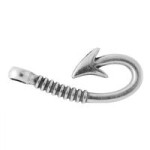
This simple bracelet is for the fishing enthusiast Dad. Using this stylish fish hook clasp, 2mm leather cord and an Alkemé dangle blank, he is sure to wear this bracelet all day, every day, fishing, or non-fishing.
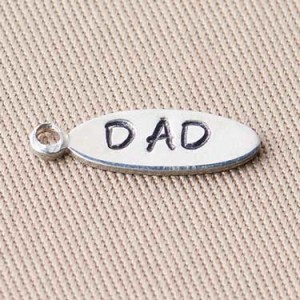
Step One: Stamp your Alkemé stamping dangle blank.
Step Two: Fold your 2mm leather cord in half and tie a loop.
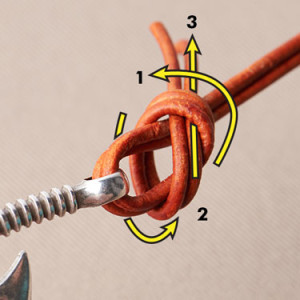
Step Three: Cut to accommodate two wraps around wrist, plus an extra 5” for the knot. Loop the end through the fish hook clasp loop and make a slip knot. Follow arrows. Pull ends to tighten knot. Cut excess leather end.
Step Four: Attach your Alkemé stamp blank with a jump ring. Done.
Letter Stamps: TL00191 – 3mm Bridgette Metal Letters Stamping Set
Memorial Day DIY Jewelry
Memorial Day is a special day to honor those who have died while serving in the United States of America armed forces. We have a few DIY jewelry projects to commemorate this day and all American holidays.
Red, White and Blue Flat Leather Bracelet
Designed by So Vang
Here’s a clean and sleek bracelet made from 5mm flat leather and rivets. First, measure four strands of leather at your wrist size plus two more inches for the loops. You can learn how to rivet leather loops by reading our previous blog. Make sure to loop your ends through the bar end before you hammer your rivets. Add a clasp and you are ready to rock to the beat of an American song.
We made this bracelet easy to wear, make, and adjust. Take a strand of red, white and blue 2mm leather cord and line them up at one end. Take a silver clamp and clamp the three ends with serrated chain nose pliers. Hold your strands together and evenly straighten your strands. Make a flush cut at the other end and use another silver clamp to clamp those ends. Add your clasp and a simple USA charm. What’s versatile about this bracelet is that you can add knots in between your leather cords if you find the bracelet to be a bit loose. Plus, we think the added knots are a neat feature to the bracelet. Wrap 4 or 5 times around your wrist for a fire cracking weekend.
To make the pin, you will make Czech dagger rings by threading on Czech daggers and making a knot with the thread ends. Cut off excess thread. You will need to make three rings with 10 red Czech dagger beads, 9 red Czech dagger beads and 7 black Czech dagger beads.
Next, slide on your headpin the 8mm black round crystal, black dagger ring, red dagger smaller ring, red dagger larger ring and 8mm red bicone crystal. Make a simple loop. Open the headpin dangle loop and attach to the loop on the bow pin.
For this ring, you will need to make two rings with 10 red dagger beads and 7 red dagger beads. Use a fast-drying glue, like Super New Glue to add to the base of your ring. Lay the larger red ring on top and press down with your finger. This will help the ring to lay flat. This should only take a few seconds to dry. Add some glue on the inner part of the red dagger ring and add your smaller red dagger ring. Hold it in place with your finger for a few seconds. Add some glue to that layer and place the jet round crystal on top.