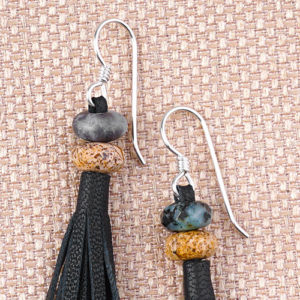
Straw and Leather Macrame Earrings – Tutorial
Learn how easy it is to macrame 3mm deerskin lace on a Woven Straw Ring for a cool and hip pair of earrings!
Macrame is making waves along side the fiber trend. Our Designer, Tory did a tutorial on how to make a single half hitch knot with 3mm deerskin lace around a woven straw ring. It revises our favorite woven straw component into fall fashion and even back to school wear!
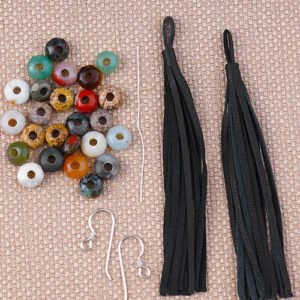
What you’ll need:
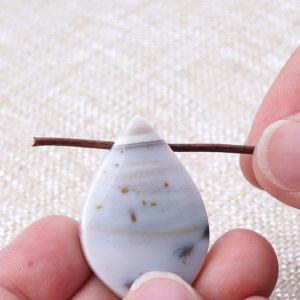
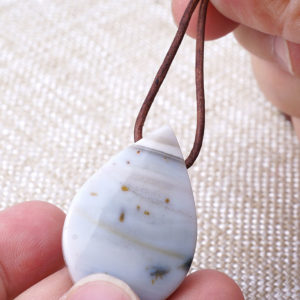
- Handmade Woven Straw Ring – Z001659
- 3mm LeatherCord USA Deerskin Lace
OR - 3mm or 5mm LeatherCord USA Deertan Lace
- Super New Glue
- Earring Finding and 5-6mm jump ring
- Optional tool: Bead Reamer
Tutorial
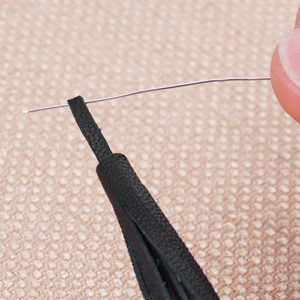
- Cut two pieces of 1 meter of lace each.
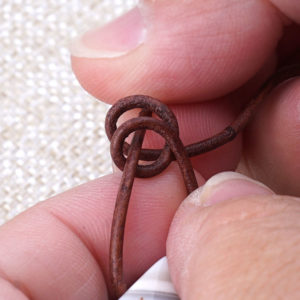
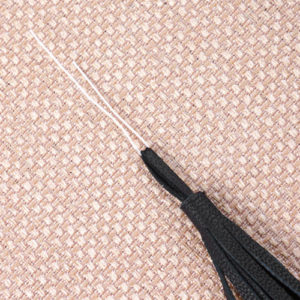
- Fold lace in half and make a lark’s head knot on the straw ring. (Make sure to keep the smooth side sitting outwards.)
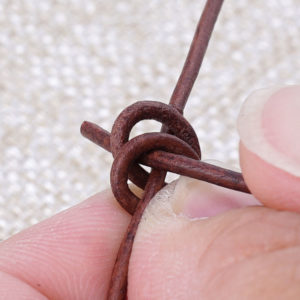
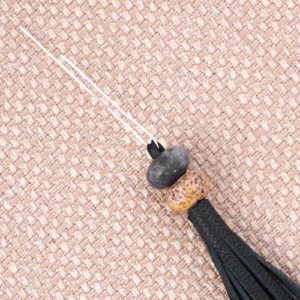
- With each strand of lace, make a single half hitch knot working outward around the ring to both sides of the lark’s head knot you made in step 2.
- Make 6-8 half hitch knots on both sides of the lark’s knot on the straw ring.
- Take the lace end and tuck it behind your third loop on the backside of your knotted straw ring. Do the same to other end.
- Add a small dab of glue to keep ends in place.
- Cut excess lace.
- Complete your earrings with making a hole in your woven opposite of lace/leather knots, with a bead reamer or awl. Add your earring finding to woven straw with a jump ring and through the hole you made.
- Repeat all steps for other earrings.
Video Tutorial
Tutorial starts at 4:20 minutes.
Examples
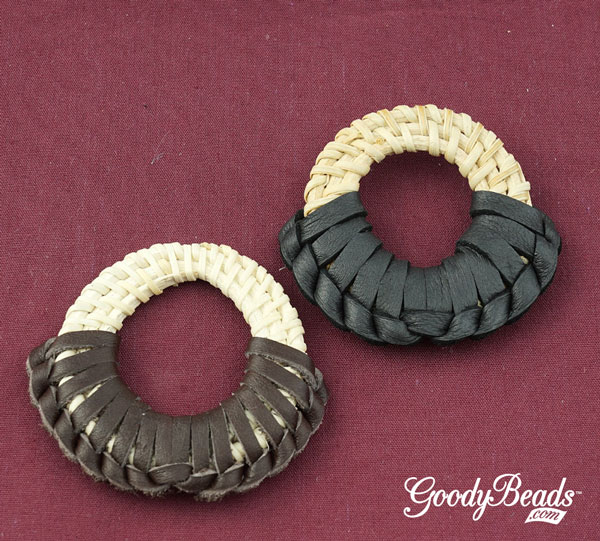
Items used in examples using Deertan lace: Z001659, Z015550, Z015610
In this example, Deertan lace was used. The one the left is 3mm and the left is 5mm.

Items used in earrings: Z001659, A010962, Z008989, A001529