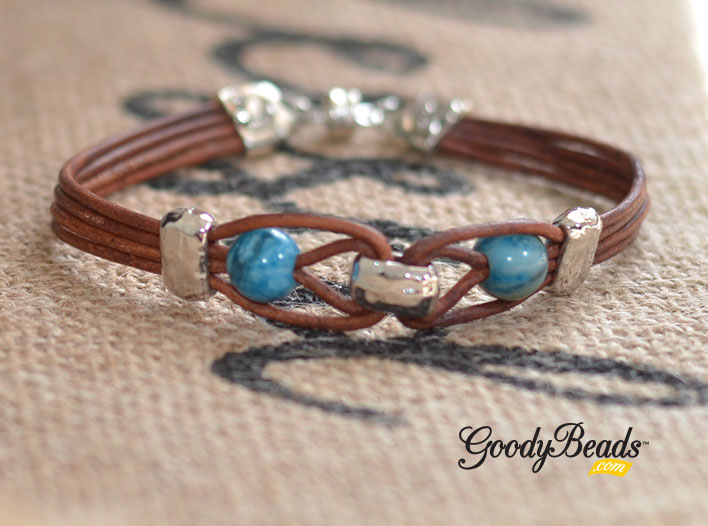
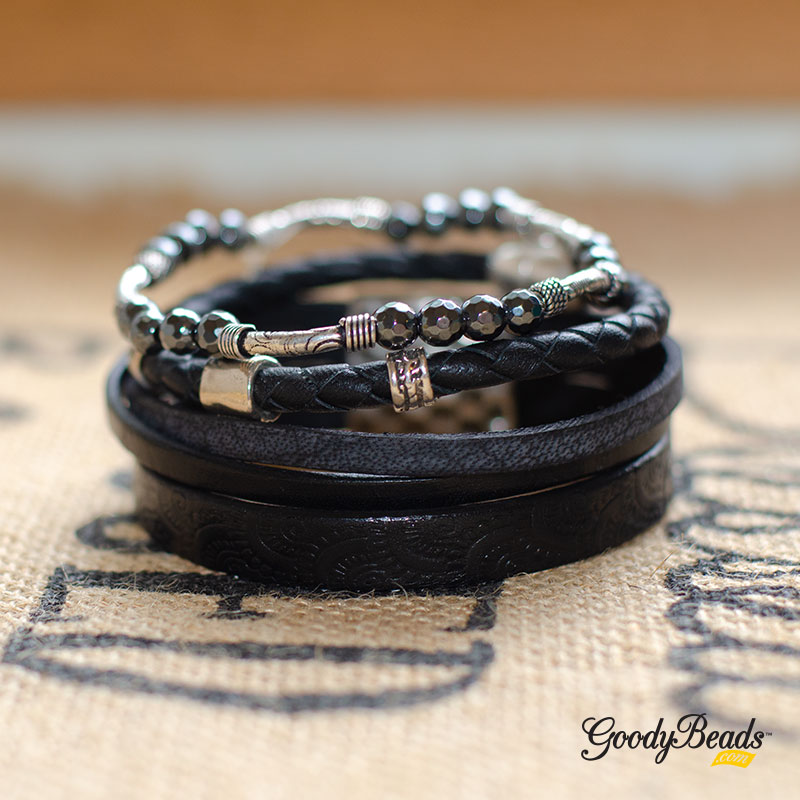
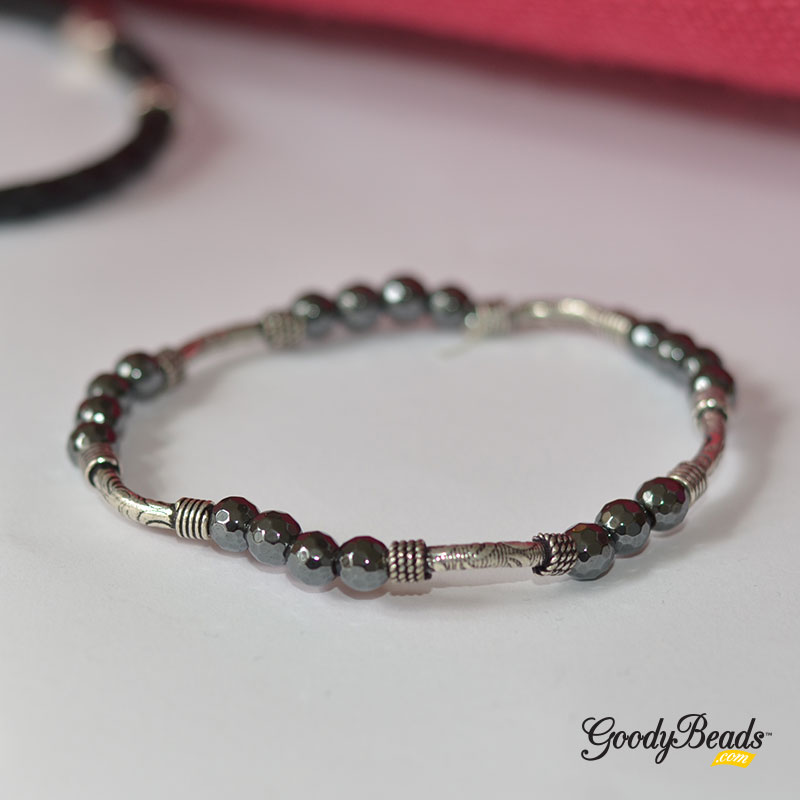
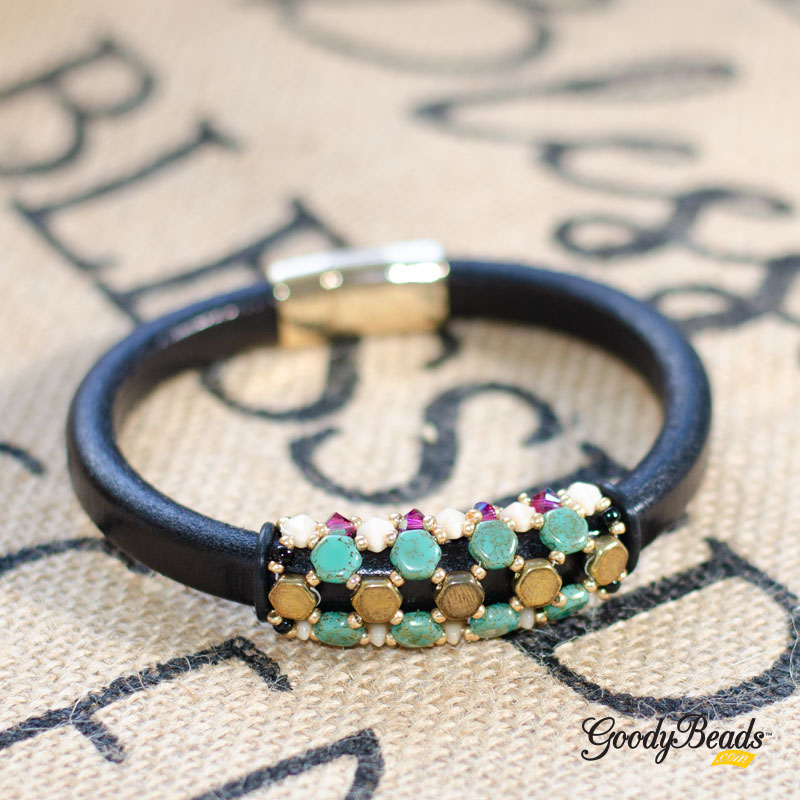
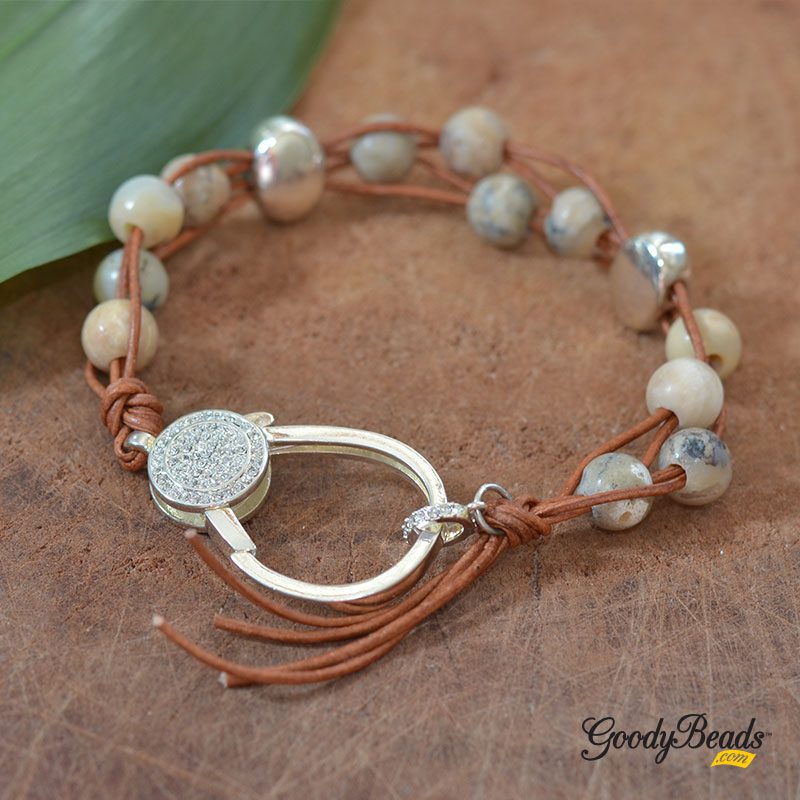
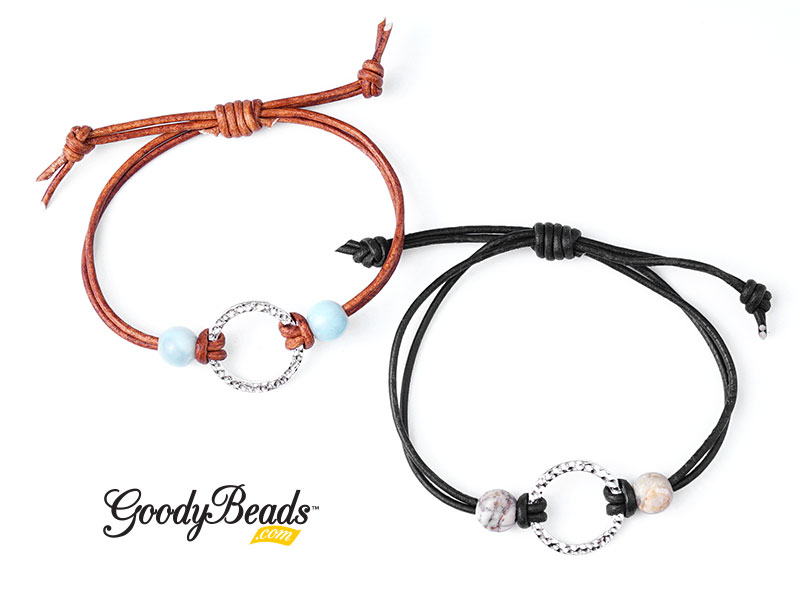
DIY Ring Link Adjustable Leather Bracelet
Today’s project is the DIY Ring Link Adjustable Leather Bracelet we demoed at the Pinners Conference. This project uses some of our favorite branded components like TierraCast ring component, Dakota Stones large-hole gemstones and Leather Cord USA 1.5mm leather! Combine them all and get a fun DIY you’ll need to make for all your friends.
What you’ll need for Ring Link Adjustable Leather Bracelet:
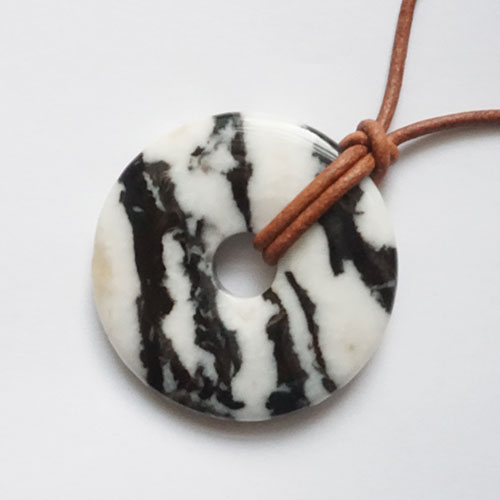
- TC01233 – 19mm Hammertone Ring
- 1.5mm Round Leather Cord:
Z019103/Z019147 – 1.5mm Natural Black Round Leather Cord
Z019126/Z019150 – 1.5mm Natural Light Brown Round Leather Cord - Large-Hole Round Gemstone Beads:
WAF8RDLH-8 – White African Opal
BGA8RDLH-8 – Black Gold Amazonite
Directions:
- Cut two pieces of leather at 18” length each.
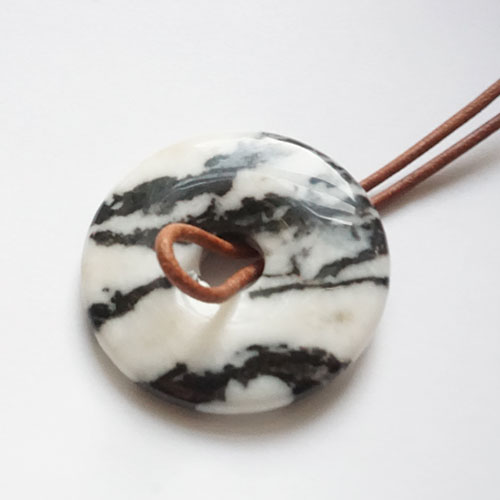
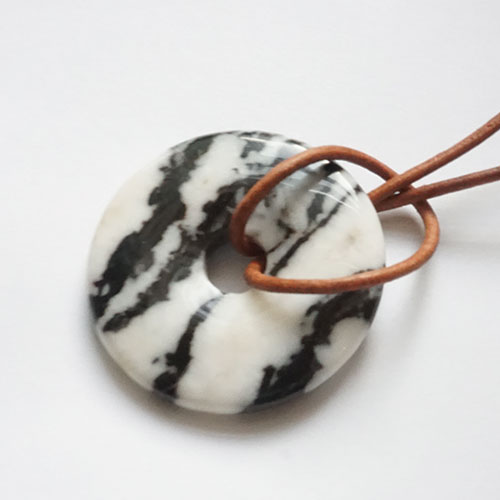
- Take one leather piece, fold in half and make a lark’s head knot on the TierraCast ring.
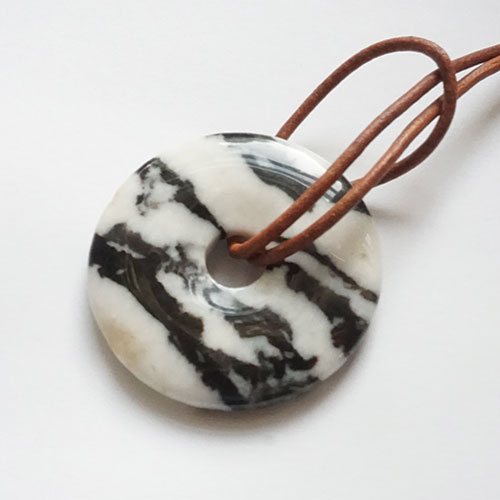
- Slide a gemstone onto both strands of leather ends.
- Repeat steps 2 and 3 with other leather.
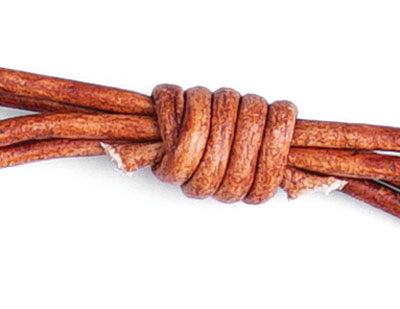
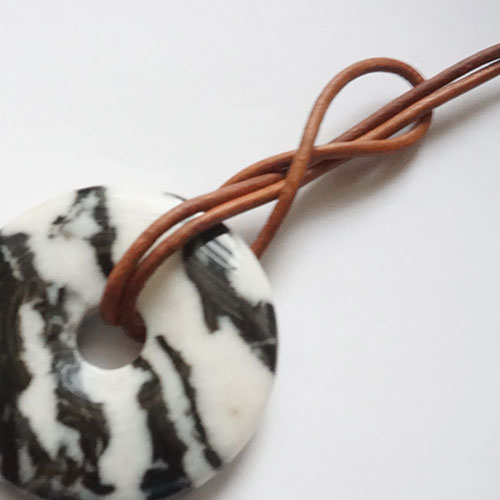
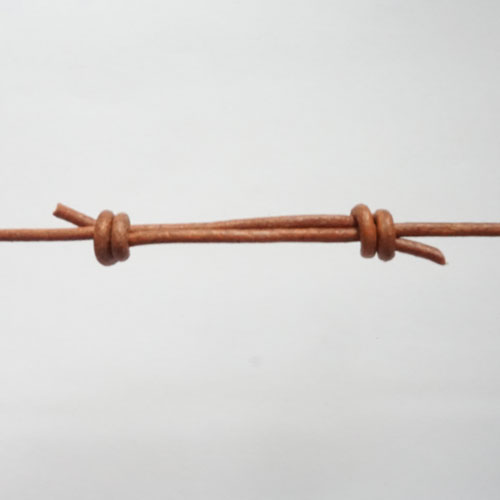
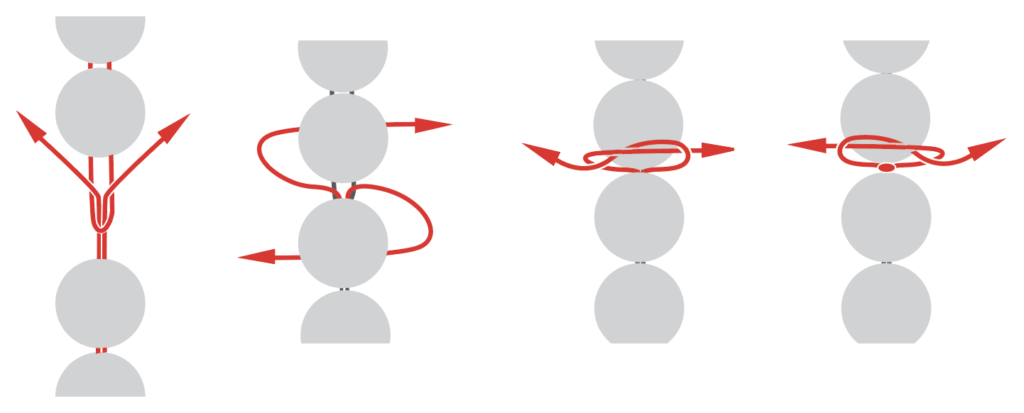
- Cross leather ends, keeping strands straight. And then tie a sliding knot with an 8” piece of leather:
- Lay an inch of leather end over the bracelet’s leather strands.
- Hold end under your non-dominant hand and wrap around all the leather strands.
- Continue to wrap cord around leather strands loosely, working back towards the cut end of wrapping cord. Make 5 coils.
- Thread leather under and through all the coils you’ve just created.
- Adjust the coils so they sit neatly and pull both leather ends in opposite directions to secure knot.
- Trim away excess leather close to coil
- Make an overhand knot with leather ends. Cut off excess leather.