5mm Flat Leather with Slider Charm Bracelets
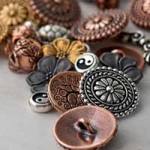
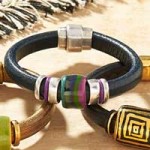
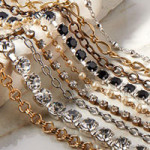
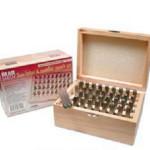
We love, love, LOVE the simplicity of making 5mm flat leather bracelets. With two simple components of flat leather and a clasp, plus the help of adhesive, you have a simple bracelet in no time. Let’s amp that 5mm flat leather bracelets by adding slider charms and dangles. With over 300 slider charms to choose from on GoodyBeads.com website, you can customize your bracelet with unique charms or colors, make a fun seasonal theme, or choose some of your favorite charms and bling your bracelet.
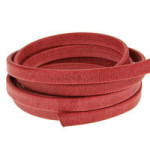
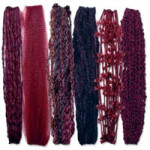
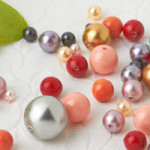
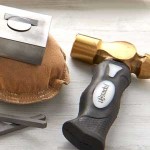
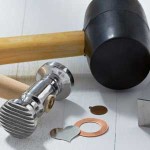
We suggest that you start by compiling your slider charms and laying them out before stringing them on 5mm flat leather. This way you get an overall look at the colors and sequence, and at the same time, you can choose what color of 5mm flat leather you want to go with. Once you are satisfied, cut the flat leather to fit your wrist, slide on slider charms and glue on a clasp. Quite easy, eh?
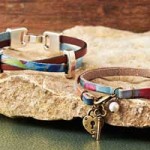
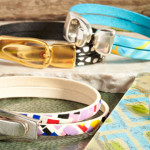
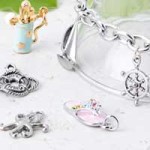
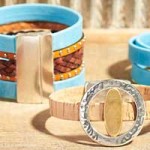
We made three different bracelets to showcase how you can spruce up a 5mm flat leather bracelet.
Love Bug Wrap Around
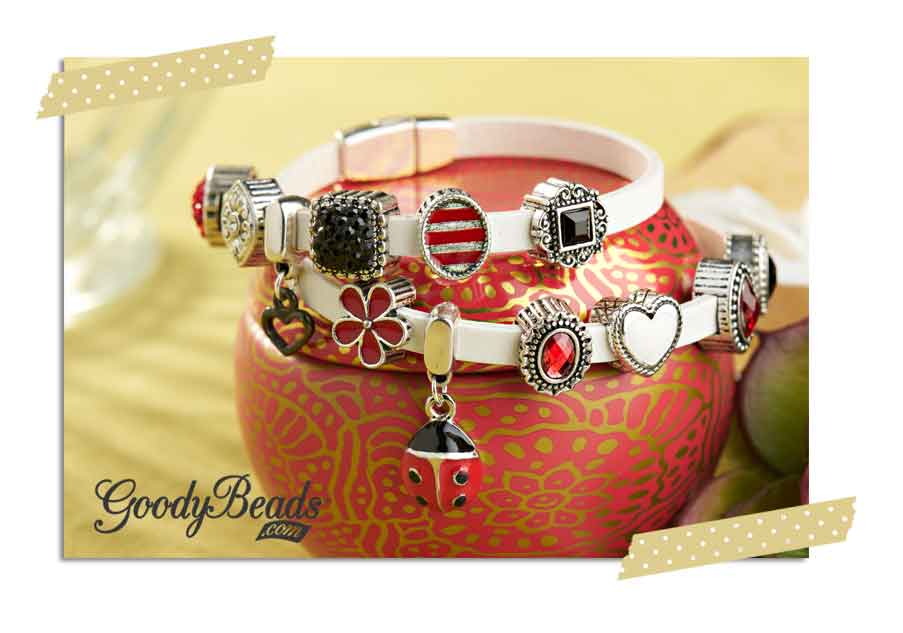
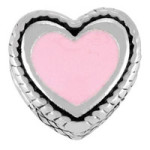
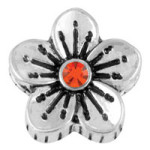
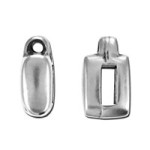
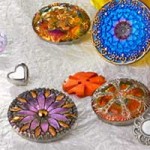
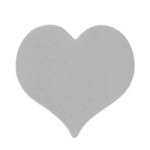
We love how our selection of black, white and red slider charms pops out from the white flat leather. One added bonus is the Charm Holder Slider that allows you to add any charm or dangle. Here, we added a fun TierraCast® heart charm and red enamel ladybug.
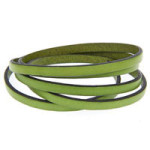
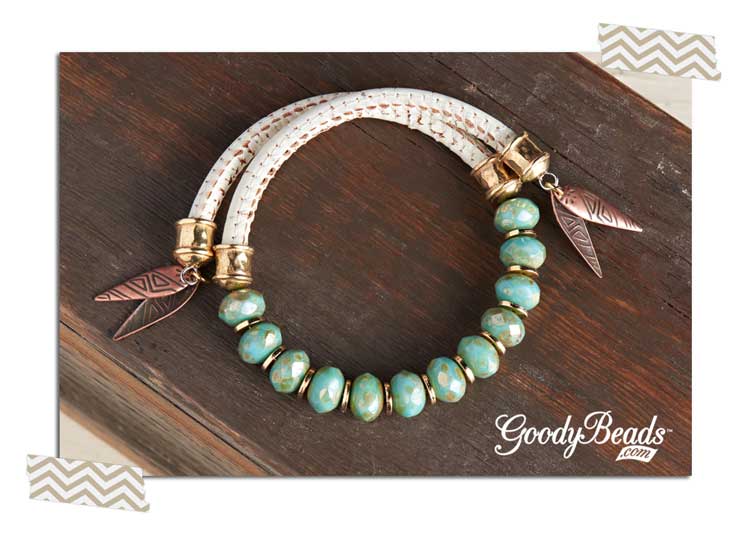
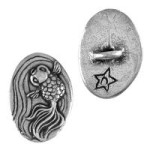
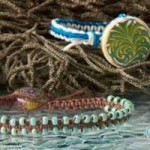
Seafoam Waves Bracelet

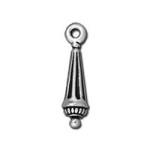
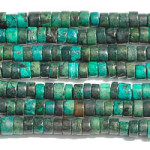
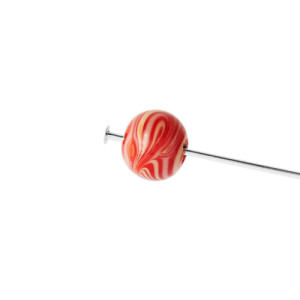
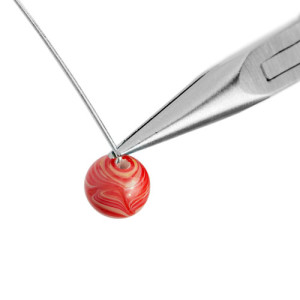
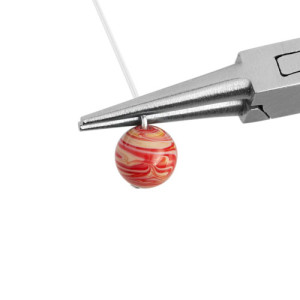
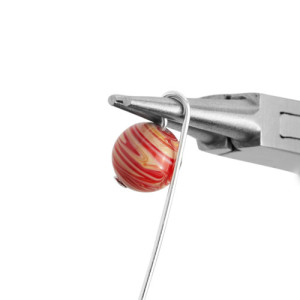
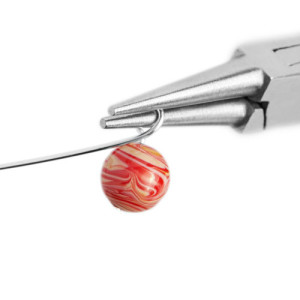
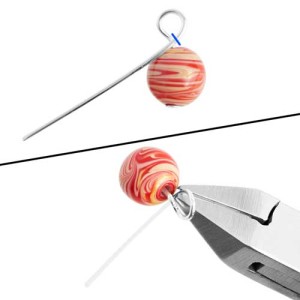
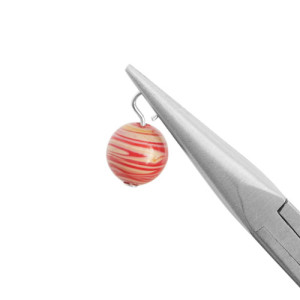
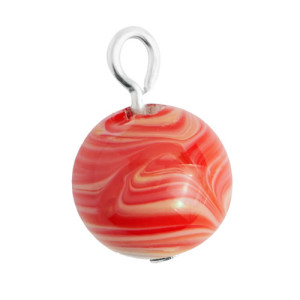
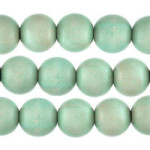
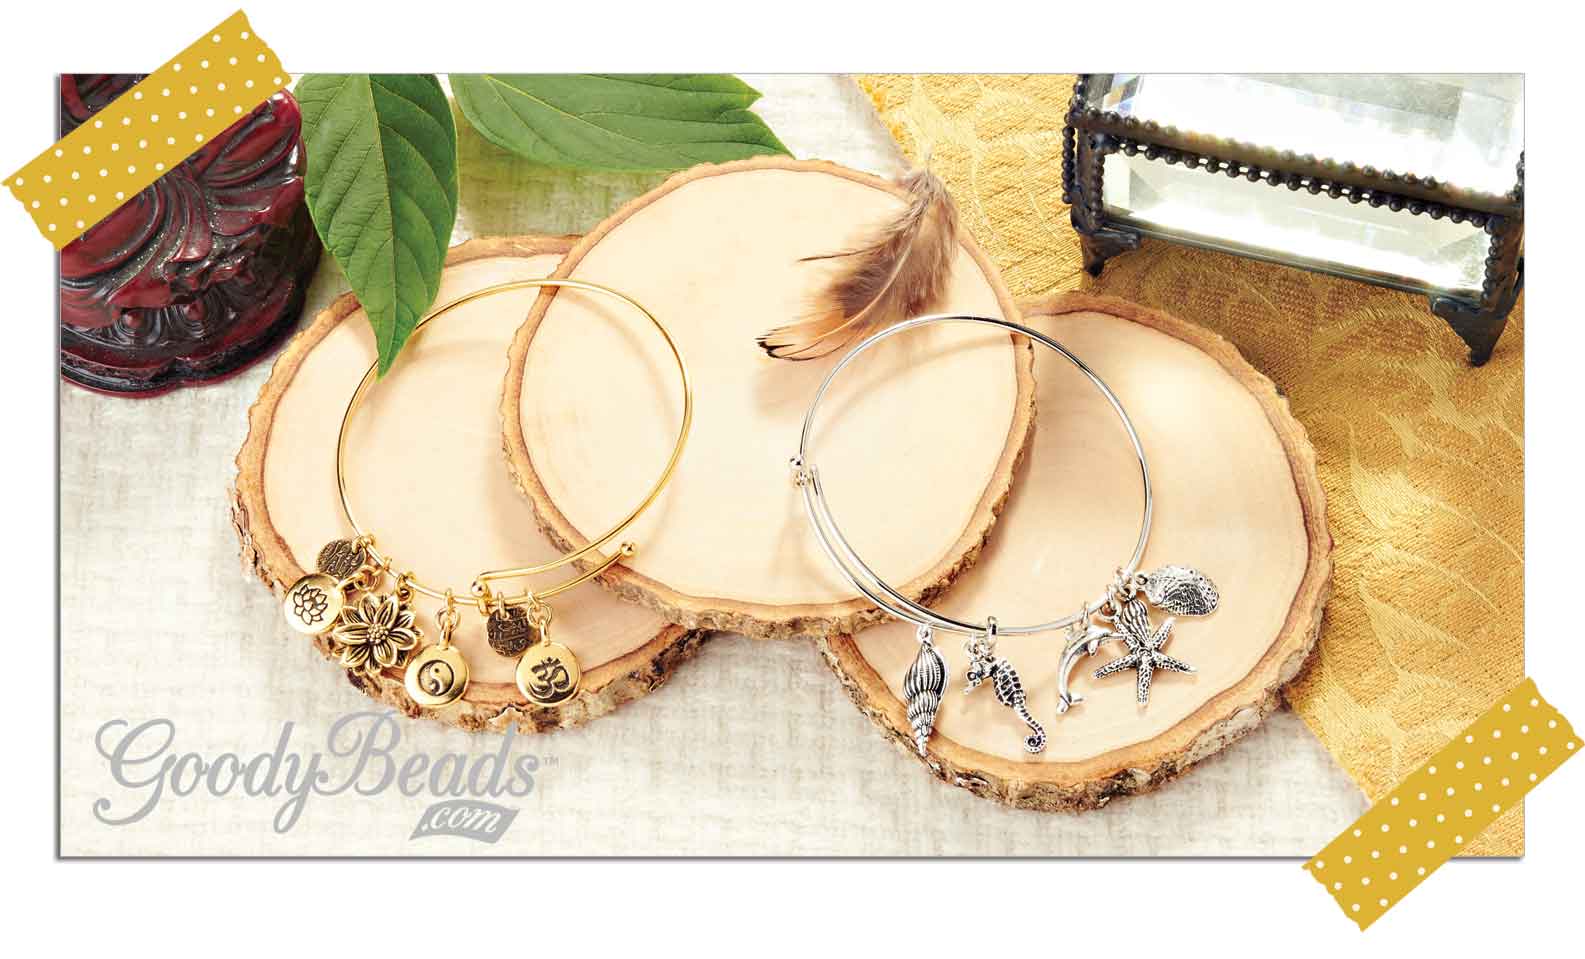
Summer may be over, but we will always have sunny days on our minds; the smell of salty water, the cool, brisk breeze of the wind, and the warm sensation of sand between your toes. In memory of summer, we made this Seafoam Waves Bracelet with a combination of turquoise, green and topaz colors. We also added a Charm Slider Holder and created a stone dangle, making a simple loop with a headpin and gemstone, for extra embellishment.
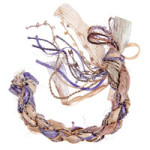
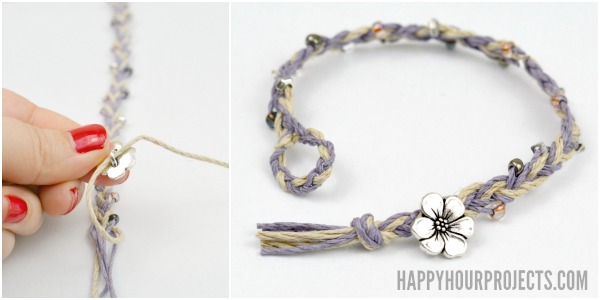
Kim Bracelet

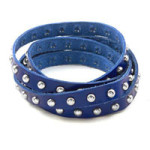
For this bracelet, we doubled up a 5mm flat leather bracelet to have the width of 10mm. With that, we were able to use 10mm letter sliders to customize a name, while still adding two slider charms.
Love Bug Wrap Around
- (14) CH00044 – 5mm White Flat Leather
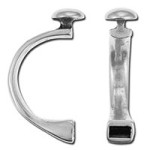
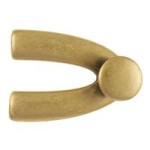
- (1) A020079 – Small Magnetic Clasp
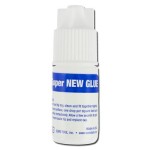
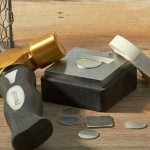
- (1) A015821 – Super New Glue
- (2) Z002276 – Mini Charm Holder Slider
- (1) A016890 – White Enamel Heart
- (1) A017016 – Red Enamel Nautical Oval
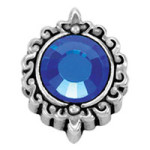
- (1) A017044 – Tempest Red Stone Oval
- (1) A017043 – Tempest Jet Stone Oval
- (1) A017060 – Athena Red Stone Pointed
- (1) A017253 – Jet Sienna
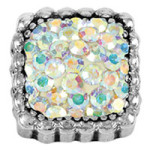
- (1) A017285 – Jet Stones Lavish Square
- (1) A017855 – Light Siam Round Pave
- (1) TC01634 – Black Jubilee Heart Charm
- (1) A007695 – Red Enamel Ladybug
- (2) A002413 – 4mm Jump Ring
Seafoam Waves Bracelet
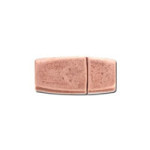
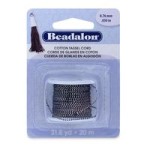
- (7) CH00423 – 5mm Turquoise Flat Cork Cord
- (1) A020079 – Small Magnetic Clasp
- (1) A015821 – Super New Glue
- (1) Z002276 – Mini Charm Holder Slider
- (1) A016928 – Aqua and Smoke Topaz Stones Lillian
- (1) A017013 – Fish Slider
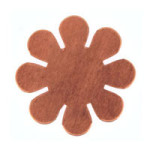
- (1) A017025 – Peridot Stone Curly Flower
- (1) A017069 – Delight Aqua Stone Square
- (1) A017235 – Sand Dollar Slider
- (1) A017275 – Smoked Topaz Stone Regal
- (1) A017862 – Aquamarine Round Pave
- (1) A017264 – Jade Gemstone Billiard
- (1) A019691 – 1 Inch Headpin with Ball
- (1) A020977 – 6mm Round Reconstituted Larimar Gemstone
Kim Bracelet
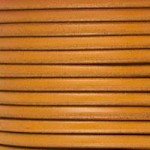
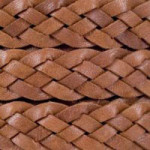
- (14) CH00254 – 5mm Violet Arizona Flat Leather
- (1) A015688 – Antique Silver Magnetic Clasp
- (1) A015821 – Super New Glue
- (1) A016981 – Clear Stone Sweet Blossom
- (1) A017266 – Cream Pearl Decorous
- (1) A020126 – Letter K Slider
- (1) A020124 – Letter I Slider
- (1) A020128 – Letter M Slider