2016 Color of the Year Inspired Jewelry
Rose Quartz and Serenity are Pantone’s color of the year winners. And for the first time they debuted a duo-color that blurs the line of femininity and masculinity.
We will show how we used these colors to inspire our Color of the Year Jewelry.
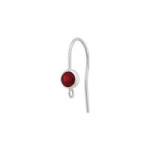
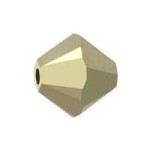
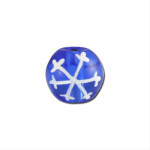
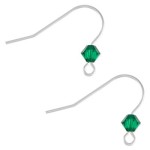
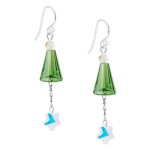
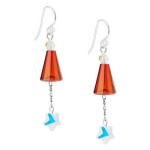
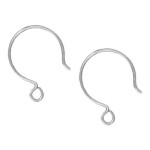
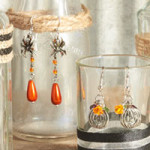
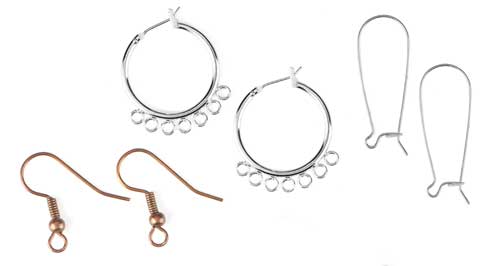
Link Earrings

Made with blue foil tint beads and a hint of pink, these earrings pairs the two colors harmoniously.
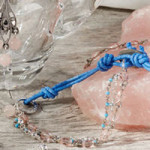
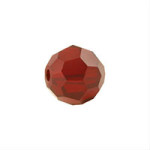
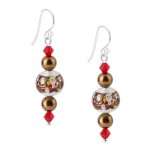
Necklace

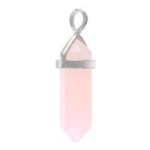
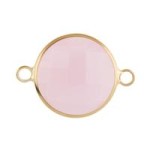
Rose Quartz
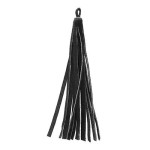
Draped with a shiny tassel and beaded chain, this Rose Quartz necklace is the perfect statement piece to wear this spring. Can you imagine wearing it with your sweet summer dress and suede floppy hat?
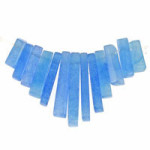
Serenity
This dream catcher necklace has the right Serenity hues for 2016. Made with handmade silk ribbon, Czech glass chip beads and feather charms, you can pair this with your trending flannel outfit and skinny jeans.
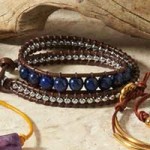
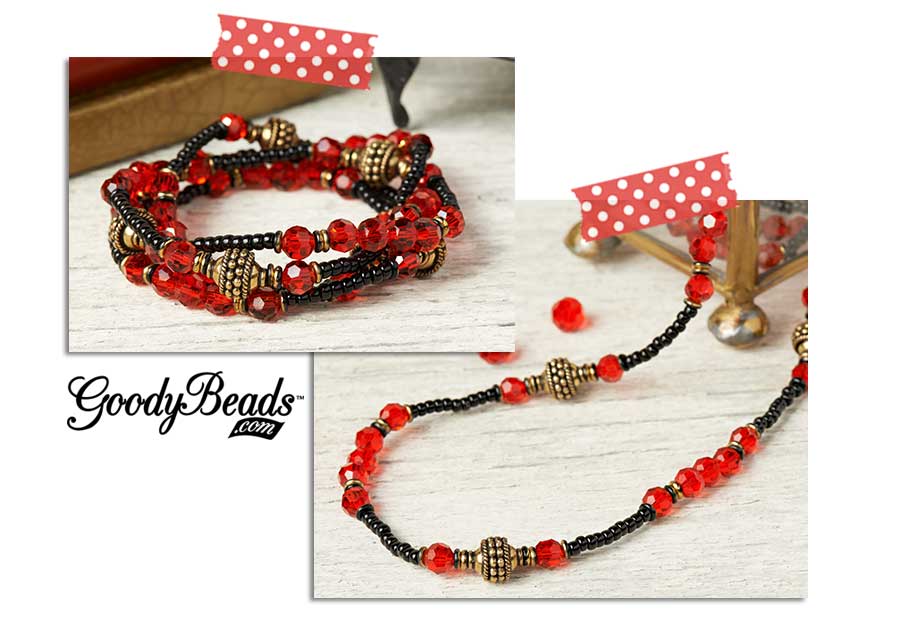
Bracelets

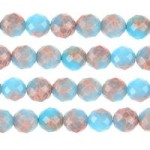
Wire Wrap
This wire wrap bracelet combines a darker shade of Serenity and square pink crystals. Accented with silver bali beads, string these colors onto memory wire for a three-loop bracelet with a simple loop on each end. This fun and easy Color of the Year-inspired memory wire bracelet is ready to flaunt.
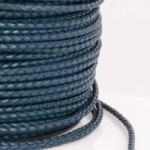
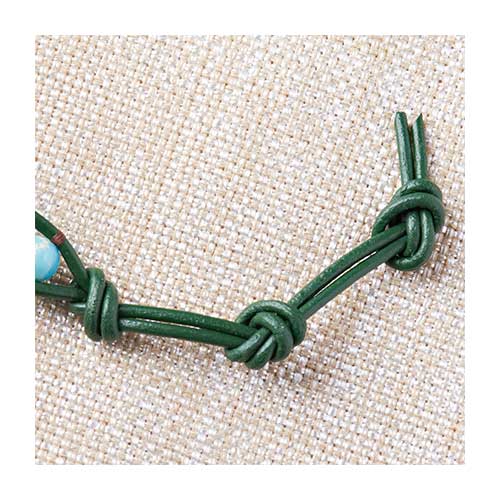
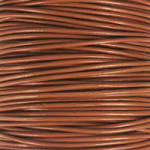
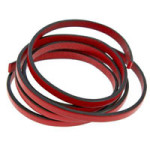
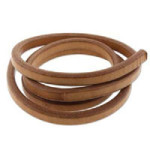
Leather cord
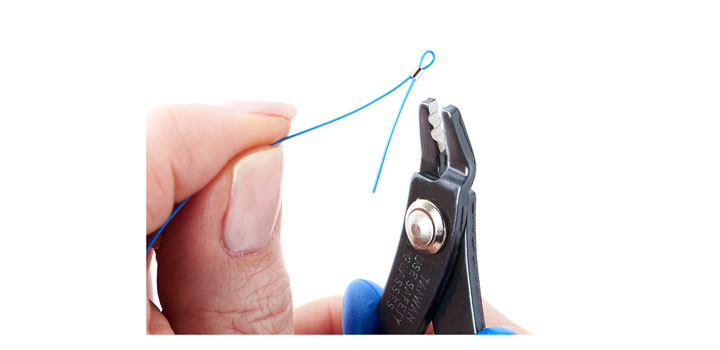
When it comes to transcending gender barriers, leather is best to use to create an accessory that both men and women can casually wear. Using the same darker Serenity color as in the bracelet above, we used red aventurine beads on 1mm leather cords. We cut the 1mm cords into three equal strands. Taking the three strands, crimp one end with a revolving crimp tubes. Insert a bead on your top two strands and then the next bead will be on your bottom two strands. Repeat until desired length. Cut the three strand ends straight and crimp them with another revolving crimp tube. Add your choice of clasp and it is ready to wear.
How will you wear this year’s colors of the year?
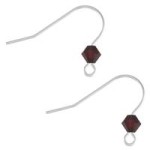
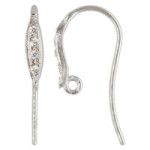
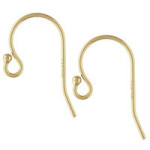
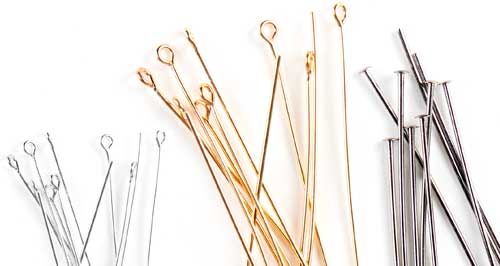
Link Earrings
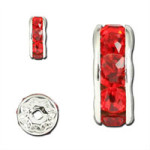
- (2) Z007149 – 30mm Antique Silver Hammered Round Pewter Link
- (1) A008998 – Silver Base Metal French Wire Earrings
- (2) A002413 – 4mm Silver Plated Jump Ring
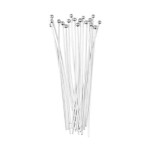
- (2) A001493 – 2 Inch Silver Plated Headpins
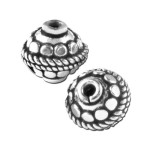
- (2) A003564 – 6mm Bali Spacer
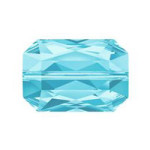
- (2) Z014750 – 17mm Light Blue and Silver Foil Rectangle
- (2) GS00215 – 4mm Round Rose Quartz
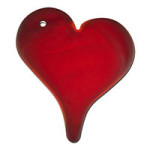
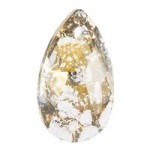
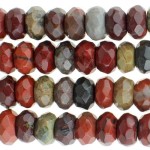
Rose Quartz Necklace
- (1) GS00221 – Oval Rose Quartz
- (1) Z007727 – 2.5 Inch Rhodium Plated Tassel
- (1) A001529 – 6mm Silver Plated Jump Ring
- (2) CH00004 – 4mm Silver-Plated Link Fire Polished Pink Bead Chain
- (1) A019633 – 3 Inch Eyepin
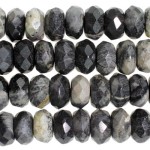
Serenity Necklace
- (1) A017782 – Moody Blues Hand Dyed Silk Ribbon
- (1) Z006771 – 26mm Antique Silver Filigree Washer Pewter Link
- (3) A019629 – 1 Inch Silver Plated Eyepin
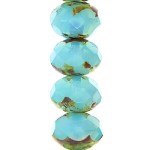
- (3) A020394 – Matte Blue Mix Czech Glass Chip
- (1) TC00040 – 29mm Feather Charm
- (2) TC00041 – 23mm Feather Charm
Wire Wrap Bracelet
- WR00120 – Large Silver Memory Wire
- A016464 – 6mm Faceted Cube Pink Glass
- GS00517 – 8mm Blueberry Quartz Gemstone
- A003563 – 6mm Bali Spacer
- A021452 – 18mm Silver Plated Bali Ornate Oval Tube
- A021434 – 12mm Silver Plated Bali Deep Fluted Round
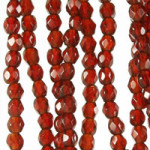
Leather Bracelet
- (1) A020113 – 1mm Red Brown Leather
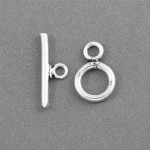
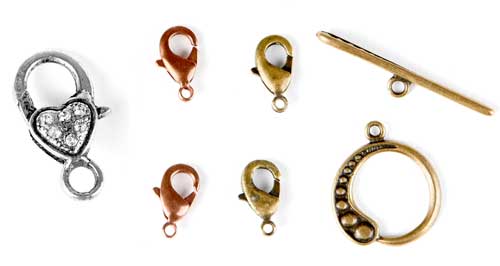
- (1) A003578 – 8mm Simple Round Toggle Clasp
- (2) A014995 – 4mm Antique Revolving Crimp tubes
- (2) A002413 – 4mm Jump Rings
- (2) A021435 – 8mm Bali Fancy Fluted Rondelle
- (6) GS00505 – 8mm Red Aventurine Gemstone Round Large Hole
- (6) GS00517 – 8mm Blueberry Quartz Gemstone