Twist Seed Bead Necklace and Bracelet with Tutorial
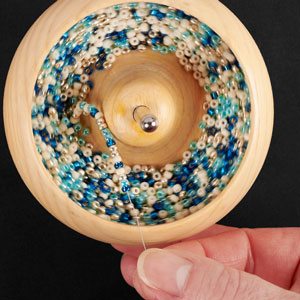
Using the BeadSmith® Spin and String, Bead Stringing Tool you can create this seed bead necklace and bracelet in no time! Also, learn how to create twists with your strung seed beads.
Check out our BeadSmith Spin and String blog post on how to use the stringing tool, accompanied with a video tutorial.
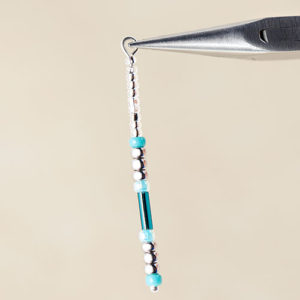
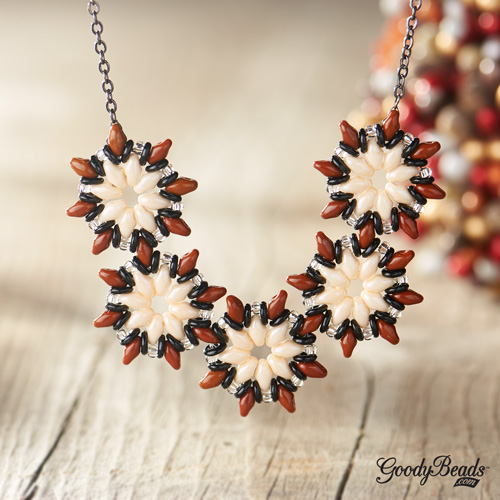
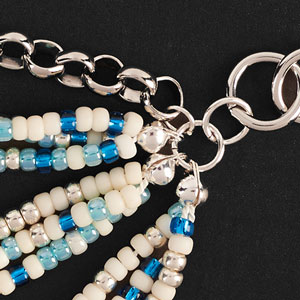
Coastal Cove Necklace

We created a mix of side 8/0 seed beads to make this necklace just in time for a dreamy, coastal vacation!
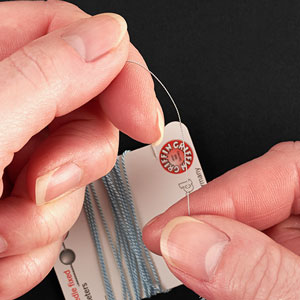
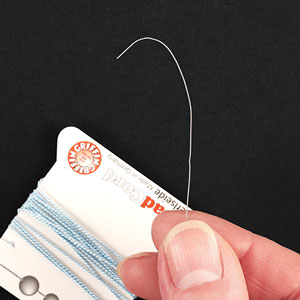
Instead of using the bead spinner needle, we utilized the needle that comes with the Griffin bead cord. Please refer to Silk Bead Cord blog post on how to straighten silk cord and learn about clamshell bead tips.
Product used: SB00114, SB00093, SB00106, SB00010, CH00729, Z001016, A006581(2), Z008717, A001528, Z006500.
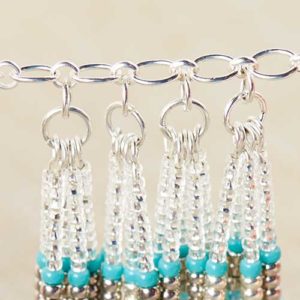
Seed Bead Twist Tutorial


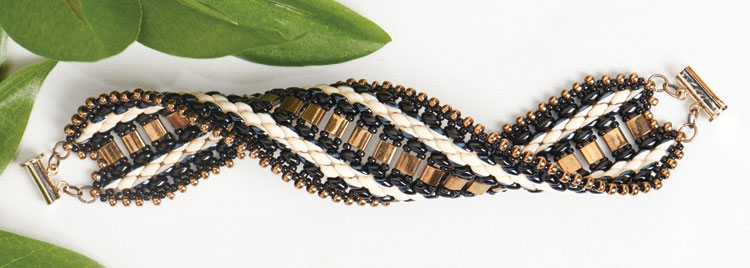
Seed Bead Twist Silk Cord Bracelet

You can see here we used the same tutorial above and created this bracelet with size 11/0 Miyuki seed beads and gold chain and findings. Find tutorial here.