Slide a gemstone on an eye pin and make a simple loop.
Open a jump ring and slide through necklace loop end and a gemstone link. Close jump ring.
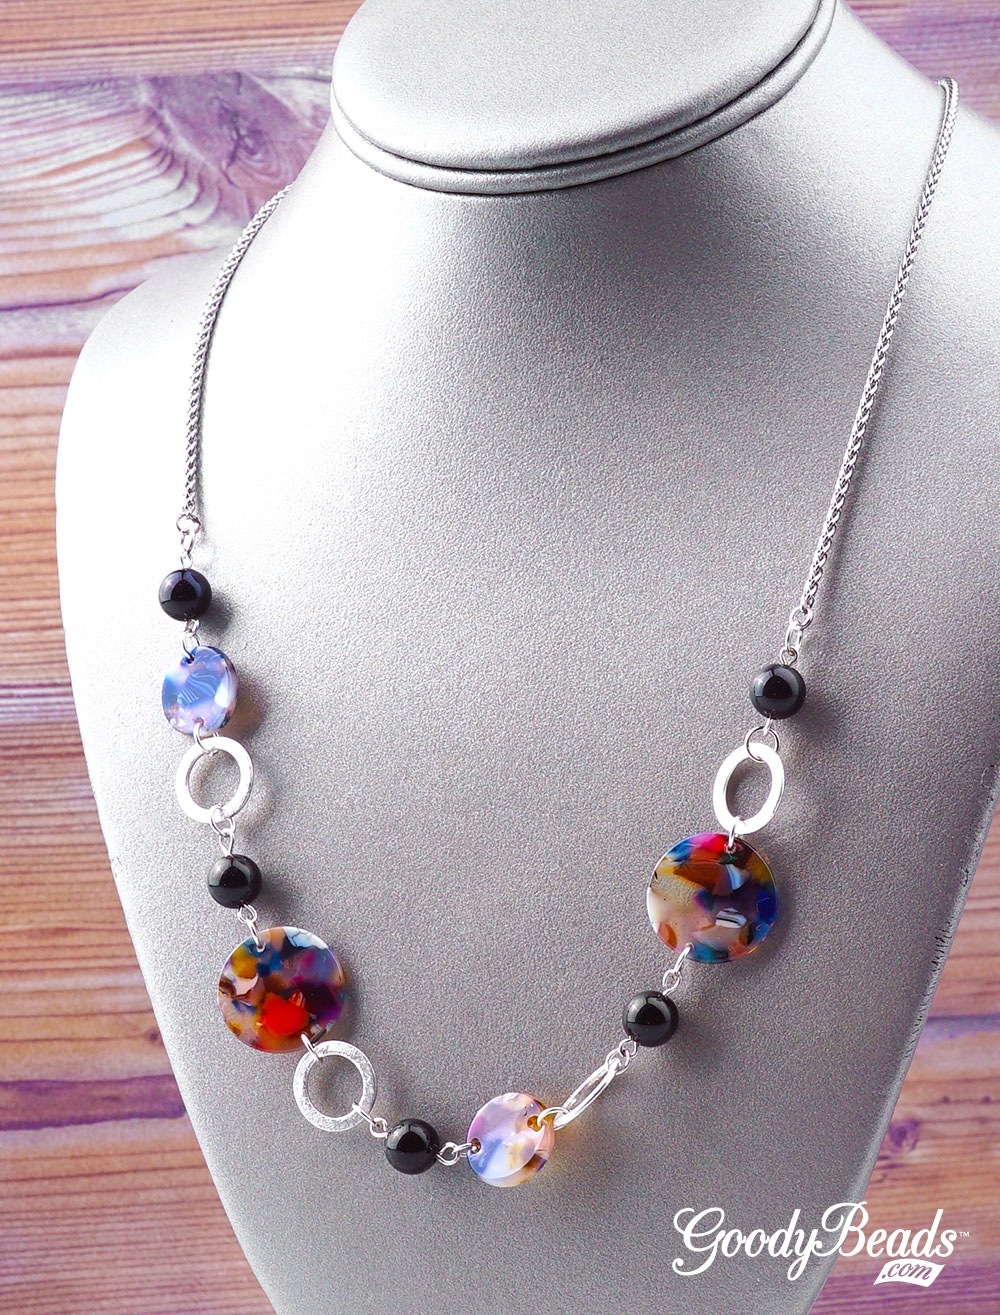
Using jump ring in between each link, connect each link in the following order starting from gemstone link in Step 1:
15mm acetate, brushed silver ring, gemstone link, 20mm acetate, brushed silver ring, gemstone link, 15mm acetate, brushed silver ring, gemstone link, 20mm acetate, brushed silver ring, and gemstone link.
Open another jump ring, slide on other end of gemstone link and through other necklace loop end. Close jump ring.
Easy Knotted Gemstone Necklace and Bracelet
We’re highlighting the Imperial Jasper from Dakota Stones in these easy DIY tutorials using clam shell bead tips!
Imperial Jasper
Imperial Jasper occurs naturally in a beautiful range of colors including pinks, mossy greens, burgundy and milky white, with striking patterns of parallel banding. Jasper has a long and illustrious history, having been worn by shamans, priests and kings and believed to be a powerful protection stone. Ancient Egyptians sometimes buried their dead with amulets of Jasper for safe passage into the afterlife. Our stock of Imperial Jasper are from DakotaStones and North America mined!
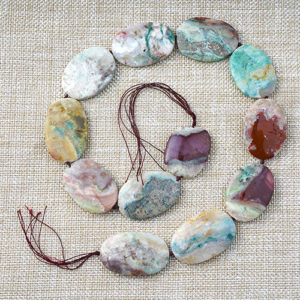
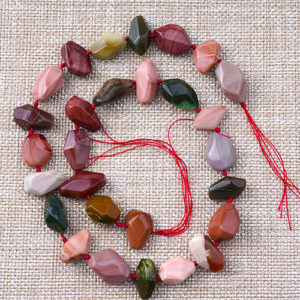
For our tutorial, we’ve taken the large Oval Imperial Jasper (IMP20-40OV) and the Nugget Imperial Jasper (IMP6-20NUG-F) and making a simple necklace and bracelet. These two strands come pre-strung and knotted with cotton threads. The knots will help us add our chain and clasps for easy DIY jewelry.
NOTE: If you are using different beads and are not strung on cotton thread, you can string them and knot them with Griffin Silk Cord. Refer to our previous blog posts on Knotting with Silk Cord. May I suggest using a Size 6 or 8 Griffin cord.
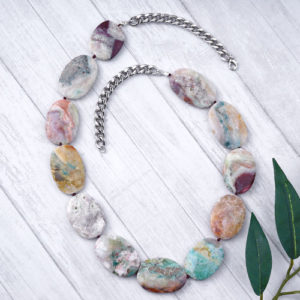
Imperial Jasper Knotted Necklace
We love the chunkiness of the large Oval Imperial Jasper beads (IMP20-40OV) and makes a stunning collar necklace. Becuse these strands are strung out to be about 16 inches, we only need a short piece of chain to complete our necklace. Use about 4-6 inches of chain for a short necklace. You can also lengthen your necklace by adding longer pieces of chain.
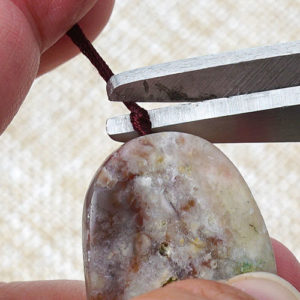
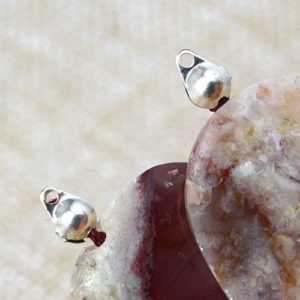
Step Two: Cut excess thread on the outer side of the knot.
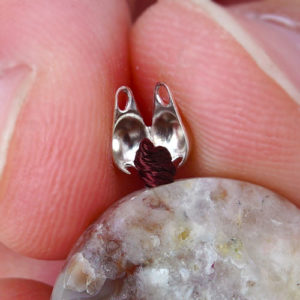
Step Three: Add a small dab of glue to your knot and using a clamshell bead tip, clamp it over the glued knot.
Step Four: Repeat to other end.
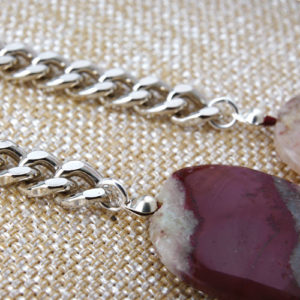
Step Five: Cut two pieces of chain at 3″ and open jump rings to connect chain and clamshell. Repeat to other gemstone end.
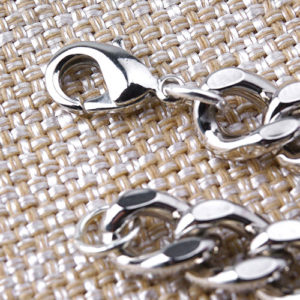
Step Six: Add jump ring and clasp to the other ends of the chains.
Step Seven: Necklace Complete!
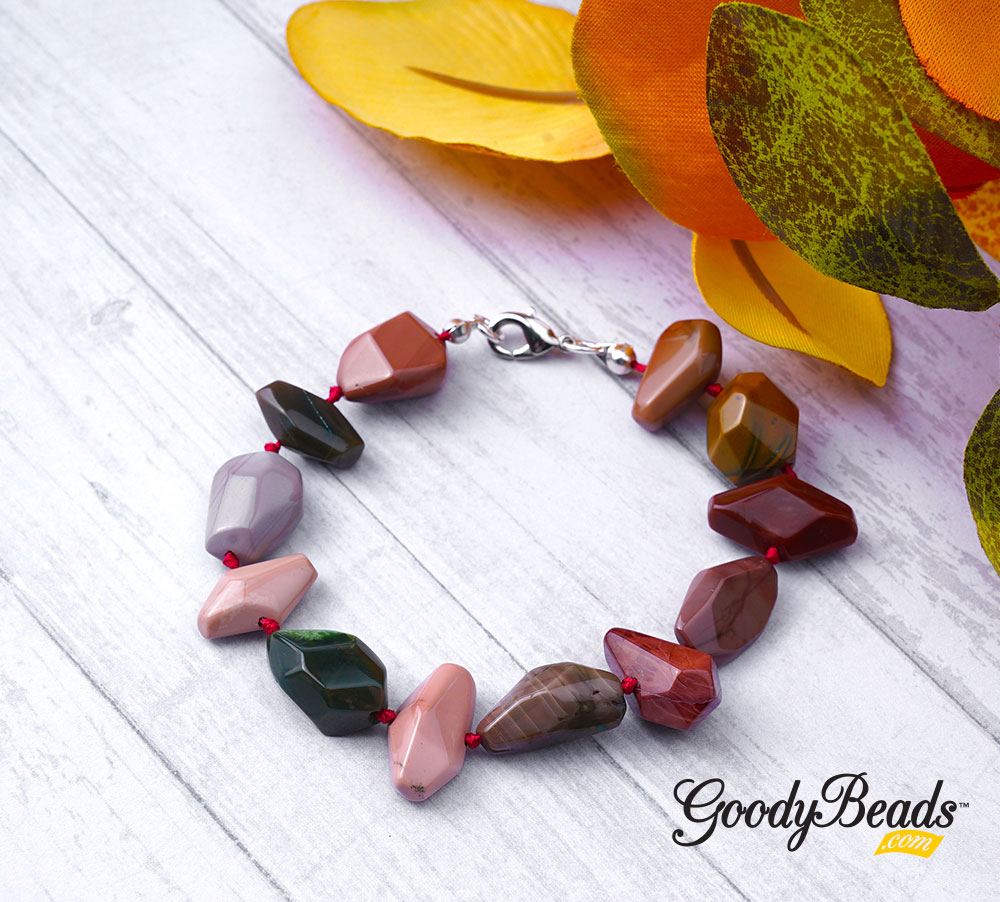
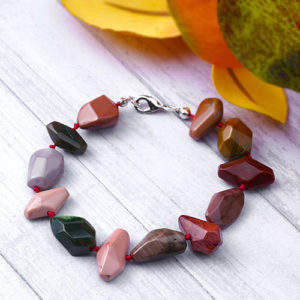
Imperial Jasper Knotted Bracelet
We are loving these Imperial Jasper nuggets (IMP6-20NUG-F). Their variation in size and shape really adds an organic look to our bracelet. These strands are also knotted, which makes it easy to customize a bracelet.
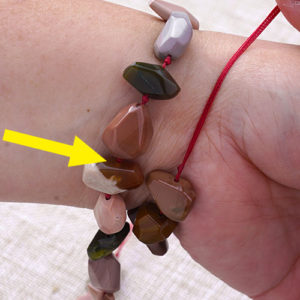
Step Two: Wrap gemstone strand around your wrist. This will help determine where to cut. Cut on the outer side of the knot, making sure to factor in the length of clasp you will use.
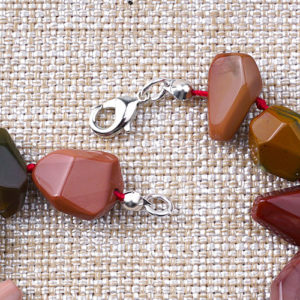
Step Three: Add a spot of glue to each knot, clamp on clam shells to each knot and add your jump rings and lobster clasp!
Step Four: Bracelet complete!
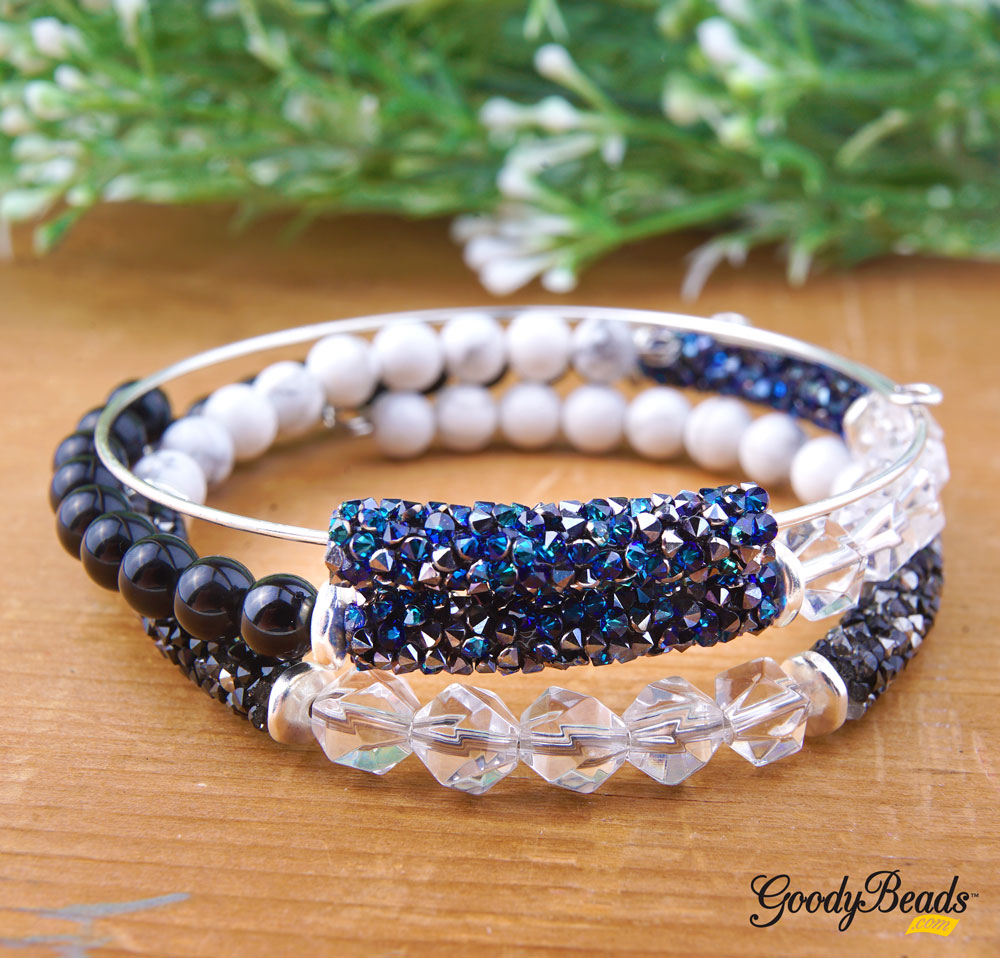
Memory Wire Wrap Bracelets with Swarovski Fine Rocks Beads
Mix up shiny Swarovski crystals and natural gemstone beads in an easy memory wrap bracelet.
Mixing up different types beads makes for a modern and even edgy DIY jewelry, especially when you use Swarovski Fine Rocks Tube beads and round Dakota Stones gemstone beads. And to bring even a more edgy look, we’ve added some beautiful Star Cut Crystal Quartz gemstone.
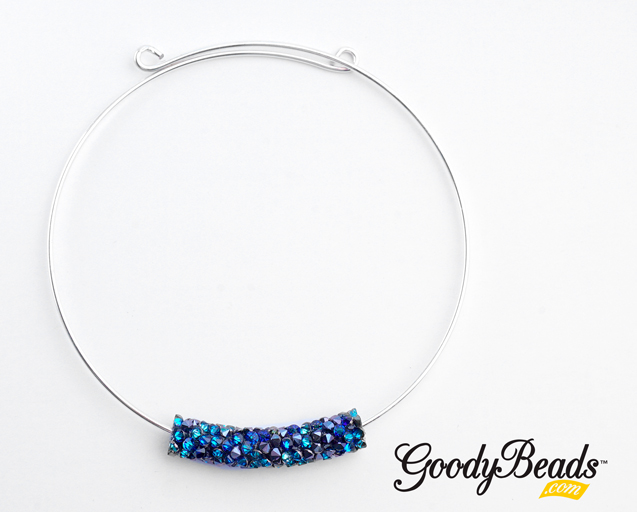
Nothing like a simplistic DIY jewelry! Here, we used Extra Heavy Duty Memory Wire, cut a 1.25 coil and slide on the Fine Rocks Tube. The trick to getting the crystal tube curve is to gently curve the tube while sliding it on the memory wire. Center the tube and make a loop to both memory wire ends with the Memory Wire Finishing Pliers. The thick memory wire gives a hearty substance to a minimalistic design, without covering the whole wire!
In these two bracelets are 6mm round gemstones and 6mm Crystal Quartz star cut beads. The star cut and fine rocks tube bead are both a compliment to an edgy and even punk-ish vibe!
Cut a coil and a half of heavy duty memory wire.
Make a loop to one end of your memory wire with memory wire finishing pliers.
Slide the following onto the memory wire:
9 gemstone beads, nugget spacer, fine rocks tube, nugget spacer, 5 Crystal Quartz star cut beads, nugget spacer, fine rocks tube, nugget spacer and 9 gemstone beads.
Cut excess wire, leaving a 3/8 inch end. Make a loop.
Video Tutorial
Check out our previous Facebook LIVE episode, where Tory demonstrates how to easily create one of these wrap bracelets!
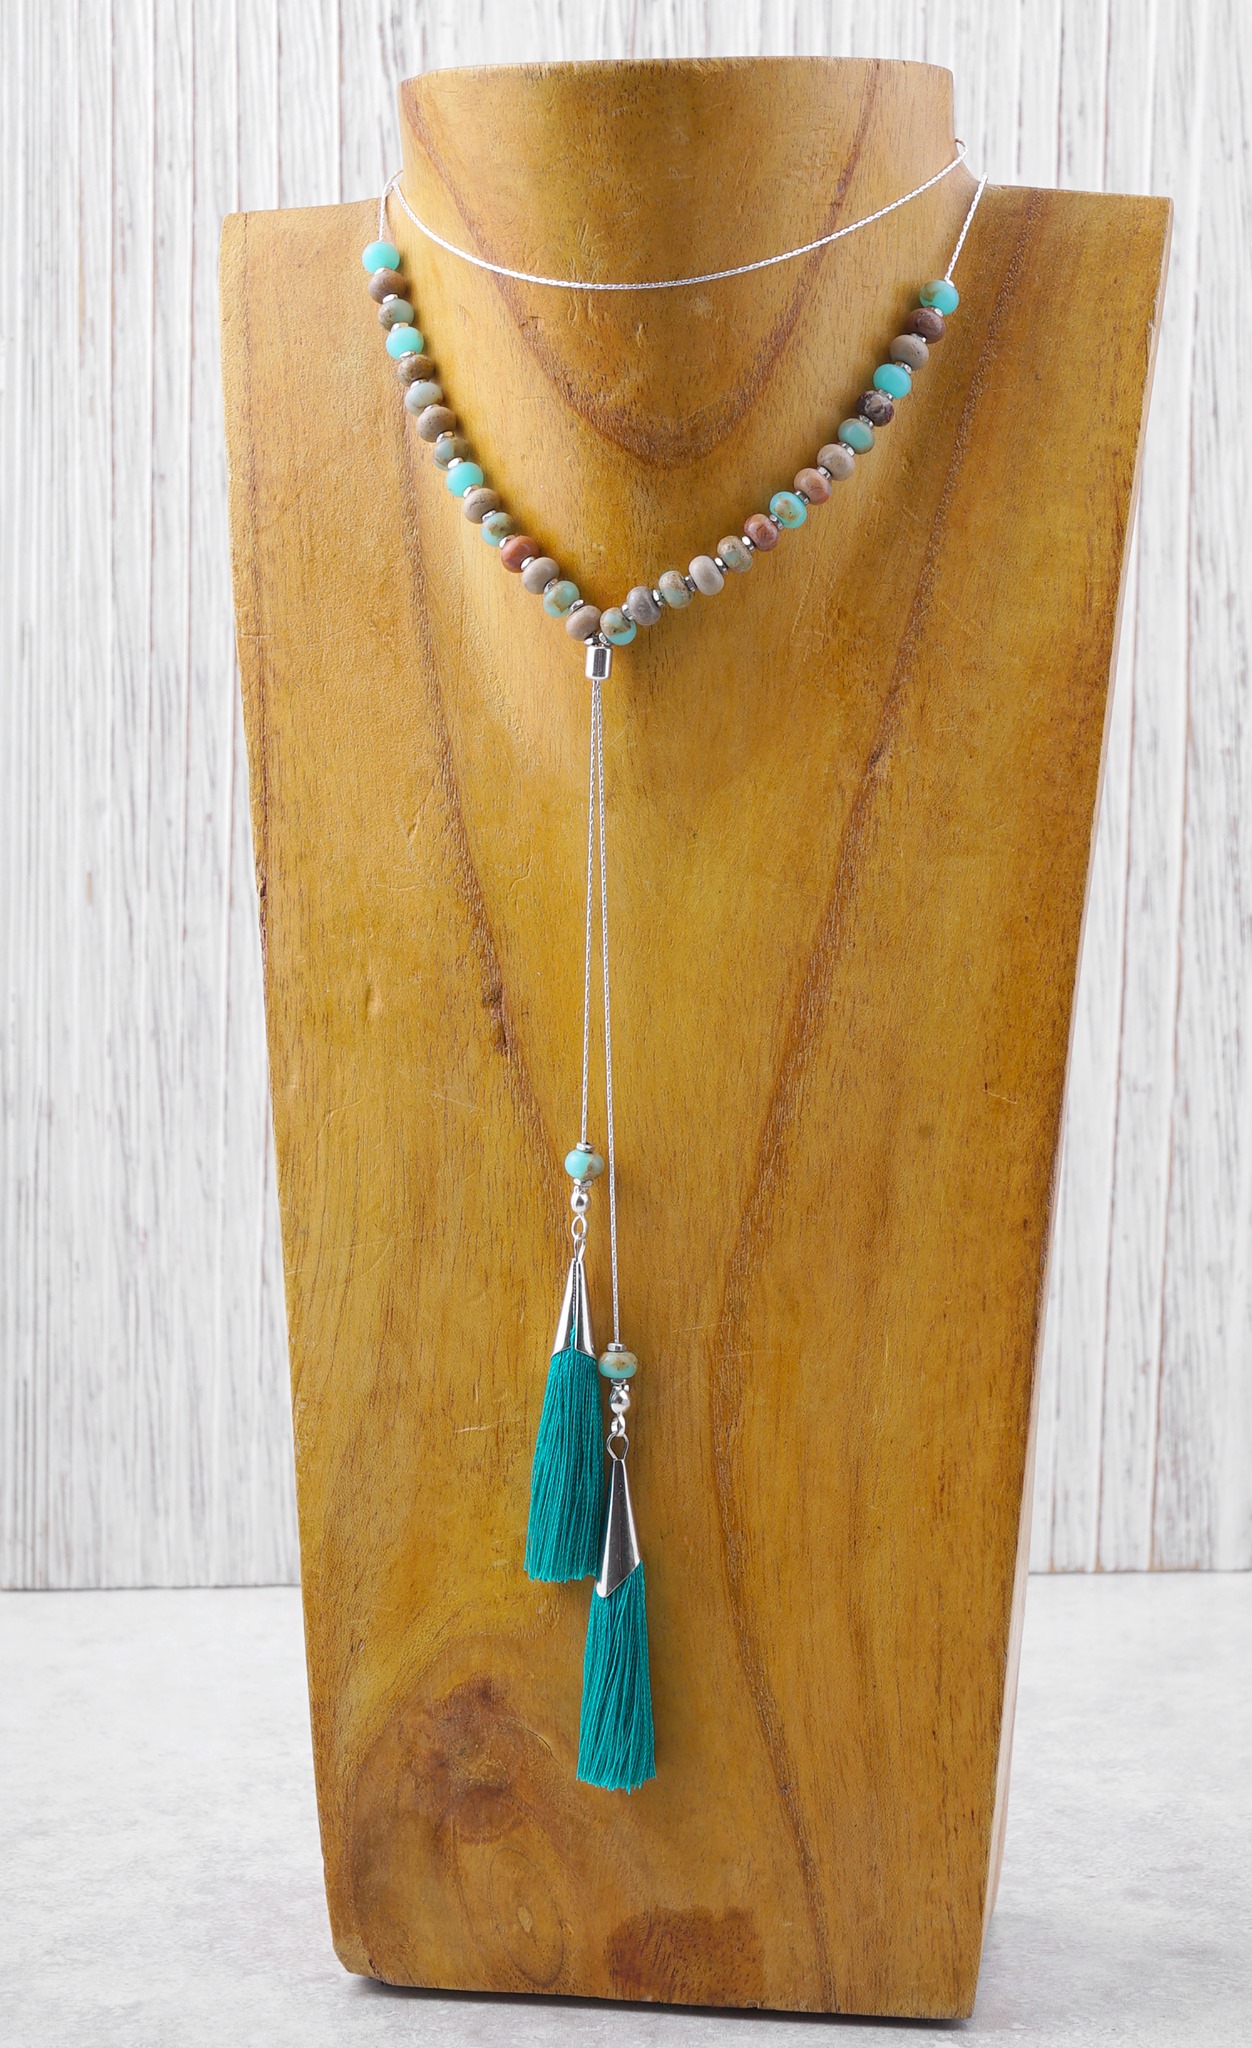
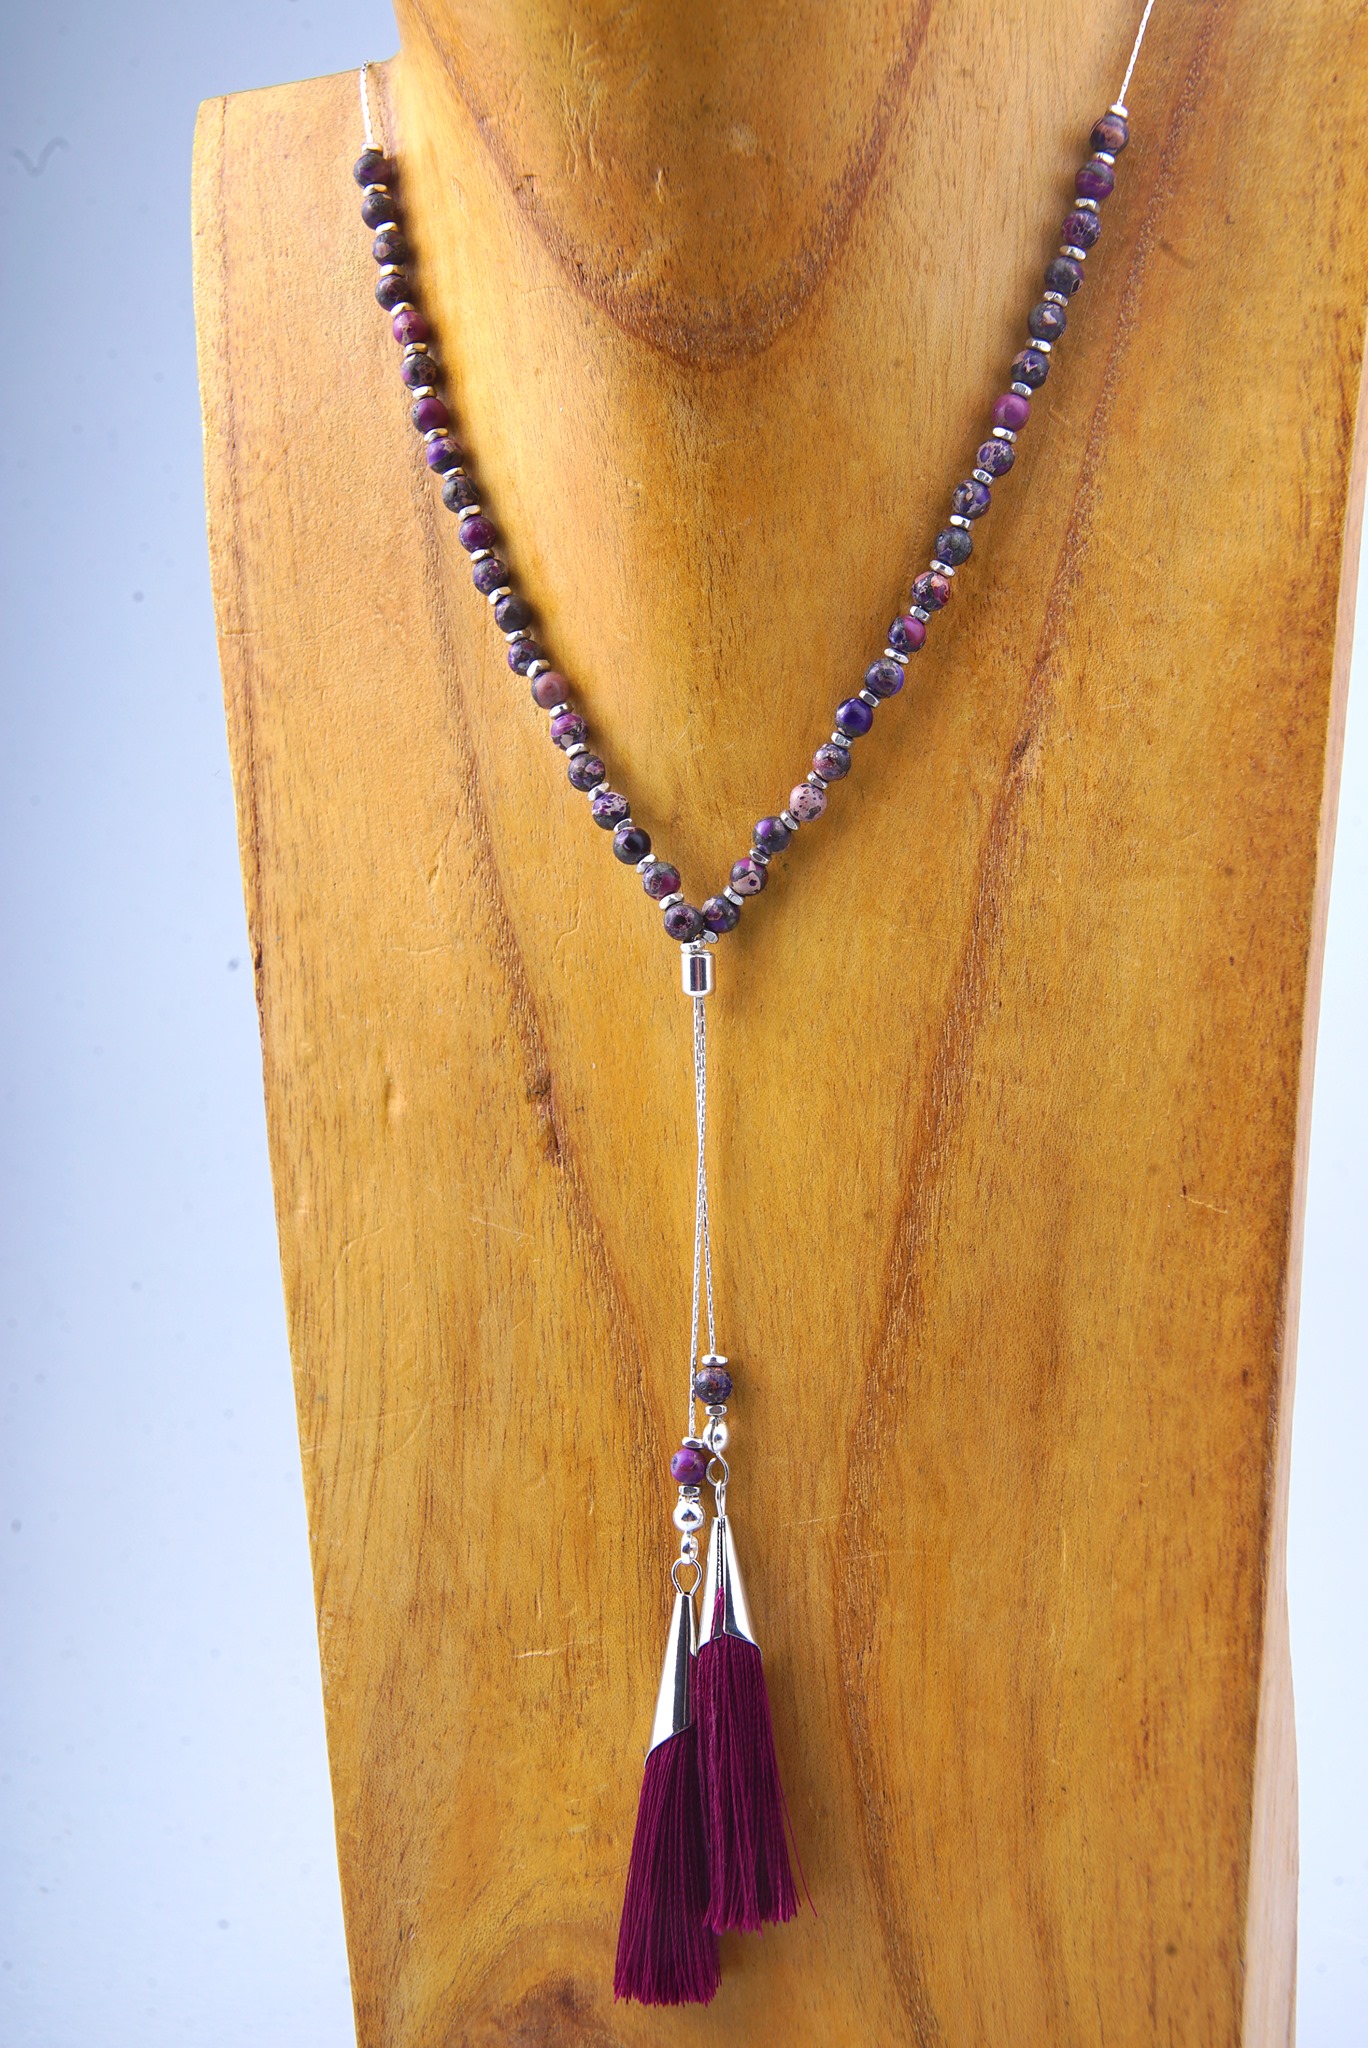
Lariat Gemstones and Tassel Necklace – Video Tutorial
Our DIY lariat feature many of our most popular products: beading chain, tassels, slide clasp, gemstones and clamshell bead tips! Check out all you need to make one of your own along with our previous Facebook LIVE video!
We’ve combined many of our favorite products in this lovely necklace set. It’s adjustable with the sliding clasp, colorful with quality gemstones and simplistic with the popular beading chain. Plus, it’s tied together at the front with clamshell bead tips and tassels!
Blue is always one of the most popular color to design with. There’s no exception to how the earthy blues and browns are in this Impression Jasper Rondelle Beads (IJR6RL) look.
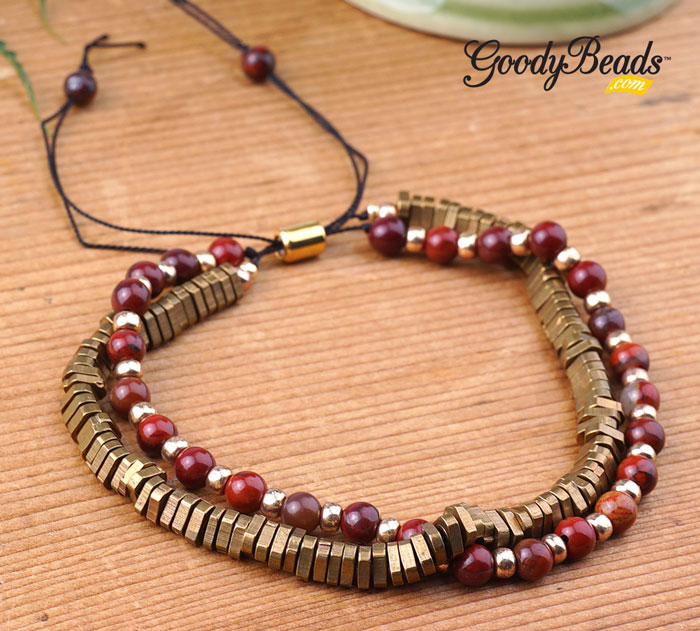
Double Strand Bracelet with Slide on Clasp
Make a customizable and adjustable bracelet using your favorite beads, Griffin Silk Cord and Slide on Clasps.
Make sure to check out our FB video we did LIVE running through how easy it is making this bracelet. We made an adjustable bracelet with double strands of griffin cord strung with a side of metal beads and the other with seed beads and 4mm Gemstone beads.
What you’ll need:
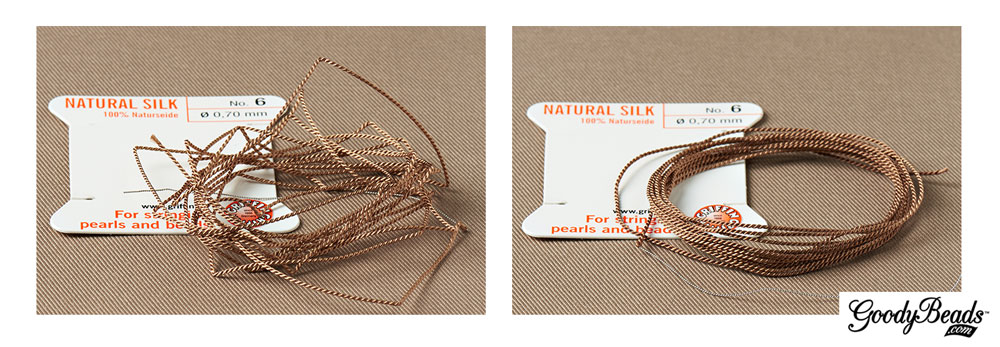
Griffin Silk Cord (Make sure to get Size No. 2 OR No. 4 and you’ll need a quantity of TWO)
Unravel both your Silk Cord from its card and straighten them by running them through a wet towel a few times.
Flush both cord ends together and make an overhand knot with both ends.
Using both needles, slide on a gemstone bead.
Make another overhand knot with both cords about 4″ from the first knot you’ve made.
Using both needles, slide on the Slide on Clasp and pull it down next to the knot you’ve made.
With one silk cord, slide on a sequence of seed bead and metal bead until the length of these beads are long enough to wrap around your wrist. Make sure to end with a seed bead. Set this cord and needle aside.
With the other silk cord, slide on a sequence of seed bead and 4mm gemstone until the length of these beads are the same as the ones in step 6. Make sure to send with a seed bead..
Take both cords and make an overhand knot close enough to your seed bead.
Sew both needle through the Slide on Clasp, going the same way as you did in Step 4. This will criss cross the ends.
Using both needles, slide on a gemstone bead.
Slide the bracelet around your wrist to the widest part, which is around the middle part of your hand. This will lengthen your cord ends and determine where you will knot your ending knot. Make your knot and cut off excess cord.
The other end will be longer, so you will need to make another knot to sit closer to the Slide on Clasp.
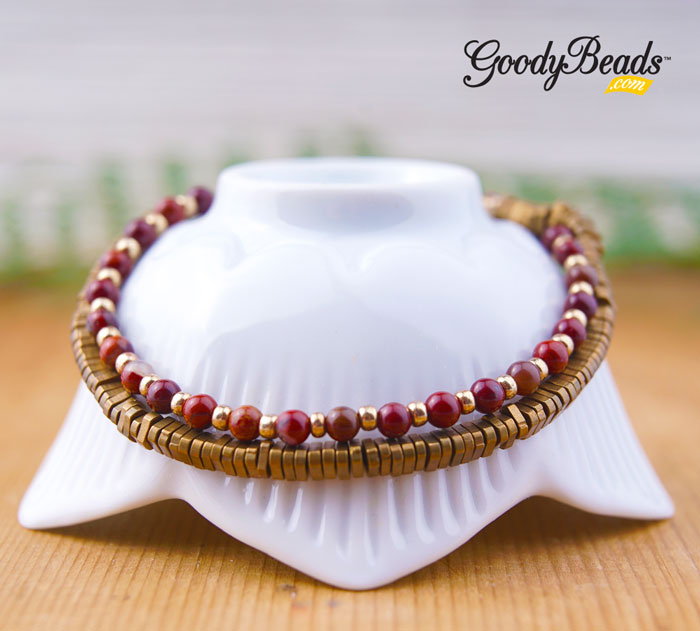
Done! Slide your bracelet on and with your middle finger, hold one gemstone end while you pull the other gemstone end with your other hand to cinch the bracelet around your wrist.
Facebook Video
Bracelet Samples
We are LOVING this blue and silver combo! Heidi would agree also.
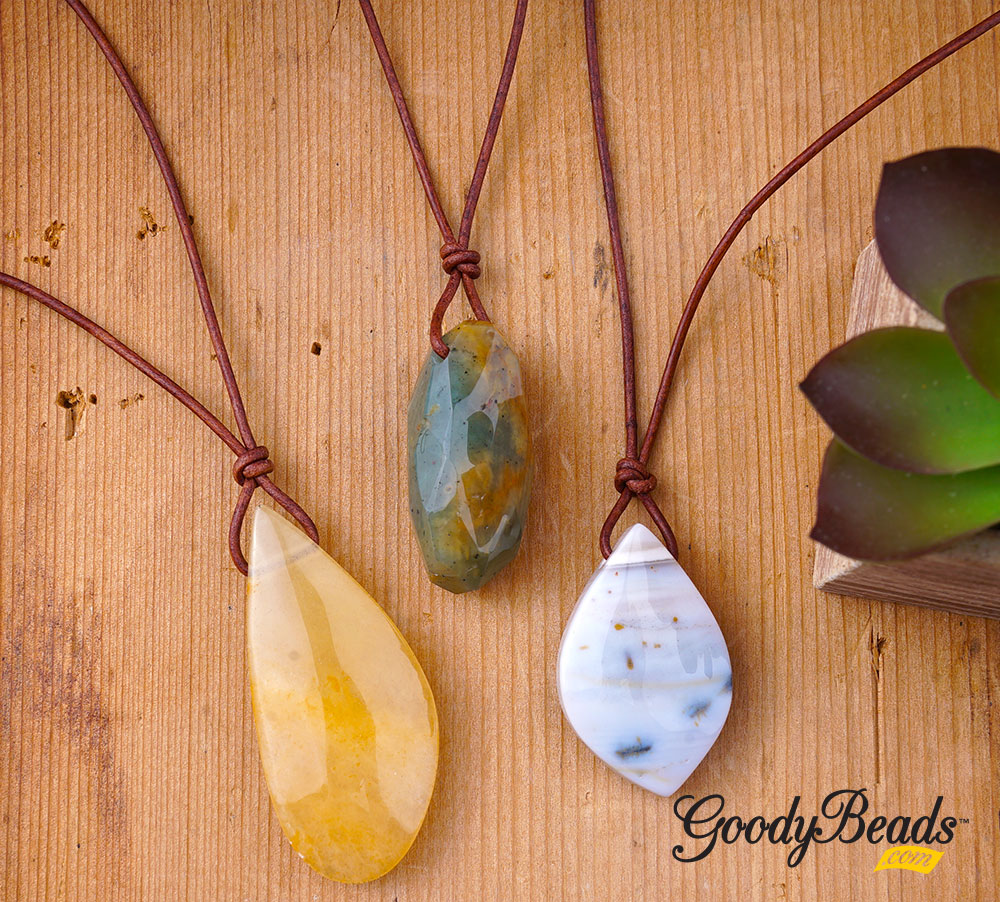
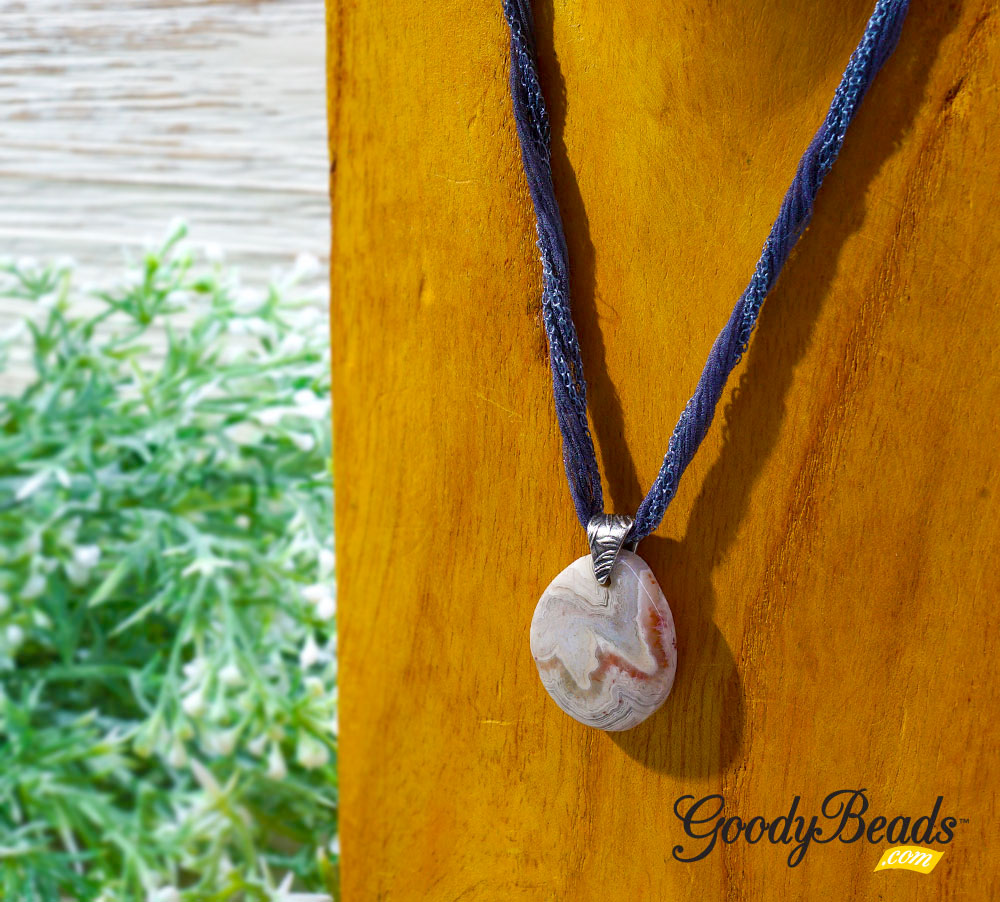
Gemstone Leather Necklace with Leather Knot Tutorial
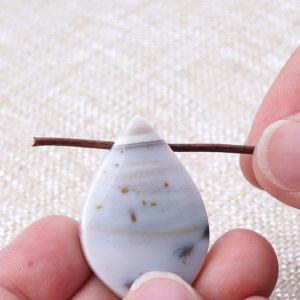
Leather necklaces with a gemstone pendant are easy to make once you get the basic sliding/slip leather knot down. Check out our easy tutorial to tying a gemstone necklace of your own.
The functionality of the sliding knot is mainly what it states, it slides. When you make a sliding knot, you are making a knot over the other leather piece so that the other piece slides back and forth, which can make a necklace or bracelet adjustable. You can check out our previous blog post on making a sliding knot.
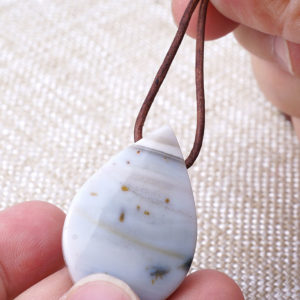
If you’ve watched the video, you will see that we’ve altered the first portion of the necklace video by creating a two, coiled sliding knot to pinch the leather together at the top of the pendant. This will create somewhat of a bail so that pendant swingings nicely back and forth.
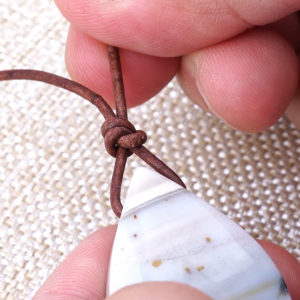
Step 1: Cut a 4 feet piece of leather cord and slide end through top-drilled gemstone pendant.
Step 2: Position the gemstones pendant to the middle of the leather cord.
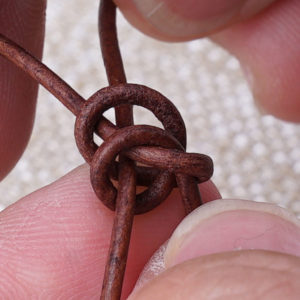
Step 3: Take the right leather piece and make two wrap/coils going away from the pendant, around the the other leather cord.
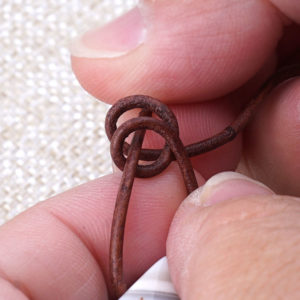
Step 4: Slide leather end through both coiled loops.
Step 5: Gently pull the leather end to tighten the coils.
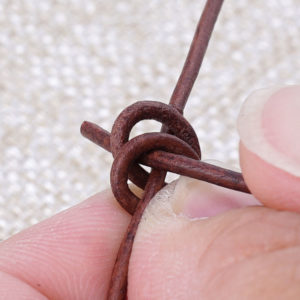
Step 6: Gently pull the knot tightly.
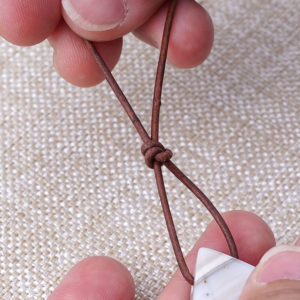
Step 7: Take the other leather cord and pull so that the leather knot slides close but not too close over the stone.
Step 8: Make sure to flush cut your leather cord ends. Then crisscross your leather ends to make a single sliding knot to each leather end. Check out previous blog post on how to make sliding knot.
Step 9: Done!
Sliding/Slip Knot Tutorial
Check out video/blog post on how to make a sliding knot in Step 8. Knot tutorial begins at 0:40.
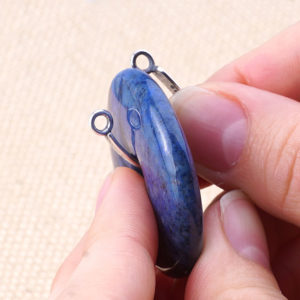
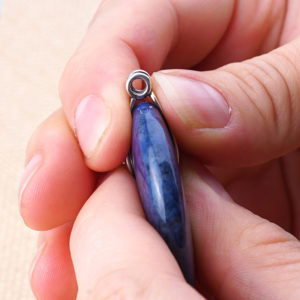
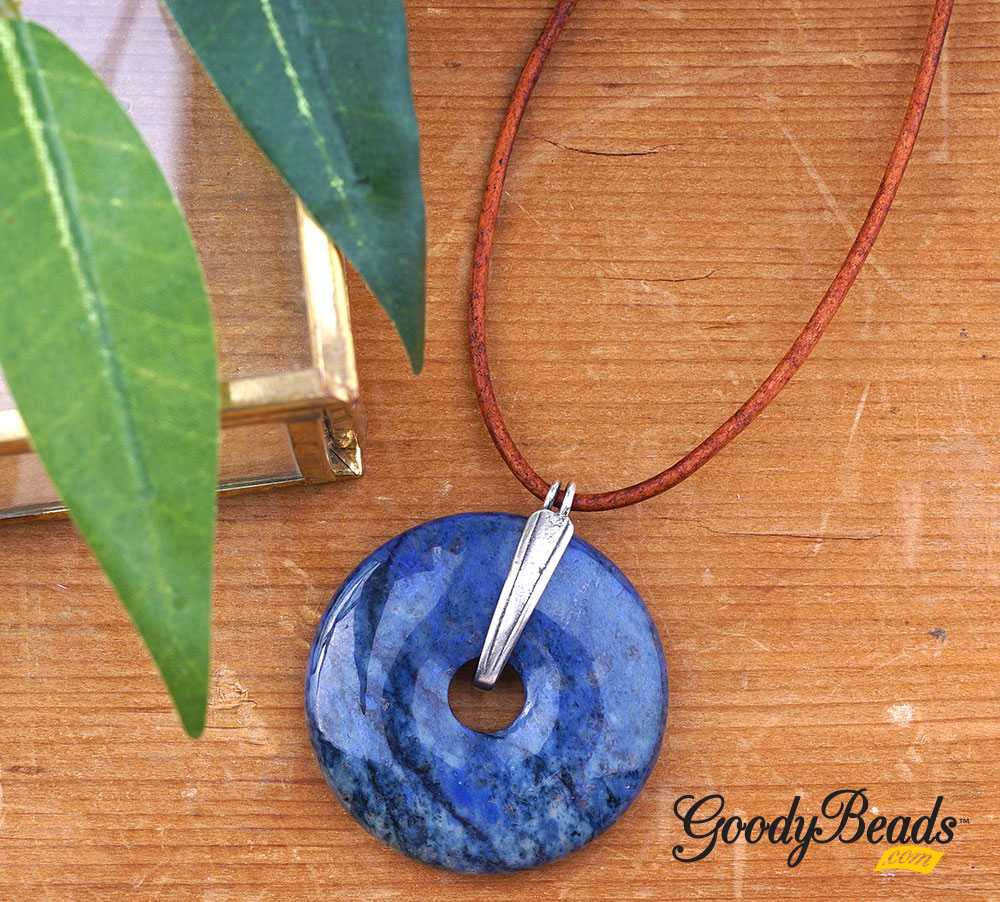
We all love a good donut, right? Especially gemstone donuts! We have an easy way to dangle gemstone donut using a donut bail. See our easy tutorial today!
Donut bails are different from your traditional bails. Instead of cupping your dangle or pendant from the top, donut bails cup from the hole of the donut upwards. NOTE: be careful when opening up your bail. If you pull out too wide, it can weaken the curved part and snap in half.
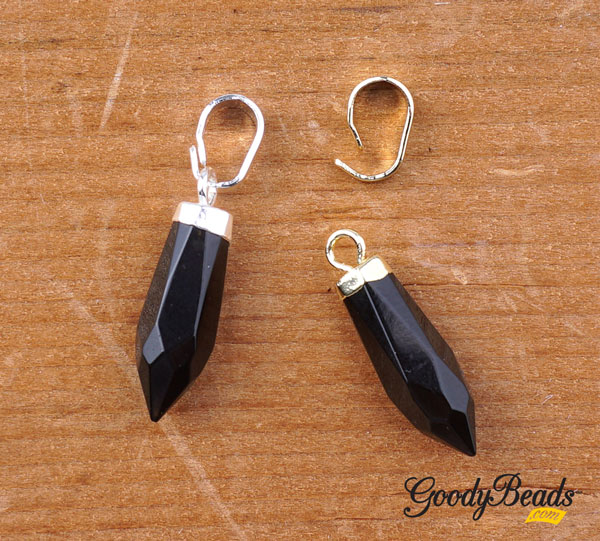
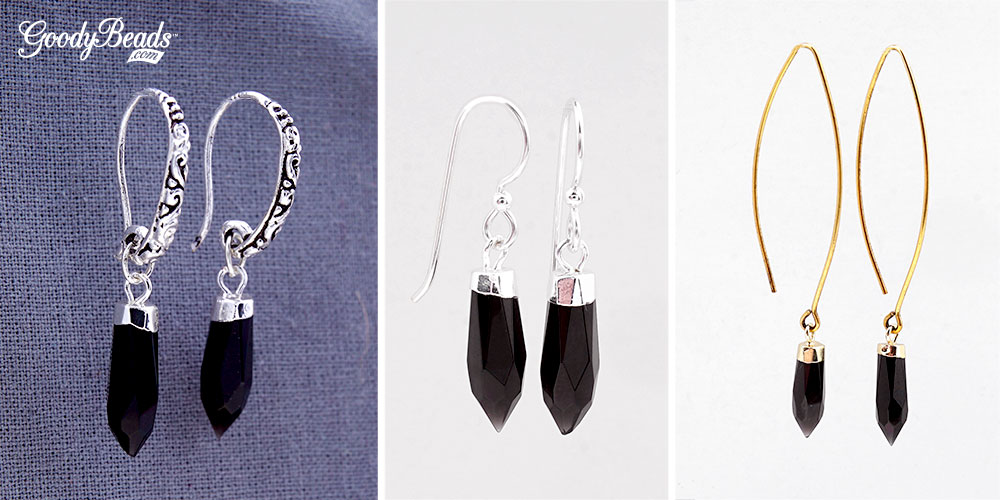
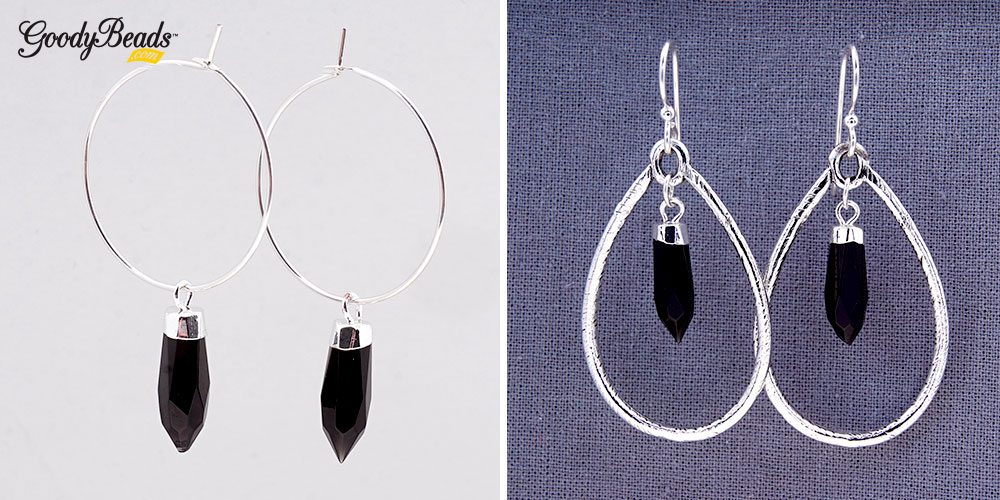
Point pendants are an easy component to use for simple pairs of earrings. We have 5 different ways you can design DIY earrings with point pendants.
To prep your Point Pendants, you will need to remove the bail from the pendant. On the backside, you can pull the bottom prong outwards to slide the pendant off the bail. You are now ready to use point pendants as point dangles!
We used the 6x16mm Onyx Point Pendant (Silver/Gold) throughout our examples to show you the different ways you can design DIY earrings with a simple pair of point pendants.
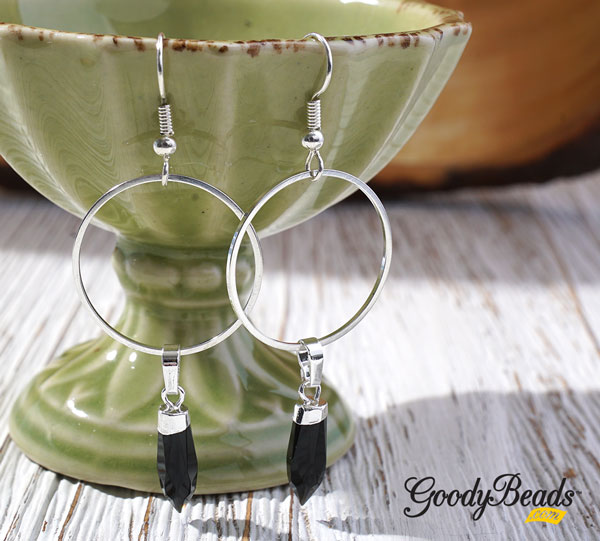
1 – Easy DIY Earwires
Select your favorite Earring Findings to pair with your gemstone points. You open the earwire loop and slide on your gemstone dangle. If earwire doesn’t open, using a small jump ring can easily attach your dangle for a simple pair of earrings! Here are three earrings using different earring findings.
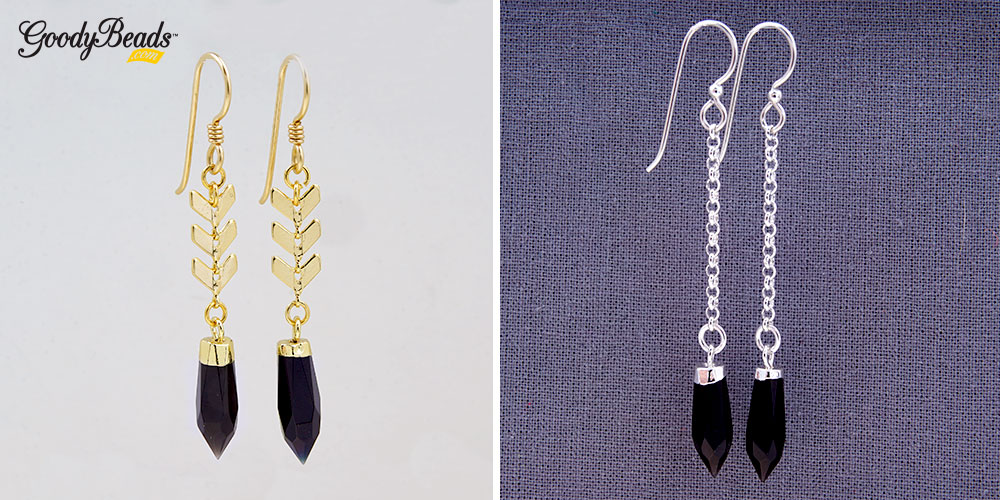
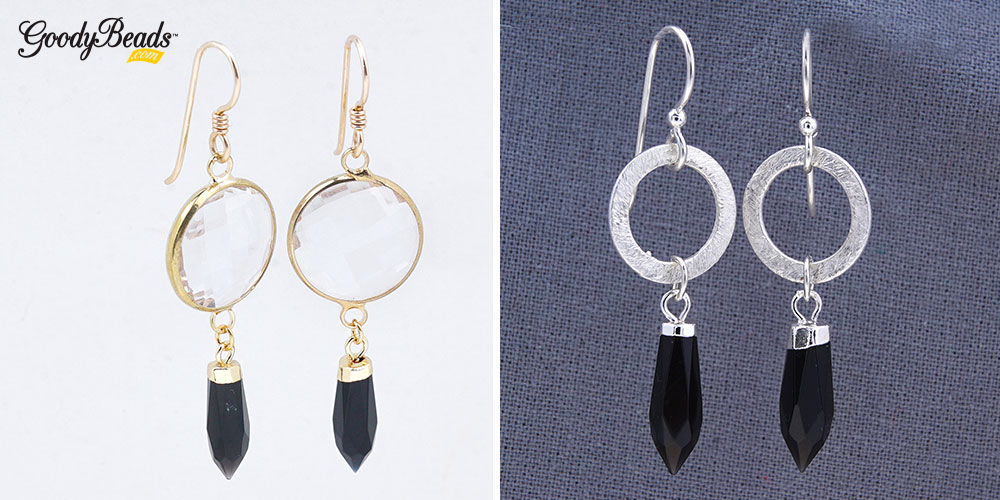
Taking one of our many Links and Connectors, you can accent your point dangle with a charming look! Connect with a jump ring, you have another simple DIY earrings idea!
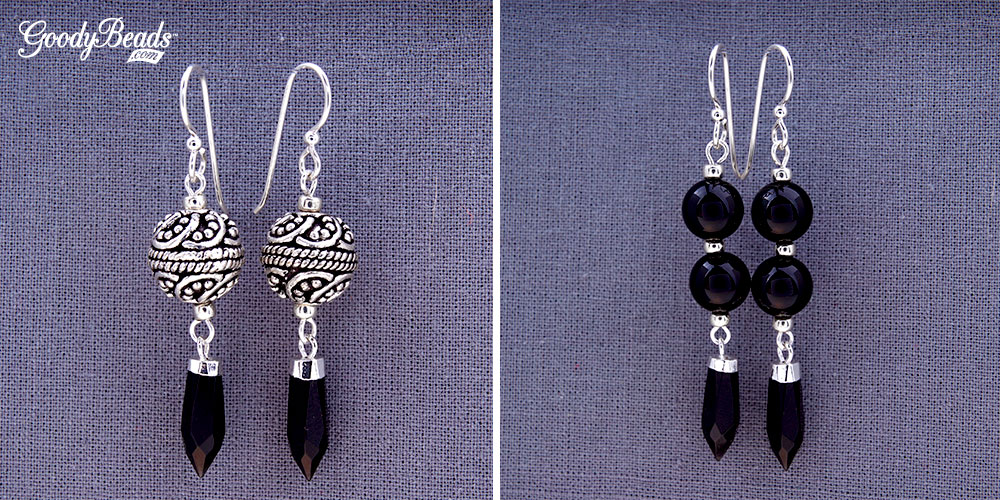
Besides adding a Link or Connector, make a bead link to match your point dangle! We used our beautiful Onyx gemstones and some of our newest Bali Metal Beads.
New gemstones from Dakota Stones are detailed-cut to the popular bicone shape. See how beautifully cut they are and bead stitched on a beadable circle pendant or wire-wrapped into a chain link for a stunning pair of earrings!
Gemstone bicone beads ‘are faceted with diamond drill bits for sharper and more precise facets for more sparkle than a conventionally faceted stone.’ (DakotaStones.com) Each bead is carefully cut to 3mm in size with a hole size of about .7 mm. The sharp facets of its bicone shape, sure adds more twinkle in every turn!
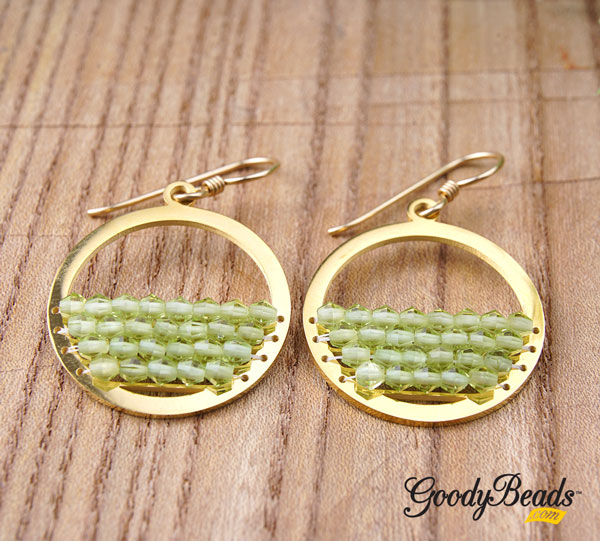
Peridot Ripple Earrings
This tutorial takes these gemstone bicone beads and are bead stitched on a beadable circle pendant for a pair of cute earrings. Check out the illustration below to see how to ladder stitch through the holes and for each tier you sew on 8, 7, 6 and 5 bicone beads down to channel. Sew through the channels back up to strengthen the stitches. Tie off and cut excess bead thread. Add your choice of earwires and you have a pair of Ripple Earrings!
Our friend Kayla from DakotaStones created this pair of earrings by wire-wrapping three, chained piece of Peridot gemstone bicone crystals and connecting one end with a Half Circle Pendant from Nunn Designs. Then use a jump ring to connect both chained ends to earwire. Tip: Make sure the loops on the chained gemstones are looped the same direction. This will help the earring to lay straight and not twisted.
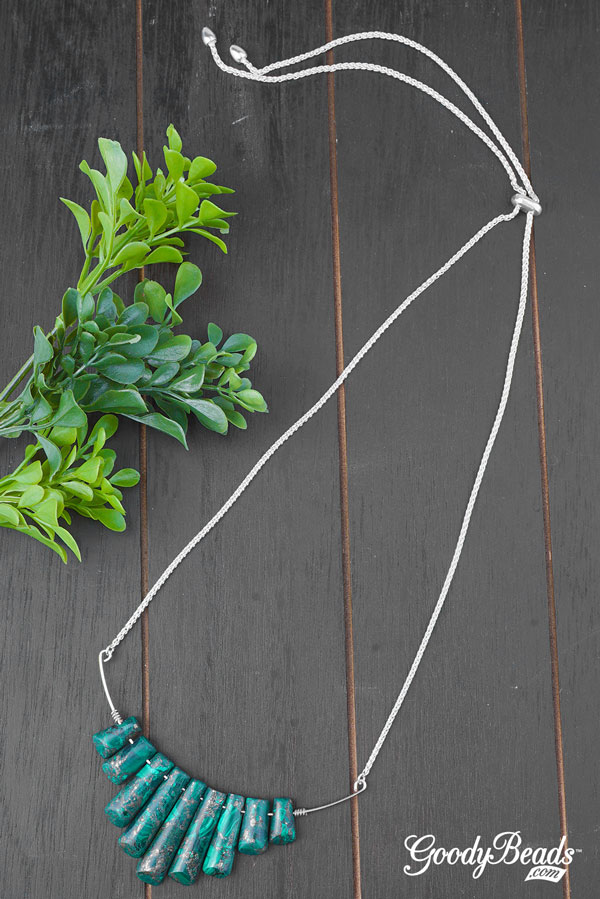
Cut necklace memory wire at 1/3″ of a coil with Memory Wire Shears.
With Memory Wire Finishing Pliers, curl one end of your memory wire inwards, towards curve of your memory wire to make a simple loop.
Slide on the sequence of your gemstone ladder set.
Make another simple loop to the other end of your memory wire.
Center gemstone set in the middle of the memory wire.
With the 20 Gauge Artistic Wire, wrap 4 coils around the memory wire, on each end of the pendant set. Cut excess wire.
Use crimping pliers to crimp the coils in Step 6 to keep coils and pendant set in place.
Open jump ring on necklace sliding clasp and slide through one loop of memory wire. Close jump ring. Repeat to other jump ring and other memory wire loop.
Design necklace with these other 11 Piece Gemstone Ladder Pendant Sets.
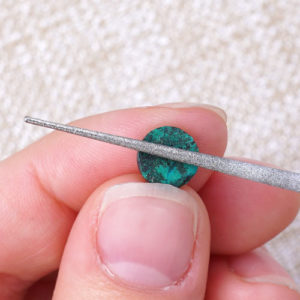
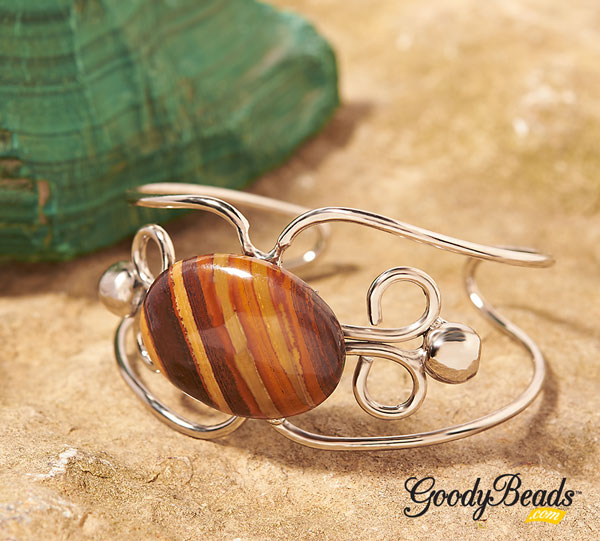
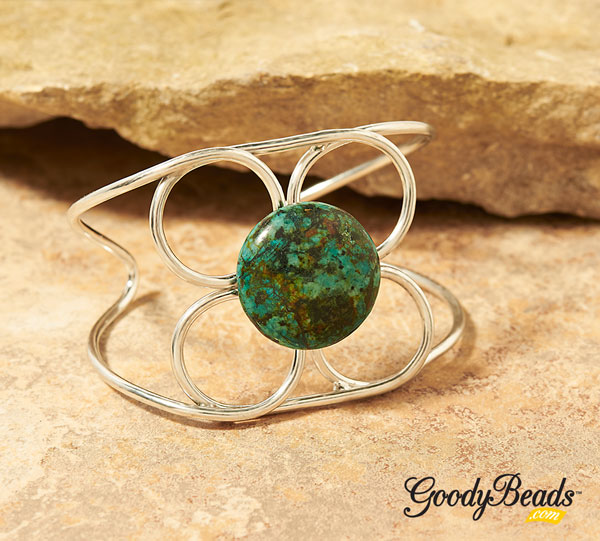
Take a small piece of sanding sponger, filer or sand paper and brush over the flat area/base on the cuff that you will adhere the cabochon to. Brush or scrape the surface to get some scratches in.
File the backside of your Cabochon.
Wipe off excess dust from cuff and Cabochon.
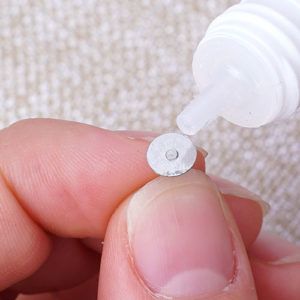
Add coating of Super New Glue or thin layer of E-6000 to area you filed.
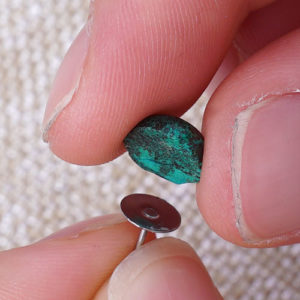
Sit the back of your cabochon on the are you just added glue to.
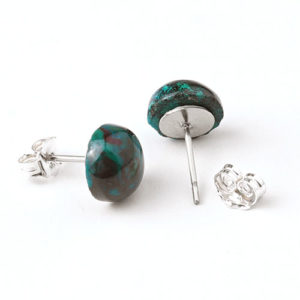
Hold in place for a few seconds. Let piece dry completely for 24 hours before wearing.
Design a DIY gemstone ribbon necklace with a gemstone pendant and pinch bail on soft, silk ribbon.
Each gemstone pendant is beautifully cut, polished, top-drilled and ready to be the focal to any necklace design. With the help of a pinch bail, all you have left for a your necklace are the natural fibers of fairy, silk ribbon.
What you’ll need to make a DIY Gemstone Ribbon Necklace: