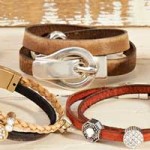
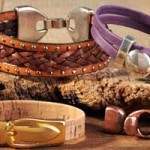
Easy DIY Leather for the Holidays
The holiday season is here and it’s the time of reconnecting with loved ones and gift giving. Looking for a quick holiday gift? We have some inspirational easy leather DIY projects. Jump on the trend of fashionable leather bracelets or try out an alternative use of flat leather for an easy DIY key chain.
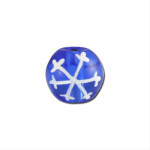
Winter White Splendor Leather Bracelet

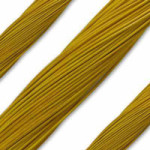
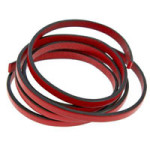
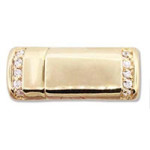
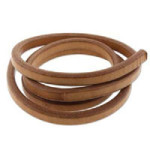
Simplify gift-giving with a stunning bracelet using 2mm leather cord. Cut the 2mm round cord at 8 inches. Fold the cord in half and slide the TierraCast® barrel bead (TC01538) through the cord ends to create a loop. Glue the cord ends to a hooked curved clasp (A019043) and you are done! You may want to make a few of these because you’ll want to keep one for yourself.
Licorice Leather Bracelet

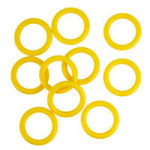
Licorice leather bracelets are the perfect statement jewelry. Cut the licorice leather to the preferred wrist length. Add a combination of beads and spacers to add color and use O-rings to keep beads and spacers in place. Lastly, glue your choice of licorice clasp.
Leather Key Chain

Think outside the box of bracelets and you have an alternative way to use flat leather. Make a leather key chain with 10mm flat leather and licorice beads, spacers, and O-rings.
- Start out with 6 inches of 10mm flat leather.
- Fold the leather in half with the key ring in the loop Glue your leather pieces together.
- Slide on licorice spacers/beads and a 12mm rubber O-ring.
- Cut your leather ends in a criss-cross angle.
These customizable leather key chains are great stocking stuffers, don’t you think?
Check out our other blog posts for more easy DIY leather projects:
Memory Wire Leather Wrap Bracelets
Watercolor Flat Leather Bracelets
5mm Flat Leather with Slider Charm Bracelets
Easy Leather Bracelets – Summer Style
Need more inspiration? Be inspired with GoodyBeads.com’s past monthly Trends We Love featuring leather. Here are a few leather trends we LOVE!
Clasp It: Unique Clasps Make Stunning Bracelets
2mm Round Leather: Easy Leather Bracelets are Great for the Holidays
Leather Wrap Bracelets: Get Wrapped Up In Stylish Leather and Cork Bracelets
Spell It Out: Make a Personalized Phrase Bracelet!
Statement Bracelets: Big and Bold Leather Bracelets
Wrap Suede & Chain Bracelets: Make Trendy Stackable Wrap Bracelets
Winter White Splendor Leather Bracelet
- (8”) A013406 – White Leather Cord
- (1) A019043 – Gold Plated Hook Curved Clasp
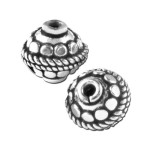
- (1) TC01538 – Gold Hammer Barrel Bead
- OR TC01752 – 4mm Gold Deco Barrel Bead by TierraCast
Licorice Leather Bracelet
- (7.5”) A015304 – Baby Blue Licorice Leather
- (2) Z001947 – 12mm Chocolate Brown Rubber O-Ring
- (2) Z001948 – 12mm Sage Green Rubber O-Ring
- (2) A015327 – Antique Brass Oval Spacer Bead
- (2) A015612 – Antique Brass Slice Spacer Bead
- (1) A015348 – Green/Brown Oval Ceramic Bead
Leather Key Chain
Black Version:
- (6”) CH00051 – 10mm Black Flat Leather
- (1) A016424 – 12mm White O-Rings
- (1) A018905 – C-Koop Steel Grey with Chamois Brown Enamel on Copper Slider
- (1) MCKR0002 – Key Ring
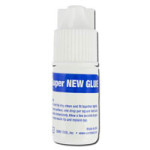
- A015821 – Super New Glue
Natural Cork Version:
- (6”) CH00547 – Natural with Gold Flecks Cork
- (1) Z001947 – 12mm Chocolate Brown Rubber O-Ring
- (1) Z003499 – Alphabet K Letter
- (1) Z003555 – Alphabet M Letter
- (1) MCKR0002 – Key Ring
- A015821 – Super New Glue