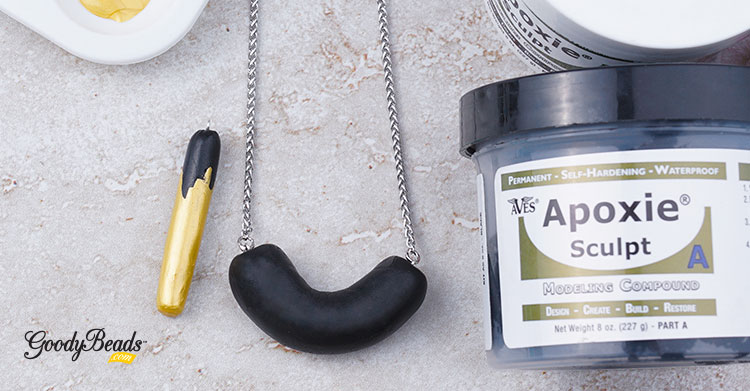
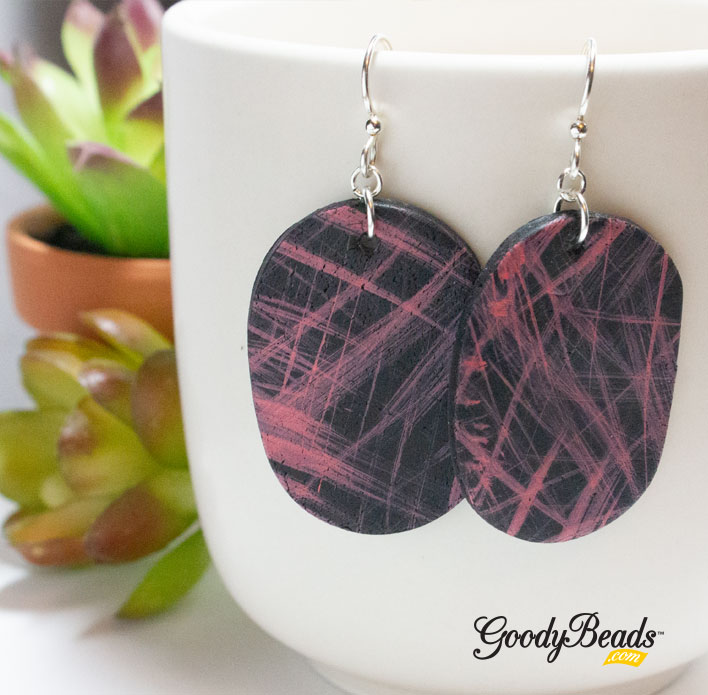
DIY Apoxie Earrings with Hashed Patina Paints
It’s National Crafting Month and we are diving into mixed media DIY jewelry. We’ve created a cool pair of earrings using Apoxie Sculpt and Vintaj Patina paints. Check out this step-by-step tutorial now!
Items used in earrings:
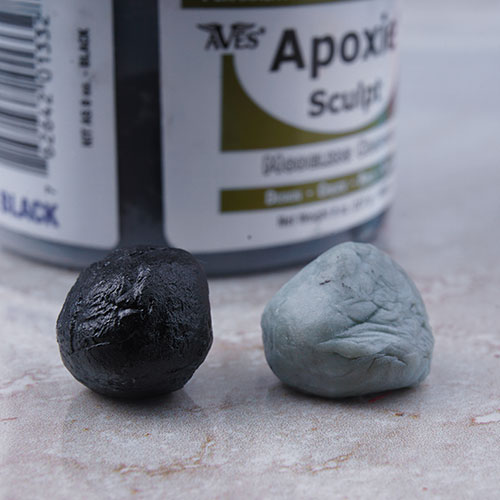
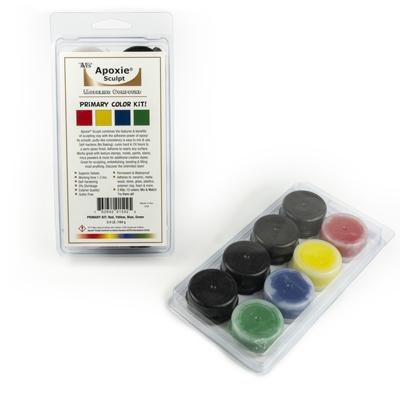
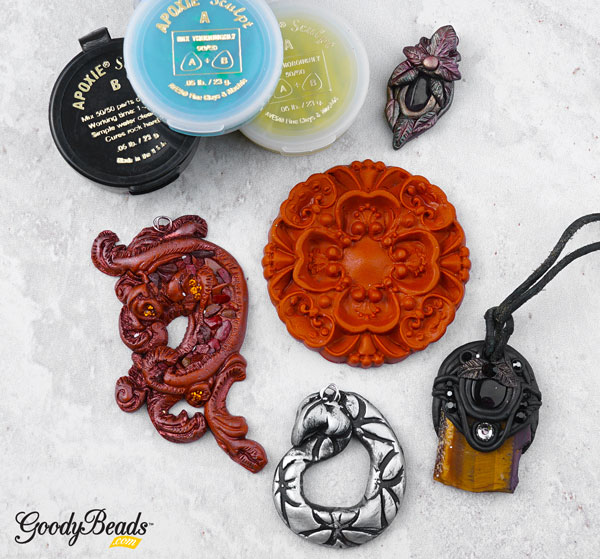
- Z018271 – Black Apoxie Sculpt
- TL00303 – Coral Patina
Check out more Patina colors. - A001528 – 5mm Jump Ring
- Z001660 – 3mm Jump Ring
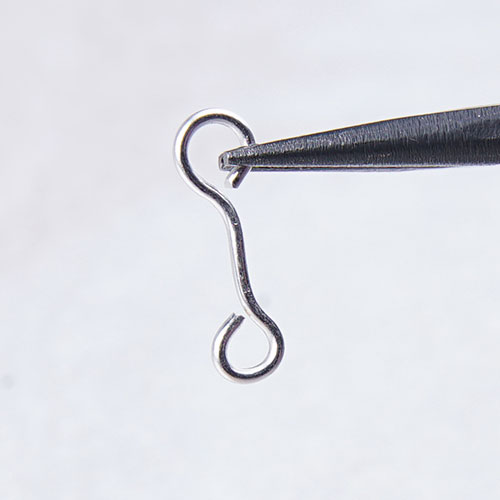
- TCZ0077 – TierraCast Silver Earwires
- A002370 – Bead Reamer
- Other Tools – gloves, silicon mat, acrylic rolling pin, oil, fan brush, small cookie cutters and skewer or awl. (items you can purchase at your crafting store.)
Directions:
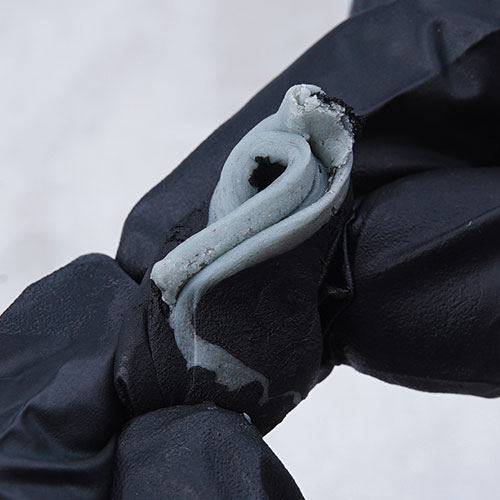
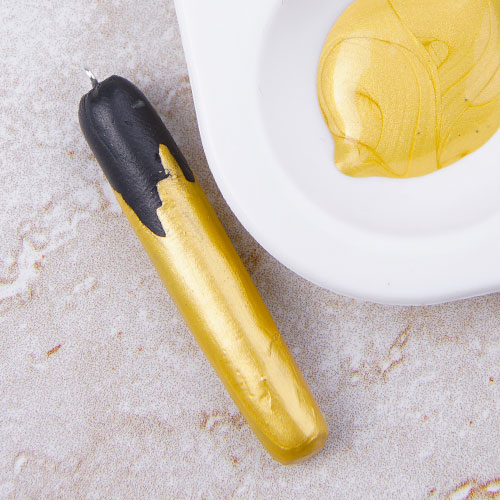
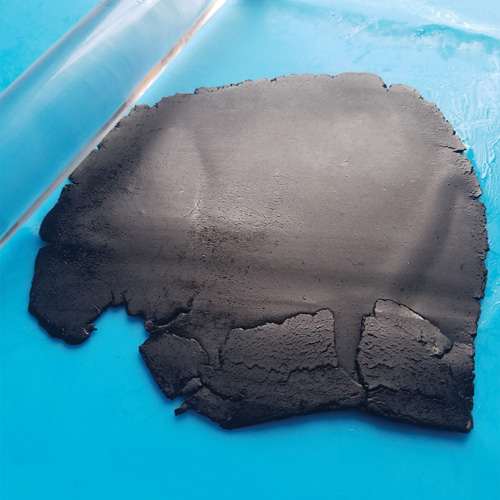
1. Mix thoroughly part A and part B in equal parts. About a little over a thumb size of each part.

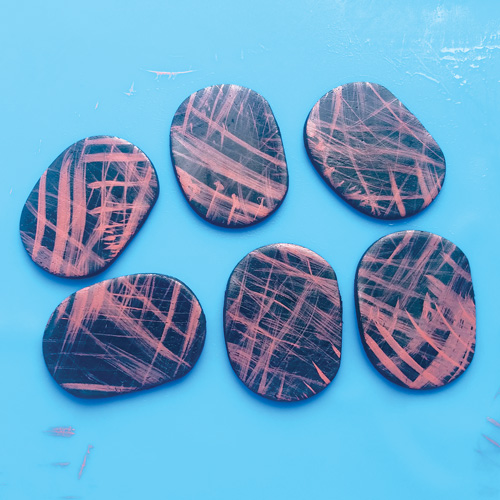
2. Add a small drop of oil to your acrylic rolling pin, enough just to gently coat it so that when you roll the apoxie, it doesn’t stick. (I add a small amount to the silicon mat too.) Roll out your apoxie on your silicon mat to aa 2-3mm thickness.
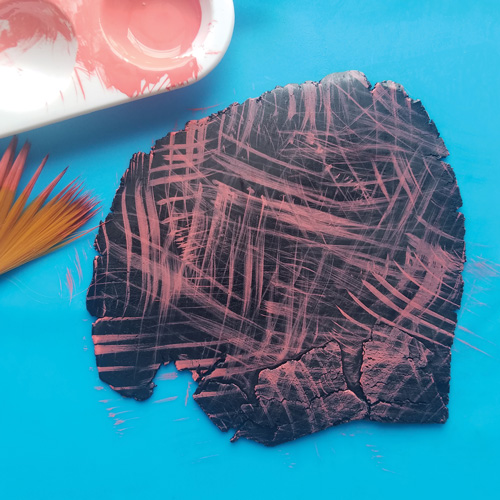
3. Using a fan brush, added a small amount of patina paint and lightly make hash marking on the apoxie. Paint a different pattern or you can also use stamps!
4. Use your small cookie cutters and cut out the apoxie.

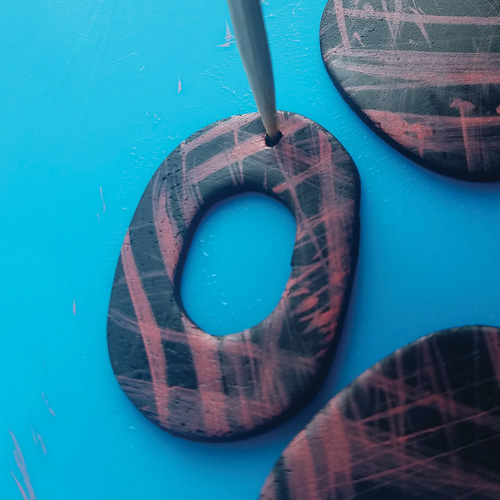
5. Use the tip of your skewer or awl to punch a hole at the top, close to the edge.
6. Let your pieces dry for a full 24 hours. You can leave them on your silicon mat, it will not stick to the silicon.
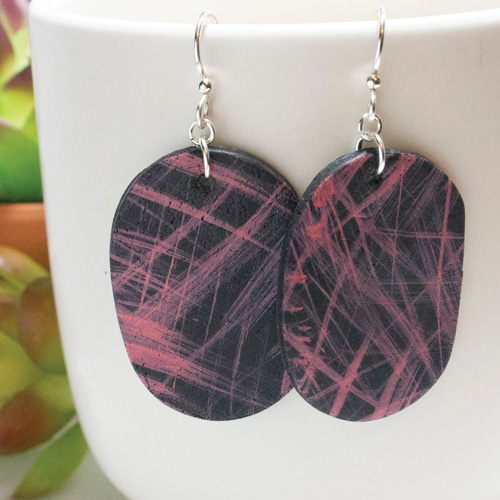
7. Once dried, open a 5mm jump ring slide on your apoxie charm and close jump ring. Open small 3mm jump ring, slide on the 5mm jump ring and through earwire loop. Close jump ring. Repeat to other apoxie pieces.
Note: If the holes are small, use the bead reamer to ream out a good enough hole.
Are you NEW to Apoxie? Take a look at our Intro video with Erin from Aves Clay, maker of Apoxie Sculpt.