Step-by-Step DIY Pendant with Apoxie Sculpt and Patina Paints
Why not try something new this weekend with some fun Apoxie sculpt. Apoxie sculpting clay from Aves Clay, is a versatile clay that air dries naturally in 24 hours. Check out our previous blog on Apoxie Sculpt 101 and Blending Colors.
Today’s blog is creating a simple pendant using our black Apoxie mix. Try out other colors we have and the Blending Colors blog in creating different colors!
Here’s what you’ll need:
- Black Apoxie – Z018273
Make sure to try other colors! - 20 gauge Eyepin – A019612
- Chain or Adjustable Necklace
- Vintaj Patinas or thick paint.
We used Martha Stewart Metallic Gold Paint in our sample. - Other tools: gloves, Ziploc bag, round nose pliers
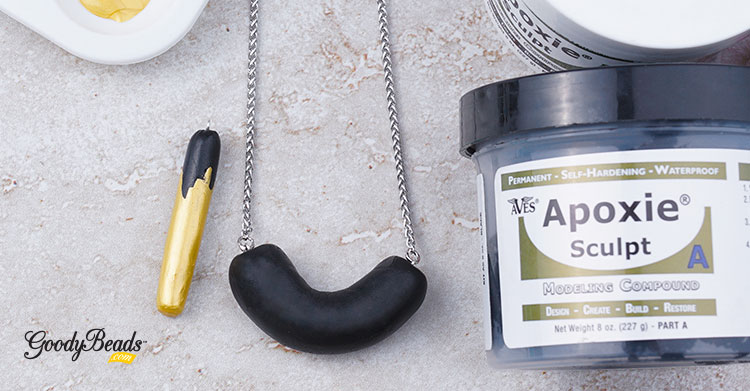
Painted Pendant
-
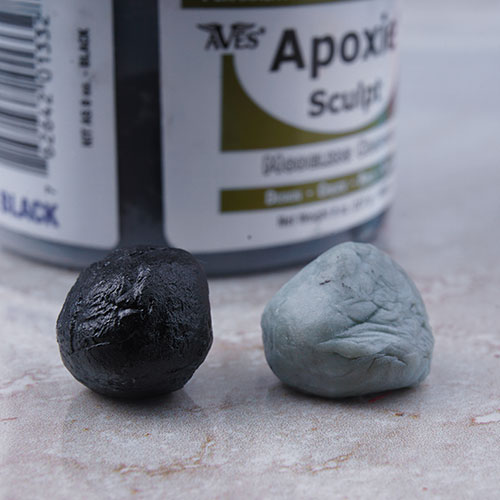
Step One: Take an equal, small amount of solution A and B. -
Step Two: Thoroughly mix the two amounts. -

Step Three: Roll and shape into a cylinder shape, making the ends flat. -
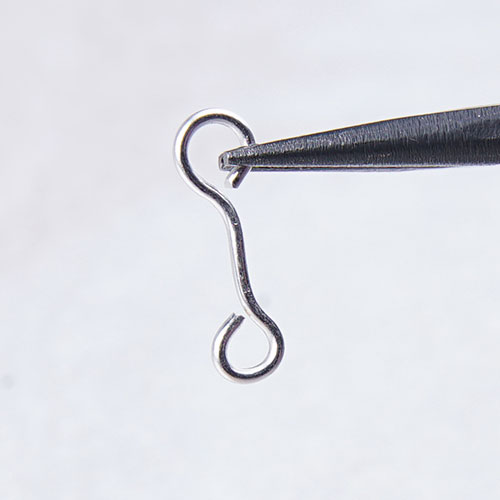
Step Four: Make a simple loop with your eyepin with a 1/4 inch gap. -

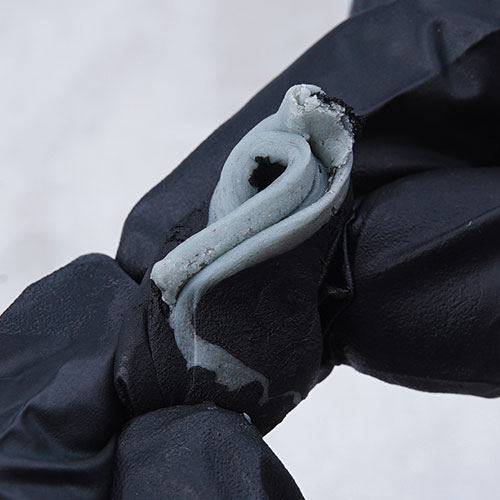
Step Five: Insert eyepin loop into one end of your clay cylinder. Roll cylinder to reshape and smooth out the clay. Let clay dry for 24 hours on a ziploc bag or piece of plastic. -
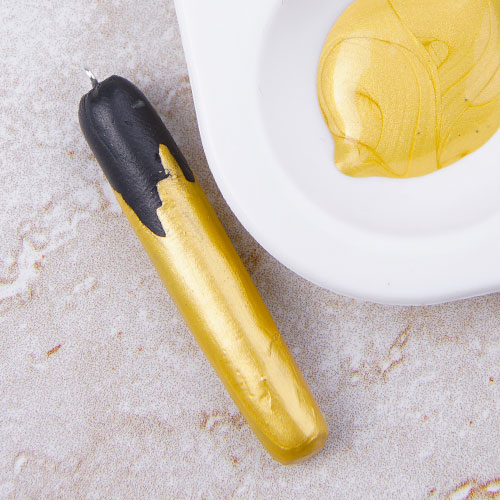
Step Six: Dip or brush on paint to end with thick paint or patina.
You can also to the same tutorial by adding eyepin loops to both ends of your cylinder and shape the clay in a curve, like our other example. Add your choice of chain or Adjustable Necklace chain for a super simple necklace idea!