DIY Spring Earrings and Necklace
Who doesn’t love warm weather and the bright colors of spring? We have two fun and easy projects for you to get you ready for spring weather!
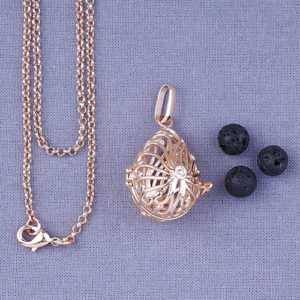
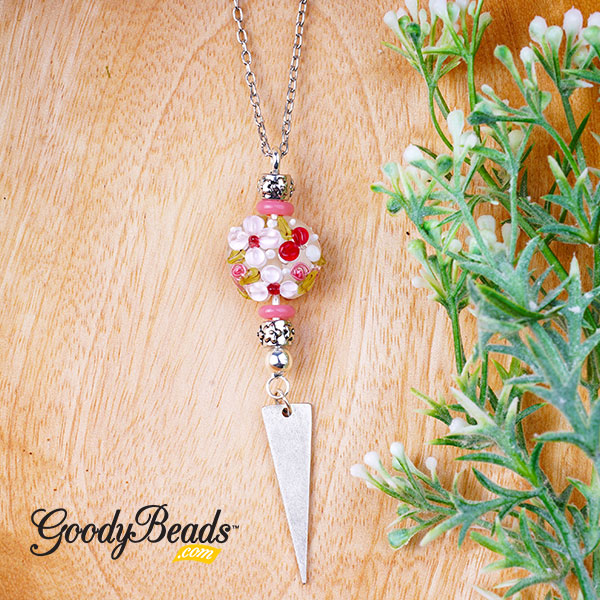
Easy Flower Pendant
Instructions:
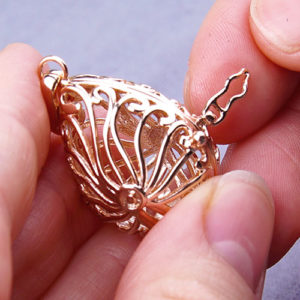
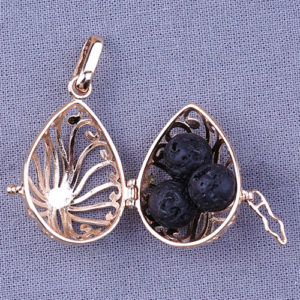
- With the instant pendant you easily unscrew the bottom piece and slide on the following: Silver bead, pink bead, flower bead, pink bead and silver bead.
- Screw back on the bottom piece.
- Unclasp your necklace chain and slide chain through top loop of your instant pendant. Clasp necklace chain.
- Open jump ring and slide on dangle and through bottom loop of the instant pendant. Close jump ring.
Items used in necklace: Z003706, A021423, Z009386 (2), Z005486, Z020510, A001529, Z001033
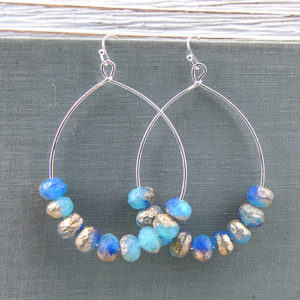
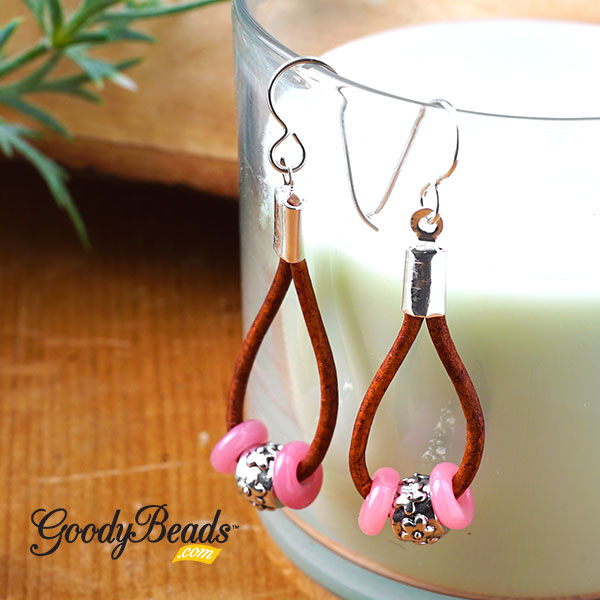
Pretty Pink Leather Earrings
Instructions:
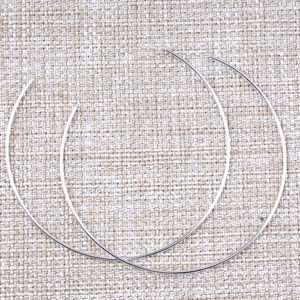
- Cut 2 pieces of leather at 3 inches.
- Slide pink bead, silver bead and pink bead on a leather piece.
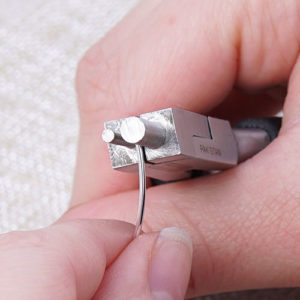
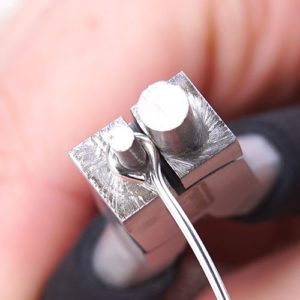
- Take both ends of your leather and lay on crimp end. Fold both sides of crimp ends over the leather ends.
- Open ear wire loop, slide on loop of crimp end and close loop.
- Repeat steps 2-4 for other earring.
Items used in earrings: Z007632, Z003706, TC02297, A022076, Z009386 (2)