Czech Honeycomb Pendant with Groovy Bead Frame – FREE Tutorial
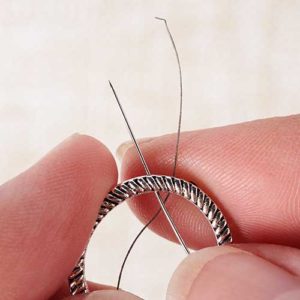
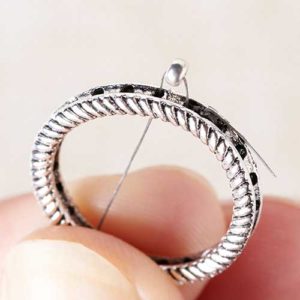
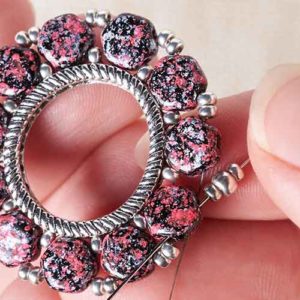
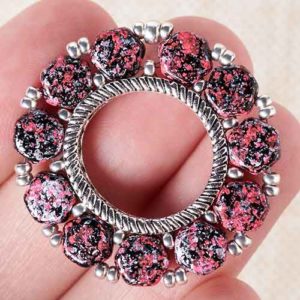
Here’s a unique way to use popular Czech Honeycomb beads. We have sewn them into a stunning pattern using a Groovy Bead Frame. Groovy Bead Frames are designed to string and decorate from different angles. This easy tutorial will create the perfect focal pendant on a necklace or dangled on a pair of earrings.
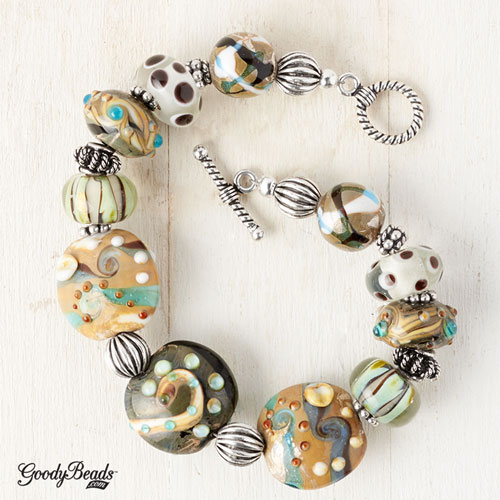
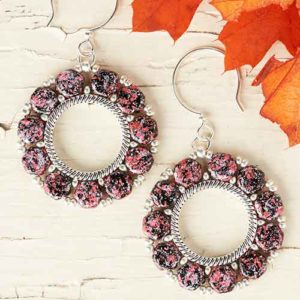
Honeycomb Necklace and Earrings
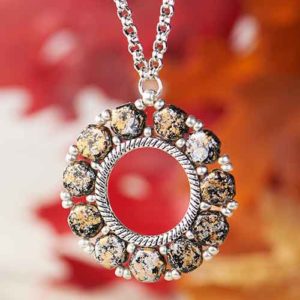
New to GoodyBeads are Tweedy Honeycomb beads that have a two-tone, splattered color finish.
Mia Mosaic Honeycomb Necklace – Golden

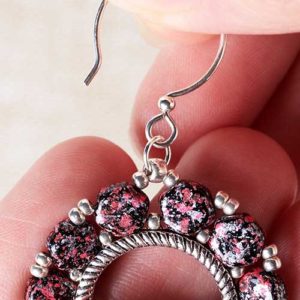
Mia Mosaic Honeycomb Earrings – Fuchsia

Czech Honeycomb Pendant with Groovy Bead Frame Tutorial
What you will need:
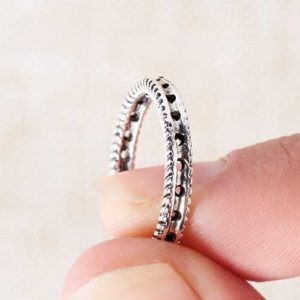
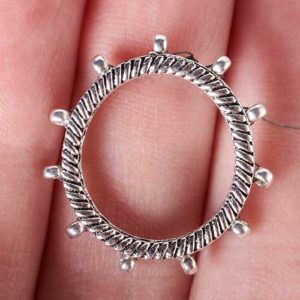
- Round Groovy Bead Frame
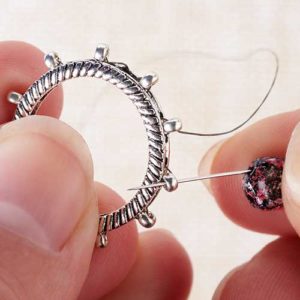
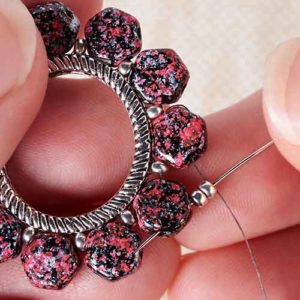
- Czech Honeycomb Bead
- 8/0 Miyuki Seed Bead
- 11/0 Miyuki Seed Bead
- Fireline Beading Thread
- Beading Needles

Click here for pdf download for tutorial.
Bead Components:
Mia Mosaic Honeycomb Necklace – Golden
- (1) Z019394 – 20mm Antique Silver Finish Pewter Round Groovy Bead Frame
- (1 pk.) Z018637 – 6.5mm Gold Tweedy 2-Hole Honeycomb Czech Glass Beads
- (1 tube) SB00106 – 8/0 Galvanized Silver Miyuki Seed Bead
- (1 tube) SB00422 – 11/0 Galvanized Silver Miyuki Seed Bead
- (1 pk.) A002413 – 4mm Silver Plated Jump Ring
- (2) A008182 – 2.5mm Silver Plated Rollo Chain
- (1) A006585 – Smoke Fireline Thread
- (1) A006767 – Beading Needles
Mia Mosaic Honeycomb Earrings – Fuchsia
- (2) Z019394 – 20mm Antique Silver Finish Pewter Round Groovy Bead Frame
- (1 pk.) Z018641 – 6.5mm Pink Tweedy 2-Hole Honeycomb Czech Glass Beads
- (1 tube) SB00106 – 8/0 Galvanized Silver Miyuki Seed Bead
- (1 tube) SB00422 – 11/0 Galvanized Silver Miyuki Seed Bead
- (1 pk.) A002413 – 4mm Silver Plated Jump Ring
- (1) A006585 – Smoke Fireline Thread
- (1) A006767 – Beading Needles
- (1) TCZ0096 – Sterling Silver Hoop Earring Wires with Loop by Tierracast®